


Are you looking for a creative and unique way to display your favorite ceramic pieces? A ceramic display case is the perfect solution! Not only does it protect your delicate ceramics from dust and damage, but it also adds a touch of elegance and sophistication to any room.
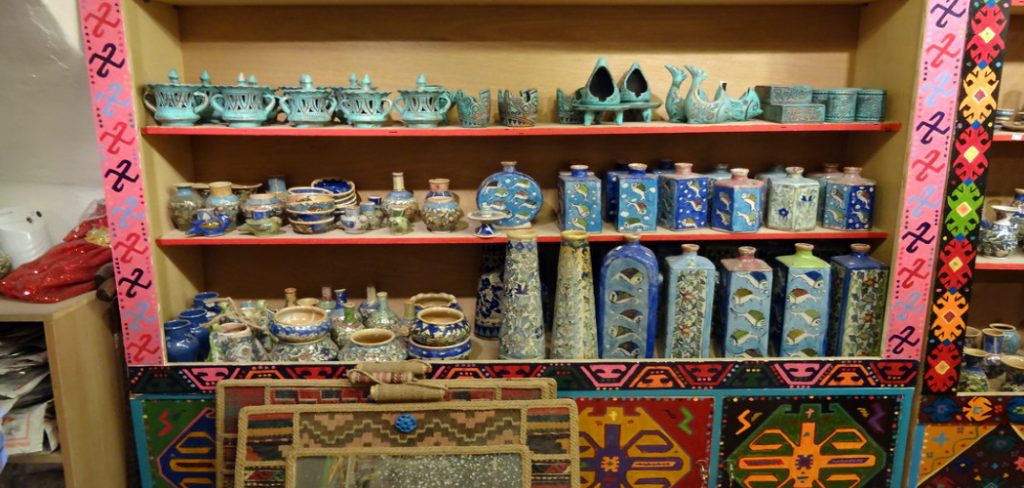
How to make a ceramic display case is a rewarding project that combines artistry and functionality. Whether you’re an experienced ceramic artist or just starting out, this process allows you to craft a custom piece to showcase cherished items in a unique and personalized way. By working with clay, you’ll be able to design a display case tailored to your style, including custom sizes, shapes, and decorative details.
This guide will walk you through the essential steps and techniques, ensuring you have the tools and knowledge to bring your creative vision to life.
What Are the Benefits of a Ceramic Display Case?
Before we dive into the process of making a ceramic display case, let’s explore the benefits that come with it.
- Protection: One of the primary reasons to invest in a ceramic display case is to protect your valuable ceramics from dust, moisture, and accidental damage. Not only will this preserve their beauty and integrity, but it also ensures they last for generations to come.
- Personalization: With a ceramic display case, you have complete creative control over its design. You can choose the shape, size, and color and even add decorative details such as sculptural elements or intricate patterns. This allows you to create a one-of-a-kind piece that reflects your style and uniquely showcases your ceramics.
- Versatility: Ceramic display cases come in various shapes and sizes, making them suitable for displaying different ceramics. Whether you have delicate figurines or large vases, there’s a display case that can accommodate your items and enhance their beauty.
- Aesthetic appeal: Adding a ceramic display case to your home instantly elevates the aesthetic appeal of any room. Combining ceramic artistry and functional design creates a statement piece that adds elegance and sophistication to your space.
What Will You Need?
Now that you know the benefits of a ceramic display case, let’s look at the essential materials and tools you’ll need to make one.
- Clay: The type of clay you use will depend on your preferences and the design of your display case. You can choose from various types such as earthenware, stoneware, or porcelain.
- Pottery wheel or hand-building tools: These tools are necessary for shaping and molding the clay into the desired form. Hand-building techniques like coiling or slab building can also be used if you’re not proficient with a pottery wheel.
- Kiln: A kiln fires the clay and creates a durable, hardened structure for your display case.
- Glaze: Glaze adds color and a glossy finish to the ceramics, giving them a professional look. You can choose from various colors and finishes to match your aesthetic preferences.
- Display case components: Depending on the design of your display case, you’ll need additional materials such as glass or plexiglass panels, wooden frames, hinges, and screws. These will help assemble and secure your ceramic display case together.
8 Easy Steps on How to Make a Ceramic Display Case
Step 1. Choose Your Design
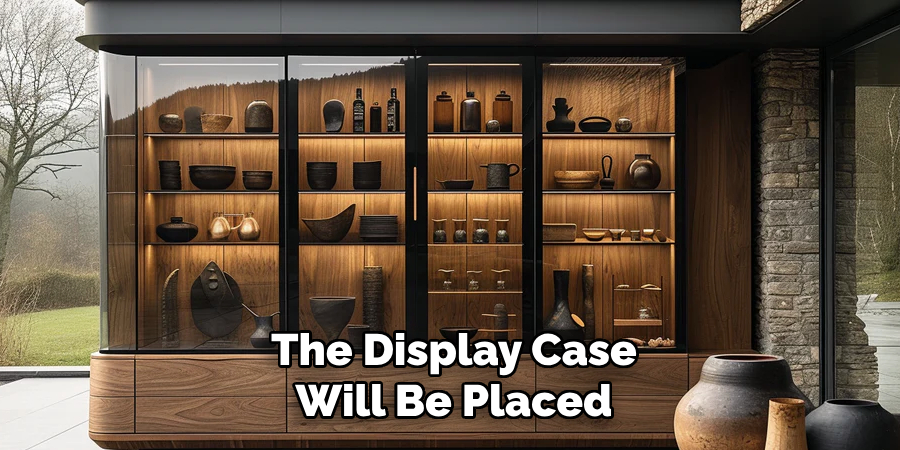
When choosing your design, consider your ceramic display case’s size, shape, and purpose. Will it be a small tabletop case for jewelry or a more significant wall-mounted case for showcasing collectibles? Sketch out your ideas and think about how the design aligns with the space where the display case will be placed. Additionally, consider the style and aesthetic you aim to achieve. Do you want a modern and minimalist look, or are you leaning towards something more traditional and ornate? This step is crucial as it will guide the entire process, from shaping the ceramic components to assembling the case. Spend ample time refining your design to ensure it’s functional and visually appealing.
Step 2. Gather Your Materials
Once you have a straightforward design, it’s time to collect all the materials needed for your project. Start with clay suitable for ceramic work, ensuring it matches your desired durability and finish. You’ll also need various tools, such as a rolling pin, carving tools, and a clay cutter, to shape and detail your ceramic pieces. To assemble the display case, gather wooden pieces for the frame as well as hinges, screws, and adhesive suitable for bonding ceramics and wood. Don’t forget paints or glazes to personalize your ceramic components and a kiln or access to one for firing the clay. Having all materials ready beforehand will streamline the process and ensure you’re well-prepared for the next steps.
Step 3. Prepare Your Workspace
Creating an organized and efficient workspace ensures a smooth crafting process. Begin by covering your work surface with a protective layer, such as a plastic sheet or a non-stick mat, to prevent the clay from sticking and to protect your table from scratches or spills. Arrange your tools, materials, and reference sketches within easy reach to enhance productivity. Ensure proper ventilation, especially if you’ll be using adhesives or glazes with strong odors. If possible, designate separate areas for shaping, assembling, and painting to avoid unnecessary clutter. A clean, well-organized workspace will help you stay focused and allow your creativity to flow freely.

Step 4. Shape the Clay
Begin shaping your clay based on your design or reference sketches. Start by kneading the clay thoroughly to remove any air bubbles and make it more pliable. Depending on your project, you can roll, pinch, or sculpt the clay into the desired forms. Use shaping tools to refine details and carve intricate patterns or textures. Remember to work carefully and methodically, as rushing through this step may lead to cracks or imperfections. Keep a small bowl of water nearby to help smooth edges and attach different pieces of clay seamlessly. Take your time in this step, as it forms the foundation of your final piece.
Step 5. Dry and Fire the Clay
Once your clay piece is fully shaped and detailed, allow it to dry completely before firing. Place your piece in a cool, dry area away from direct sunlight or humidity to prevent cracking or warping. Depending on the size and thickness of your project, drying can take anywhere from a few days to a week. After it has dried, carefully place it in a kiln for firing. Follow the recommended temperature and firing schedule for your specific type of clay. This step strengthens your piece and prepares it for the finishing touches. Always handle the fired piece with care, as it can still be delicate before undergoing any additional finishes.
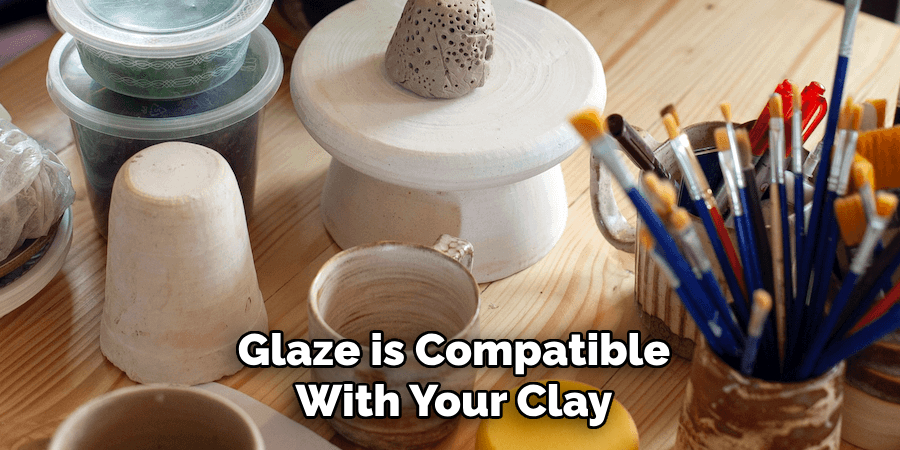
Step 6. Apply Finishing Touches
After the firing process, your piece is ready for its final touches. Start by sanding any rough edges or uneven surfaces with fine-grit sandpaper to achieve a smooth finish. If desired, apply glazes, stains, or paints to enhance the appearance and durability of your creation. Ensure that any glaze is compatible with your clay and applied evenly before firing again if required. This final firing will set the glaze and give your piece a polished, professional look. Once complete, your handcrafted clay project is ready to be displayed or used!
Step 7. Maintain and Care for Your Creation
Proper maintenance ensures the longevity of your handcrafted clay piece. If your piece is functional, such as a bowl or mug, avoid exposing it to extreme temperature changes, which can cause cracking. Handwashing is often recommended over dishwashing for glazed items to prevent wear. For decorative pieces, regularly dust them with a soft cloth to keep them looking pristine. Taking these steps will help preserve your unique creation for years to come.
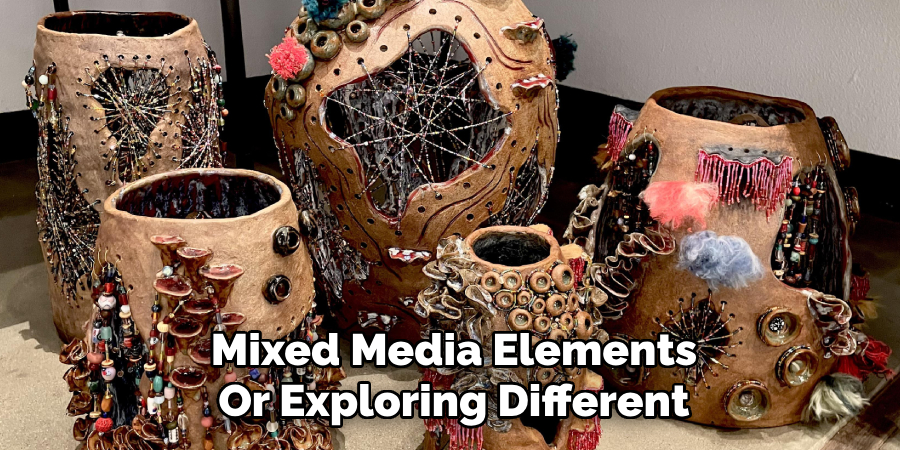
Step 8. Experiment and Explore New Techniques
Once you’ve mastered the basics, take your clay crafting skills to the next level by experimenting with new techniques and styles. Try incorporating textures, adding mixed media elements, or exploring different types of clays and tools. Techniques like carving, sgraffito, or slip trailing can add intricate details and elevate your work. Don’t be afraid to try innovative approaches or seek inspiration from other artists. Each experiment is an opportunity to develop your creativity further and refine your craft.
Following these steps, you can confidently create a beautiful and functional display case using handcrafted ceramic components.
5 Things You Should Avoid
- Skipping Proper Measurements: Incorrect measurements can lead to mismatched components or an unstable structure. Always double-check dimensions to ensure precision.
- Using Low-Quality Materials: Using subpar materials can compromise the durability and appearance of your display case. Opt for high-quality ceramics and adhesives to achieve the best results.
- Ignoring Safety Precautions: Working with sharp tools, high temperatures, or chemicals demands proper safety measures. Always wear safety gear and follow guidelines to prevent accidents.
- Rushing the Drying Process: Allow sufficient time for all adhesives and ceramic pieces to dry. Rushing this step can weaken the overall build and result in breakage.
- Neglecting the Design Plan: Starting without a clear design plan can lead to a disorganized or unfinished product. Take time to sketch and finalize your design before beginning the build.
Conclusion
How to make a ceramic display case requires careful planning, attention to detail, and patience.
You can ensure a durable and aesthetically pleasing end product by avoiding common mistakes such as skipping proper measurements, using low-quality materials, or ignoring safety precautions. Remember to follow your design plan thoroughly and allow adequate adhesive drying times to maximize stability and longevity.
With these steps in mind, your ceramic display case will be functional and a beautiful showcase for your cherished items.
Specialization:
- Master of wheel-throwing, hand-building, and advanced glazing techniques
- Focus on creating both functional pottery and decorative art pieces
Recognition:
- Celebrated by collectors and art enthusiasts for creating one-of-a-kind pieces that blend artistry with functionality
- Participates in local and national exhibitions, earning accolades for his innovative designs and craftsmanship
Passion:
- Deeply committed to exploring and pushing the boundaries of ceramic artistry
- Continuously experiments with new materials, firing techniques, and artistic concepts to evolve his craft
Personal Philosophy:
- Believes in the transformative power of art, aiming to evoke emotions and connections through his ceramic creations
- Advocates for sustainability in ceramics, using eco-friendly materials and practices whenever possible