


Are you looking for a way to make your ceramic flux? Look no further!
Ceramic fluxes play a crucial role in the production of ceramics by reducing the melting point of raw materials and enhancing the fluidity of the glaze during firing.
They are essential for creating smooth, durable, and visually appealing finishes on pottery or tiles. Learning how to make a ceramic flux involves understanding the vital components, selecting the right raw materials, and following precise measurements to achieve the desired chemical reactions.
This guide will walk you through the process, providing clear steps to craft a ceramic flux suitable for your needs. Whether you are a beginner or an experienced ceramicist, mastering flux creation can significantly refine your artistry. Let’s get started!
What Are the Benefits of Making Your Ceramic Flux?
Before diving into creating a ceramic flux, it is essential to understand why making your own can be advantageous. Here are some benefits to consider:
- Cost-effectiveness: Buying pre-made ceramic fluxes can be expensive, especially for larger projects or continuous use. By making your own, you can save money in the long run.
- Customization: Different types of ceramics may require different types of fluxes. By making your own, you have more control over the composition and can tailor it to suit your needs.
- Learning Experience: Making your ceramic flux is an excellent opportunity to deepen your understanding of the chemistry behind pottery-making. It can also inspire creativity and experimentation in your ceramic work.
Now, let’s dive into the process of making a ceramic flux!
What Will You Need?
Making a ceramic flux requires some basic materials that can be easily found at your local pottery supply store or online. These include:
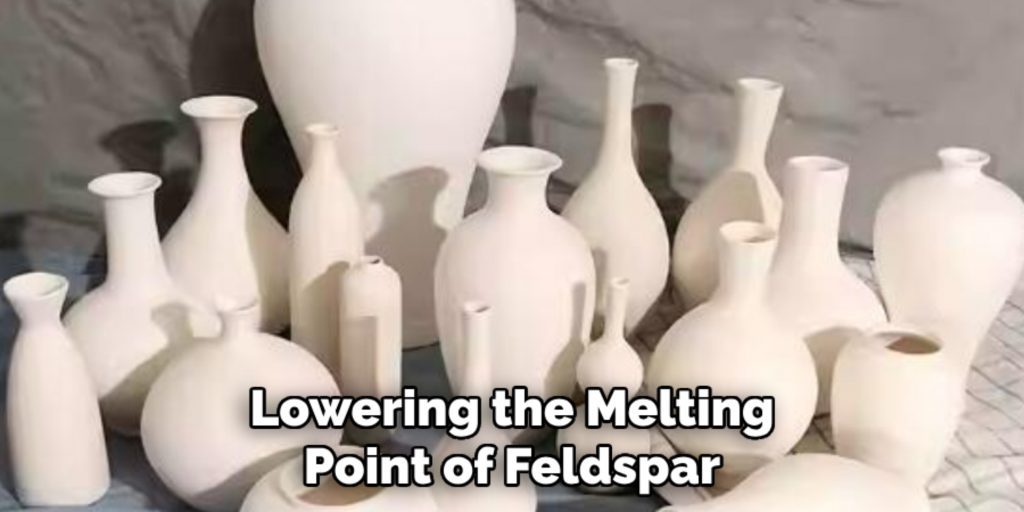
- Feldspar: This is the most common base material used in ceramic fluxes due to its high silica content and low melting point.
- Flint: Also known as silica, flint is another essential component of a ceramic flux.
- Whiting: This chalk-like substance adds calcium oxide to the mix, which aids in lowering the melting point of feldspar.
- Borax: Borax acts as a binder, helping to hold the other ingredients together during firing.
Once you have these materials, you will need measuring tools such as a scale, graduated cylinder, or spoon.
10 Easy Steps on How to Make a Ceramic Flux
Step 1. Measure Your Ingredients:
Using a precise scale or measuring tools, carefully weigh each ingredient according to the proportions required for your ceramic flux recipe. Accuracy is critical in this step, as even slight deviations can alter the melting point or the final properties of your flux.
To avoid contaminating your materials, ensure your tools are clean before use and measure each ingredient separately. If your recipe specifies measurements in grams or percentages, adhere closely to these instructions for the best results. Proper measurement sets the foundation for a consistent and effective ceramic flux.
Step 2. Mix the Dry Ingredients Thoroughly:
Combine all the measured dry ingredients in a clean, dry container. Use a mixing tool such as a spatula or a stirrer to blend the materials evenly. Ensure there are no clumps or uneven distributions, as this can impact the performance of the flux. Take your time during this process to achieve a homogeneous mixture, as uniformity is essential for consistent results during firing.
Step 3. Add Liquid to Form a Paste:
Gradually introduce the specified liquid to the dry mixture to create a paste. Add the liquid slowly, ensuring that you do not oversaturate the mix. Stir continuously as you pour to distribute the moisture and achieve the desired consistency evenly. The paste should be smooth and pliable, without being too runny or too dry.
Adjust the amount of liquid if necessary to maintain uniform texture, as this will impact the application and performance of the ceramic flux during firing.
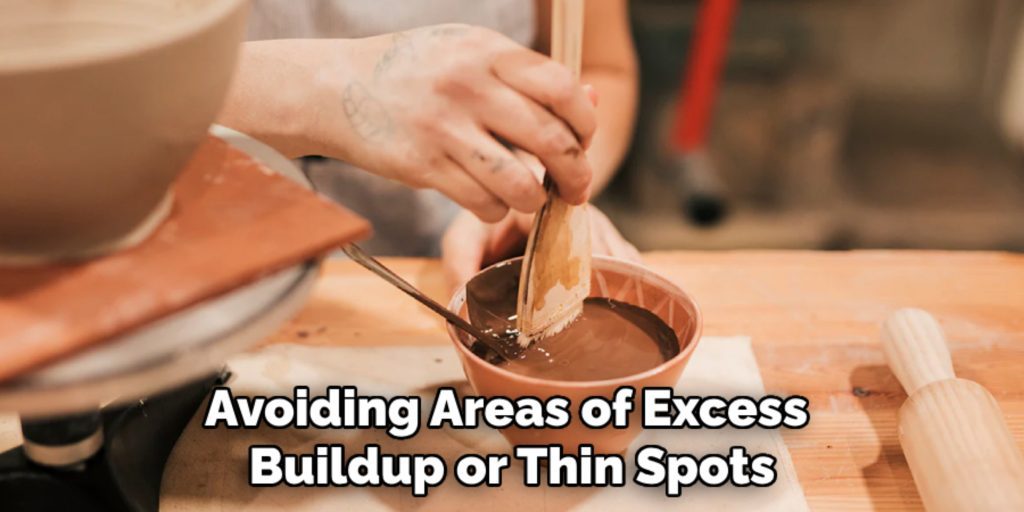
Step 4. Apply the Flux Paste:
Using an appropriate application tool, such as a brush or spatula, apply the flux paste evenly onto the surface of the ceramic piece. Ensure the coverage is smooth and consistent, avoiding areas of excess buildup or thin spots.
This step is crucial to ensure the ceramic piece absorbs the flux uniformly, enhancing bonding and firing performance. Allow the paste to dry completely before proceeding to the next step in the process.
Step 5. Firing the Ceramic Piece:
Place the ceramic piece coated with flux paste into the kiln, ensuring it is positioned securely to prevent movement during firing. Set the kiln to the appropriate temperature based on the type of flux and ceramic material used, typically specified in the material guidelines.
Gradually increase the temperature to avoid thermal shock, which could crack or damage the piece. Maintain the required temperature for the recommended duration to allow the flux to properly bond with the ceramic surface and achieve the desired finish. Once the firing is complete, allow the kiln to cool down slowly before removing the ceramic piece to prevent stress fractures.
Step 6. Finishing and Inspection:
Carefully remove the fired ceramic piece from the kiln once it completely cools to room temperature. Inspect the surface to ensure the flux has bonded uniformly and achieved the desired finish. Look for imperfections such as cracks, uneven coatings, or discoloration, and determine if additional touch-ups are required.
Use fine sandpaper or polishing tools to smooth out rough areas or enhance the final appearance if necessary. This step ensures the ceramic piece meets the required quality standards and is ready for its intended application.
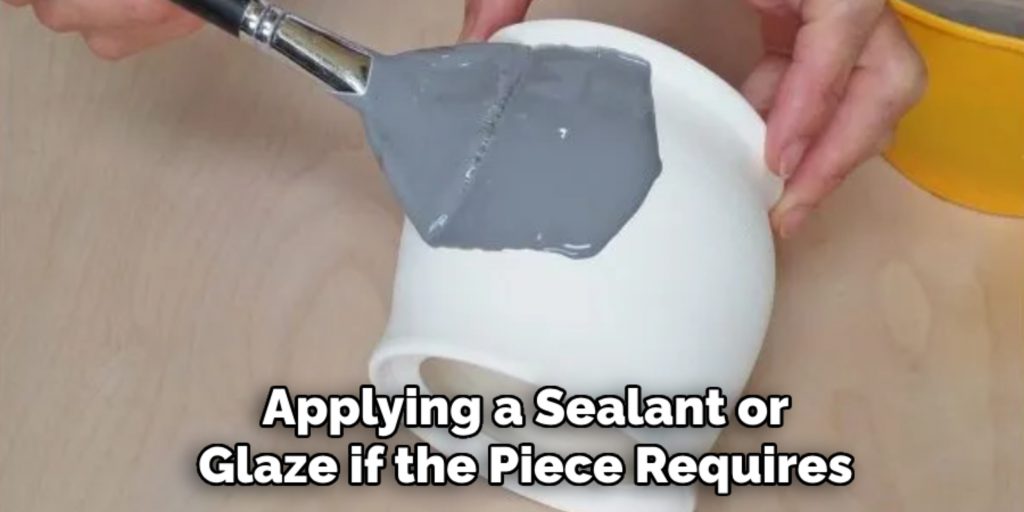
Step 7. Cleaning and Sealing:
After inspecting and finishing the ceramic piece, thoroughly clean its surface to remove any dust, residue, or particles left over from the firing or polishing process. Use a soft, damp cloth or a gentle cleaning solution that will not damage the ceramic.
Once cleaned, consider applying a sealant or glaze if the piece requires added durability, waterproofing, or enhanced visual appeal. Follow the manufacturer’s instructions for applying the sealant and allow adequate time to dry or cure. This final step ensures the ceramic piece is protected and ready for use or display.
Step 8. Packaging and Storing:
Once the ceramic piece is cleaned, sealed, and properly dried, carefully package it to prevent any damage during transportation or storage. Use protective materials such as bubble wrap, foam, or padded boxes to cushion the item and minimize the risk of breakage.
If multiple items are being stored or shipped, ensure each piece is individually wrapped and secured to avoid contact. Label the packaging with details about the ceramic piece, such as its type, intended use, or any special handling instructions. Proper packaging and storage maintain the piece’s integrity and ensure it reaches its destination perfectly.
Step 9. Maintenance and Care:
Regular maintenance and care are essential to prolong the life and quality of the ceramic piece. Clean them gently with warm water and mild soap for functional ceramics, such as dinnerware or planters, avoiding abrasive scrubbing materials that could damage the surface.
For decorative items, dust them using a soft cloth or brush to maintain their appearance. Keep ceramics away from extreme temperature changes or humid environments, which may cause cracks or other damage. Proper care ensures that the ceramic remains in excellent condition and continues to serve its purpose for years.
Step 10. Display and Presentation:
Displaying ceramic pieces effectively can enhance their aesthetic appeal and showcase their craftsmanship. Choose a location with adequate lighting, as this highlights the piece’s textures, colors, and intricate details. For functional ceramics, such as vases or bowls, consider incorporating them into your home décor by pairing them with flowers, fruits, or other decorative elements. Use stands, shelves, or pedestals to elevate decorative ceramics and create an organized, visually pleasing arrangement. The thoughtful presentation emphasizes the ceramics’ beauty and creates a harmonious ambiance in any space.
Following these steps, you can apply ceramic flux and fire your pieces to achieve a professional finish.
5 Things You Should Avoid
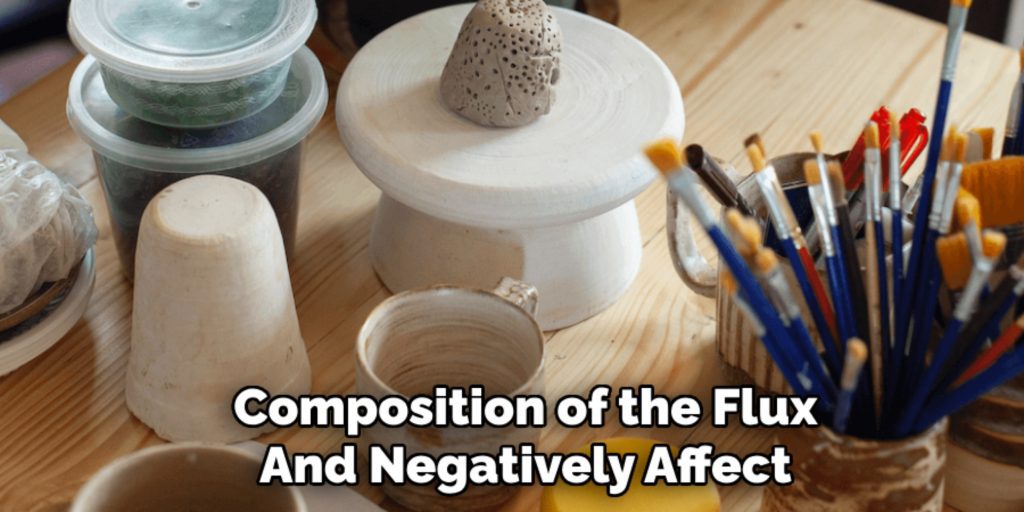
- Using Impure Materials: Always ensure the materials you use are contaminant-free. Impurities can alter the chemical composition of the flux and negatively affect the final product.
- Skipping Proper Measurements: Precise measurements are crucial for achieving the correct balance of compounds. Even minor deviations can lead to an ineffective or unstable flux.
- Ignoring Safety Procedures: Handling chemical components without proper safety gear or precautions can be hazardous. Always wear gloves and goggles, and work in a well-ventilated area.
- Overheating the Mixture: Excessive heat can cause undesired chemical reactions and destabilize the flux. Monitor the temperature closely to avoid damaging the materials.
- Neglecting Proper Storage: Once prepared, ceramic flux should be stored in a dry, airtight container. Exposure to moisture or air can degrade its quality and usability over time.
Conclusion
How to make a ceramic flux requires careful attention to detail, precision, and adherence to safety protocols.
By selecting pure materials, measuring components accurately, and maintaining controlled temperatures, you can ensure the production of a high-quality flux. Additionally, proper storage practices will preserve its effectiveness for future use.
Following these guidelines reduces the risk of errors and enhances the stability and performance of the final product, making the process both efficient and reliable. Always prioritize safety and precision to achieve the best outcomes in ceramic flux preparation.
Specialization:
- Master of wheel-throwing, hand-building, and advanced glazing techniques
- Focus on creating both functional pottery and decorative art pieces
Recognition:
- Celebrated by collectors and art enthusiasts for creating one-of-a-kind pieces that blend artistry with functionality
- Participates in local and national exhibitions, earning accolades for his innovative designs and craftsmanship
Passion:
- Deeply committed to exploring and pushing the boundaries of ceramic artistry
- Continuously experiments with new materials, firing techniques, and artistic concepts to evolve his craft
Personal Philosophy:
- Believes in the transformative power of art, aiming to evoke emotions and connections through his ceramic creations
- Advocates for sustainability in ceramics, using eco-friendly materials and practices whenever possible