Creating a ceramic ghost is a fun and creative project that combines the elegance of pottery with a playful, spooky twist. Whether you’re a seasoned ceramicist or a beginner looking to explore the world of clay crafting, making a ceramic ghost is a delightful way to enhance your skills and produce a charming decoration. Perfect for the Halloween season or any time of year when you want to add a bit of whimsy to your home, this guide will walk you through how to make a ceramic ghost. Grab your clay, gather your tools, and let’s get started on this enchanting ceramics project!
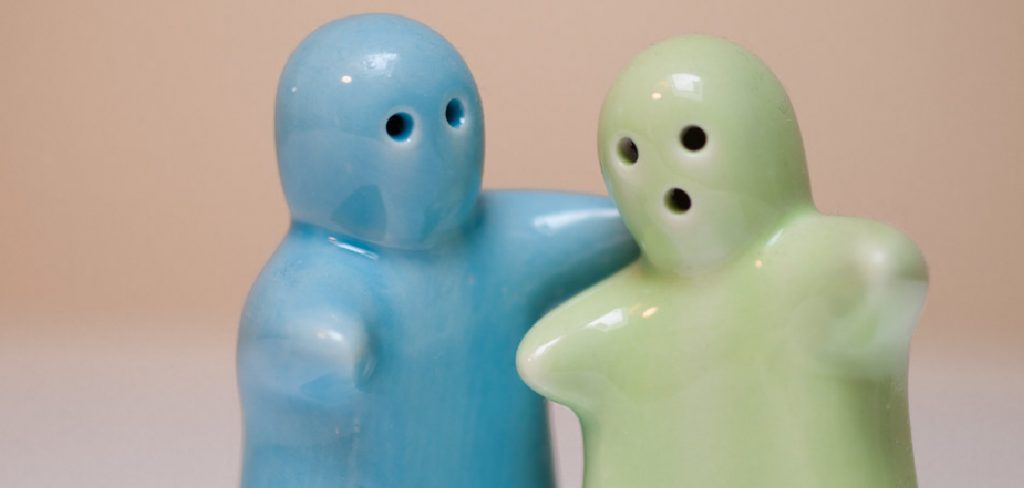
The Popularity of Ceramic Ghost Decorations
Over recent years, ceramic ghost decorations have surged in popularity, becoming a staple in both Halloween decor and year-round home embellishments. Their rise can be attributed to their charming blend of simplicity and nostalgia, often evoking childhood memories of festive decorations. Social media platforms have played a significant role, with DIY communities sharing creative variations and inspiring a new generation of crafters.
Ceramic ghosts are beloved for their versatility, fitting effortlessly into different decor styles, from rustic to minimalist. Furthermore, their handcrafted nature adds a personal touch, making them ideal for gifting or as a unique centerpiece in any room. As trends lean towards sustainable and handmade products, ceramic ghost decorations continue to captivate enthusiasts, making them more cherished with each passing season.
Tools and Materials Needed
Before you begin crafting your ceramic ghost, it’s essential to gather all the necessary tools and materials to ensure a smooth and enjoyable process. Here’s a list of what you’ll need:
- Clay: Choose a suitable pottery clay, such as earthenware or stoneware, that you feel comfortable working with.
- Sculpting Tools: A set of clay sculpting tools is crucial for shaping and detailing your ghost. This can include a needle tool, loop tool, and wire cutter.
- Rolling Pin: For flattening the clay to an even thickness before shaping the ghost.
- Cutting Tools: Small cookie cutters or a craft knife for cutting out details or creating openings.
- Clay Slip: A mixture of clay and water that acts as a glue for attaching clay pieces together.
- Sponge: To smooth surfaces and remove any imperfections.
- Kiln: Access to a kiln is essential for firing your finished ceramic ghost, ensuring it is solid and durable.
- Paints and Glazes: Optional, but useful for adding color and finishing touches once the ghost is fired.
- Paintbrushes: For applying paints and glazes to your ceramic ghost.
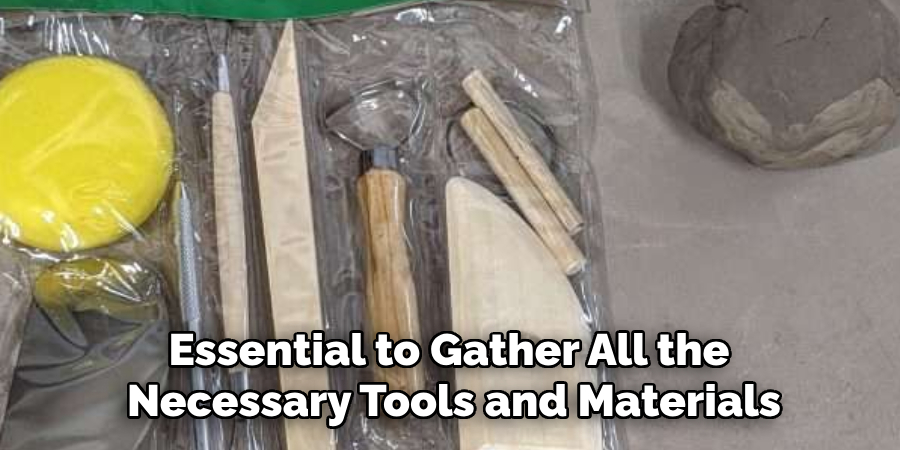
Ensure you have all these items ready before starting to make your ceramic ghost, so you’re well-prepared to dive into the creative process.
10 Steps How to Make a Ceramic Ghost
1. Gather Your Materials
Before you begin, ensure you have all the necessary materials on hand. You’ll need clay, carving tools, a rolling pin, a kiln, and glaze. For beginners, air-dry clay is a good alternative if a kiln isn’t available. Don’t forget a damp sponge to keep your clay moist while working.
2. Sketch Your Design
It’s always helpful to start with a sketch of your ghost. Decide on the size, shape, and any details you want to include, such as a spooky face or flowing “sheet.” This step will help guide you through the sculpting process and ensure your final piece matches your vision.
3. Prepare the Clay
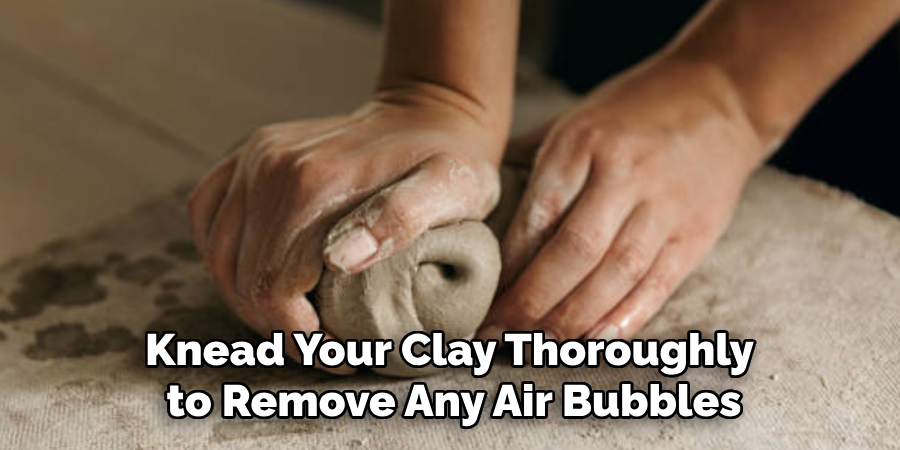
Knead your clay thoroughly to remove any air bubbles—this ensures a smooth finish and prevents cracking during firing. Roll the clay into a flat sheet using your rolling pin, aiming for a consistent thickness of about 1/4 inch.
4. Create the Ghost Form
Cut out the basic shape of your ghost from the rolled-out clay. This could be a simple oval or a more complex silhouette with flowing edges. Gently drape it over a form or stand to give it a three-dimensional shape. This base can be made from crumpled foil or a small bowl.
5. Add Details
With your carving tools, carefully add any details to your ghost. This might include eyes, a mouth, or texture to mimic fabric folds. Take your time to ensure precision—these details will make your ghost truly unique.
6. Allow the Clay to Dry
Once you’re satisfied with your design, let the clay dry completely. This could take up to 24 hours for air-dry clay, or longer if you’re using a thicker ceramic clay. Ensure it’s fully dry before moving to the next step to avoid cracking.
7. Fire Your Piece (for Ceramic Clay)
If you’re using ceramic clay, the next step is to fire your piece in a kiln. Follow the kiln’s instructions for temperature and timing to ensure a successful firing. If you’re using air-dry clay, you can skip this step.
8. Apply Glaze
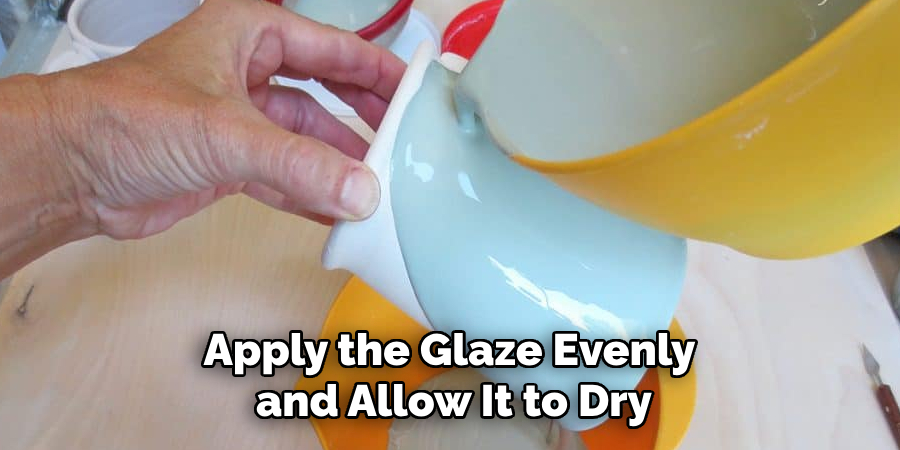
Once your ghost has been fired and cooled, it’s time to apply glaze. Choose a glaze that complements your Halloween decor theme—classic white works well for a traditional ghost, but feel free to get creative! Apply the glaze evenly and allow it to dry as per the manufacturer’s instructions.
9. Second Firing (if applicable)
If you’ve used glaze, you’ll need to fire your piece a second time to set the glaze. Again, follow the kiln’s instructions carefully. For those using air-dry clay, some non-fired glazes and paints are available.
10. Display Your Ceramic Ghost
Congratulations! Your ceramic ghost is ready to haunt your home. Find a prominent spot to display it—perhaps as a centerpiece on your table or as part of a larger Halloween decor setup. Enjoy the compliments from guests and the satisfaction of having created a unique piece of art.
Maintenance and Upkeep
Proper maintenance is essential to keep your ceramic ghost decorations looking pristine for many seasons. Begin by dusting your ceramic pieces regularly using a soft, dry cloth or a gentle brush to prevent dust buildup. For more thorough cleaning, lightly dampen the cloth with water, but avoid using harsh chemicals or abrasive cleaners, as these can damage the glaze or exterior surface.
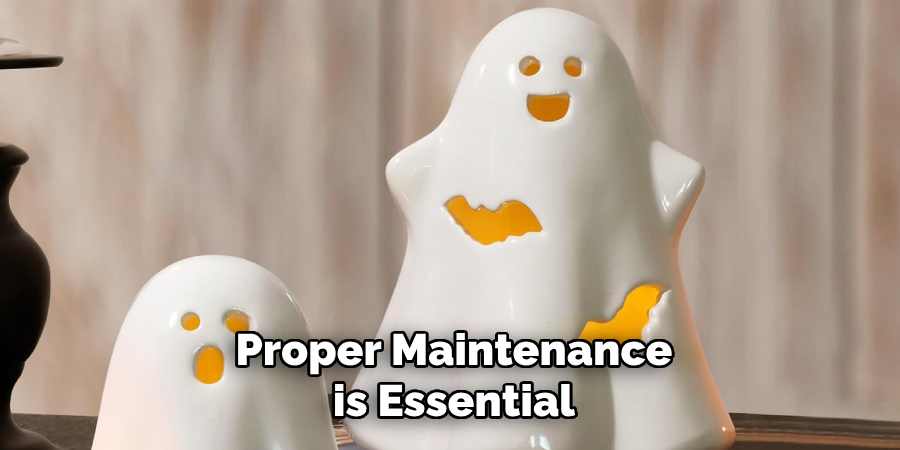
If your ghost is placed outdoors, consider bringing it indoors during harsh weather conditions to prevent potential damage from moisture or temperature fluctuations. Storing your ceramic ghost securely during off-season months in a cool, dry place will also protect it from accidental chips or cracks. By following these simple care tips, your ceramic decorations will remain a cherished part of your home decor for years to come.
Troubleshooting Common Issues
Even with careful crafting, you might encounter a few common issues when creating your ceramic ghost. Here’s how to troubleshoot them:
- Cracking During Drying or Firing: Cracks can occur if the clay wasn’t kneaded enough or if drying happened too quickly. Ensure you knead the clay thoroughly to remove air bubbles and allow it to dry slowly in a consistent environment. For firing, be vigilant about adhering to temperature guidelines.
- Uneven Thickness: If your ghost’s form is not uniform in thickness, it may lead to uneven drying and cracks. Use your rolling pin to achieve a consistent thickness before shaping and check your piece regularly during drying.
- Glaze Problems: Glaze defects such as running, pinholing, or rough texture can be due to improper application or firing. Apply glaze evenly, and make sure you’re following the recommended firing temperatures and times.
- Sticking to Kiln: If the base of your ghost sticks to the kiln shelf, it may not be properly supported or the kiln shelf was not prepared correctly. Use kiln wash on shelves to prevent sticking and ensure your piece is stabilized during firing.
Common Mistakes to Avoid
Creating ceramic ghosts can be a rewarding project, but it’s easy to make mistakes if you’re not careful. Here are some common pitfalls to watch for:
- Skipping the Sketching Phase: Diving straight into shaping the clay without a sketch can lead to a ghost that doesn’t meet your expectations or lacks cohesive design elements. Always start with a clear plan.
- Insufficient Kneading: Not kneading the clay enough can leave air bubbles, leading to cracks or breakage during drying or firing. Spend adequate time kneading to prevent these issues.
- Uneven Rolling: Rolling the clay to an inconsistent thickness can cause varying drying rates, leading to warping or cracking. Aim for about 1/4 inch thickness throughout.
- Overglazing: Applying too thick a layer of glaze can result in running or an uneven finish. Apply glaze sparingly and evenly, following the manufacturer’s guidance.
- Rushing the Drying Process: Allowing ample time for the clay to dry slowly in a stable environment helps prevent cracking. Rushing this step can compromise your ghost’s structure.
Conclusion
Creating a ceramic ghost for Halloween is a delightful craft project that combines artistry, creativity, and a touch of spooky spirit. By following the step-by-step process outlined in this guide, you can produce a unique and charming decoration that adds character to your holiday setup. Thanks for reading our blog post on how to make a ceramic ghost! We hope you found it helpful and informative.
Specialization:
- Master of wheel-throwing, hand-building, and advanced glazing techniques
- Focus on creating both functional pottery and decorative art pieces
Recognition:
- Celebrated by collectors and art enthusiasts for creating one-of-a-kind pieces that blend artistry with functionality
- Participates in local and national exhibitions, earning accolades for his innovative designs and craftsmanship
Passion:
- Deeply committed to exploring and pushing the boundaries of ceramic artistry
- Continuously experiments with new materials, firing techniques, and artistic concepts to evolve his craft
Personal Philosophy:
- Believes in the transformative power of art, aiming to evoke emotions and connections through his ceramic creations
- Advocates for sustainability in ceramics, using eco-friendly materials and practices whenever possible


