


Creating a ceramic gnome is a fun and rewarding project that allows you to showcase your creativity while crafting a charming decorative piece.
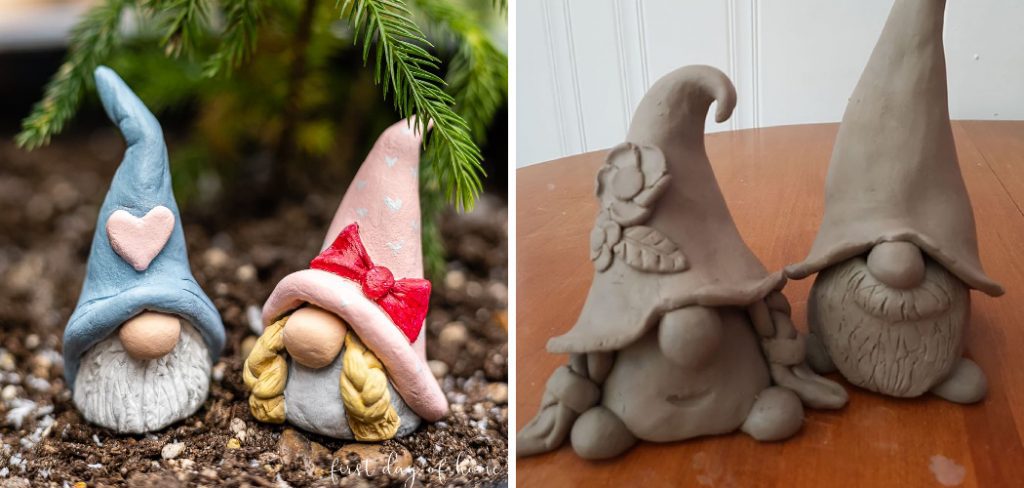
Whether you are a beginner or an experienced ceramics enthusiast, this guide will walk you through how to make a ceramic gnome. With some basic materials and a little patience, you’ll have a whimsical addition to your home or garden.
Popular Uses for Ceramic Gnomes
Ceramic gnomes are versatile decorations that can be used in a variety of creative and practical ways. One of the most popular uses is as garden ornaments, where they add a touch of whimsy and charm to flower beds, pathways, or potted plants. Indoors, ceramic gnomes make unique decorations for shelves, mantels, or tabletops, serving as conversation starters and a fun addition to home décor.
They are also popular as seasonal or holiday decorations, with themed gnomes bringing cheer to celebrations like Christmas, Halloween, or springtime festivities. Additionally, ceramic gnomes are often gifted to friends, family, or collectors as thoughtful and handcrafted presents.
Materials and Tools Needed
Before you begin crafting your ceramic gnome, it’s essential to gather all the necessary materials and tools. Here’s a list to ensure you’re well-prepared for the process:
Materials:
- Clay – Choose air-dry clay or kiln-fired clay depending on your setup and preferences.
- Slip – A liquid clay mixture used for joining pieces together.
- Optional Additives – Glazes, stains, or paints for finishing and decorating your gnome.
Tools:
- Clay Sculpting Tools – Basic tools such as modeling sticks, loop tools, and detailing tools for shaping and carving.
- Rolling Pin or Slab Roller – For flattening clay evenly.
- Wire Cutter – To cut large blocks of clay into manageable pieces.
- Needle Tool – Ideal for creating details and scoring clay.
- Sponge and Water Container – To keep your hands and clay moist during the sculpting process.
- Paintbrushes – For applying slip, glazes, or paint.
- Kiln (if required) – Necessary for firing kiln-dry clay.
By having these materials and tools ready, you’ll set yourself up for a smooth and enjoyable crafting experience. Make sure to work in a well-ventilated and clean space to maximize your productivity and creativity.
10 Methods How to Make a Ceramic Gnome
1. Hand-Building with Coil Method
The coil method is a great way to build a ceramic gnome from scratch. This technique involves rolling out long coils of clay and then stacking and joining them together to form shapes. Start by rolling out coils of clay to a uniform thickness.
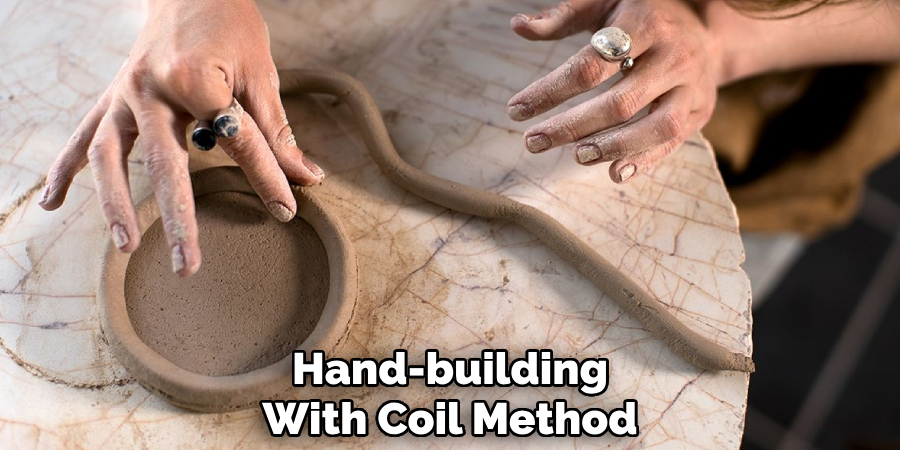
For the gnome’s body, create a large cylindrical form, using coils to build up the body and then smoothing the seams with your fingers or a tool. For the gnome’s hat, roll coils of smaller diameter and attach them to the top of the body, shaping them to form a point. Use the same method to create the gnome’s arms, hands, and facial features, ensuring all elements are securely attached by scoring and slipping the pieces.
2. Pinch Pot Technique for the Gnome’s Head
For those looking for a simpler method, the pinch pot technique is an excellent option. This technique involves pinching the clay to form a hollow ball or shape. Begin by rolling a small ball of clay for the gnome’s head. Use your fingers to pinch the clay into a round shape, and continue to pinch and shape the clay to form the desired size.
Once you’ve created the head, you can add a nose, eyes, and a mouth by gently pressing small pieces of clay into place. For the gnome’s beard, use the same pinch pot technique to form a small, rounded shape and attach it below the nose.
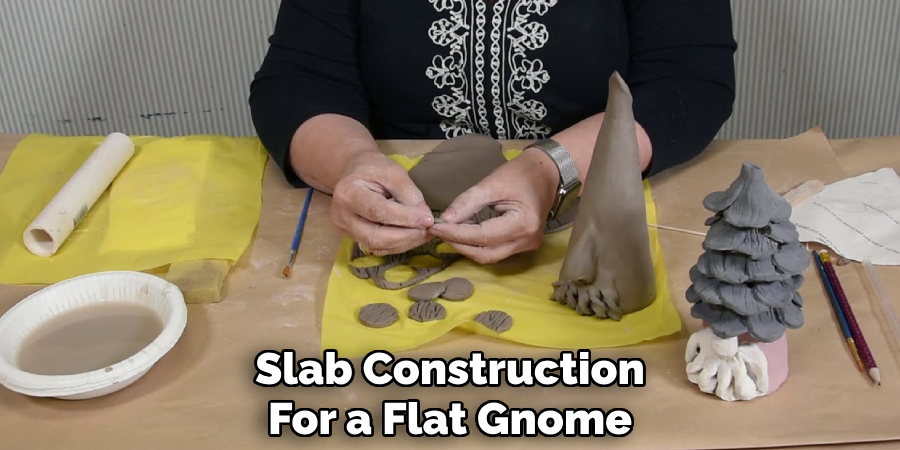
3. Slab Construction for a Flat Gnome
If you’re interested in a more stylized or two-dimensional gnome, slab construction is the perfect technique. Begin by rolling out a large, flat slab of clay using a rolling pin to an even thickness. Using a template or freehand drawing, cut out the basic shape of your gnome from the slab. You can then use additional slabs to create the gnome’s arms, legs, and other details.
Slab-built gnomes can be very simplistic or can have intricate details, depending on your design. Once the basic shape is assembled, you can add texture or decorative elements like patterns, wrinkles, or folds in the clothing. Once dried and fired, you can paint and glaze the gnome, giving it a colorful finish.
4. Mold Casting for Repeating Gnome Designs
If you want to create multiple gnomes that are uniform in size and shape, mold casting is a fantastic method. You can either create your own mold or purchase a pre-made gnome mold. To begin, mix your chosen ceramic casting slip and pour it into the mold.
Allow the slip to sit for several minutes so that a layer forms along the edges of the mold, then pour out any excess slip. Let the mold sit for the prescribed time, usually a few hours, until the clay has set but is still soft. Carefully remove the gnome from the mold and allow it to dry completely.
5. Wheel Throwing for a Gnome Body
For those familiar with the potter’s wheel, wheel throwing can be a wonderful way to make the body of a ceramic gnome. Start by centering a ball of clay on the wheel and pulling it upwards to create a cylinder, which will serve as the gnome’s body.
Once the body is thrown, you can add smaller pieces of clay to form the head, hat, and arms. Using the wheel allows for smooth, symmetrical shapes, which can be a great starting point for the body of the gnome. Once the piece has dried to leather-hard, you can trim, carve, and shape the gnome’s features, such as facial details and texture in the clothing, using hand tools or carving implements.
6. Carving Details into Leather-Hard Clay
Once your gnome has been constructed, one of the most effective ways to add details is by carving into leather-hard clay. After the basic body has dried to a point where it is firm but still damp, you can carve intricate textures and facial features into the gnome.
Using tools like loop tools, dental tools, or carving knives, you can add details such as wrinkles on the gnome’s clothing, texture to the beard, and defined features on the face. Carving into the clay at this stage allows for fine detail work without the clay being too soft or too hard to manage.
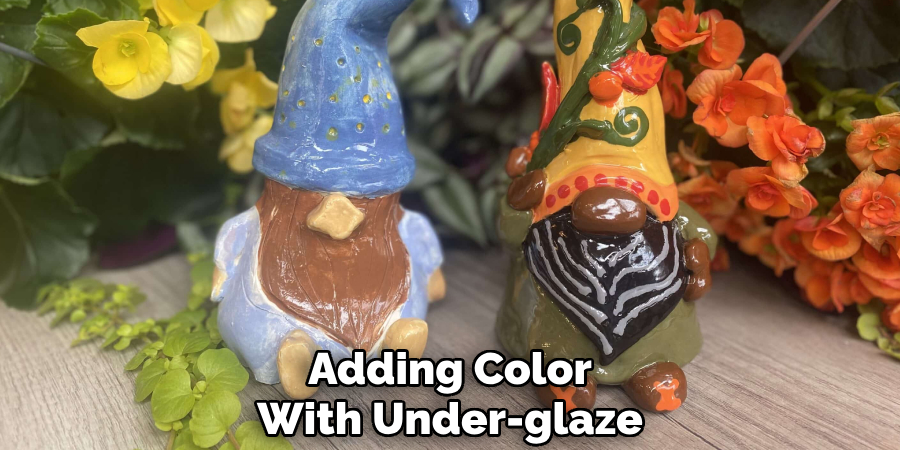
7. Adding Color with Under-glaze
Once your ceramic gnome has been formed and dried, you can add vibrant color using under-glaze. Under-glaze is a colored slip that can be applied to bisque-fired pottery to create rich, opaque hues. Begin by applying a coat of under-glaze to the gnome’s body, face, and accessories using a paintbrush or sponge.
Under-glaze is perfect for creating a matte, opaque finish, which can be layered to achieve different color effects. You can create fine details like rosy cheeks, a colorful hat, or even a bright, textured beard. Once the under-glaze has dried, you can add a layer of clear glaze to give your gnome a glossy, polished finish.
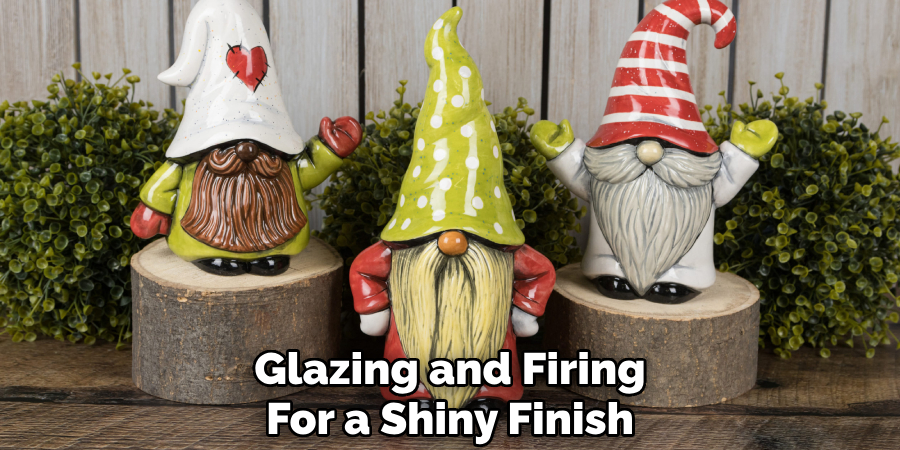
8. Glazing and Firing for a Shiny Finish
After your ceramic gnome has dried and been carved or decorated, glazing is the next step to complete the piece. Glazing will give your gnome a shiny, smooth finish and enhance the colors you’ve applied. First, ensure that your gnome is bisque-fired before glazing.
Once it’s ready, apply a layer of glaze to the surface using a brush, dip, or spray. Depending on the type of glaze you choose, you can achieve different effects, such as a glossy or matte surface. If you’re aiming for a rustic, earthy look, consider using a transparent or celadon glaze.
9. Using Found Objects for Accessories
To add character and uniqueness to your ceramic gnome, you can use found objects for accessories. This could be anything from small buttons, fabric scraps, beads, or natural items like pinecones or small stones. After your gnome’s body is fully formed, you can attach these accessories to give it a more personalized and whimsical touch.
For example, a small button can be added to the front of the gnome’s jacket, a tiny bead can serve as the tip of the hat, or a pinecone can be used to create a textured pattern on the gnome’s beard.
10. Creating a Miniature Gnome
If you prefer to create smaller, more detailed gnomes, try making miniature versions of your larger gnome. Miniature ceramic gnomes can be made by scaling down the design, using the same techniques described above but with smaller proportions.
Miniature gnomes are perfect for creating a collection, using as decorations for tiny spaces, or giving as gifts. The detailed craftsmanship required for small-scale gnomes allows for intricate work on facial features, accessories, and textures.
Conclusion
Making a ceramic gnome is a deeply satisfying project that combines creativity with craftsmanship. Whether you prefer hand-building, carving, or glazing, each method offers a different approach to creating a whimsical and unique piece.
From using coils to mold casting, you can adapt these techniques to suit your own artistic style and skill level. Whether you’re making a gnome for your garden, home, or as a gift, these methods allow you to craft a piece that is as charming as it is personal. So, there you have it – a quick and easy guide on how to make a ceramic gnome.
Specialization:
- Master of wheel-throwing, hand-building, and advanced glazing techniques
- Focus on creating both functional pottery and decorative art pieces
Recognition:
- Celebrated by collectors and art enthusiasts for creating one-of-a-kind pieces that blend artistry with functionality
- Participates in local and national exhibitions, earning accolades for his innovative designs and craftsmanship
Passion:
- Deeply committed to exploring and pushing the boundaries of ceramic artistry
- Continuously experiments with new materials, firing techniques, and artistic concepts to evolve his craft
Personal Philosophy:
- Believes in the transformative power of art, aiming to evoke emotions and connections through his ceramic creations
- Advocates for sustainability in ceramics, using eco-friendly materials and practices whenever possible