


Creating a ceramic heart is a delightful craft project that combines creativity and skill. Whether you’re a seasoned ceramic artist or a curious beginner, this process allows you to mold a simple lump of clay into a heartfelt piece of art.
Ceramic hearts can be used as ornaments, keepsakes, or gifts, making them perfect for expressing love and thoughtfulness.
With some essential tools, a bit of patience, and a spark of inspiration, you can craft a unique piece that reflects your personal touch.
In this blog post on how to make a ceramic heart, we will walk you through the step-by-step process and share tips and tricks to help you create a beautiful ceramic heart.
Materials Needed
To begin your ceramic heart-making journey, gather all the necessary materials beforehand. Here’s a list of essential items that you’ll need:
Clay:
This is the primary material for creating your ceramic heart. You can choose from various types of clay, such as earthenware, stoneware, or porcelain. Each type has its own unique characteristics and is suitable for different purposes.
Pottery Tools:
These tools are essential for shaping and carving the clay. To begin with, you’ll need a rolling pin, wire cutters, a needle tool, and a sponge. As you become more experienced, you can invest in additional tools like modeling tools and rib tools.
Glaze:
The glaze adds color and shine to your ceramic heart. You can choose from a wide variety of glazes available in the market or mix your own using different oxides and stains.
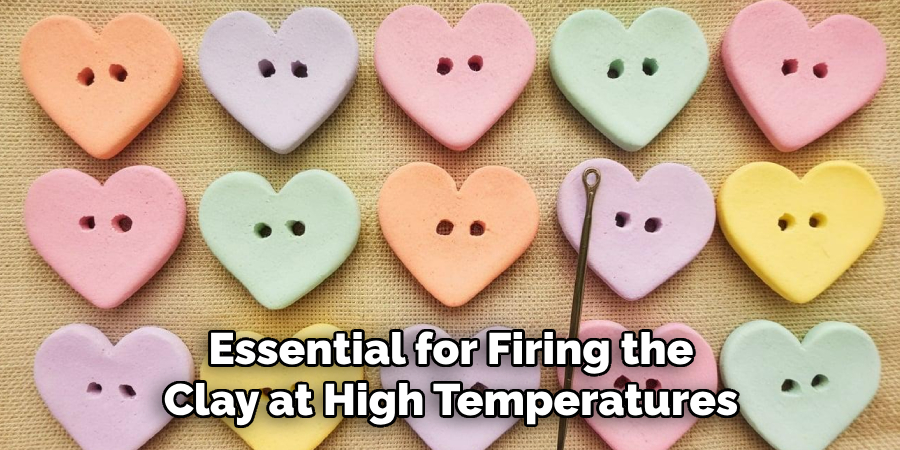
Kiln:
A kiln is essential for firing the clay at high temperatures to harden it into ceramic. If you don’t have access to a kiln, you can use air-dry clay which doesn’t require firing in a kiln.
9 Step-by-step Guidelines on How to Make a Ceramic Heart
Step 1: Prepare Your Workspace
Before you begin, it’s important to set up a clean, organized, and well-ventilated workspace. Lay down a protective covering, such as plastic sheeting or a canvas cloth, to keep your surface free from clay residue.
Ensure all your materials and tools are within reach, including your clay, pottery tools, and a small bowl of water for smoothing.
If you’re using a kiln, place it in a safe, stable area following the manufacturer’s safety guidelines. Preparing your workspace properly will make the crafting process smoother and more enjoyable.
Step 2: Knead the Clay
Kneading your clay will make it more pliable and get rid of any air bubbles. Roll out a medium-sized ball of clay on your work surface, then push and pull it with your hands to create a smooth, consistent texture.
But be careful not to over-knead the clay as it can become too soft and difficult to shape. If that happens, let it sit for a few minutes before starting again.
Step 3: Roll Out the Clay
Once your clay is properly kneaded, it’s time to roll it out. Use a rolling pin to flatten the clay on your work surface, aiming for an even thickness of about 1/4 inch (or your desired thickness). To ensure uniformity, you can place two guide slats of equal height on either side of the clay and roll the pin over them.
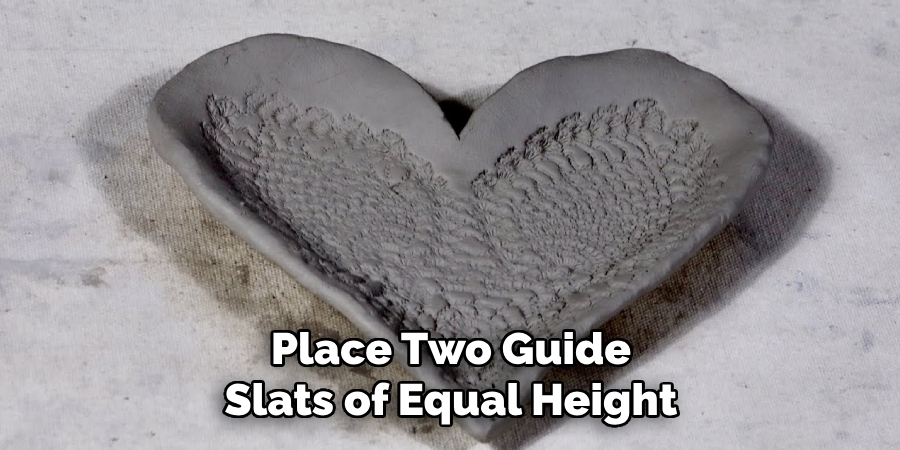
This step is crucial for creating a smooth and even base for your ceramic heart. If the clay sticks to your rolling pin or surface, lightly dust it with cornstarch or flour to prevent sticking.
Step 4: Cut Out the Heart Shape
Using a heart-shaped cookie cutter or carving your own template, cut out the desired shape from the rolled-out clay. Gently press down on the cutter/template and wiggle it back and forth to ensure a clean cut. Remove any excess clay around the edges.
If you don’t have a heart-shaped cutter or template, you can draw one on paper and use it as a guide while cutting with a knife or needle tool.
Step 5: Smooth the Edges
After cutting out your heart shape, carefully smooth out any rough edges using your finger or a damp sponge. This step is crucial for achieving a professional-looking finish on your ceramic heart.
Keep a bowl of water nearby to dip your fingers or sponge in when smoothing out the edges. This will help prevent the clay from sticking to your hands.
Step 6: Add Texture and Detail
This is where you can get creative and add personal touches to your ceramic heart. You can use pottery tools to carve patterns, write messages, or create designs on the surface of the heart. You can also use stamps, lace, or other textured objects to imprint interesting textures onto the clay.
Take your time with this step and experiment with different techniques until you’re happy with the result.
Step 7: Punch a Hole for Hanging
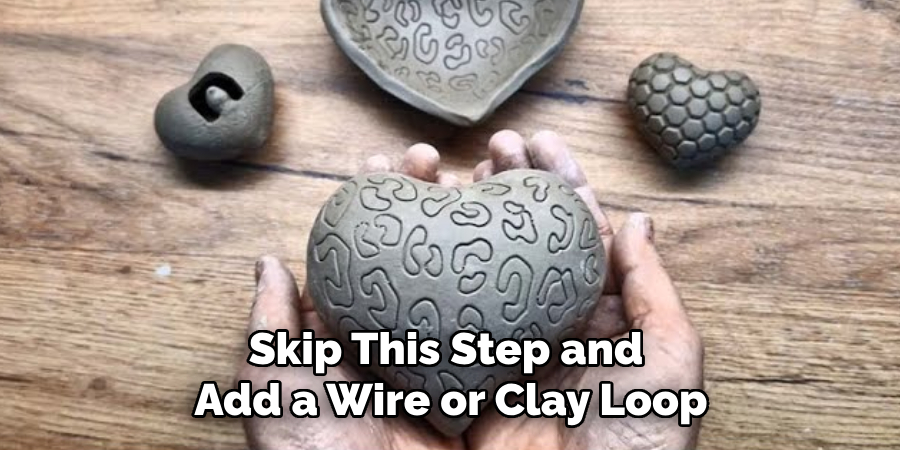
If you want to turn your ceramic heart into an ornament or pendant, use a straw or skewer to punch a hole near the top of the heart. Make sure the hole is large enough for a string or wire to pass through.
Otherwise, you can skip this step and add a wire or clay loop at the back of your heart after firing. It’s always a good idea to plan ahead for hanging options before firing your ceramic heart.
Step 8: Let the Clay Dry
If you’re using air-dry clay, follow the drying instructions on the packaging. If you’re using traditional clay that requires firing in a kiln, let your piece air dry for 24-48 hours before placing it in the kiln.
Be patient and resist the urge to rush this step as proper drying is crucial for preventing cracks or warping during firing.
Step 9: Fire Your Ceramic Heart
Once your ceramic heart is completely dry, it’s time to fire it. If you have access to a kiln, carefully place your piece inside and follow the manufacturer’s instructions for firing temperature and time.
If you’re using air-dry clay, you can skip this step as it doesn’t require firing in a kiln.
Congratulations, you have successfully made your very own ceramic heart! Now, all that’s left to do is add a coat of glaze and hang or display your beautiful creation. Keep practicing and experimenting with different techniques to create even more unique ceramic hearts. Happy crafting!
Additional Tips and Tricks
- Try mixing different types of clay to achieve interesting color variations in your ceramic heart.
- To create intricate designs, use needle tools or carving knives to delicately etch patterns on the surface of the clay before firing.
- Use a straw to make small holes to add details like polka dots or lace patterns onto your ceramic heart.
- Experiment with different types of glazes and firing techniques to create unique finishes on your ceramic heart.
- Don’t be afraid to make mistakes; they often lead to unexpected and beautiful results in the world of ceramics. So have fun and enjoy the process!
Following these step-by-step guidelines on how to make a ceramic heart and incorporating your own creative touches will result in a beautiful ceramic heart that you can proudly display or give as a thoughtful handmade gift to someone special. With practice, you’ll become more comfortable working with clay and can even apply these techniques to create other shapes and objects. Happy crafting!
Frequently Asked Questions
Q1: Do I Need a Kiln to Make a Ceramic Heart?
A1: You can use air-dry clay if you don’t have access to a kiln. However, traditional clay requires firing in a kiln for a durable and long-lasting finished product.
Q2: Can I Use Regular Baking Clay to Make a Ceramic Heart?
A2: No, regular baking clay is not suitable for creating ceramic objects as it will not hold up well when exposed to heat. It’s important to use clay specifically designed for ceramics.
Q3: How Long Does it Take for the Clay to Dry?
A3: The drying time varies depending on the type of clay used and the thickness of your piece. Air-dry clay typically takes 24-48 hours to dry completely, while traditional clay may take longer and require firing in a kiln.
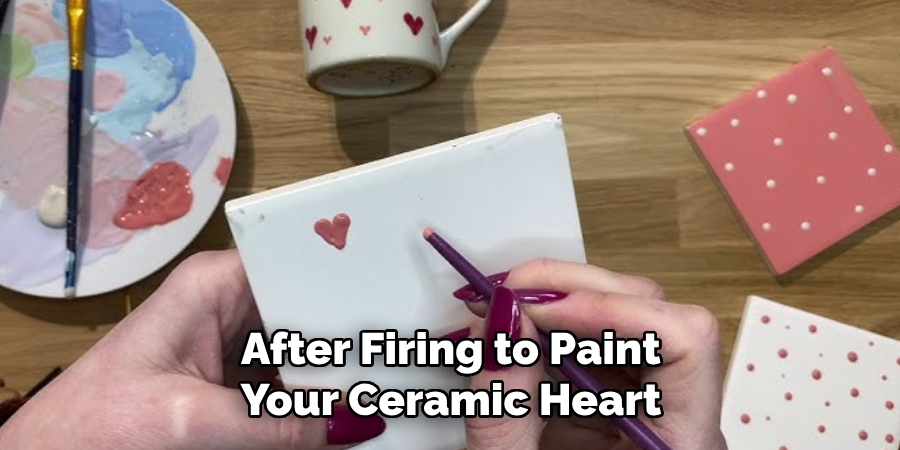
Q4: Can I Paint the Ceramic Heart Before Firing?
A4: No, it’s important to wait until after firing to paint your ceramic heart. The heat from the kiln will properly fuse the glaze with the clay, resulting in a durable finish. However, you can use underglazes or stains before firing for added color and design effects.
Conclusion
Creating a ceramic heart is a fun and creative way to express your love and creativity. With these step-by-step guidelines and additional tips on how to make a ceramic heart, you can easily make your own personalized ceramic heart that will last for years to come.
Just remember to have patience and enjoy the process, and soon enough, you’ll have a beautiful ceramic heart to cherish or give as a gift to someone special. So go ahead, grab your clay, and get crafting! Happy creating!
Specialization:
- Master of wheel-throwing, hand-building, and advanced glazing techniques
- Focus on creating both functional pottery and decorative art pieces
Recognition:
- Celebrated by collectors and art enthusiasts for creating one-of-a-kind pieces that blend artistry with functionality
- Participates in local and national exhibitions, earning accolades for his innovative designs and craftsmanship
Passion:
- Deeply committed to exploring and pushing the boundaries of ceramic artistry
- Continuously experiments with new materials, firing techniques, and artistic concepts to evolve his craft
Personal Philosophy:
- Believes in the transformative power of art, aiming to evoke emotions and connections through his ceramic creations
- Advocates for sustainability in ceramics, using eco-friendly materials and practices whenever possible