Creating a ceramic pumpkin is a delightful way to add a personalized touch to your seasonal decor. Whether you’re new to ceramics or have experience, crafting a ceramic pumpkin can be a satisfying and creative project. The process allows for artistic expression, as you can customize your pumpkin with various shapes, sizes, and intricate designs. In this guide, we’ll walk you through how to make a ceramic pumpkin, from gathering materials to the final glaze.
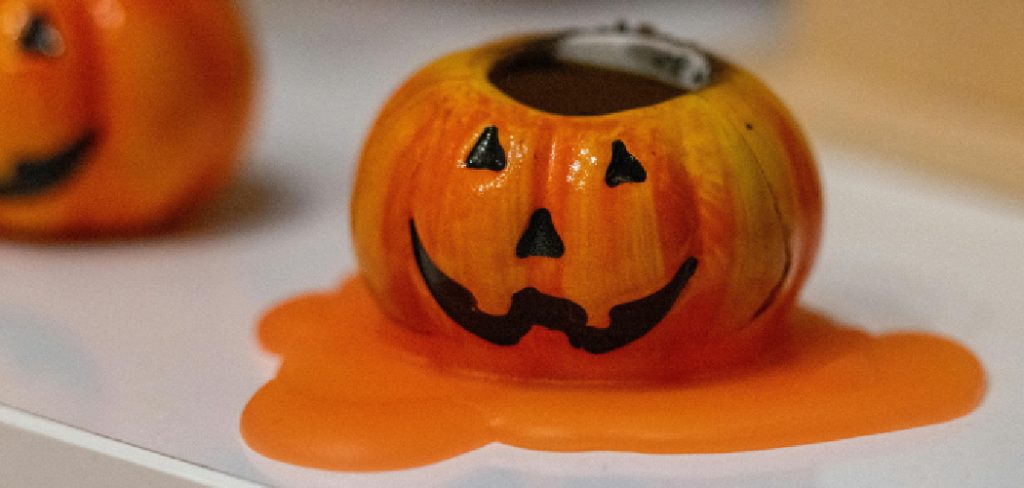
Benefits of Making Your Own Ceramic Pumpkin
Crafting your own ceramic pumpkin offers a multitude of benefits, both creative and practical. First and foremost, it provides an opportunity for personal expression, allowing you to tailor the design, color, and size to match your unique style and home decor. This personalization can’t be matched by store-bought options. Moreover, engaging in such a hands-on project can be therapeutic, reducing stress and encouraging mindfulness as you focus on the tactile process of shaping and decorating your piece.
Additionally, making your own ceramic pumpkin is a sustainable choice, as it promotes the use of long-lasting materials and minimizes reliance on mass-produced seasonal items. Finally, this activity can also foster social connections, whether you’re crafting alongside friends and family or sharing your creations as meaningful, handmade gifts.
Materials and Tools Needed
To successfully create your ceramic pumpkin, you’ll need to gather a selection of materials and tools that will guide you through the process. Here is a list of essentials you’ll require:
- Clay: Choose a high-quality ceramic clay suitable for handbuilding or sculpting. Stoneware or earthenware clays are both excellent options.
- Clay Tools: A set of clay sculpting tools, including a wire cutter, pin tool, loop tool, and rib tools, will be necessary for shaping and detailing your pumpkin.
- Potter’s Wheel (Optional): If you prefer to throw the base of your pumpkin, a potter’s wheel can be used.
- Rolling Pin: Essential for flattening the clay into even slabs if you’re handbuilding.
- Cutting Tools: A variety of sharp knives or cutters for shaping and carving intricate details.
- Texture Materials: Fabric, lace, or textured stamps to add designs and patterns.
- Slip and Score Tools: Used for joining pieces of clay together securely.
- Glazes and Underglazes: Choose colors that fit your desired final look; underglazes for design and glaze for finishing.
- Paintbrushes: Different sizes for applying glaze and adding detailed designs.
- Kiln: Necessary for firing your ceramic pumpkin to ensure it sets correctly.
- Protective Gear: An apron and optional gloves to protect your clothing and hands during the process.
With these materials and tools at your disposal, you are ready to embark on your ceramic pumpkin crafting journey.
10 Methods How to Make a Ceramic Pumpkin
1. Gather All Necessary Materials and Tools
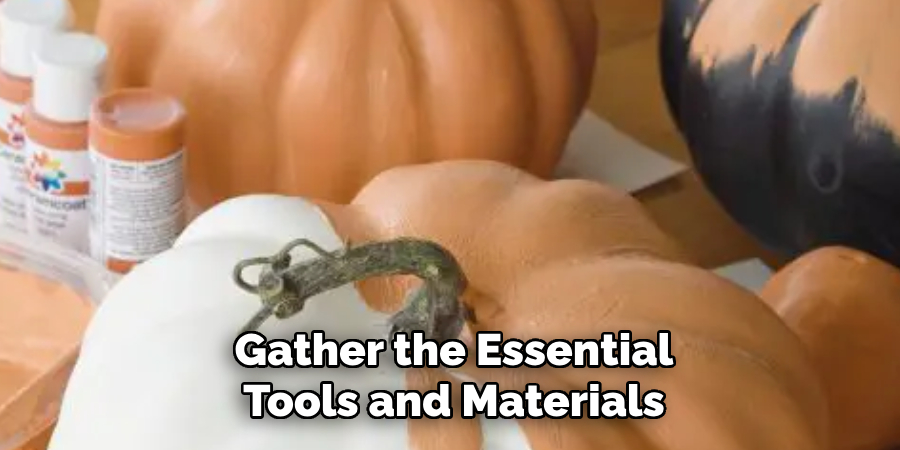
Before beginning, gather the essential tools and materials for your project. You’ll need high-quality clay, a pottery wheel (if you prefer a perfectly round shape), hand tools like a carving knife, loop tools for detailing, and a kiln for firing. For the finishing stages, prepare glazes in your desired colors, brushes, and possibly a textured mat or sponge. Having all your tools and materials ready makes the entire process smoother and more enjoyable.
2. Choose the Right Clay for Your Project
Choosing the appropriate clay type is important, as it affects the pumpkin’s durability and appearance. Stoneware clay is a popular choice for ceramic pumpkins, as it is strong and easy to work with, especially for hand-building techniques. Porcelain clay can also be used for a smoother, more delicate finish, but it is slightly more challenging to handle. Make sure to choose a clay that can be fired in your kiln at the temperatures you plan to use for both bisque and glaze firings.
3. Prepare the Clay by Wedging
Wedging the clay is an essential step that eliminates air bubbles and aligns the clay particles, making it easier to shape and less prone to cracking. Knead the clay on a flat surface, pressing down and rotating it to achieve a uniform consistency. Properly wedged clay is smoother and has fewer imperfections, giving your pumpkin a sturdy foundation and helping it maintain its shape throughout the shaping and firing processes.
4. Shape the Basic Pumpkin Form Using Hand-Building Techniques
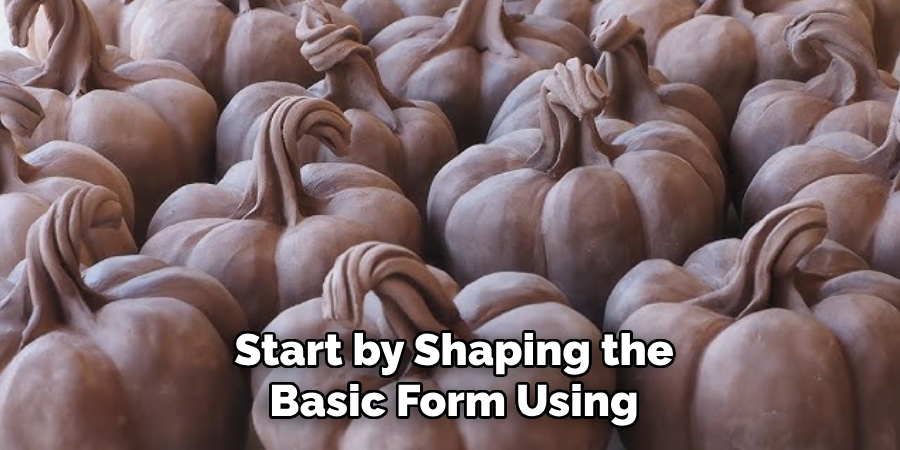
For a hand-built ceramic pumpkin, start by shaping the basic form using pinch-pot or coiling techniques. If using the pinch-pot method, shape a ball of clay and press your thumb into the center, slowly widening the hole to form a hollow sphere. Coiling involves rolling the clay into long, thin strips and stacking them in a circular pattern to build up the walls. This basic shape serves as the core structure, which you can later refine and add details to make it look more like a pumpkin.
5. Add Pumpkin Ridges for Realistic Texture
To give your ceramic pumpkin a realistic appearance, carve or shape ridges along the pumpkin’s surface. Use loop tools or a small knife to create indentations from the top of the pumpkin to the base, imitating the natural grooves of a pumpkin. Work slowly and gently to avoid distorting the overall shape. These ridges add depth and make the pumpkin look more authentic, allowing your glaze to settle in the grooves and enhance its appearance after firing.
6. Create a Stem and Attach It Securely
The stem is a defining feature of a pumpkin, so take your time crafting it. Roll a small piece of clay into a cylindrical shape, adding slight bends or twists to resemble a natural stem. Once you’re happy with the shape, score the bottom of the stem and the top of the pumpkin where you’ll attach it, then apply slip (a liquid clay mixture) to bind them together securely. Press the stem gently onto the pumpkin and smooth the edges for a seamless transition.
7. Hollow Out the Interior for Firing Safety
If your pumpkin is solid or very thick, hollowing out the interior is essential to prevent it from exploding in the kiln. Use a loop tool or carving knife to gently remove some of the clay from the base, leaving a hollow space. Aim for a wall thickness of about ¼ to ½ inch to ensure even firing. This step reduces the risk of trapped air causing damage during firing and makes the piece lighter and easier to handle.
8. Refine Details and Smooth the Surface
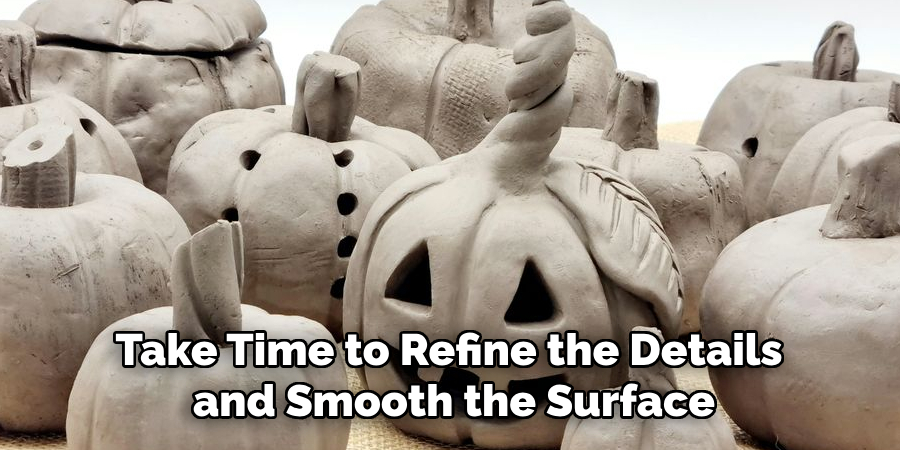
Before letting the pumpkin dry, take time to refine the details and smooth the surface. Use a damp sponge or soft brush to smooth out any rough spots, blending edges and softening lines. Pay special attention to the stem and ridges, making sure they’re well-defined and free of unwanted marks. This stage enhances the pumpkin’s appearance and ensures a more polished, professional look after it’s fired and glazed.
9. Allow the Pumpkin to Dry to a Leather-Hard Stage
Once you’re satisfied with the shape, let the pumpkin dry to a leather-hard stage. This is the ideal condition for further detailing or carving if desired, as the clay is firm but still workable. Place the pumpkin in a cool, dry area, covering it lightly with plastic to control the drying rate. Avoid rushing this stage, as uneven drying can lead to cracks or warping. Once it reaches the leather-hard stage, you’re ready to proceed with the first firing.
10. Bisque Fire, Glaze, and Final Fire the Pumpkin
The final steps involve bisque firing, glazing, and a second, high-temperature glaze firing. Start with a bisque firing in the kiln to harden the pumpkin and prepare it for glazing. After it cools, apply glazes in colors of your choice, using a brush for precision. Traditional oranges, greens, and browns are popular, but you can use any colors that fit your décor. Once the glaze is applied, fire the pumpkin again at the recommended glaze temperature for your clay and glaze type. This second firing brings out the colors and gives the pumpkin a finished, glossy look.
Things to Consider When Making Ceramic Pumpkins
When crafting ceramic pumpkins, it’s important to keep several factors in mind to ensure a successful and enjoyable process. First, consider the size of your project; smaller pumpkins may dry and fire more evenly, reducing the risk of cracking. Additionally, plan your workspace to accommodate mess and ease the cleaning process. Ensure proper ventilation when working with clay and glazes to maintain a safe environment.
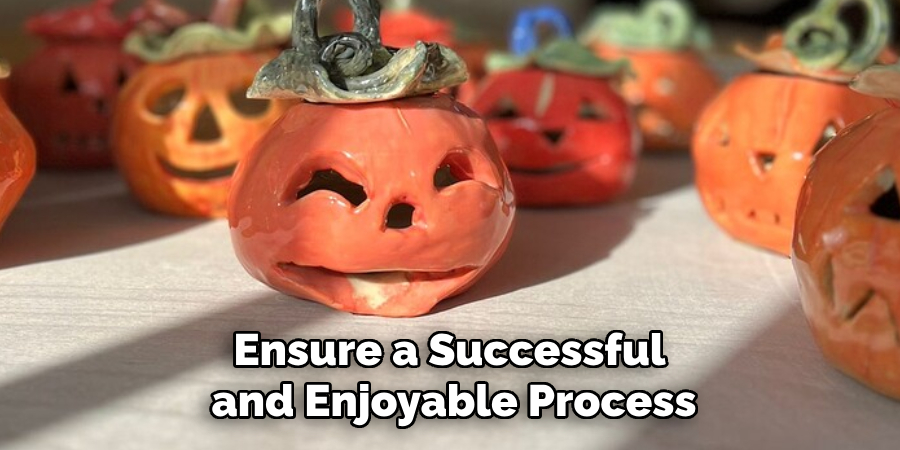
Timing is also a crucial element, as rushing the drying and firing stages can compromise the integrity of the clay. Lastly, think about the final use of your pumpkin—whether it will serve as a decorative piece or a functional item—this may influence your choice of clay, glazes, and techniques. Each step, from choosing materials to the firing process, contributes to the final product’s quality and aesthetic appeal.
Conclusion
Crafting ceramic pumpkins is a rewarding endeavor that combines creativity with technique, allowing for the creation of unique and personalized pieces. By carefully following each step, from preparing the clay to adding detailed finishes, you can successfully produce a high-quality ceramic piece that captures the essence of autumn. Thanks for reading our blog post on how to make a ceramic pumpkin! We hope you found it helpful and informative.
Specialization:
- Master of wheel-throwing, hand-building, and advanced glazing techniques
- Focus on creating both functional pottery and decorative art pieces
Recognition:
- Celebrated by collectors and art enthusiasts for creating one-of-a-kind pieces that blend artistry with functionality
- Participates in local and national exhibitions, earning accolades for his innovative designs and craftsmanship
Passion:
- Deeply committed to exploring and pushing the boundaries of ceramic artistry
- Continuously experiments with new materials, firing techniques, and artistic concepts to evolve his craft
Personal Philosophy:
- Believes in the transformative power of art, aiming to evoke emotions and connections through his ceramic creations
- Advocates for sustainability in ceramics, using eco-friendly materials and practices whenever possible


