


Crafting a ceramic soap dish is a rewarding project that combines creativity with functionality. Whether you’re an experienced potter or a beginner, creating a soap dish allows you to experiment with different techniques and designs. A handmade ceramic dish not only adds a personalized touch to your bathroom decor but also provides a durable place to keep your soap.

This guide on how to make a ceramic soap dish will walk you through the essential steps, from selecting the right clay to applying the final glaze, ensuring you achieve a beautiful and practical result.
Why Make a Ceramic Soap Dish?
Before we dive into the step-by-step process of making a ceramic soap dish, let’s first discuss why you should consider making one in the first place. One of the main benefits of creating your own soap dish is that it allows you to customize it according to your personal style and preferences. You can choose from various shapes, sizes, colors, and designs to match your bathroom decor or create a unique piece.
Moreover, handmade soap dishes are more environmentally friendly compared to store-bought plastic ones. By using natural materials such as clay and glaze, you are reducing plastic waste and promoting sustainable living. Plus, ceramic soap dishes are durable and long-lasting, making them a practical addition to your bathroom.
Materials Needed
To make a ceramic soap dish, you will need the following materials:
Pottery Clay:
Choose a clay suitable for hand-building or wheel-throwing. White stoneware or earthenware clays are popular choices for making soap dishes.
Rolling Pin:
Used to roll out the clay to an even thickness.
Cutting Tools:
You will need a sharp knife, wire cutter, or clay cutter to shape and trim the clay.
Molds (Optional):
Molds can help you achieve consistent shapes and sizes for your soap dish. You can use household objects like bowls or cups as molds.
Sponge:
A damp sponge is essential for smoothing and refining the surface of your soap dish.
Glaze:
Glazes come in various colors and finishes and are used to add color and a glossy finish to your ceramic piece.
Kiln:
To fire and harden your soap dish, you will need access to a kiln. If you don’t have one at home, check if there are any pottery studios in your area that offer kiln services.
8 Step-by-step Guidelines on How to Make a Ceramic Soap Dish
Step 1: Prepare Your Clay
Begin by conditioning your clay to ensure it’s workable and free of air bubbles. Knead the clay thoroughly on a clean, flat surface using the wedging technique. This involves pressing and rolling the clay against the surface, similar to kneading dough, which helps eliminate air pockets and aligns the clay particles for easier shaping.
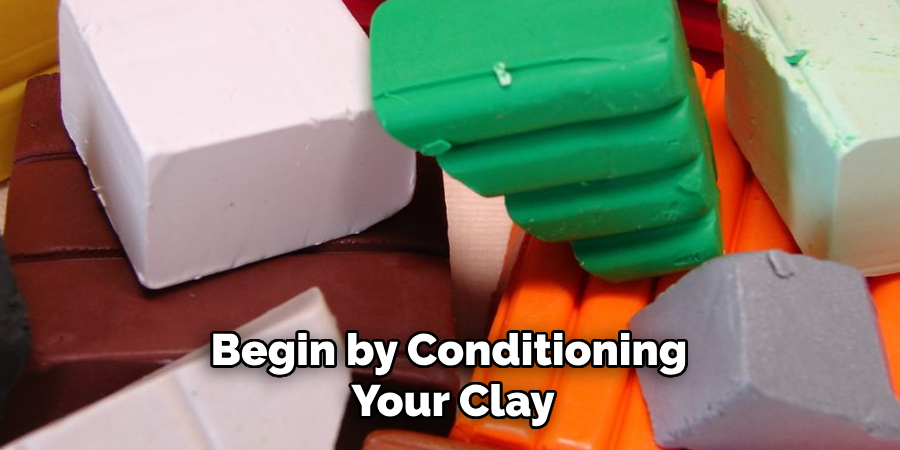
Properly preparing your clay is crucial, as it can prevent cracks and ensure a smooth, even texture for your soap dish. Once the clay is well-kneaded and pliable, you’re ready to start shaping your piece.
Step 2: Roll Out the Clay
Once your clay is properly conditioned, it’s time to roll it out to the desired thickness for your soap dish. Use your rolling pin on a clean, flat surface, applying even pressure to ensure uniform thickness. It’s typically recommended to aim for a thickness of about 1/4 inch, as this provides a sturdy yet manageable weight for the dish.
Consistency in thickness helps prevent warping during drying and firing. If you have guide sticks or slats, you can place them at the edges of your clay slab to maintain an even thickness across the entire surface. Once rolled out, smooth any rough edges with a damp sponge to prepare for cutting out your dish shape.
Step 3: Cut Out Your Dish Shape
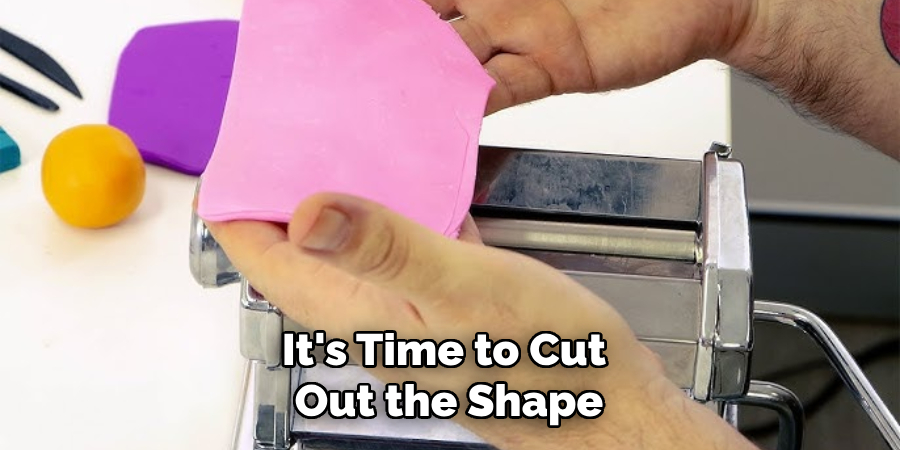
With the rolled-out clay ready, it’s time to cut out the shape of your soap dish. Use a sharp knife or a clay cutter to carefully outline and cut your desired dish shape directly on the clay slab. You can choose standard shapes like rectangles or ovals or experiment with more creative forms that suit your style. If you’re using a mold, place it on the clay and trace around it to achieve a consistent size and shape.
As you cut, ensure the edges are clean and smooth; use a damp sponge to gently round and refine any rough or sharp surfaces. This step is crucial in defining the final form of your soap dish before proceeding to additional detailing or assembly.
Step 4: Add Details
With your basic dish shape cut out, you can now add any desired details or patterns to personalize your soap dish. You can use various tools like stamps, carvings, or textures to create unique designs on the surface of your piece. These details will be preserved after firing and add depth and character to your soap dish.
Remember to take into account the functionality of the soap dish when adding details – for example, avoid creating sharp edges that may cause discomfort when holding the dish while using soap. Once you’re satisfied with your design, smooth over any rough edges and let it dry completely before proceeding.
Step 5: Dry Your Soap Dish
Drying your soap dish is a crucial step, as it ensures the clay is hardened and ready for firing. The drying process can take several days or up to a week depending on the thickness of your piece, so be patient and avoid handling it too soon. To prevent warping or cracking during drying, place your soap dish on a clean, flat surface away from direct sunlight or heat sources.
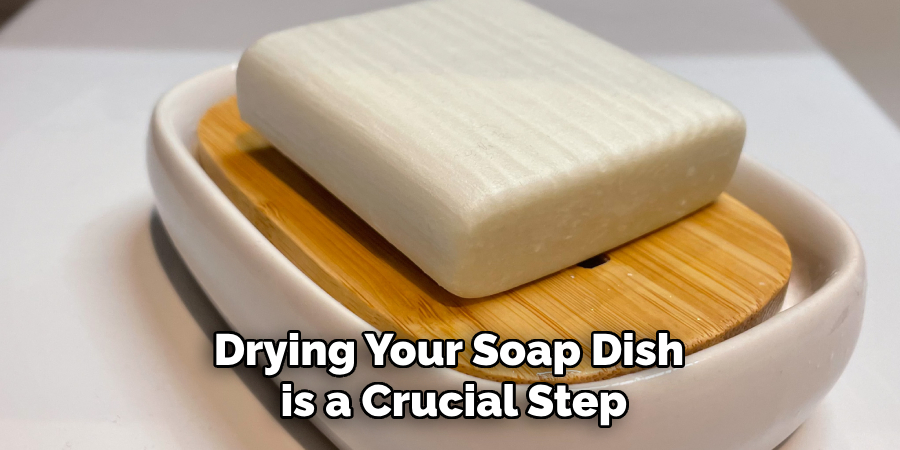
But if you’re in a hurry, you can use a hairdryer set on low heat to speed up the process. Just be careful not to overheat the clay, as this can cause it to dry unevenly and lead to cracks. Once your soap dish is completely dry, it’s ready for its first firing.
Step 6: Fire Your Soap Dish
Firing your soap dish in a kiln is necessary for hardening the clay and making it waterproof. The exact temperature and time needed for firing will depend on the type of clay and glaze used, so be sure to follow the instructions provided by your clay or glaze manufacturer.
Before placing your soap dish in the kiln, ensure it’s completely dry and free of any dust or debris. Place it carefully on a clean shelf inside the kiln, leaving about an inch of space between each piece to allow for even air circulation. Once fired, let your soap dish cool completely before removing from the kiln.
Step 7: Glaze Your Soap Dish
If you want to add color and a glossy finish to your soap dish, you can glaze it after firing. Glazing is an optional step and is entirely up to personal preference – some people prefer the natural look of unglazed ceramic pieces.
To glaze your soap dish, first make sure the surface is clean and free of any dust or oils. Dilute the glaze according to the manufacturer’s instructions and apply it evenly on your soap dish using a brush or dipping method. After glazing, let it dry completely before proceeding to the final firing.
Step 8: Final Firing
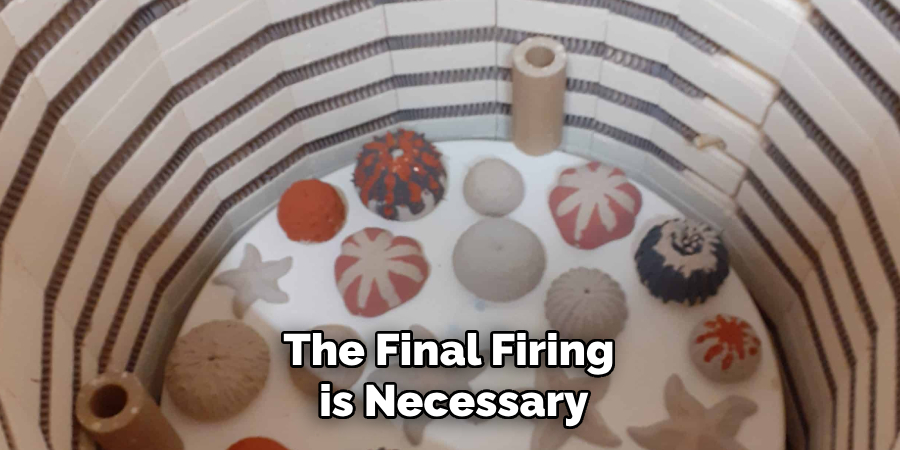
The final firing is necessary for setting the glaze and making it permanent on your soap dish. Similar to the first firing, follow the instructions provided by your clay or glaze manufacturer regarding temperature and time.
After cooling down, you can finally use your handmade ceramic soap dish! It’s now ready to hold and display your favorite bar of soap in style.
Following these step-by-step guidelines on how to make a ceramic soap dish is a great way to create a unique and functional ceramic soap dish. Remember to experiment with different techniques and designs to make it truly your own. And if you don’t have access to a kiln, don’t worry – many pottery studios offer kiln services for firing your clay pieces. Enjoy the process and have fun making your very own ceramic soap dish!
Additional Tips
- Experiment with different clay types like porcelain, earthenware, or stoneware to achieve different looks and textures for your soap dish.
- Consider using a clear glaze on the inside of your soap dish for easier cleaning and maintenance.
- Get creative with shapes, patterns, and designs – the possibilities are endless!
- Don’t be afraid to make mistakes or try new techniques – that’s part of the fun in pottery making.
- Invest in proper safety gear like gloves and a mask when working with clay, glazes, and kilns.
- Take care of your soap dish by avoiding harsh chemicals and abrasive cleaning tools, as they can damage the glaze and clay over time.
- Personalize your soap dish with a unique stamp or signature to make it truly one-of-a-kind. Happy creating!
Conclusion
Creating a ceramic soap dish is a rewarding project that combines artistic expression with practicality. By following the detailed steps outlined in this guide on how to make a ceramic soap dish, you can craft a beautiful and functional addition to your bathroom or kitchen. Remember that the process is as much about creativity and enjoyment as it is about precision and skill. With patience and practice, you’ll develop your techniques and personal style, making each ceramic piece uniquely yours.
Whether you’re a beginner or an experienced potter, the journey to crafting a perfect soap dish is filled with opportunities to learn and explore new methods. Embrace the challenges and let your creativity flow, resulting in a handcrafted item that reflects your unique touch. Happy creating!
Specialization:
- Master of wheel-throwing, hand-building, and advanced glazing techniques
- Focus on creating both functional pottery and decorative art pieces
Recognition:
- Celebrated by collectors and art enthusiasts for creating one-of-a-kind pieces that blend artistry with functionality
- Participates in local and national exhibitions, earning accolades for his innovative designs and craftsmanship
Passion:
- Deeply committed to exploring and pushing the boundaries of ceramic artistry
- Continuously experiments with new materials, firing techniques, and artistic concepts to evolve his craft
Personal Philosophy:
- Believes in the transformative power of art, aiming to evoke emotions and connections through his ceramic creations
- Advocates for sustainability in ceramics, using eco-friendly materials and practices whenever possible