


Creating a ceramic toothbrush holder is not only a fun and creative project but also a practical way to add a personal touch to your bathroom decor. This guide will walk you through the process, from gathering materials to the final glazing.
Whether you’re an experienced ceramicist or a beginner looking for an engaging project, making your own toothbrush holder allows you to customize its design to perfectly suit your style and needs. By following these steps on how to make a ceramic toothbrush holder, you can craft a unique piece that adds both functionality and beauty to your daily routine.
Things to Consider Before Starting the Project
Design:
Before you start, think about the design of your toothbrush holder. Do you want a simple and sleek look or something more intricate? Consider the colors, patterns, and textures you want to incorporate.
Functionality:
Think about how many toothbrushes you want your holder to hold and if you want to include space for other bathroom essentials like toothpaste or floss. This will help determine the size and shape of your holder.
Materials:
The main material for this project is ceramic clay, which can be found at most craft stores or online. You will also need sculpting tools, a rolling pin, a smooth surface to work on, and a kiln (or access to one) to fire the finished product.
10 Methods on How to Make a Ceramic Toothbrush Holder
Method 1: Hand Building
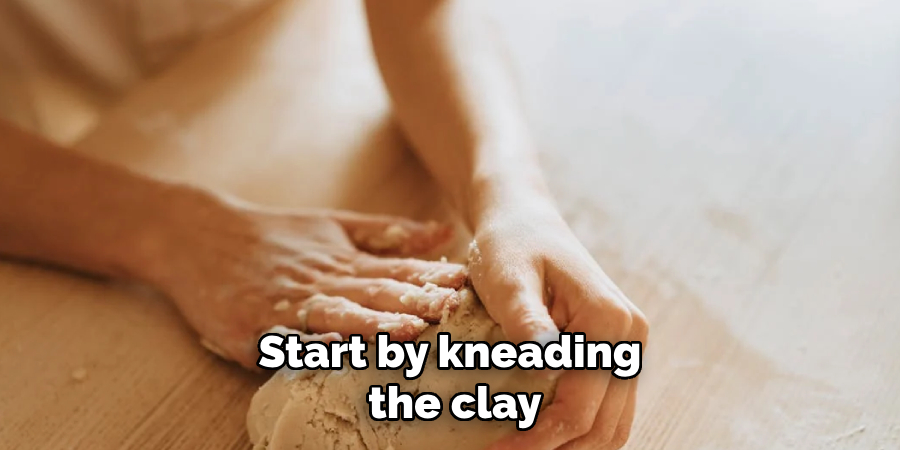
- Start by kneading the clay to remove any air bubbles and make it more pliable.
- Roll out the clay on a smooth surface using a rolling pin until it is about ¼ inch thick.
- Cut out a rectangular shape, approximately 4 inches by 6 inches, using a ruler or knife.
- Use your fingers or sculpting tools to create grooves for toothbrushes and other bathroom essentials.
- Let the holder dry for at least 24 hours before firing in a kiln according to the instructions on the clay package.
Method 2: Wheel Throwing
- Begin by centering the clay on the wheel head and shaping it into a cylinder.
- Use your fingers to create grooves for toothbrushes and other bathroom essentials.
- Let the holder dry for at least 24 hours before firing in a kiln according to the instructions on the clay package.
- Optional: Add a handle to the side of the holder for easy transportation.
Method 3: Slab Building
- Roll out the clay on a smooth surface using a rolling pin until it is about ¼ inch thick.
- Cut out two rectangular shapes, approximately 4 inches by 6 inches, using a ruler or knife.
- Use one of the rectangles as the base and fold up its sides to form walls for the holder.
- Place the second rectangle on top and seal the edges with water and your fingers.
- Use sculpting tools to create grooves for toothbrushes and other bathroom essentials.
- Let the holder dry for at least 24 hours before firing in a kiln according to the instructions on the clay package.
Method 4: Pinch Pots
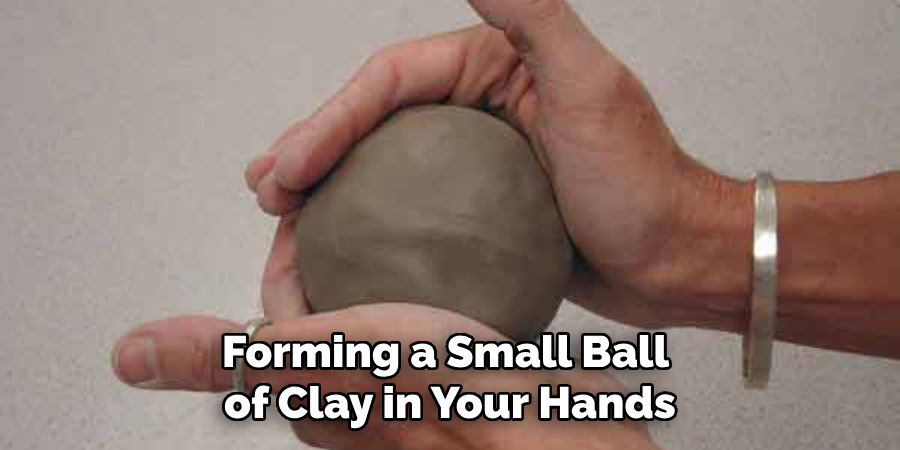
- Start by forming a small ball of clay in your hands.
- Use your thumb to press into the center of the ball, creating a shallow indentation.
- Gradually pinch and pull up the sides of the indentation to form a cup shape.
- Smooth out any cracks or imperfections with water and your fingers.
- Create multiple pinch pots and then join them together to form a holder with separate compartments.
- Let the holder dry for at least 24 hours before firing in a kiln according to the instructions on the clay package.
Method 5: Coil Building
- Roll out several thin coils of clay approximately ¼ inch in diameter.
- Shape and stack the coils on top of each other, using water and your fingers to seal them together.
- Use sculpting tools to create grooves for toothbrushes and other bathroom essentials.
- Let the holder dry for at least 24 hours before firing in a kiln according to the instructions on the clay package.
Method 6: Slip Casting
- Create a plaster mold of the desired shape for your toothbrush holder.
- Pour ceramic slip (liquid clay) into the mold and rotate it until the entire surface is coated evenly.
- Let the slip dry for a few minutes before pouring out any excess.
- Once dry, remove the holder from the mold and clean up any imperfections with water and your fingers.
- Let the holder dry for at least 24 hours before firing in a kiln according to the instructions on the clay package.
Method 7: Extruding
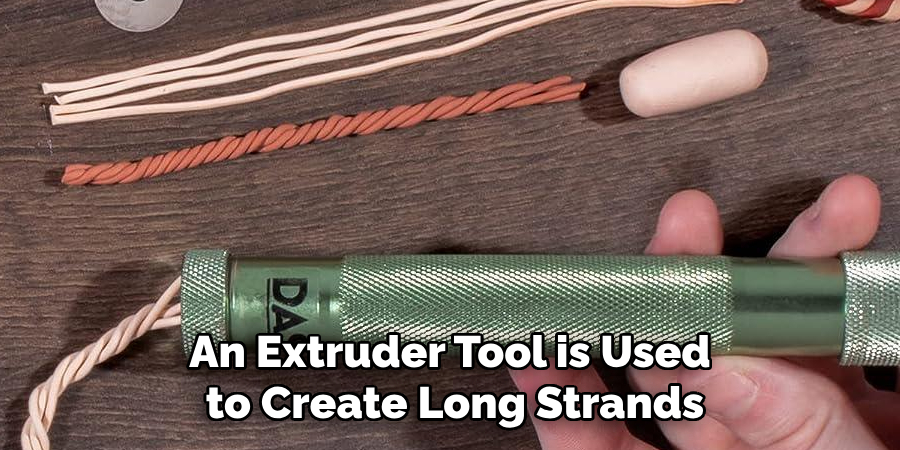
- An extruder tool is used to create long strands of clay in various shapes and sizes.
- Layer these strands together to form walls for your holder, using water and your fingers to seal them.
- Use sculpting tools to create grooves for toothbrushes and other bathroom essentials.
- Let the holder dry for at least 24 hours before firing in a kiln according to the instructions on the clay package.
Method 8: Slip Rollers
- Roll out a slab of clay using a rolling pin until it is about ¼ inch thick.
- Place this slab onto a slip roller machine and press it into desired shapes and textures.
- Fold up the sides of the slab to form walls for your holder and use water to seal them together.
- Use sculpting tools to create grooves for toothbrushes and other bathroom essentials.
- Let the holder dry for at least 24 hours before firing in a kiln according to the instructions on the clay package.
Method 9: Hump Molds
- Create a plaster hump mold by building up layers of plaster on top of a desired shape.
- Roll out a slab of clay and place it over the mold, pressing it down gently until it takes on the shape of the mold.
- Use sculpting tools to create grooves for toothbrushes and other bathroom essentials.
- Let the holder dry for at least 24 hours before firing in a kiln according to the instructions on the clay package.
Method 10: Hand Carving
- Start with a solid block of clay and use sculpting tools to carve out the desired shape for your holder.
- Use water to smooth out any rough edges or imperfections.
- Create grooves for toothbrushes and other bathroom essentials using sculpting tools.
- Let the holder dry for at least 24 hours before firing in a kiln according to the instructions on the clay package.
These are just some of the many techniques you can use to make a ceramic toothbrush holder. The possibilities are endless, so don’t be afraid to experiment and create something unique and personalized for your bathroom! Remember, always follow proper safety precautions on how to make a ceramic toothbrush holder when working with ceramic materials and consult instructions for firing and glazing processes. Have fun creating!
How Much Could It Cost to Make a Ceramic Toothbrush Holder Using These Methods?
The cost of making a ceramic toothbrush holder will vary depending on the materials and tools used, as well as the firing and glazing process. Generally, clay can range from $10-$50, depending on the quantity and quality. Other materials such as sculpting tools, extruders, and slip rollers, can also add to the cost. The firing process can also incur additional costs if you do not have access to a kiln and need to use a communal studio or workshop.
Overall, making a ceramic toothbrush holder can range from being an inexpensive DIY project to a more costly endeavor, but the satisfaction of creating something with your own hands is priceless. So, don’t let cost deter you from trying out these methods! There are many budget-friendly options available for clay and tools, and it’s always worth investing in your creative passions. Additionally, if you have
Conclusion
Creating a ceramic toothbrush holder is not only a practical project but also an opportunity to unleash your creativity and personalize your bathroom decor. Whether you’re using basic techniques like pinch pots or more advanced methods on how to make a ceramic toothbrush holder such as slip casting and extruding, each approach offers a unique way to craft a functional and aesthetic piece. While there may be costs involved in materials and firing, these can be managed with budget-friendly options and local resources, making the project accessible to all skill levels.
The joy of crafting by hand is incomparable, and a handmade toothbrush holder adds a personal touch to your everyday routine. So, embrace the process, explore different methods, and enjoy the satisfaction of bringing your ceramic creation to life!
Specialization:
- Master of wheel-throwing, hand-building, and advanced glazing techniques
- Focus on creating both functional pottery and decorative art pieces
Recognition:
- Celebrated by collectors and art enthusiasts for creating one-of-a-kind pieces that blend artistry with functionality
- Participates in local and national exhibitions, earning accolades for his innovative designs and craftsmanship
Passion:
- Deeply committed to exploring and pushing the boundaries of ceramic artistry
- Continuously experiments with new materials, firing techniques, and artistic concepts to evolve his craft
Personal Philosophy:
- Believes in the transformative power of art, aiming to evoke emotions and connections through his ceramic creations
- Advocates for sustainability in ceramics, using eco-friendly materials and practices whenever possible