Making a ceramic whistle is a fascinating and rewarding craft that combines creativity and functionality. This simple instrument, known for its distinct, melodious sound, can be crafted using basic materials and techniques. Whether you’re a beginner or an experienced artisan, creating a ceramic whistle allows you to explore the art of pottery while producing a unique, personalized item. This guide will walk you through how to make a ceramic whistle, bringing together the charm of traditional craftsmanship with modern artistic expression.
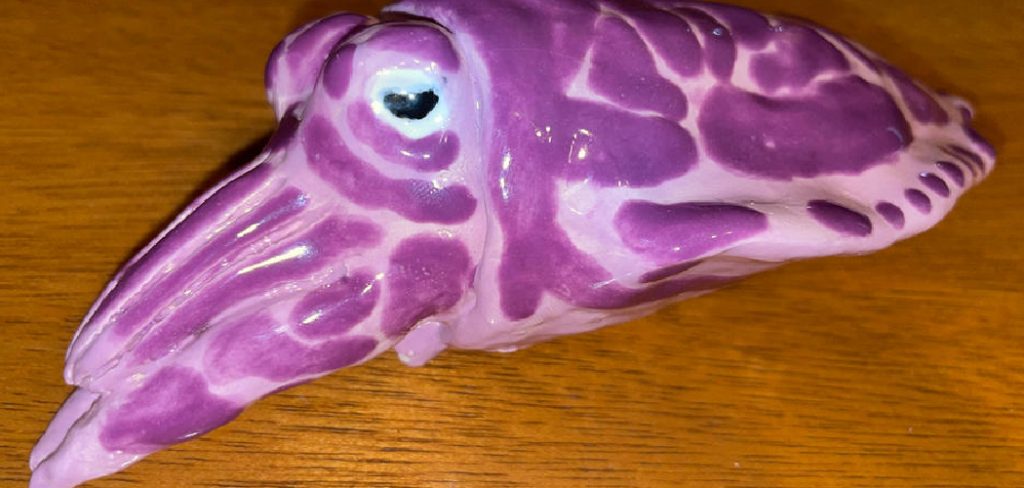
Why Making a Ceramic Whistle
Making a ceramic whistle is not only an enjoyable artistic endeavor, but it also offers a unique opportunity to deepen your understanding of ceramic techniques. This project provides insights into the fundamentals of shaping, sculpting, and glazing clay. Creating a whistle encourages patience and precision, as achieving the perfect sound requires careful design and execution. Additionally, this craft allows for personalized expression, enabling you to experiment with various designs, textures, and colors. The end result is a functional piece that combines both musical and aesthetic appeal, making it a delightful addition to any collection or a thoughtful, handcrafted gift.
Tools and Materials Needed
To create a ceramic whistle, you’ll need a selection of essential tools and materials to ensure a successful crafting experience. Here is a list of what you’ll require:
- Clay: Choose a type of clay suitable for ceramics, such as earthenware or stoneware, depending on your preference and firing facilities.
- Clay Cutting Wire: For slicing and portioning off a manageable amount of clay.
- Rolling Pin: To flatten the clay into uniform thickness, making it easier to work with.
- Sculpting Tools: Use various shaping tools, such as rib tools, wooden modeling tools, and loop tools, for sculpting and refining the whistle’s shape.
- Needle Tool: A sharp tool for incising designs and details, and for puncturing the airflow hole.
- Sponge: For smoothing surfaces and removing excess moisture from the clay.
- Slip: A mixture of clay and water that acts as a bonding agent when attaching pieces of clay together.
- Kiln: Necessary for firing the clay to harden it and make the whistle functional.
- Glazing Materials: Glazes of your choice to finish your whistle with color and texture, before the final firing.
- Work Surface: A clean and smooth area to spread out your materials and shape your whistle.
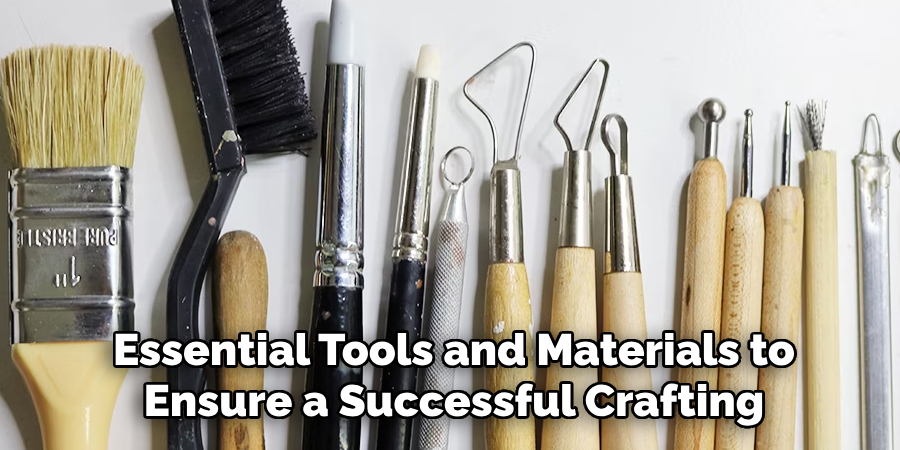
Having these tools and materials at hand will equip you to begin crafting your ceramic whistle with confidence and creativity.
Types of Clay Suitable for Making Whistles
When selecting clay for crafting a ceramic whistle, it’s essential to consider its properties, as different types of clay can influence the final outcome. Here are some common types of clay suitable for making whistles:
- Earthenware Clay: This is a popular choice for beginners due to its plasticity and ease of use. It fires at lower temperatures, making it accessible if you’re using a basic kiln. Earthenware clay often has a warm, reddish tone, adding a rustic aesthetic to your finished whistle.
- Stoneware Clay: Known for its durability and strength, stoneware clay can be an excellent option for more robust and long-lasting whistles. It fires at higher temperatures, resulting in a denser, more vitrified finish that is less porous and suitable for a variety of glazing effects.
- Porcelain Clay: Valued for its fine texture and translucency, porcelain clay can produce whistles with a delicate, smooth surface. It requires careful handling due to its less forgiving nature compared to other clays. Porcelain also fires at high temperatures, yielding a strong and elegantly finished piece.
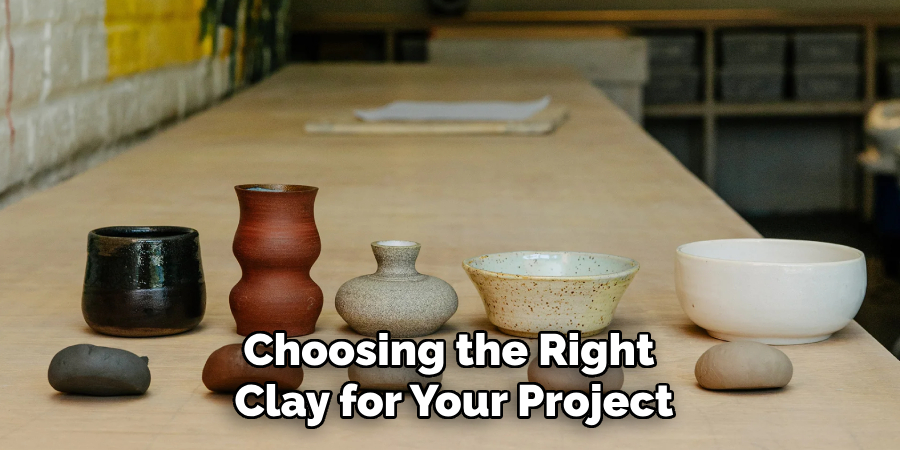
Choosing the right clay for your project depends on your skill level, the firing facilities available, and the desired characteristics of your finished whistle. Each type of clay offers unique advantages, allowing for creative exploration and expression in your whistle-making journey.
10 Methods to Craft Your Own Ceramic Whistle
Ceramic whistles might seem like simple toys or musical instruments, but they are steeped in history and craftsmanship. Creating one is not only an artistic endeavor but also a harmonious blend of science and art that results in a delightful sound.
1. Pinch Pot Technique
The pinch pot method is one of the most accessible ways to start your ceramic whistle-making. Begin by forming a small ball of clay and gently pinching the center to create a hollow form.
- Tip: Keep the walls of the pot even to ensure a pure sound. Thicker walls may affect the whistle’s tone.
2. Coil Building Method
This traditional pottery technique involves rolling out clay into long coils and stacking them to form the body of the whistle.
- Example: Combine different coil thicknesses to vary the whistle’s size and sound quality.
3. Slab Construction
For a more structured approach, roll out a slab of clay and cut it into panels to build the whistle.
- Data: Slab construction allows for a consistent thickness, which is crucial for creating uniform sound waves.
4. Mold Casting
Use a mold to shape your whistle, ensuring precision and consistency in design.
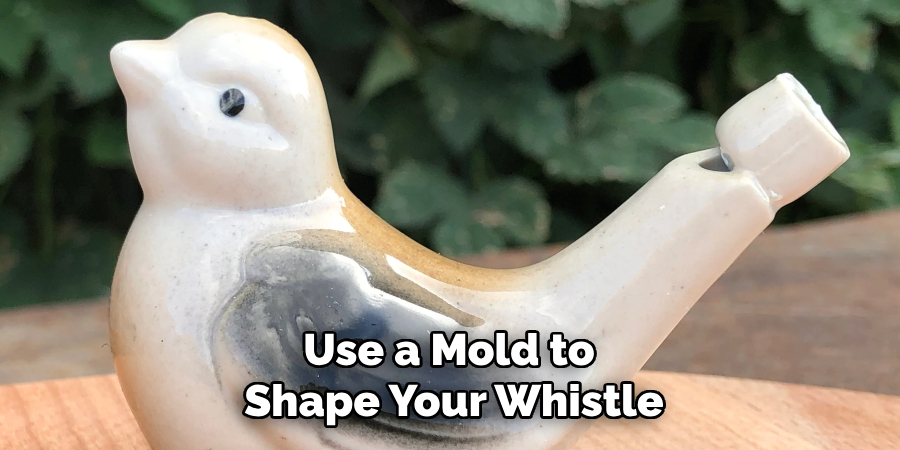
- Example: Using a pre-made mold can significantly speed up the production process, especially if you are making multiple whistles.
5. Adding a Fipple
The fipple is an essential part of the whistle; it directs air into the whistle’s body to produce sound. Carve or attach a small piece of clay to create the fipple.
- Tip: Experiment with the size and shape of the fipple for different pitches and tones.
6. Integrating Fingering Holes
Create holes on the whistle to change notes and produce melodies.
- Data: Positioning the holes at precise distances can influence the pitch. Research shows that spacing the holes evenly results in a more harmonious sound.
7. Applying Decorative Techniques
Add character to your whistle with decorative techniques such as glazing, engraving, or painting.
Tip: Use lead-free glazes to ensure the whistle is safe for use, particularly if used by children.
8. Bisque Firing
Once your whistle is shaped and decorated, it’s time for the initial bisque firing to harden the clay.
- Data: Firing at temperatures around 1,800°F strengthens the clay without fully vitrifying it, making it more durable.
9. Glaze Firing
The final step in the kiln, glaze firing, adds a smooth finish and enhances the whistle’s aesthetics.
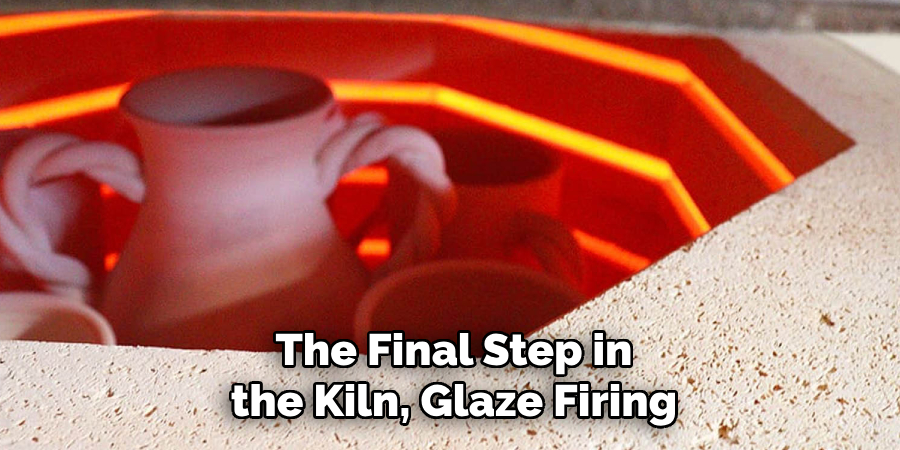
- Tip: Test different glaze colors and textures to see how they affect the visual appeal and sound of your whistle.
10. Final Tuning
Once your whistle is fired and cooled, test and tweak the sound by adjusting the fipple or filing hole edges.
- Example: A slight modification in the fipple angle can dramatically alter the pitch, allowing for custom tuning.
Things to Consider When Making a Ceramic Whistle
Creating a ceramic whistle involves several considerations to ensure the functionality and aesthetic quality of the final product.
- Clay Consistency and Moisture Content: The consistency of your clay influences how easily it can be manipulated. Ensure the clay has the right moisture content to prevent cracks or structural weaknesses during shaping.
- Dimensions and Proportions: Carefully consider the size and proportions of the whistle components. The internal cavity, fipple, and air channel dimensions are crucial for producing the desired sound quality and pitch.
- Drying Time: Allow sufficient drying time before the initial firing to avoid warping or cracking. Slow, even drying reduces the risk of deformation.
- Kiln Temperature and Firing Schedule: Pay attention to the firing temperature and schedule to ensure proper vitrification without over-firing, which could cause the clay to become brittle or warp.
- Safety Precautions: Use protective gear like gloves and masks when handling raw materials or working near the kiln. Ensure that any glazes used are non-toxic, especially if the whistle is intended for children.
- Environment and Working Space: Maintain a clean and organized workspace. Working in an area with good ventilation is essential, especially during firing processes or when using glazes.
- Design and Aesthetics: Consider the aesthetic aspects of your whistle, such as colors, patterns, and shapes. The design should complement both the visual appeal and acoustic properties.
- Final Testing and Adjustments: After completing the construction and firing processes, conduct a final test. Make necessary adjustments to the fipple or air channel to fine-tune the sound, ensuring that it meets your expectations for tonal quality and playability.
By taking these factors into account, you can enhance the success of your ceramic whistle project, balancing artistic flair with practical performance.
Conclusion
Crafting ceramic whistles is a rewarding blend of artistry and technical skill, providing a unique opportunity to create a personal instrument with both aesthetic and functional value. Each step, from choosing the clay to the final tuning, is a chance to experiment and express creativity while honing your craftsmanship. With patience and attention to detail, the process becomes as enjoyable as the final product, offering both a sense of accomplishment and a deeper appreciation for the art of ceramics. Thanks for reading our blog post on how to make a ceramic whistle! We hope you found it helpful and informative.
Specialization:
- Master of wheel-throwing, hand-building, and advanced glazing techniques
- Focus on creating both functional pottery and decorative art pieces
Recognition:
- Celebrated by collectors and art enthusiasts for creating one-of-a-kind pieces that blend artistry with functionality
- Participates in local and national exhibitions, earning accolades for his innovative designs and craftsmanship
Passion:
- Deeply committed to exploring and pushing the boundaries of ceramic artistry
- Continuously experiments with new materials, firing techniques, and artistic concepts to evolve his craft
Personal Philosophy:
- Believes in the transformative power of art, aiming to evoke emotions and connections through his ceramic creations
- Advocates for sustainability in ceramics, using eco-friendly materials and practices whenever possible


