


Clay molding for plaster casting is a widely cherished technique in art, sculpture, and DIY projects, valued for its versatility and the precision it offers. This method allows creators to replicate intricate designs, craft custom pieces, and experiment with artistic ideas in a structured yet imaginative way.
Creating your own clay molds offers several benefits, including affordability, enhanced creativity, and complete control over the level of detail in your work, making it a practical and rewarding choice for both beginners and professionals. This article serves as a comprehensive guide on how to make a clay mold for plaster casting, walking readers through each step of the process.
Whether you’re crafting a small figurine or a detailed sculpture, this guide will provide valuable tips to help you achieve your desired results efficiently and effectively.
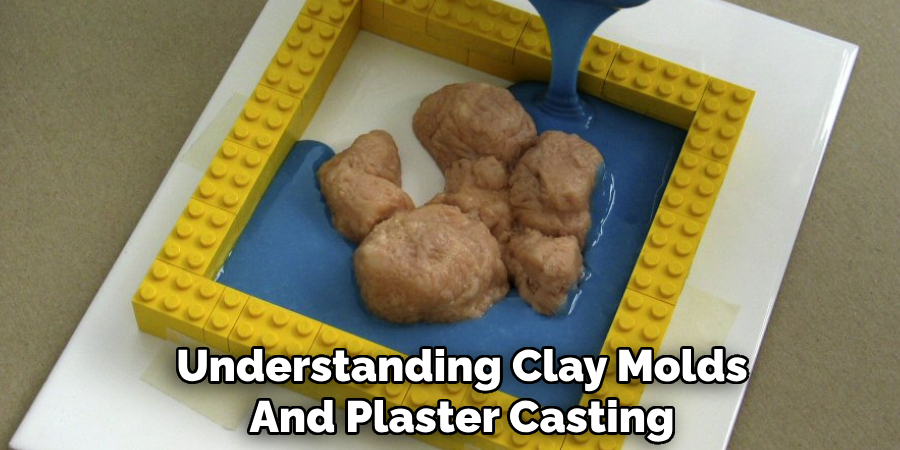
Understanding Clay Molds and Plaster Casting
What Is a Clay Mold?
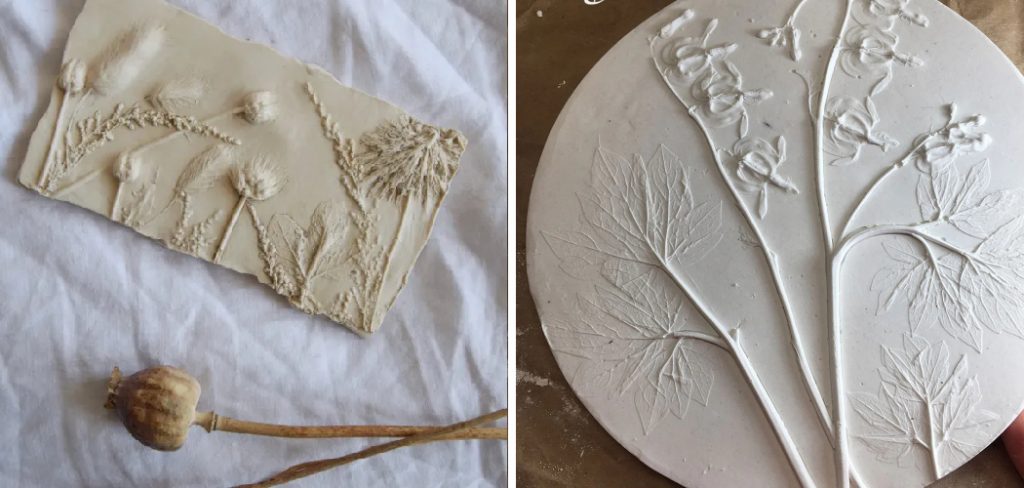
A clay mold is essentially a negative impression created in clay, which serves as a cavity for shaping an object when filled with plaster. It is a versatile tool in the casting process, allowing artisans to replicate intricate details and designs with remarkable accuracy.
Why Use Clay for Molding?
Clay is an ideal material for molding due to its unique properties. It is highly flexible and easy to shape, making it suitable for capturing fine details. Additionally, clay is reusable, allowing for adjustments or repeated use without excessive waste. These qualities make clay a practical and efficient choice for both beginners and experienced creators.
Basics of Plaster Casting
Plaster casting involves transforming liquid plaster into a solid, durable positive form. The process begins by mixing plaster powder with water to create a smooth, pourable consistency. This mixture is then poured into the clay mold, filling every detail before being left to cure and harden.
Once fully set, the mold is removed, revealing the finished piece. Plaster casting is commonly used in creating home decor items, sculptures, figurines, and even prototypes for larger projects, making it an essential technique in various artistic and practical applications.
Tools and Materials Needed
Materials
- Water-based clay or oil-based clay: Opt for water-based clay for its softer texture and ease of manipulation, making it ideal for detailed designs. Oil-based clay, on the other hand, is more durable and better suited for intricate, long-term projects.
- Plaster of Paris or similar casting plaster: This is essential for creating durable molds with a smooth finish. Be sure to pick a high-quality plaster for the best results.
Tools
- Sculpting tools: Include spatulas, loop tools, and knives to shape and refine your clay model accurately.
- Mold box or container: Provides structural support to hold the clay and plaster in place during casting.
- Release agent: Use petroleum jelly, clay slip, or a mold release spray to ensure easy separation of the plaster from the mold.
- Mixing bowl and stirrer: Crucial for combining plaster with water to create a consistent and smooth mixture.
Workspace Preparation
- Prepare your work area by covering surfaces with plastic sheets or old newspapers to protect them from spills and plaster residue.
- Keep a bucket of water and clean towels nearby for quick cleanup.
- Ensure the space is well-ventilated to facilitate a comfortable and safe working environment.
Creating the Original Model or Object
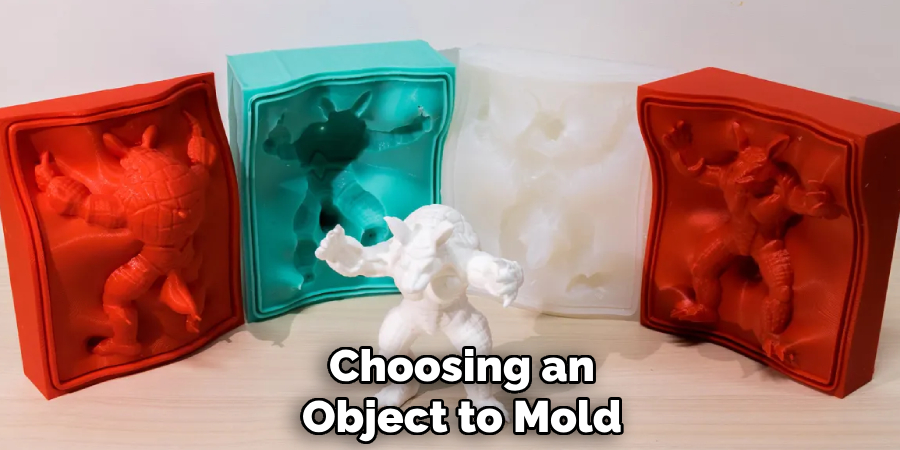
Choosing an Object to Mold
Selecting the right object is crucial to the success of the molding process. If you’re new to mold-making, start with a simple shape that lacks intricate details or undercuts, as these features can make the process more challenging. Objects like geometric shapes, basic figurines, or smooth household items are ideal for beginners. On the other hand, more experienced mold makers can experiment with complex designs that require greater precision and patience.
Making a Clay Prototype (Optional)
If you don’t have an existing object to mold, creating your own design from clay is a flexible option. Use sculpting clay to craft your desired shape, working patiently to refine the details. Focus on creating clean edges and a symmetrical structure if needed, as these features will transfer to the final mold. Once finished, allow the clay to set or firm up as needed, if applicable, before proceeding to the next steps.
Prepping the Object
Proper preparation of the object ensures better mold quality. Begin by thoroughly cleaning the object to eliminate dirt, grease, or debris, as these can disrupt the molding process. If the object is made of a porous material, apply a sealant to prevent the plaster from sticking and damaging the surface. Lastly, coat the entire object with a release agent, such as petroleum jelly or a silicone spray, to facilitate easy removal from the mold later.
Embedding in Clay
To create a one-part mold base, press your object halfway into a flat slab of clay, ensuring it is embedded evenly and securely. Smooth the clay around the edges of the object to create a tight seal, which will prevent the plaster from leaking underneath. Ensure the surface is level and free of imperfections before moving on to the plaster-pouring stage.
How to Make a Clay Mold for Plaster Casting: Building the Mold Walls
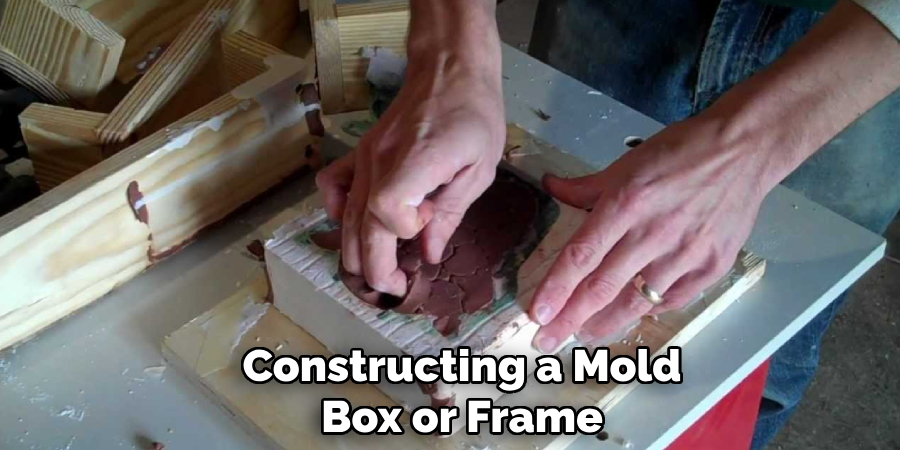
Constructing a Mold Box or Frame
To securely hold the clay and object in place during the mold-making process, build a sturdy mold box or frame. You can use materials such as cardboard, plastic containers, or custom wooden frames. Cut and assemble the frame so it fits tightly around the clay base, leaving enough room for the plaster to enclose the object fully.
Use tape or hot glue to seal the edges of the mold box, ensuring no gaps where plaster could seep through. The goal is to create a leak-proof container that supports the weight of the plaster while maintaining the mold’s shape.
Securing the Clay Base
Before pouring plaster, it’s essential to secure the clay base properly. Begin by flattening the clay evenly, ensuring it provides a stable and leveled surface. Press your object halfway into the clay, embedding it uniformly and smoothing the edges around the object. This creates a tight seal around the object, minimizing the risk of plaster leaking underneath. Take care to smooth the clay surface and eliminate imperfections, ensuring the mold’s accuracy.
Applying Release Agent
To facilitate easy separation of the plaster mold and the object after curing, apply a release agent to both the object and the clay surface. Popular release agents include petroleum jelly, commercial mold release sprays, and even soapy water. Be sure to coat every detail and crevice of the object to prevent it from sticking to the plaster. The release agent not only protects your object but also ensures the mold remains intact during removal.
Creating Registration Keys (Optional)
If you are planning to build a two-part mold, consider incorporating registration keys into the clay base. Small indentations can be made in the clay to act as alignment guides, ensuring the two halves of the mold fit together perfectly. These keys are handy for maintaining precision when casting detailed designs.
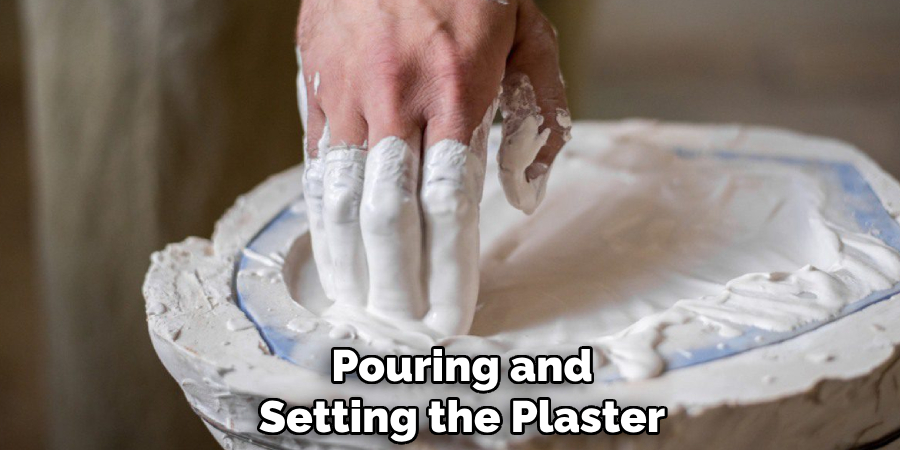
Pouring and Setting the Plaster
Mixing the Plaster
To achieve a successful mold, it’s essential to mix the plaster with the correct water-to-plaster ratio. Typically, a 2:1 ratio of plaster to water is ideal; however, always consult the product’s instructions for optimal results. Begin by adding water to a clean mixing container and gradually sift the plaster into the water, allowing it to sit for a moment to absorb.
Mix gently but thoroughly, avoiding vigorous stirring that might introduce unwanted air bubbles. Aim for a smooth, lump-free consistency similar to thick cream. Safety is paramount when working with plaster—make sure to wear a mask to avoid inhaling dust, and use gloves to protect your hands from irritation.
Pouring the Plaster into the Clay Mold
When pouring the mixed plaster into your clay mold, take care to do so slowly and evenly. This method minimizes the formation of air bubbles that can compromise the mold’s integrity.
For additional precaution, gently tap or shake the mold to help release trapped air bubbles, ensuring the plaster fills every detail of the mold. Fill the mold to the top, and if necessary, smooth the surface with a spatula or straight edge to create an even finish.
Curing Time and Conditions
Allow the plaster to set undisturbed for 30–60 minutes, as specified by the product’s instructions. Ideal curing conditions include a controlled environment with moderate temperature and humidity, avoiding extreme temperature fluctuations or excessive moisture. Once fully set, the mold should feel hard and cool to the touch, indicating that it’s ready for the next steps in your project.
Demolding and Cleaning the Plaster Cast
Removing the Mold Box
To begin the demolding process, gently remove any outer supports or mold boxes surrounding the plaster cast. Ensure that the plaster has fully hardened before proceeding, as premature removal may damage the cast. Look for a cool, solid texture as an indication of readiness.
Peeling Off the Clay
Carefully peel off the clay from the plaster cast, taking care not to damage intricate details or delicate areas. Work slowly and methodically to avoid any accidental chipping or cracking.
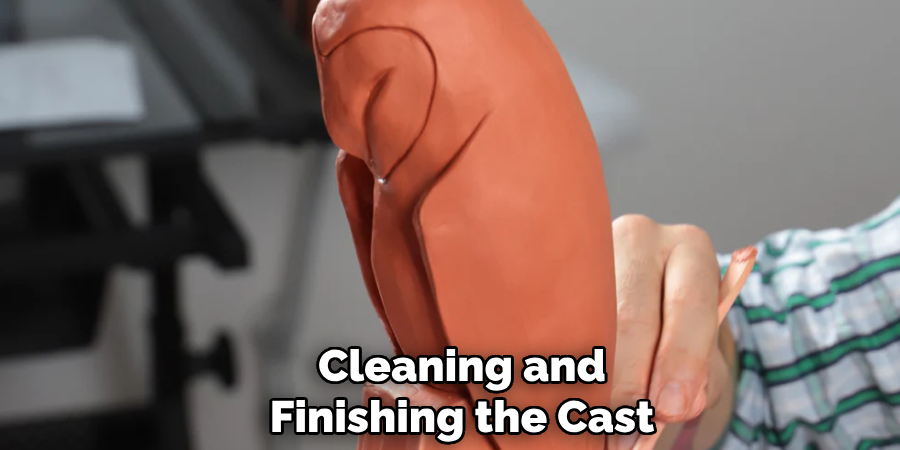
Cleaning and Finishing the Cast
Once the clay is removed, use a soft brush or sponge to clean off any residual clay or debris left on the plaster cast. For a polished finish, you may optionally sand down rough edges to smooth the surface. Additionally, sealing the plaster with a suitable sealant can enhance its durability and provide a professional finish to the piece.
Common Mistakes and How to Avoid Them
Using the Wrong Clay Type
Choosing the right clay is crucial for a successful casting process. Using air-dry clay or water-based clay can lead to unintended drying, cracking, or difficulty in removing the mold. Always opt for non-drying or oil-based clay to ensure reusability and to maintain flexibility throughout the process.
Not Using a Release Agent
Skipping a release agent can cause the plaster to stick to the clay or the object being molded. This often results in damage to both the cast and the original object. To prevent this, always apply a suitable release agent, like petroleum jelly or a silicone-based spray, before pouring the plaster.
Mixing Plaster Incorrectly
Improperly mixing plaster can lead to lumps, weak consistency, or air pockets in your cast. Follow the manufacturer’s instructions carefully, adding plaster to water in the correct ratio and stirring slowly to achieve a smooth, even mixture.
Removing the Mold Too Early
Demolding plaster too soon, before it has fully cured, increases the risk of cracking or breaking the cast. Always allow sufficient time for the plaster to harden completely, as recommended by the instructions, before removing it from the mold. Patience is key to achieving a durable and professional result.
Conclusion
Creating a plaster cast is a rewarding process that begins with preparing your clay mold, a crucial step in shaping the final design. Understanding how to make a clay mold for plaster casting ensures a solid foundation for your project. Carefully mix the plaster, pour it into the mold, and allow ample curing time before demolding.
Experimenting with various materials and objects can expand your creativity and skill set. Always plan your mold layout thoughtfully, use high-quality materials, and exercise patience throughout. These steps will help you achieve durable, professional casts and encourage innovation in your craft.
Specialization:
- Master of wheel-throwing, hand-building, and advanced glazing techniques
- Focus on creating both functional pottery and decorative art pieces
Recognition:
- Celebrated by collectors and art enthusiasts for creating one-of-a-kind pieces that blend artistry with functionality
- Participates in local and national exhibitions, earning accolades for his innovative designs and craftsmanship
Passion:
- Deeply committed to exploring and pushing the boundaries of ceramic artistry
- Continuously experiments with new materials, firing techniques, and artistic concepts to evolve his craft
Personal Philosophy:
- Believes in the transformative power of art, aiming to evoke emotions and connections through his ceramic creations
- Advocates for sustainability in ceramics, using eco-friendly materials and practices whenever possible