


Clay pipes have a fascinating history, dating back centuries when they were widely used for smoking tobacco. Their historical significance is reflected in archaeological discoveries and their enduring presence as collectible artifacts. Today, clay pipes continue to serve a dual purpose—primarily for smoking and increasingly for decorative crafts, where they are appreciated for their rustic charm and timeless design.
Learning how to make a clay pipe offers a unique opportunity for personal expression and creativity. Unlike purchasing a ready-made pipe, crafting your own allows for complete customization, from the shape and size to intricate details and personalization. Additionally, making clay pipes at home is cost-effective and an excellent way to gain hands-on experience with this traditional art form.
This article provides a comprehensive, step-by-step guide on creating a clay pipe from scratch, covering everything from preparing the raw materials to shaping, drying, and firing your custom creation.
Materials and Tools Needed
Creating a clay pipe requires a combination of essential materials and tools that ensure a smooth crafting process. Below is a list of everything you’ll need to get started.
Essential Materials
- Natural clay (air-dry or kiln-fire clay): This will serve as the primary material for your pipe. Choose a type based on availability and firing capabilities.
- Water: Used for softening and shaping the clay during the sculpting process.
- Sandpaper or smoothing tools: To refine edges and create a polished surface.
- Optional: Glazes or paints for finishing, if you want to add decorative touches or make the pipe more durable.
Tools You’ll Need
- Clay sculpting tools (or household alternatives like toothpicks, small knives, or skewers): Essential for carving and detailing your pipe.
- Rolling pin or smooth cylinder: Helps in flattening clay evenly before shaping.
- Straw or thin rod: Used to create the opening for the pipe’s stem.
- Kiln (optional): Required if you are using kiln-fire clay for a sturdier finish.
- Work surface (such as a smooth board or mat): Keeps the crafting area clean and manageable.
Have these materials and tools ready before starting your project to ensure an efficient and enjoyable pipe-making experience.
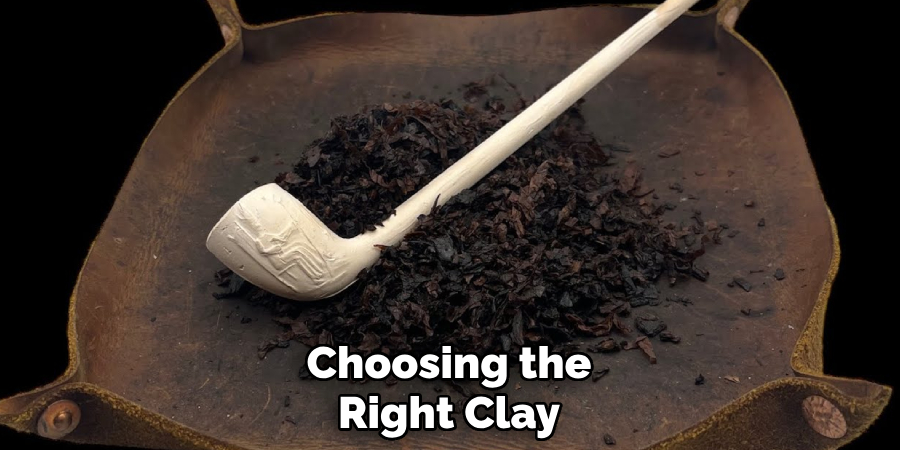
Choosing the Right Clay
Types of Clay
- Air-dry clay: This type of clay is ideal for beginners due to its ease of use and the fact that it doesn’t require a kiln for hardening. However, it’s important to note that air-dry clay produces pipes that are less durable and potentially more prone to wear over time.
- Kiln-fire clay: For those who have access to a kiln, kiln-fire clay is an excellent choice. This type of clay requires firing at high temperatures, which results in a far more durable and heat-resistant pipe. It is highly recommended for those wanting a long-lasting and functional piece.
Considerations for Pipe Making
When selecting clay for your project, it’s crucial to choose non-toxic clay if the pipe will be used for smoking purposes. Always verify the material’s safety before use. Additionally, consider the texture and workability of the clay you choose.
A smooth and malleable clay allows for more detailed shaping and easier handling, enabling you to craft intricate designs with greater precision. The right clay can make a significant difference in the quality and functionality of your finished pipe.
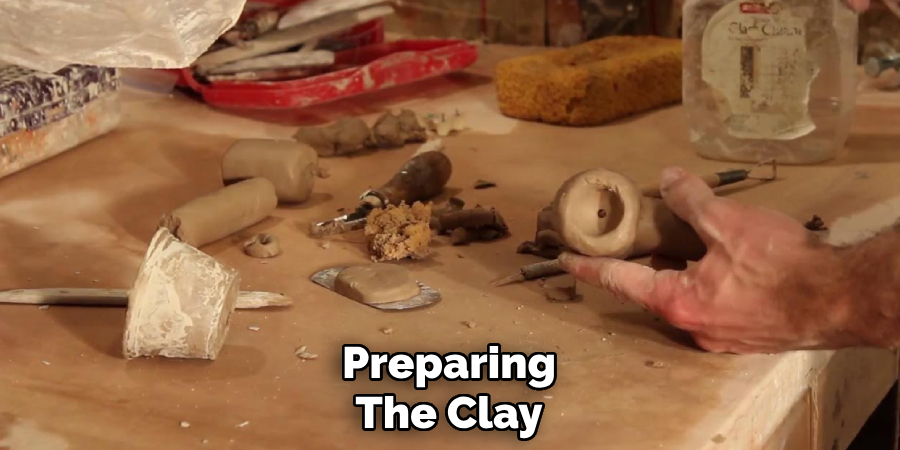
Preparing the Clay
Step 1: Kneading the Clay
Start by thoroughly kneading the clay to soften it and eliminate any air bubbles trapped within. This step is crucial because air bubbles can cause cracks or weak points during the drying and firing process. To knead the clay effectively, press and fold it repeatedly on a clean, flat surface until it reaches a smooth and uniform consistency. Proper kneading ensures your clay is pliable and ready for shaping.
Step 2: Shaping the Clay
Once the clay is prepared, roll it out into an even slab using a rolling pin. Aim for a consistent thickness across the slab, as this ensures uniformity in the final pipe. After rolling, use a sharp tool or knife to cut out the necessary shapes for your pipe components. Typically, you’ll need a section for the bowl and another for the stem. Keep the shapes simple at this stage, as more intricate adjustments can be made later.
Step 3: Creating the Pipe Bowl
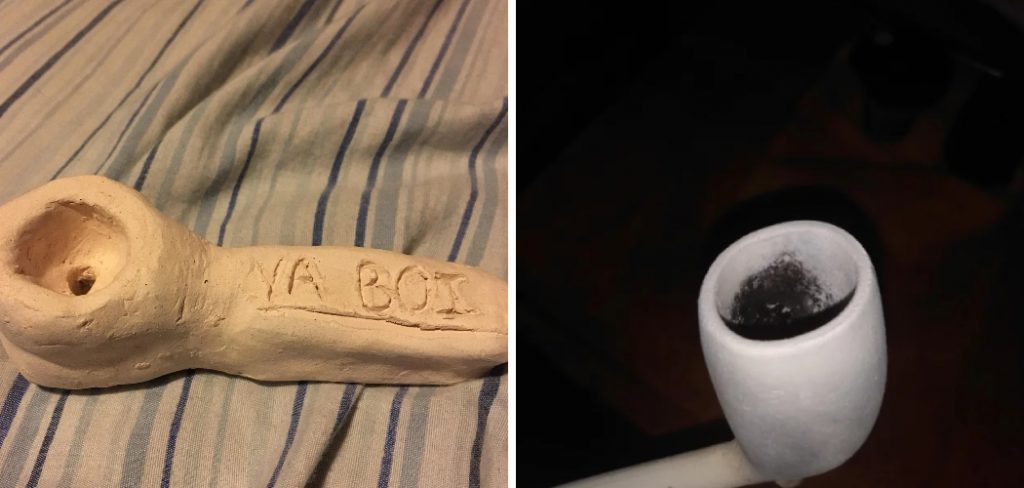
To form the bowl, take the cut-out shape designated for it and pinch and shape the clay into a rounded or customized bowl structure. Ensure there is a deep cavity to hold tobacco or any other material the pipe is intended for. Smooth out the interior and exterior with your fingers or a sculpting tool to avoid rough edges and create a polished finish. A well-crafted bowl is essential for the pipe’s functionality and overall aesthetic.
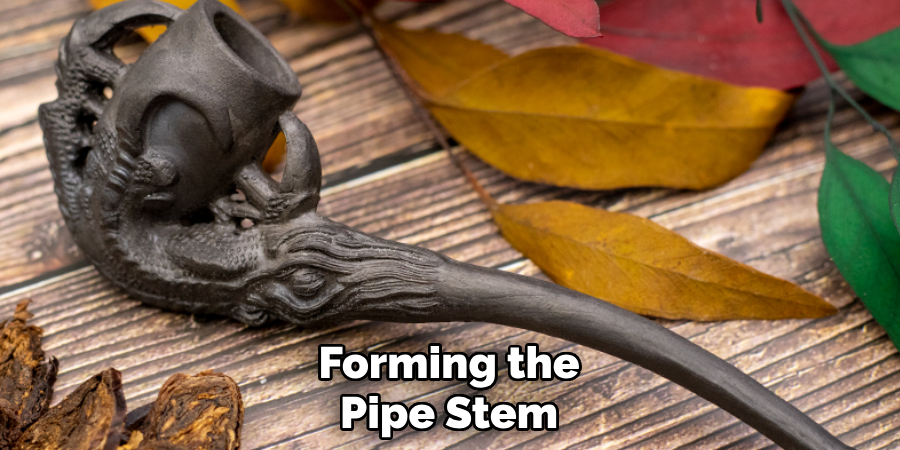
How to Make a Clay Pipe: Forming the Pipe Stem
Step 1: Creating the Stem Hole
Use a straw or a thin rod to punch a hole through the clay where the stem will connect to the bowl. Ensure the hole is straight and smooth to allow proper airflow when the pipe is in use. Take care not to distort the shape of the surrounding clay as you create the airway, as this can affect both functionality and appearance.
Step 2: Shaping the Stem
Roll a thin coil of clay to form the stem of the pipe. Adjust the length and thickness of the coil according to your preference, ensuring it aligns proportionally with the bowl.
Once the stem is shaped, carefully attach it to the hole in the bowl. Blend the seams where the stem meets the bowl using your fingers or sculpting tools. This step is crucial for creating a secure and seamless attachment that will hold firmly after the clay is fired or hardened.
Step 3: Refining the Shape
With the stem attached, use sculpting tools or a fine brush to smooth out any uneven edges or bumps along the length of the stem. Refine the details to achieve the desired look, whether sleek and streamlined or more decorative. Double-check the airway to ensure it remains clear and unobstructed during the refining process. This step not only enhances the pipe’s aesthetics but also ensures its practicality and durability.
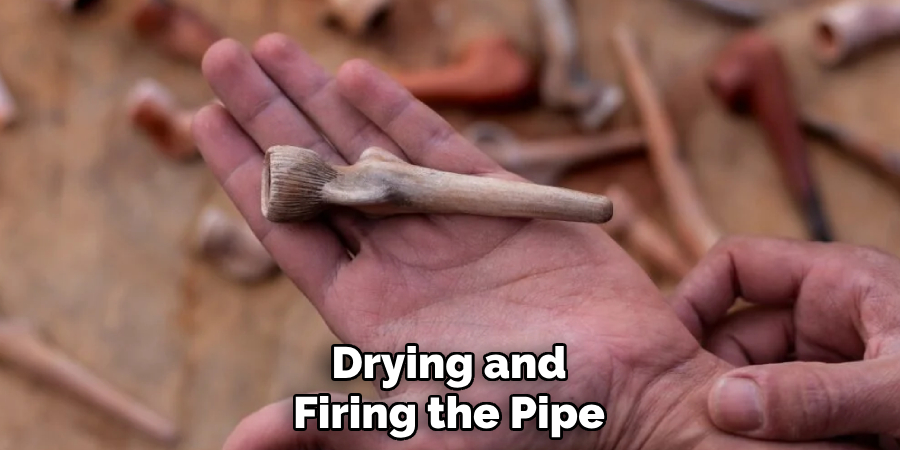
Drying and Firing the Pipe
Step 1: Air Drying
Once the pipe has been shaped and refined, it is crucial to allow it to dry slowly and evenly. Place the clay pipe in a cool, dry area with good ventilation, away from direct sunlight or drafts, as these can cause uneven drying and lead to cracks. Depending on the pipe’s thickness and the type of clay used, this process may take several days. Be patient, as rushing the drying process can compromise the finished product. Ensure the pipe is adequately supported to maintain its shape during this stage.
Step 2: Kiln Firing (Optional)
For added strength and durability, firing the dried pipe in a kiln is recommended. Follow the manufacturer’s guidelines for your specific type of clay regarding temperature and firing duration.
Typically, low-fire clays require temperatures between 1,820°F and 2,102°F (1,000°C to 1,150°C). Place the pipe carefully in the kiln, ensuring no part of it is under stress or unsupported, which could result in warping. Monitor the kiln carefully throughout the firing process, avoiding sudden temperature changes that may cause cracking.
Step 3: Troubleshooting Cracks and Warping
To minimize the chances of cracks or warping during drying and firing, avoid excessively thick areas of clay in the design, as these are more prone to uneven drying. If minor cracks appear during air drying, they can sometimes be repaired by gently rehydrating the area and smoothing it with a little slip (a liquid mixture of clay and water).
Always ensure the pipe is evenly supported during both drying and firing to maintain its intended shape. Practicing these techniques will help ensure a strong, functional, and visually appealing finished pipe.
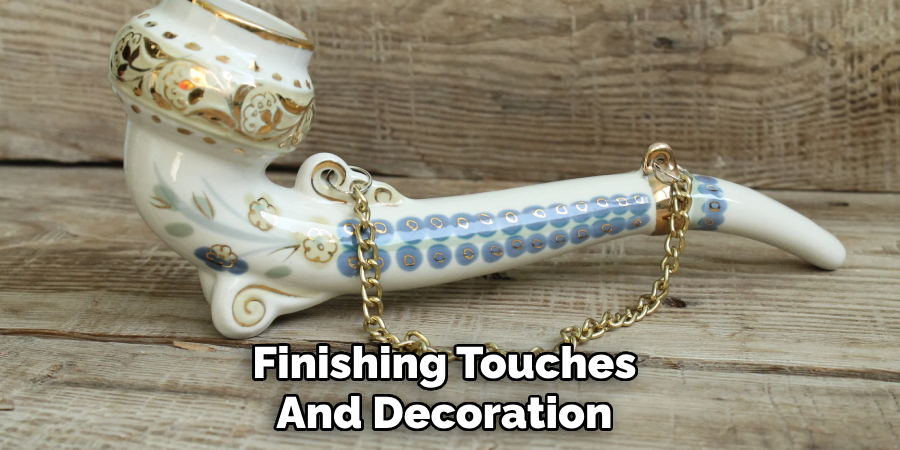
Finishing Touches and Decoration
Step 1: Sanding and Smoothing
Once the pipe has thoroughly dried and/or been fired, scrutinize it for any rough edges or uneven surfaces. Use fine-grit sandpaper to smooth these areas, ensuring a clean finish gently. Focus on the mouthpiece and any areas that will come into contact with the user to ensure comfort and a seamless experience. Take care not to oversand, as this can weaken the pipe’s structure.
Step 2: Applying Glaze or Paint
To elevate the aesthetic appeal of the pipe, consider adding glaze or paint as a decorative touch. For kiln-fired clay, applying a glaze not only provides a shiny and professional finish but also enhances the surface’s durability. Air-dry clay, on the other hand, can be painted with acrylic paints to achieve vibrant and unique designs. Use small brushes for intricate patterns and allow the paint or glaze to dry completely before proceeding to the next step.
Step 3: Sealing the Pipe
If the pipe is intended for practical use, such as smoking, it is essential to seal it with a non-toxic, heat-resistant sealant. This final layer ensures the pipe is safe for use and preserves its longevity. Apply the sealant evenly, allowing it to cure according to the manufacturer’s instructions, to complete your pipe with both functionality and style.
Safety Tips and Final Advice
When crafting a pipe, safety should be prioritized, especially if the pipe is intended for smoking. Always ensure that all materials used, including paints, glazes, and sealants, are labeled as non-toxic and heat-resistant. Using harmful substances could pose serious health risks. Proper curing is equally crucial—follow the manufacturer’s instructions for drying and curing times to ensure the pipe is safe to use and durable over time. Handle the pipe carefully during and after the creation process to avoid damage.
Additionally, don’t shy away from experimenting with designs or techniques to make your pipe truly unique. Personalization adds a layer of artistry and meaning to your creation. Experiment with various tools, textures, and colors to discover a style that reflects your unique creativity. With patience, attention to safety, and a willingness to explore, you can craft a functional, personalized masterpiece to be proud of.
Conclusion
Learning how to make a clay pipe is a fulfilling and creative process that involves several key steps. From preparing the clay to shaping it into your desired form, and then carefully drying, firing, and finishing your piece, each stage requires dedication and attention to detail. The result is a custom masterpiece that reflects your unique artistic style.
Remember, patience is crucial—especially during the drying and firing stages—to prevent cracks and achieve optimal results. Crafting your own clay pipe not only provides a sense of accomplishment but also allows you to create a unique and functional work of art.
Specialization:
- Master of wheel-throwing, hand-building, and advanced glazing techniques
- Focus on creating both functional pottery and decorative art pieces
Recognition:
- Celebrated by collectors and art enthusiasts for creating one-of-a-kind pieces that blend artistry with functionality
- Participates in local and national exhibitions, earning accolades for his innovative designs and craftsmanship
Passion:
- Deeply committed to exploring and pushing the boundaries of ceramic artistry
- Continuously experiments with new materials, firing techniques, and artistic concepts to evolve his craft
Personal Philosophy:
- Believes in the transformative power of art, aiming to evoke emotions and connections through his ceramic creations
- Advocates for sustainability in ceramics, using eco-friendly materials and practices whenever possible