


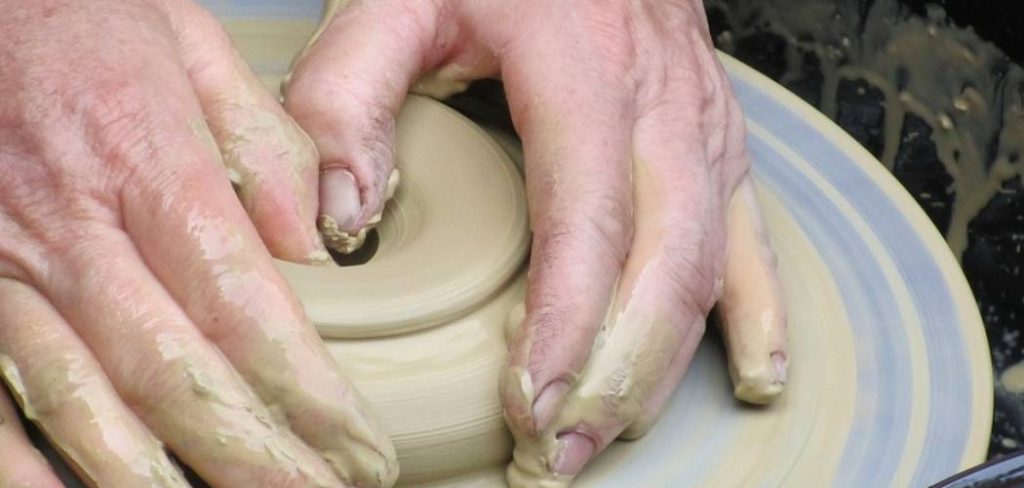
Creating a clay pot without the use of a pottery wheel is a rewarding and accessible craft that anyone can try. This traditional method allows you to shape and mold clay entirely by hand, utilizing simple tools and techniques. Whether you’re a beginner or an experienced crafter looking to try something new, this process is a wonderful way to express your creativity and produce unique, functional art. In this blog post, we’ll walk you through the steps on how to make a clay pot without a wheel so that you can get back to using it in no time! So grab your tools, and let’s get started!
Why Handbuilding is Perfect
Handbuilding is a fantastic technique for creating pottery because it allows for complete artistic freedom and personal expression. Unlike wheel-throwing, handbuilding requires no expensive equipment, making it an accessible option for beginners or those crafting at home. This method emphasizes the tactile connection with the clay, giving you full control over the shaping process and allowing for unique, organic designs that are difficult to achieve on a wheel. Additionally, handbuilding fosters a slower, more mindful approach to crafting, letting you savor every step of the creative process. Whether you’re experimenting with shapes, textures, or intricate details, handbuilding opens endless possibilities for one-of-a-kind creations.
Materials and Tools You’ll Need
When starting your handbuilding journey, having the right materials and tools is essential to bring your creative visions to life. Here’s a list of basic supplies to get you started:
- Clay: Choose a type of clay suitable for handbuilding, such as earthenware, stoneware, or porcelain, depending on your project and firing method.
- Slip and Scoring Tools: These are crucial for attaching separate pieces of clay together securely.
- Basic Tools: A needle tool, wire cutter, and wooden ribs will help with shaping and texture.
- Work Surface: A smooth, non-stick surface like a canvas-covered board or a large tile is ideal for rolling and shaping clay.
- Rolling Pin and Slats: These help in achieving even clay slabs for your projects.
- Sponges and Water: Used to keep your hands and clay moist and easy to work with.
- Detailing Tools: Small wooden or metal carving tools allow for adding intricate designs and textures.
- Plastic Wrap: To keep your clay from drying out while you work on it.
- Kiln Access (optional): While it’s not needed for air-dry clay, a kiln is essential for firing pottery clay to make your work durable.
With these materials and tools at your disposal, you’re ready to explore all the exciting possibilities handbuilding has to offer!
10 Methods How to Make a Clay Pot without a Wheel
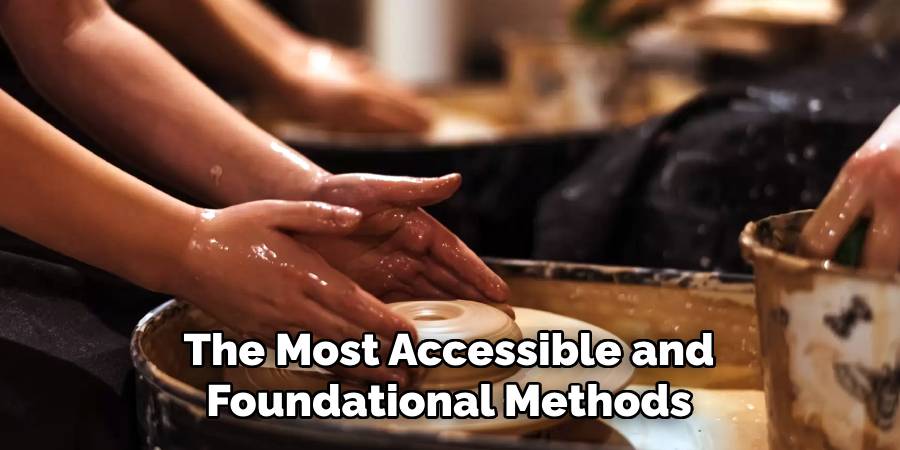
1. Pinch Pot Method for Simplicity and Control
The pinch pot is one of the most accessible and foundational methods in hand-building. Begin with a ball of clay about the size of your palm. Gently press your thumb into the center to create a depression, then slowly rotate the piece in your hands, pinching and turning evenly. As you work, the walls will rise and thin, forming a small bowl or cup shape. This method offers a direct connection to the clay, making it easy to sense the material’s thickness and adjust accordingly. It’s ideal for beginners or those looking for an organic, tactile form.
2. Coil Building for Larger or Taller Forms
Coil building allows you to construct more substantial pots with greater height and variation. Roll long, even ropes of clay and stack them on top of one another in a spiral or ring formation. As you add each coil, blend and smooth them together with your fingers or a wooden tool to create a seamless surface. You can shape the pot by varying the size and angle of the coils as you build, giving it a rounded belly or a narrow neck. This method offers structural integrity and artistic freedom.
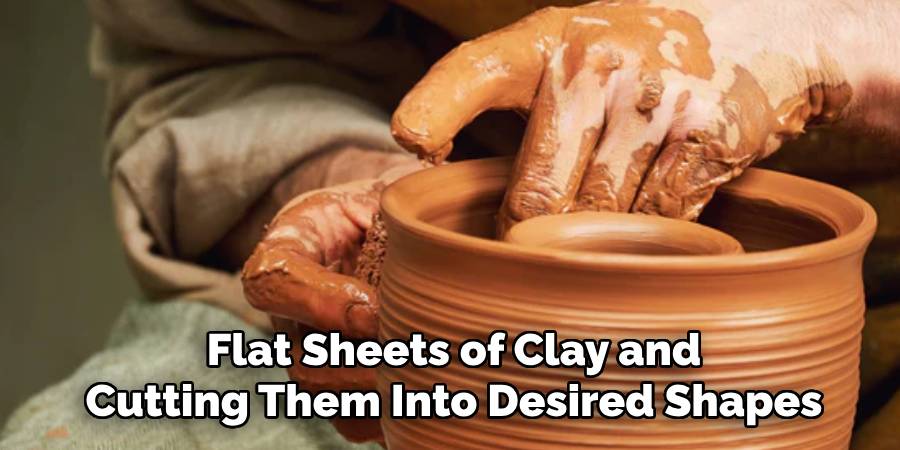
3. Slab Construction for Structured Pot Designs
Slab building involves rolling out flat sheets of clay and cutting them into desired shapes. These slabs can be joined to form boxy or cylindrical pots. To bond the pieces, score the edges with a tool, apply slip (a watery clay paste), and press them together firmly. Slab construction is particularly useful for geometric or modern forms, and it’s great for adding carved textures or relief designs before assembly. Use a rolling pin and guides to ensure even thickness throughout.
4. Pinch and Coil Hybrid for Enhanced Stability
Combining pinch pot and coil techniques offers the best of both methods. Begin with a pinch pot base to establish the foundation, then add coils to build up the walls. This hybrid method is especially helpful when you’re trying to make larger vessels with a rounded form while still maintaining control over the shaping. The initial pinch pot provides a stable base, while coils allow for expansion and height. This is an excellent technique for making functional bowls, planters, or even vases.
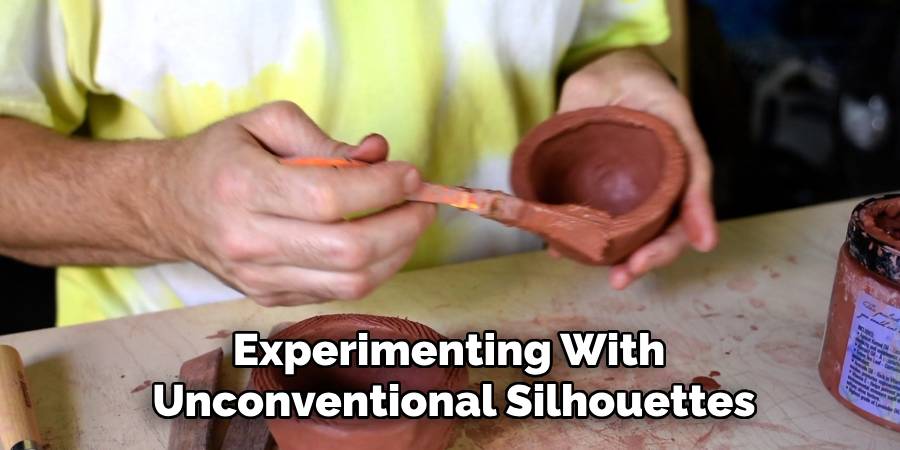
5. Use of Natural Molds or Forms to Shape the Clay
You can shape your pot using objects found around the house as molds—like bowls, bottles, or balloons. Press or drape a slab of clay over or inside the form, trimming and smoothing the edges to create your desired shape. Once partially dry (leather-hard), the clay will hold its structure, and the mold can be removed. This method is useful for achieving symmetry or experimenting with unconventional silhouettes. It also allows you to replicate a form multiple times with consistent results.
6. Thumb-Pulling Technique for Vertical Vessels
This method involves steady, upward pulling using your thumb and fingers to gradually lift and shape the walls of your clay pot from a solid base. Begin with a thick, centered ball of clay and use your thumbs to gently hollow out the middle. Instead of just pinching outward, work upward in layers, smoothing as you go. This technique requires a bit of patience and balance but offers more control for cylindrical or taller shapes without the use of coils.
7. Carving from a Solid Block for Sculptural Pots
For a more sculptural approach, start with a solid block of clay and carve out the center using loop tools or your fingers. Hollowing from a single mass allows for unusual shapes and textures, and you can carve external designs as well. This subtractive process is more demanding on your hands but can produce beautiful, stone-like results. It’s especially effective when working with air-dry clay or when aiming for a heavy, monolithic style.
8. Texture and Decoration While Still Soft
Hand-building gives you the opportunity to imprint texture directly into the clay before it dries. Use textured fabrics, leaves, shells, stamps, or custom-made tools to press patterns into the clay’s surface. For example, you can roll lace into slabs before constructing your pot or press designs into each coil as you build. Adding texture at this stage not only enhances visual interest but can also help disguise any imperfections in the form.
9. Refining the Shape During the Leather-Hard Stage
Once your pot is partially dried to a leather-hard state—firm but still workable—you can refine the form with trimming, smoothing, and carving. Use wooden modeling tools to even out the rim or contour the walls. This is also the ideal stage for adding handles, feet, or decorative elements since the clay can hold its shape without sagging. Take your time here, as this stage allows you to correct asymmetry and finalize the pot’s overall aesthetic.
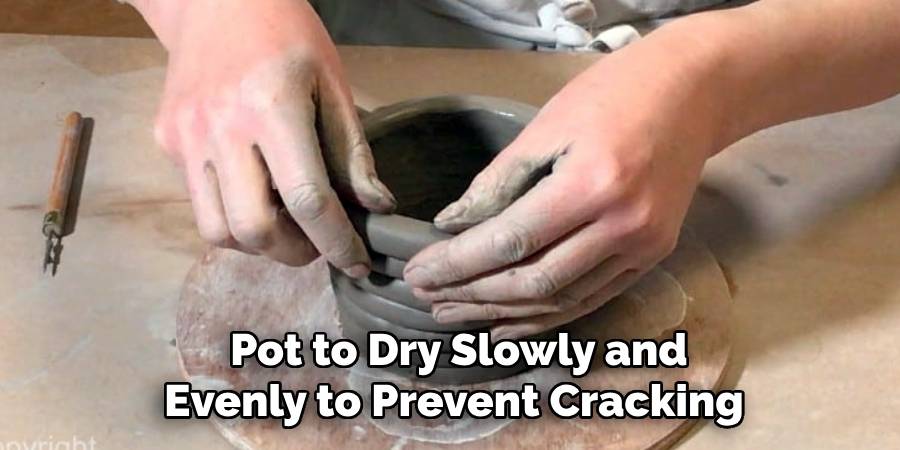
10. Allow Slow Drying and Proper Finishing
Drying is just as important as the building process. Allow your pot to dry slowly and evenly to prevent cracking. Cover it loosely with plastic for the first day or two, especially if it’s thick or has varying wall sizes. Once completely dry, you can smooth the surface with a damp sponge or fine sandpaper. If you’re using kiln-fire clay, now is the time to bisque fire it before glazing. For air-dry clay, you can paint or seal the pot directly after it’s fully hardened. A thoughtful finishing process ensures your pot remains strong and attractive.
Maintenance and Upkeep
Proper maintenance is key to ensuring the longevity of your finished pot. If the pot will be used outdoors or exposed to moisture, consider sealing it with a weatherproof sealant to prevent damage. For glazed and kiln-fired pieces, avoid exposing them to sudden temperature changes, as this can cause cracking. Regularly clean your pot with a soft cloth or sponge to remove dust or debris, avoiding harsh abrasives that could scratch or damage the surface. If your pot develops any chips or cracks over time, repair kits or touch-up paint can be used to restore its appearance. With consistent care, your handcrafted pot can remain functional and beautiful for years to come.
Conclusion
Making a clay pot without a wheel is a hands-on journey that fosters both patience and creativity. From simple pinch pots to intricate coiled vessels and elegant slab-built designs, the possibilities are endless. Each method offers its own aesthetic and functional advantages, and by mastering multiple techniques, you can adapt your approach to any style or project. Whether for art, utility, or personal expression, hand-building clay allows you to forge a unique bond with the medium—one shaped not by machinery, but by the rhythm of your hands.
Specialization:
- Master of wheel-throwing, hand-building, and advanced glazing techniques
- Focus on creating both functional pottery and decorative art pieces
Recognition:
- Celebrated by collectors and art enthusiasts for creating one-of-a-kind pieces that blend artistry with functionality
- Participates in local and national exhibitions, earning accolades for his innovative designs and craftsmanship
Passion:
- Deeply committed to exploring and pushing the boundaries of ceramic artistry
- Continuously experiments with new materials, firing techniques, and artistic concepts to evolve his craft
Personal Philosophy:
- Believes in the transformative power of art, aiming to evoke emotions and connections through his ceramic creations
- Advocates for sustainability in ceramics, using eco-friendly materials and practices whenever possible