


Are you tired of spending money on a new kiln when moving to a new location? Or you’re looking for a more cost-effective, portable solution for firing your ceramics.
How to make a portable kiln can be a rewarding and practical project for those interested in pottery, ceramics, or small-scale firing needs. A portable kiln provides the flexibility to fire your creations in various locations, making it an excellent option for hobbyists, artists, and craftspeople who value mobility and convenience.
This guide will walk you through the essential steps to construct a functional and efficient kiln that is compact, easy to transport, and capable of reaching the high temperatures required for firing. With the right materials and effort, you can create your own portable kiln tailored to your needs.
What Are the Benefits of a Portable Kiln?
So, what makes a portable kiln such an attractive option? Here are some of the top benefits:
- Mobility: A portable kiln is lightweight and compact, efficiently transporting it to different locations. Whether moving to a new home or participating in a ceramics workshop, having a kiln that can go with you is incredibly convenient.
- Cost-effective: Building your portable kiln can save you money compared to purchasing a traditional kiln. It also allows you to customize the size and features based on your budget.
- Efficient Use of Space: A portable kiln can be a great space-saving solution if you have limited space in your studio or workspace. It can easily be stored away when not in use, freeing up valuable space for other activities.
- Versatility: You can fire your ceramics in various locations with a portable kiln. This flexibility is especially useful for artists experimenting with different techniques and materials.
These are just a few of the many benefits of a portable kiln. Now, let’s dive into the steps to make one.
What Will You Need?
Before you begin, make sure you have the following materials:
- Firebrick: This is the primary building material for the kiln. You can purchase firebricks from pottery supply stores or order them online.
- Insulating Firebricks: These line the kiln’s interior and keep heat from escaping. They are also available at pottery supply stores or online.
- Fiber Blanket: A ceramic fiber blanket will act as a layer of insulation between the firebricks and the outer shell of your kiln.
- Metal Rods or Pipes: You will need these to create a frame for your kiln.
- High-Temperature Mortar: This will hold the firebricks in place.
- Sheet Metal: This will be used to create the outer shell of your kiln.
- Welding Equipment (Optional): If you have experience with welding, this can be a valuable tool for assembling the metal frame of your kiln.
Once you have all of the necessary materials, it’s time to start building your portable kiln.
10 Easy Steps on How to Make a Portable Kiln
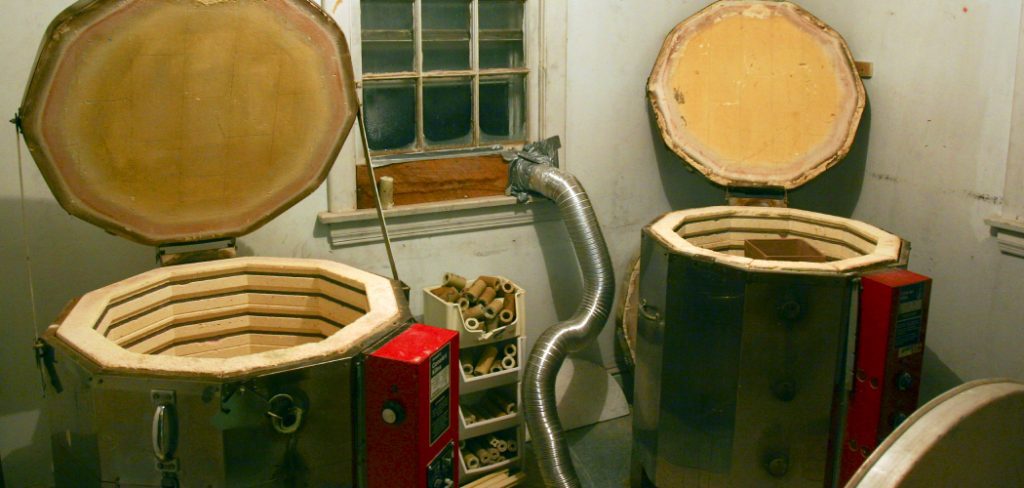
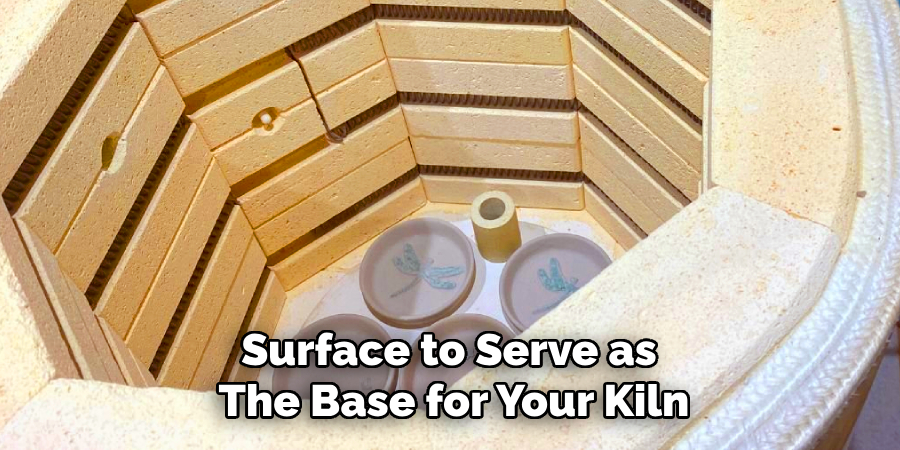
Step 1. Prepare the Base:
Start by selecting a flat and sturdy surface to serve as the base for your kiln. Concrete slabs or fireproof flooring are ideal for stability and safety. Lay the foundation by placing a layer of insulating firebricks on the chosen surface. Arrange the firebricks in a tight and even formation to create a secure base. Use high-temperature mortar to adhere the firebricks together, ensuring no gaps are present where heat could escape. This base will be the groundwork for the rest of the kiln structure, so taking time to ensure it is durable and level is essential for its overall functionality.
Step 2. Build the Walls:
Using more insulating firebricks, start constructing the walls of your kiln. Stack the firebricks vertically around the base’s perimeter, ensuring they are aligned tightly and evenly. Apply high-temperature mortar between the bricks to secure them in place and prevent heat from escaping. Build the walls to the desired height for your kiln, typically around 18-24 inches, depending on your requirements. For added stability, reinforce the corners using metal brackets or bands. Double-check that the walls are straight and sturdy before moving on to the next step.
Step 3. Create the Kiln Roof:
To complete the structure, you will need to build a roof for your kiln. Use arch-shaped firebricks or a combination of regular firebricks and a mold to create a domed or flat roof, depending on your kiln design. Apply high-temperature mortar to hold the bricks securely in place. Ensure that the roof allows adequate space for heat to circulate inside the kiln. Additionally, make a small opening or vent at the top to allow excess heat and gases to escape safely during operation. Once the roof is complete, inspect the entire structure for any gaps or weak points.
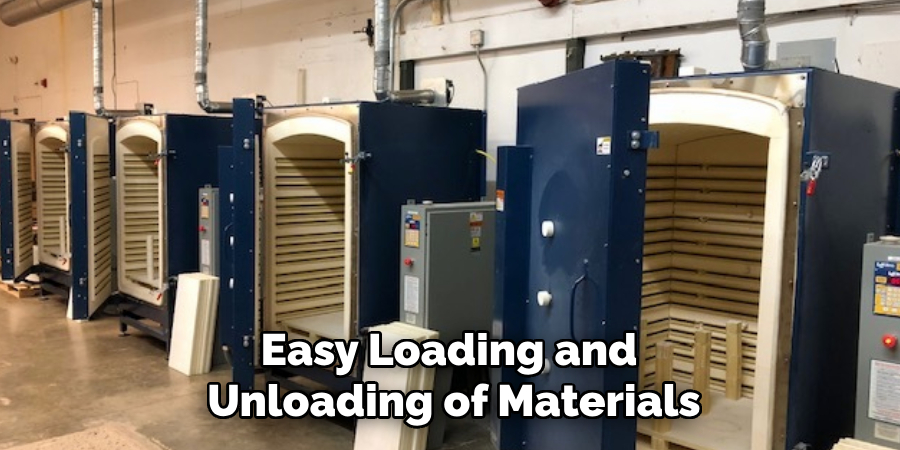
Step 4. Install the Kiln Door:
The kiln door is an essential component that allows for easy loading and unloading of materials. Construct the door using firebricks or insulated metal to withstand high temperatures. Attach the door to the front of the kiln using heat-resistant hinges or a sliding mechanism, depending on your design preference. Ensure the door fits snugly to prevent heat loss but can still be opened and closed easily. Additionally, consider adding a latch or locking mechanism for extra security during operation. Once installed, test the door to confirm it functions smoothly and seals properly.
Step 5. Connect a Heat Source:
To operate the kiln effectively, you need a reliable heat source. Depending on your kiln design, this could be a gas burner, an electric heating element, or even wood for a traditional method. Install the heat source following the manufacturer’s instructions, ensuring it is positioned to distribute heat evenly throughout the kiln chamber. A gas or wood-fired kiln, including a chimney or exhaust system, can be used to safely direct smoke and fumes away from the working area. For an electric kiln, verify that the electrical wiring and connections are properly insulated and capable of handling the high temperatures. After installation, test the heat source to confirm it operates safely and provides consistent heating.
Step 6. Add Shelves and Supports:
Inside the kiln, you will need shelves and supports to hold the items you plan to fire. Choose kiln shelves made from heat-resistant materials, such as cordierite or silicon carbide, designed to withstand the high temperatures of the firing process. Arrange the shelves on stilts or posts to create multiple firing levels while allowing space for proper heat circulation. Ensure the shelves and supports are sturdy and level to prevent items from shifting or tipping during firing. Avoid overcrowding the kiln to reduce the risk of uneven heating or damage to your items.
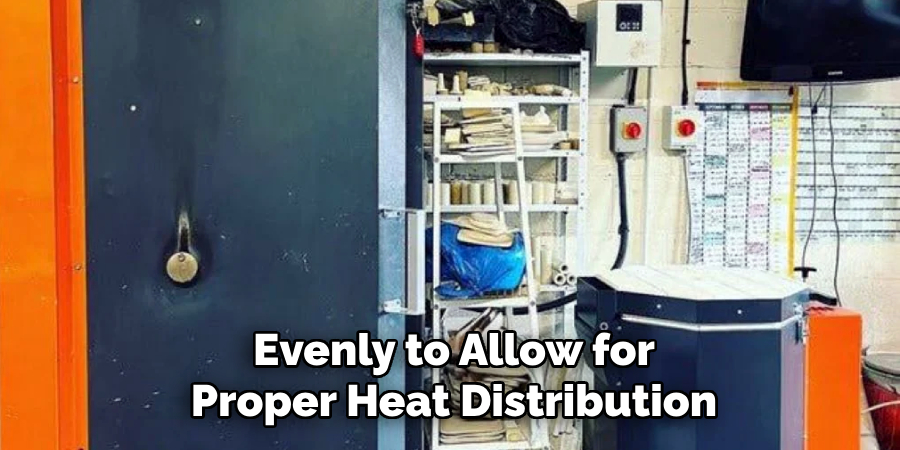
Step 7. Load the Kiln Properly:
Carefully load your items into the kiln, ensuring they are spaced evenly to allow for proper heat distribution. Avoid placing items too close to the kiln walls or each other, as this can lead to uneven firing or damage. For glazed pieces, ensure there is enough space between them to prevent sticking if the glaze melts during firing. Use kiln stilts or props for items that require support, and double-check that all pieces are stable and secure. Taking the time to load your kiln thoughtfully is crucial for achieving the best firing results.
Step 8. Monitor the Firing Process:
Once the kiln is loaded and the firing process begins, it is essential to monitor it closely. Monitor the temperature and follow the recommended firing schedule for your specific materials and kiln type. Use a pyrometer or thermocouples to accurately track the heat levels and ensure the kiln’s ventilation system functions properly. Avoid opening the kiln during firing, as sudden temperature changes can damage your pieces or the kiln itself. Patience and careful attention during this step will help ensure a successful firing and protect your work.
Step 9. Cool Down and Unload the Kiln:
After the firing process, allow the kiln to cool down gradually. Avoid opening the kiln too soon, as rapid temperature changes can lead to cracking or other damage to your pieces. Refer to your kiln manual for the recommended cooling time, which can vary depending on the type of kiln and materials used. Once the kiln has completely cooled, carefully unload your pieces, inspecting them for any defects or imperfections. Proper cooling is essential to preserving the integrity of your work and ensuring it is ready for glazing, finishing, or display.
Step 10. Glaze and Final Firing:
If you wish to add a glaze to your pieces, this step involves applying the desired glaze to the surface of your work. Glazes can add color, texture, and a protective finish. Follow the manufacturer’s instructions for mixing and applying the glaze, ensuring even coverage. Once glazed, place the pieces back into the kiln for a final glaze firing. This firing typically requires a specific temperature range depending on the type of glaze used. Monitor the kiln carefully and allow for gradual cooling after completing the process. Proper glazing and firing will give your work its finished, polished appearance.
By following these steps and understanding the fundamentals of kiln construction and operation, you can create your own functional and reliable kiln for firing pottery, ceramics, or other materials.
Conclusion
How to make a portable kiln is a rewarding process that allows you to bring your creative projects to life with greater flexibility and control.
By carefully selecting your materials, understanding the principles of kiln design, and following each step of construction and operation, you can create a functional and durable kiln suited to your needs. Always prioritize safety and proper handling when working with heat and specialized equipment.
With practice and attention to detail, your portable kiln can become an essential tool for artistic expression and experimentation, enabling you to produce high-quality results wherever your creativity takes you.
Specialization:
- Master of wheel-throwing, hand-building, and advanced glazing techniques
- Focus on creating both functional pottery and decorative art pieces
Recognition:
- Celebrated by collectors and art enthusiasts for creating one-of-a-kind pieces that blend artistry with functionality
- Participates in local and national exhibitions, earning accolades for his innovative designs and craftsmanship
Passion:
- Deeply committed to exploring and pushing the boundaries of ceramic artistry
- Continuously experiments with new materials, firing techniques, and artistic concepts to evolve his craft
Personal Philosophy:
- Believes in the transformative power of art, aiming to evoke emotions and connections through his ceramic creations
- Advocates for sustainability in ceramics, using eco-friendly materials and practices whenever possible