


Creating ceramic boats is a fascinating blend of art and craftsmanship that allows you to explore the beauty of ceramics while crafting functional, decorative, or whimsical pieces. This process involves shaping clay into intricate forms, understanding key techniques, and applying finishes that showcase your unique vision.
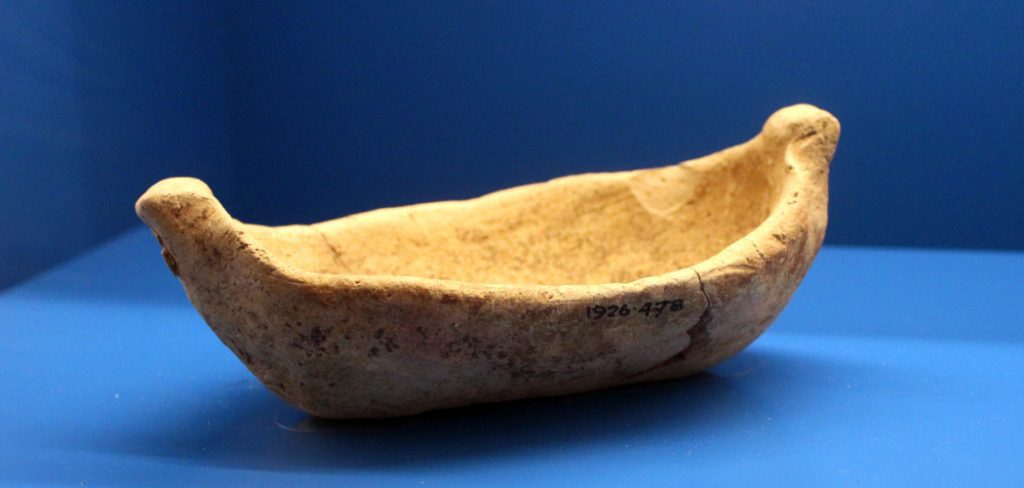
Whether you’re a beginner or an experienced ceramicist, making ceramic boats provides an opportunity to experiment with form, texture, and artistic expression. This guide will walk you through the essential steps on how to make ceramic boats, materials, and tips to help you bring your ceramic boat creations to life.
Materials and Tools Needed
Clay:
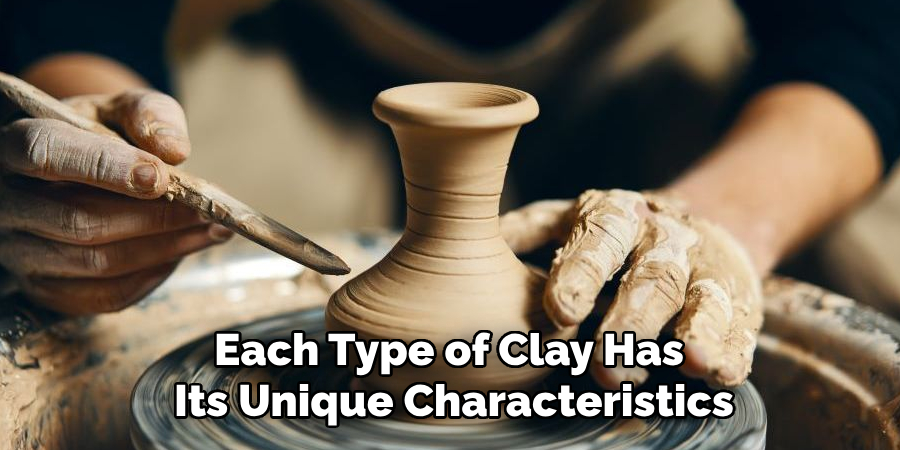
The primary material needed for making ceramic boats is clay. You can choose from a variety of clays such as earthenware, stoneware, or porcelain. Each type of clay has its unique characteristics and properties, so it’s essential to experiment and find the one that suits your project best.
Rolling Pin:
A rolling pin is used to flatten the clay and create smooth, even surfaces. It’s recommended to choose a wooden or acrylic rolling pin for better control and ease of use.
Cutting Tools:
Cutting tools such as knives, wire cutters, or dental tools are essential for shaping and carving details on your ceramic boat. Make sure to have a variety of sizes and shapes for different techniques.
Modeling Tools:
Modeling tools are used for sculpting and refining the shape of your ceramic boat. These tools come in various shapes and sizes, including loop tools, rib tools, and needle tools.
Glazes:
Glazes are used to give your ceramic boat its final finish. They come in a range of colors and can be applied using different techniques such as dipping, brushing, or spraying.
Kiln:
A kiln is an essential tool for firing your ceramic boats. It’s a high-temperature oven that hardens the clay and fuses the glaze onto the surface. If you don’t have access to a kiln, there are alternative methods such as using air-dry clay or hiring a pottery studio.
7 Step-by-step Guides on How to Make Ceramic Boats
Step 1: Prepare Your Clay
Begin by preparing your clay to ensure it’s workable and free of any air pockets. Start by wedging the clay, which involves kneading it thoroughly on a flat surface. This process removes trapped air bubbles and creates a uniform consistency, making the clay easier to shape and less likely to crack during firing.
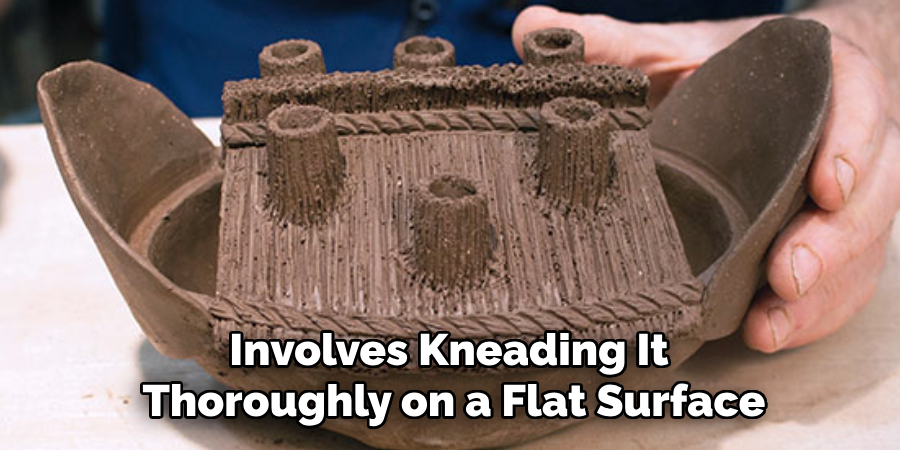
Use a clean, non-porous surface for wedging and apply firm, consistent pressure as you knead. Once the clay is smooth and pliable, it’s ready to be rolled or shaped into the base structure of your ceramic boat. Proper clay preparation is crucial for achieving durable and even results in your final piece.
Step 2: Roll Out the Clay
Once your clay is properly wedged, it’s time to roll it out into an even slab. Use a rolling pin and place the clay on a flat, clean surface dusted lightly with flour or covered with a canvas cloth to prevent sticking. Roll the clay evenly, turning it periodically to maintain a consistent thickness across the entire slab.
Aim for a thickness that is sturdy enough to support the structure of the boat but thin enough to allow for easy shaping—typically around 1/4 inch. This slab will serve as the foundational material for constructing the body of your ceramic boat. Smooth out any surface imperfections or air bubbles in the next steps to ensure a clean and polished appearance.
Step 3: Cut Out the Shape of Your Boat
Using your prepared clay slab, it’s time to cut out the shape of your ceramic boat. Begin by deciding on the design and dimensions of your boat, and if necessary, sketch the shape on paper or directly onto the clay slab with a needle tool. Common designs include simple canoe-like forms or more intricate boat shapes with curved edges.

Once your design is outlined, use a sharp cutting tool, such as a knife or wire cutter, to carefully cut along the lines. Ensure your cuts are smooth and precise to avoid uneven edges. Depending on your design, you may need to cut additional pieces for elements like sides, the base, or decorative details. Take your time during this step, as clean and accurately cut shapes will make assembly much easier and result in a more polished final piece.
Step 4: Shape and Carve Details
Now that you have the basic cut-out shapes for your ceramic boat, it’s time to assemble and refine the structure. Begin by gently shaping the clay pieces to match the contours of your boat design. Use your hands to curve and manipulate the clay, applying light, even pressure to prevent cracking. For more intricate adjustments, you can use modeling tools such as loop tools or rib tools to refine the edges and surfaces.
Once the main body of your boat is assembled, carve any desired details to enhance its appearance. For example, you might etch patterns on the sides, create textural effects, or add functional elements like oarlocks or sails. Use a needle tool or other fine carving tools for precision, and make sure to smooth out any rough areas with a damp sponge or soft brush. Take your time during this step to ensure the details align with your artistic vision, as this will give your ceramic boat its unique character and charm.
Step 5: Allow the Clay to Dry
After shaping and carving, allow your ceramic boat to dry completely before firing. This step is crucial as any residual moisture in the clay can cause the piece to explode when heated in a kiln. Depending on the thickness of your clay and environmental conditions, this drying process can take anywhere from a few days to several weeks.
It’s best to let the pieces air-dry slowly, but you can also use a fan or dehumidifier for faster results.
Step 6: Apply Glaze
Once your ceramic boat has dried completely and undergone an initial bisque firing in the kiln, it’s time to apply glaze to achieve the desired finish. Start by cleaning the surface of the piece to remove any dust or debris, as this can interfere with the adherence of the glaze. Choose a glaze that complements your design—options range from glossy and transparent finishes to matte or textured effects.

You can apply the glaze using various techniques such as brushing, dipping, or spraying. Brushing allows for detailed work, while dipping ensures an even coat across larger areas. If using multiple glaze colors, allow the first layer to dry before applying additional layers to avoid smudging. Always follow the glaze manufacturer’s instructions for application thickness and drying times.
Step 7: Fire Your Ceramic Boat
The final step in making your ceramic boat is firing it in the kiln to a high temperature that fuses the glaze onto the surface and hardens the clay. Firing temperatures vary depending on the type of clay and glaze used, so make sure to check your materials for recommended firing temperatures. During this process, the clay will shrink slightly, and the glaze will melt and fuse with the clay body, resulting in a strong and durable piece.

Following these steps on how to make ceramic boats will result in a beautiful and functional ceramic boat that you can display or use for boating adventures. Remember to always handle your creation with care and enjoy the rewarding experience of creating your own unique piece of ceramic art. Happy crafting!
Troubleshooting and Common Mistakes
Creating ceramic boats can be a fun and rewarding experience, but it’s important to be aware of potential mistakes and issues that may arise. Here are some troubleshooting tips for common problems:
Cracking During Firing:
This can occur if the clay is not properly wedged or if air bubbles were not removed during shaping. Ensure proper preparation and smoothing techniques to avoid this issue.
Warping or Uneven Shapes:
This can happen if the clay is not rolled evenly in Step 2. Take your time and check for consistent thickness during the rolling process. Also, be careful when handling and shaping the clay to avoid distorting the shape.
Glaze Running or Dripping:
This can occur if glaze is applied too thickly or unevenly. Follow manufacturer’s instructions for application and consider using a glaze thinner to achieve a smoother finish. Alternatively, you can also use a sponge or brush to remove excess glaze before firing.
Final Thoughts:
Remember that creating ceramic boats takes practice and patience. Don’t be afraid to experiment with different techniques and designs to find what works best for you. And most importantly, have fun and enjoy the creative process!
Frequently Asked Questions
Q: Do I Need Special Tools or Equipment to Make Ceramic Boats?
A: While some specialized tools can be helpful, such as a pottery wheel or kiln, you can also create beautiful ceramic boats using basic tools like a knife, wire cutter, and modeling tools. You can also use an oven or kiln for firing, but make sure to follow proper safety precautions and manufacturer’s instructions.
Q: How Long Will My Ceramic Boat Last?
A: With proper care, a ceramic boat can last for many years. Avoid exposing it to extreme temperatures or harsh chemicals, and handle with care to prevent breakage. You can also apply a sealant after firing for added durability.
Q: Can I Make Different Types of Boats Using This Method?
A: Yes, you can use this method to create various types of boats by adjusting the design and shape of the clay pieces. Experiment with different ideas and have fun creating unique vessels that showcase your creativity!
Conclusion
In conclusion, creating a ceramic boat is a fun and rewarding process that allows for artistic expression and the creation of functional pieces. From preparing the clay to shaping and glazing, each step requires patience, attention to detail, and an eye for design.
Following these steps on how to make ceramic boats will guide you in creating a durable and unique ceramic boat that can be enjoyed for years to come. So gather your materials, let your creativity flow, and set sail with your very own handmade ceramic boat. Happy crafting! Remember to always handle your creation with care and enjoy the rewarding experience of creating your own unique piece of ceramic art. Happy crafting!
Specialization:
- Master of wheel-throwing, hand-building, and advanced glazing techniques
- Focus on creating both functional pottery and decorative art pieces
Recognition:
- Celebrated by collectors and art enthusiasts for creating one-of-a-kind pieces that blend artistry with functionality
- Participates in local and national exhibitions, earning accolades for his innovative designs and craftsmanship
Passion:
- Deeply committed to exploring and pushing the boundaries of ceramic artistry
- Continuously experiments with new materials, firing techniques, and artistic concepts to evolve his craft
Personal Philosophy:
- Believes in the transformative power of art, aiming to evoke emotions and connections through his ceramic creations
- Advocates for sustainability in ceramics, using eco-friendly materials and practices whenever possible