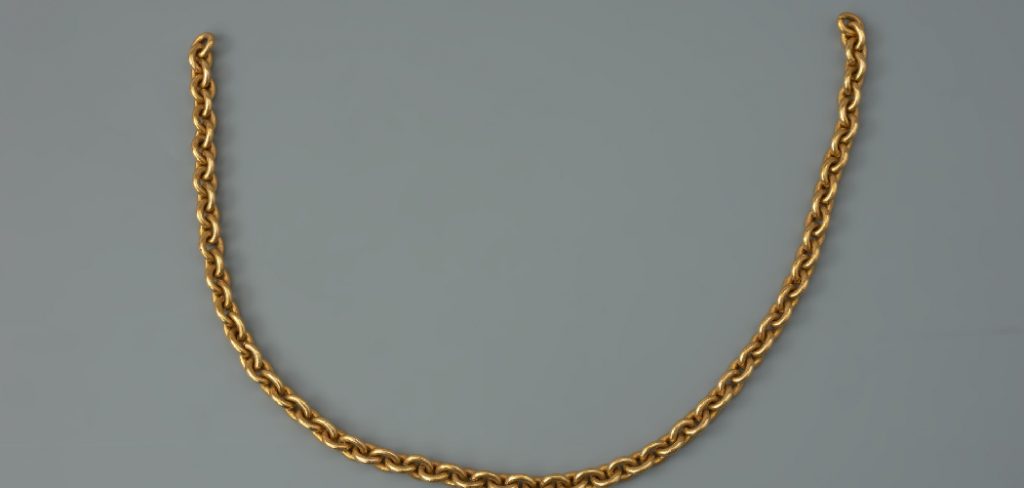
Ceramic chains are a unique and beautiful way to incorporate handmade ceramics into jewelry, home decor, or art installations. Each chain link is crafted from clay and connected to form a continuous, interconnected chain. These chains can be used as decorative hanging pieces, necklaces, or even artistic sculpture elements. They offer a rustic, organic aesthetic complementing various interior designs and personal styles.
The tactile quality and the earthy tones of ceramic chains make them a versatile addition to many creative projects. This guide will walk you through the process of how to make ceramic chain, from shaping each link to firing and assembling the final piece. By following these steps, you’ll create a stunning handmade chain that’s both durable and artistic, showcasing your craftsmanship and creativity.

Tools and Materials You Will Need
Before you begin crafting your ceramic chain, gathering the right tools and materials is essential. You will need clay, which can be earthenware, stoneware, or porcelain, depending on your preference for texture and finish. Additionally, you will require a slip to attach the links together and glaze if you wish to include a glossy finish or add color. Water is necessary for keeping the clay workable and for cleaning.
You’ll need a rolling pin or slab roller to flatten the clay to your desired thickness and a knife or clay cutter to shape the links. A needle tool or skewer helps pierce holes, while a sponge is valuable for smoothing surfaces.
You will also need a kiln to fire your pieces. Optional tools include a paintbrush for glaze application, glaze tongs for handling glazed pieces, and sandpaper or a small file for smoothing edges. Together, these tools will ensure that your crafting process is both efficient and enjoyable.
Preparing the Clay
Step 1: Condition the Clay
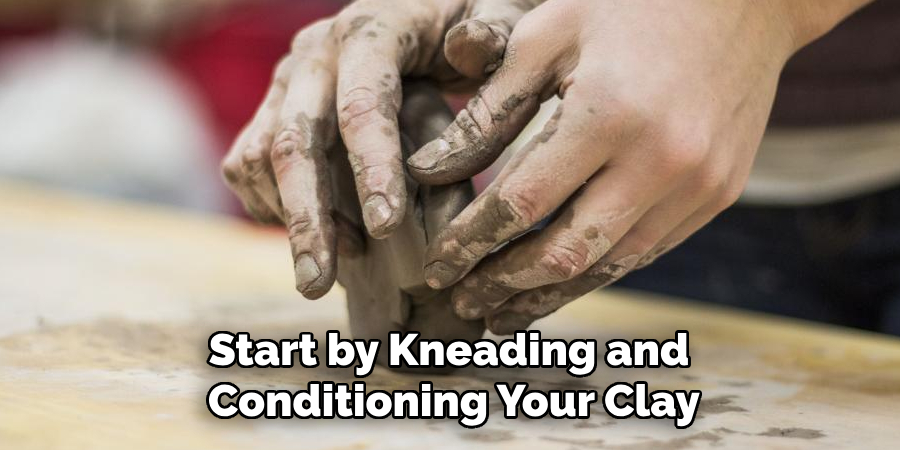
Start by kneading and conditioning your clay to remove air bubbles and make it more pliable. This preliminary step is crucial because air pockets can cause cracking or breakage during the shaping and firing process. Spend a few minutes pressing and folding the clay, ensuring a smooth and consistent texture throughout.
Tip: If you’re using store-bought clay, be sure to follow any preparation instructions specific to that clay type, as certain clays may have different preparation requirements.

Step 2: Roll the Clay into Sheets or Cylinders
Utilize a rolling pin or slab roller to transform the clay into a flat sheet about ¼ inch thick. This thickness is ideal for creating strong yet maneuverable links. Alternatively, for rounded chain links, you can roll the clay into long cylinders resembling a snake, with a thickness similar to that of a pencil.
Thickness Matters: Aiming for an even thickness across all sections ensures the chain links are both durable and aesthetically-pleasing without being overly bulky.
Step 3: Cut the Clay
For those starting with a sheet of clay, employ a knife or clay cutter to cut out rectangular or oval shapes, as these will be formed into links. If you’ve opted for cylindrical shapes, go ahead and cut them into evenly sized-pieces to form loops. Tip: Using a template or ruler guarantees that each link is the same size, which is important for achieving uniformity in your final design.
Step 4: Smooth the Edges
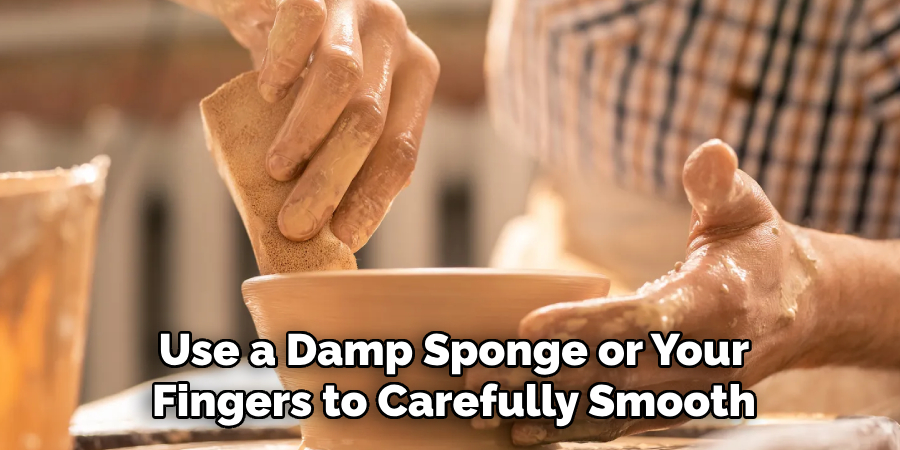
To ensure safety and aesthetics, use a damp sponge or your fingers to carefully smooth the edges of each link, making sure no sharp or rough spots remain. Tidying up the edges renders the links more comfortable to handle and wear and contributes to an overall polished finish in your ceramic chain.

How to Make Ceramic Chain: Shaping the Chain Links
Step 1: Form the Links
Take each piece of clay and gently bend it into a loop or an oval shape to form the individual links of the chain. You have the creative liberty to craft round, oval, or even angular links that align with your aesthetic vision for your ceramic chain. Before sealing the loop, threading one end of the link through the previous loop is crucial. This interconnection forms the distinctive interlocking chain feature.
Tip: Avoid closing the links too tightly, as clay can shrink slightly during the drying and firing process, which might alter the intended spacing and fit.
Step 2: Secure the Ends
Once each link is shaped and interlinked, the ends of the clay need to be scored using a needle tool or skewer. This roughens the surface, preparing it for a more secure bond. Apply a small amount of slip, a liquid mixture of clay and water, to the scored surfaces. This slip acts as an adhesive, aiding the ends to bond securely. Gently press the ends together and smooth over the joint to ensure a seamless look.
Reinforcement Tip: For additional strength, you can create a thin coil of clay and wrap it around the joint, smoothing it out for reinforcement without disturbing the look of the link.
Step 3: Create Uniform Links
As you continue to shape and connect additional links, it’s important to maintain consistency in the size and shape of each link. A balanced and uniform design contributes to an aesthetically pleasing final appearance. Work deliberately, ensuring each link mirrors the others in its dimensions and form, enabling the chain to maintain its visual harmony and structural integrity.
Step 4: Dry the Links
After constructing the chain to the desired length, allow the links to air dry thoroughly. Drying times vary based on the clay’s size and thickness; generally, this takes several days. Ensuring complete dryness is crucial, as residual moisture in the clay can lead to cracking or explosions during the kiln firing.
Tip: To prevent the links from sticking to your work surface, lay them out on wax paper or a drying rack. Providing ample space between links allows for even air circulation, aiding the drying process.

How to Make Ceramic Chain: Firing the Ceramic Chain
Step 1: Bisque Firing
Once your chain links are fully dried, they’re ready for the first firing, known as bisque firing. Carefully place the ceramic links into the kiln, ensuring they are not touching each other to prevent sticking or uneven firing. Firing the kiln according to the recommended temperature for your specific type of clay is crucial. For earthenware, this typically ranges around 1800-1940°F (982-1060°C). Tip: If the links are large or heavy, consider using kiln furniture, such as small stilts or props, to prevent them from sagging or deforming during the firing process. Correctly setting up your kiln load will support an even firing and help maintain the chain links’ intended shape.
Step 2: Cooling the Kiln
After the bisque firing cycle is complete, allowing the kiln to cool slowly is important. Rapid cooling can cause thermal shock, which may lead to cracking or breaking of the ceramic pieces. Open the kiln only when it has reached a safe temperature, which is generally below 200°F (93°C), to avoid abrupt temperature changes that could damage the links. This slow cooling process also helps lock in the clay’s expanded state, solidifying the chain links’ structure while maintaining their integrity.
Step 3: Inspect and Sand (Optional)
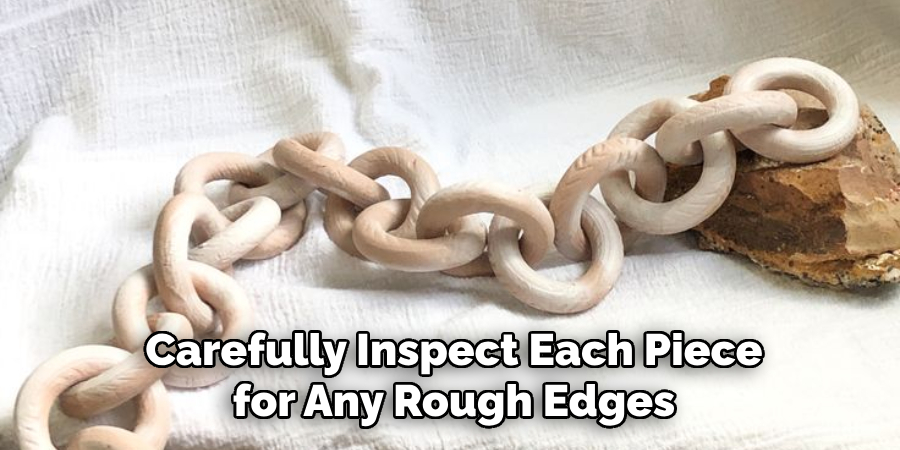
Once the ceramic links have cooled, carefully inspect each piece for any rough edges or surface imperfections. This step ensures that your chain is comfortable to wear and visually appealing. If you encounter any unwelcome textures or uneven surfaces, you can gently sand down these areas using fine sandpaper. Tip: When handling bisque-fired ceramics, remember that they are still somewhat fragile. Handle each link with care to prevent chipping or unwanted breakage while refining its surface, ensuring your ceramic chain achieves a refined, finished look.

Glazing and Final Firing (Optional)
Step 1: Apply the Glaze
If you want to add color or shine to your ceramic chain, now is the time to glaze the links. Use a paintbrush to apply glaze evenly to each link, covering all areas. Depending on the look you’re going for, you can choose from matte, glossy, or textured glazes. Tip: Make sure to use a glaze that’s compatible with your clay body and firing temperature for the best results and to prevent defects in the glaze finish.
Step 2: Prevent Sticking
When glazing, avoid getting glaze on the inside of the links or any areas that will touch the kiln shelves. Otherwise, the links may fuse to each other or the kiln during the glaze firing. Use kiln stilts or separate the links during the firing process to avoid sticking. Tip: Glaze tongs can help you handle the links without getting fingerprints on the glaze, preserving a smooth, unblemished finish.
Step 3: Glaze Firing
Place the glazed links back into the kiln for the second firing, also known as glaze firing. The required temperature typically ranges around 2000-2200°F (1093-1204°C), depending on the type of glaze and clay used. This step vitrifies the glaze, creating a glassy, protective layer over the clay. Properly positioning the links in the kiln will ensure an even distribution of heat and assist in achieving a consistent glaze finish across all links.

Step 4: Cool the Kiln
Once the firing is complete, it is essential to let the kiln cool fully before removing the chain links. Rapid temperature changes can result in cracking or crazing of the glaze, so open the kiln only when it has cooled to a safe temperature—usually below 200°F (93°C). This gradual cooling solidifies the glaze, showcasing your chosen brilliant colors and textures. These steps will result in a beautifully finished ceramic chain ready to be displayed or worn.
Conclusion
Making a ceramic chain involves a series of precise steps, each crucial to achieving a stunning final piece. Start by preparing the clay and meticulously shaping and securing each link. Once you’ve constructed the chain to your desired length and style, proceed with the bisque firing to solidify the structure. If desired, apply glaze for added color and texture before the final glaze firing.
This process yields a finished product ready for display or usage. Remember, creating ceramic chains requires patience and diligence, but the end result—a beautiful and unique piece—is worth the effort. Whether crafting jewelry, embellishing home decor, or fashioning decorative art, the adaptability of ceramic chains is unmatched. Don’t shy away from experimenting with varying shapes, sizes, and finishes to design a truly exclusive ceramic chain that mirrors your individuality and artistic flair. For those intrigued to learn more, explore detailed guides on “how to make ceramic chain.”
Specialization:
- Master of wheel-throwing, hand-building, and advanced glazing techniques
- Focus on creating both functional pottery and decorative art pieces
Recognition:
- Celebrated by collectors and art enthusiasts for creating one-of-a-kind pieces that blend artistry with functionality
- Participates in local and national exhibitions, earning accolades for his innovative designs and craftsmanship
Passion:
- Deeply committed to exploring and pushing the boundaries of ceramic artistry
- Continuously experiments with new materials, firing techniques, and artistic concepts to evolve his craft
Personal Philosophy:
- Believes in the transformative power of art, aiming to evoke emotions and connections through his ceramic creations
- Advocates for sustainability in ceramics, using eco-friendly materials and practices whenever possible


