


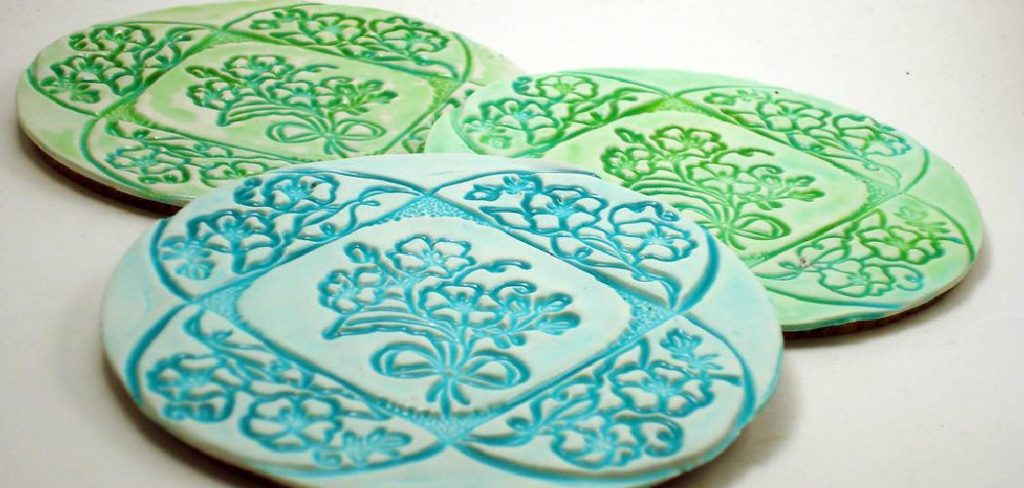
Ceramic coasters are both functional and decorative items designed to protect surfaces from heat and moisture damage caused by hot drinks. These versatile pieces are often crafted to express personal style or complement existing home décor, making them popular for custom gifts and home projects.
The process of making ceramic coasters involves various creative steps—from selecting the right type of clay and designing unique patterns to mastering glazing techniques. This guide, focusing on “how to make ceramic coasters,” will take you through each step of the creation process, empowering you to create beautifully crafted, durable coasters suitable for any occasion. Whether you’re a beginner or an experienced ceramicist, the journey of crafting these coasters provides an enjoyable and satisfying experience, culminating in the creation of practical and artistic pieces that enhance any living space.
Materials Needed
Essential Materials
To successfully embark on the ceramic coaster-making adventure, you will need a few essential materials. Begin with clay; choose from stoneware, earthenware, or porcelain based on your desired strength and finish. A rolling pin will aid in creating even slabs of clay, while various pottery tools such as carving tools, sponges, and smoothers are necessary for shaping and refining your designs. Completing your toolkit, you’ll need a glaze for finishing the coasters, water, and a kiln for the firing process.
Optional Materials
To add personal flair to your coasters, consider using optional materials like underglaze to introduce color. Enhance designs with stamps or texture tools, perfect for imprinting unique patterns. Wax resist is useful for creating striking designs by preventing glaze from adhering to specific areas, creating contrast. Ceramic paints can provide precise embellishments for intricate detail work, allowing your artistic vision to truly shine. These additional materials can help transform simple coasters into bespoke pieces of art.
Designing Your Ceramic Coasters
Planning the Design
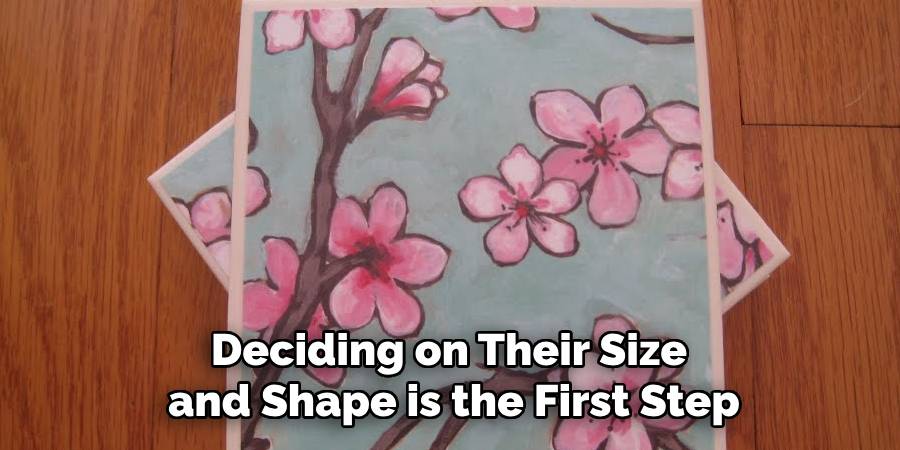
Deciding on their size and shape is the first step when designing your ceramic coasters. Common options include classic square or round shapes, but don’t hesitate to explore custom designs that reflect your personal taste. Consider the overall style you wish to achieve: minimalist, with clean lines and subtle details; geometric, showcasing bold patterns and angles; or even nature-inspired, embodying elements like leaves or flowers. Personalized designs incorporating monograms or unique patterns can also add a personal touch to your coasters, making them charming conversation pieces that reflect your personality and complement your home décor.
Decorative Elements
Incorporating decorative elements into your coasters can significantly enhance their appeal. Consider adding textures through techniques like pressing with stamps or natural objects or by carving intricate patterns into the clay. Stamped designs or hand-painted details can bring a distinctive artistic flair to each piece. Additionally, using underglaze or ceramic paints allows for vibrant colors and intricate accents, allowing you to personalize each coaster. Through these methods, you can transform simple clay blanks into personalized works of art that align with your aesthetic vision, creating functional and beautiful pieces to admire.
Preparing the Clay
Selecting the Clay
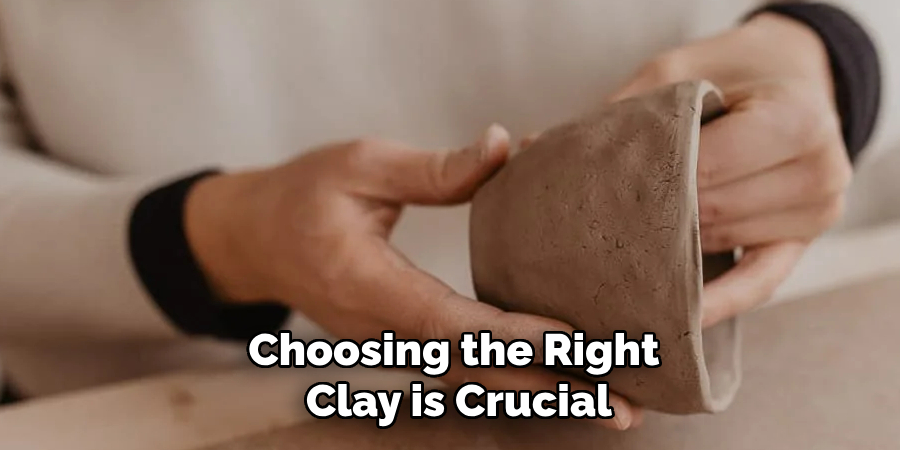
Choosing the right clay is crucial for ensuring your ceramic coasters are both functional and aesthetically pleasing. Stoneware is a top choice due to its durability and ability to capture detailed textures, making it ideal for everyday use and intricate designs. On the other hand, Earthenware is easier to shape and is suitable for beginners seeking a more straightforward molding process. For those pursuing a refined, elegant finish, porcelain offers a smooth, fine texture that elevates the look of your coasters. Stoneware’s popularity stems from its robust nature, perfect for handling frequent use without compromising on artistic details.
Preparing the Clay
Proper clay preparation is essential to avoid defects in your finished coasters. Begin by wedging the clay, which removes air bubbles and provides a uniform consistency. This step is pivotal in preventing cracks or weaknesses during firing. To maintain the right moisture level, ensure that your clay is neither too dry, which can hinder shaping and cause cracking, nor too wet, making it difficult to manage and resulting in misshapen coasters. Balancing moisture ensures ease in handling and shaping, setting a solid foundation for your creative process.
How to Make Ceramic Coasters: Shaping the Coasters
Rolling the Clay
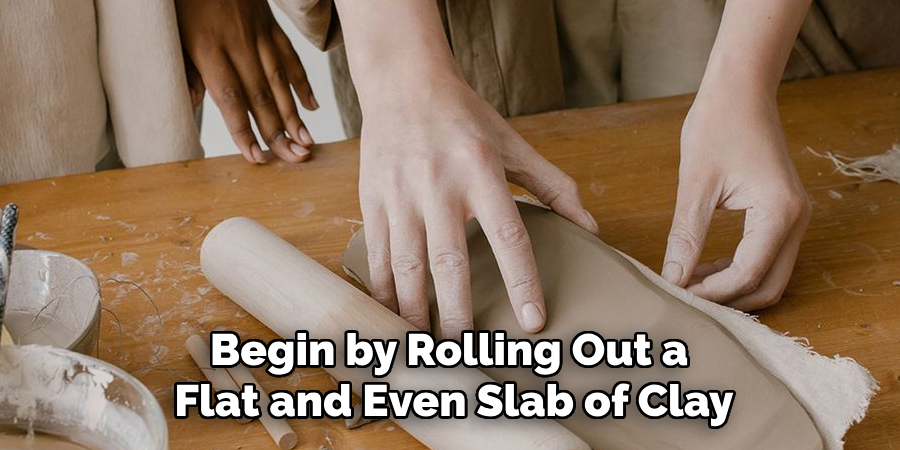
To start shaping your ceramic coasters, begin by rolling out a flat and even slab of clay. Use a rolling pin on a flat surface, applying steady and even pressure to ensure that the clay achieves a uniform thickness, ideally around 1/4 inch. This thickness balances durability and a lightweight design, making the coasters easy to handle and robust for everyday use.
If achieving consistent thickness proves challenging, position wooden slats on either side of the clay to guide the rolling pin, serving as a reference to maintain uniformity. Once the slab is ready, determine the desired shape of your coasters, opting for classic square or round designs. Employ a template or guide for precision, or cut freehand for a more organic look. Use a sharp pottery knife or a needle tool to carefully outline and sever each form from the rolled slab, ensuring clean edges for the next steps.
Shaping and Smoothing
After cutting the coasters, refine their edges and surfaces to achieve a smooth finish. Dampen a sponge and gently run it along the edges to smooth them out, creating rounded corners that are comfortable to touch and safe to use. This smoothing prevents sharpness and enhances the coaster’s overall aesthetic appeal. For additional refinement, use smoothing tools, such as a rib tool, to glide over the surface, ensuring an even, polished finish without blemishes. Attention to detail here is essential, as it contributes significantly to the coaster’s comfort and functionality.
For those looking to further personalize their creations, consider adding textured designs or decorative patterns during this stage. Utilize stamps or carving tools to impress unique textures or motifs onto the surface of the clay. Freehand methods such as etching provide creative freedom to explore intricate designs, thus adding character and individuality to each coaster. This optional step enhances the artistic value of your coasters, transforming them into unique pieces that reflect your creative vision.
How to Make Ceramic Coasters: Drying and Firing the Coasters
Drying Process
Allowing ceramic coasters to dry slowly and evenly is crucial to prevent cracking or warping. Set the coasters on a flat, absorbent surface, such as a drywall board or a piece of fabric, which facilitates even drying. Cover them loosely with plastic to limit airflow and retain moisture, extending the drying time and reducing stress on the clay. This careful management of moisture ensures that the coasters dry evenly, offering a sturdy foundation for the bisque firing. Regularly turning or rotating each coaster during the drying phase maintains its shape and prevents warping, ultimately resulting in uniformly shaped pieces ready for further processing.
Bisque Firing
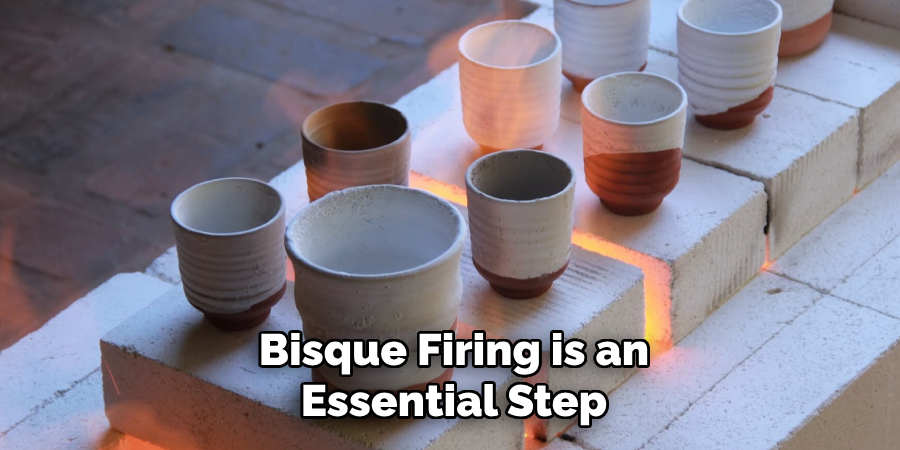
Bisque firing is an essential step that hardens the coasters to prepare them for glazing. During this process, the coasters are fired at a temperature typically around 1800°F (982°C), enabling the clay to transition from a fragile state to a semi-vitrified, sturdy form. This initial firing imparts strength, allowing the pieces to withstand handling during the glazing process. The coasters become durable and resilient by undergoing bisque firing, making them suitable for applying glazes, which will permanently seal and decorate them in subsequent firing stages. This ensures both longevity and aesthetic appeal in the finished product.
Glazing the Coasters
Choosing the Right Glaze
Selecting the appropriate glaze for your ceramic coasters enhances their beauty and functionality. Depending on the desired finish, you can choose from a variety of glaze options, such as matte, glossy, clear, or colored glazes. Matte glazes offer a subdued, elegant look, while glossy glazes provide a shiny, reflective surface that catches the light beautifully. Clear glazes preserve and protect the natural color and texture of the clay, whereas colored glazes can add vibrant hues or subtle tones to complement your design. When selecting a glaze, consider how it will work with the existing design of your coasters and align with your aesthetic preferences, ensuring a cohesive and visually appealing end result.
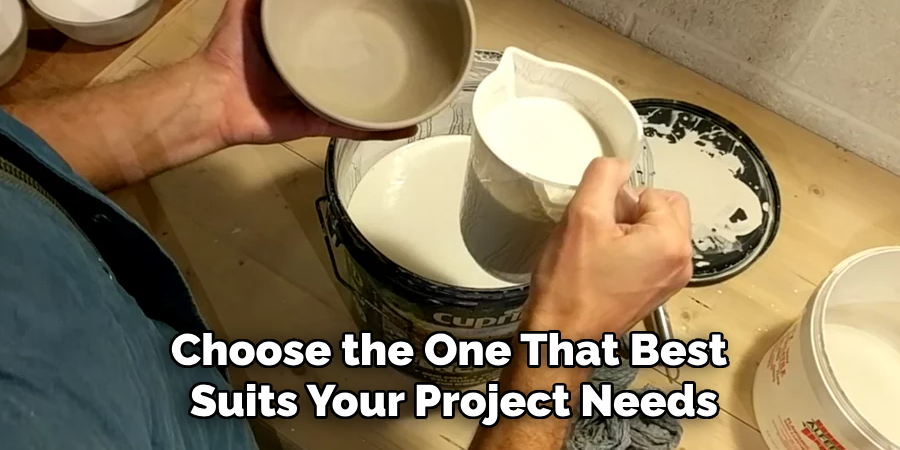
Applying the Glaze
Applying glaze to coasters can be accomplished using dipping, brushing, or spraying techniques. Each method has its benefits, allowing you to choose the one that best suits your project needs and equipment availability. To ensure an even application, apply the glaze uniformly across the surface, avoiding excess buildup that can lead to drips, particularly around the edges where moisture tends to collect. When applying the glaze, make sure the coasters are clean and free of dust or debris to achieve a smooth, even finish. Maintaining steady hand movements and using the appropriate tools for your chosen method helps distribute the glaze consistently, resulting in beautifully glazed coasters ready for their final firing.
Firing the Glazed Coasters
Firing Process
The second firing process involves placing the glazed coasters into a kiln to heat them at a higher temperature, typically around 2200°F (1204°C). This firing solidifies the glaze, creating a smooth and durable finish. Achieving the correct temperature is crucial for avoiding defects such as cracking or uneven glaze coverage. A precise firing schedule ensures that the glaze fuses properly with the ceramic surface, enhancing the coasters’ appearance and longevity.
Cooling and Inspection
After firing, allowing the coasters to cool slowly within the kiln is vital to prevent cracking due to thermal shock. Gradual cooling also ensures that the coasters’ structural integrity remains intact. Following the cooling process, each coaster carefully inspects to check for imperfections. This final check ensures that the glaze is evenly set, confirming that the coasters are both aesthetically pleasing and safe for everyday use.
Troubleshooting Common Issues
Cracking or Warping
Cracking or warping of coasters can occur during the drying or firing stages due to uneven moisture levels or rapid temperature changes. To prevent these issues, ensure even drying by covering coasters loosely with plastic and rotating them regularly. During firing, adhere to a gradual heating and cooling schedule. For minor cracks, try re-shaping the coasters during the drying process. Warping can often be addressed by adjusting the firing temperature or using a physical weight during drying to maintain shape.
Uneven Glaze Application
Uneven glaze coverage can result from inconsistent application or incorrect firing temperatures. Consider dipping for even distribution or brushing with careful, consistent strokes to achieve a smoother finish. Adjust the firing temperature to ensure a proper glaze melt. For touching up glaze imperfections, applying additional coats and re-firing the pieces can help attain an even, polished surface. This dual approach ensures your coasters maintain their intended aesthetic and functional quality.
Conclusion
In our detailed guide on how to make ceramic coasters, we’ve walked through each step, from selecting quality clay to the final glazing and firing processes. Creating these coasters involves careful drying, bisque firing, and glaze application to achieve durable, beautiful pieces. Remember, these coasters can serve as functional home décor or thoughtful gifts. Don’t hesitate to experiment with different shapes, designs, and glazes to reflect your personal style. Embrace the opportunity to craft unique coaster sets for various occasions, mixing and matching designs and colors, and enjoy the creative journey of making your own ceramic coasters.
Specialization:
- Master of wheel-throwing, hand-building, and advanced glazing techniques
- Focus on creating both functional pottery and decorative art pieces
Recognition:
- Celebrated by collectors and art enthusiasts for creating one-of-a-kind pieces that blend artistry with functionality
- Participates in local and national exhibitions, earning accolades for his innovative designs and craftsmanship
Passion:
- Deeply committed to exploring and pushing the boundaries of ceramic artistry
- Continuously experiments with new materials, firing techniques, and artistic concepts to evolve his craft
Personal Philosophy:
- Believes in the transformative power of art, aiming to evoke emotions and connections through his ceramic creations
- Advocates for sustainability in ceramics, using eco-friendly materials and practices whenever possible