


Creating ceramic decals is a fascinating process that blends art with functionality, offering a unique way to personalize ceramic pieces. Whether you are a seasoned potter or a hobbyist, learning how to make these decals can elevate your pottery with intricate designs and patterns. This technique involves transferring images onto a variety of ceramic surfaces, allowing for endless creativity and customization.
In this guide on how to make ceramic decals, we will explore the materials needed, the step-by-step process, and tips for achieving professional results. By the end of this introduction, you’ll have a comprehensive understanding of how ceramic decals can transform your creations into personalized works of art.
Why Make Ceramic Decals?
Before delving into the process, let’s first understand why you should consider making ceramic decals. Here are some reasons to embrace this technique:
Personalization:
With ceramic decals, you can create one-of-a-kind pieces that reflect your style and personality. From intricate patterns to meaningful images, you have the freedom to design and transfer any image onto your ceramics. This adds a special touch and makes your creations truly unique.
Time-saving:
Making ceramic decals can save you time compared to hand-painting or carving designs onto ceramics. Once the decal is printed, you can easily apply it to multiple pieces, allowing for efficient production of consistent designs.
Detail-oriented:
Ceramic decals are perfect for achieving precise and intricate designs that may be challenging to achieve by hand. This technique allows for high levels of detail, making it ideal for creating fine lines, small text, and complex images on ceramics.
Materials Needed
To make ceramic decals, you’ll need the following materials:
- A Computer With Design Software (Such as Adobe Photoshop or Illustrator)
- Decal Paper (Available in Both Inkjet and Laser Printer Versions)
- Ceramic Glazes
- Clear Gloss Spray or Decal Fixative
- Ceramic Pieces to Apply the Decals on
- An Inkjet or Laser Printer (Depending on the type of Decal Paper Used)
- A Ceramic Kiln
8 Simple Step-by-step Guidelines on How to Make Ceramic Decals
Step 1: Prepare Your Design
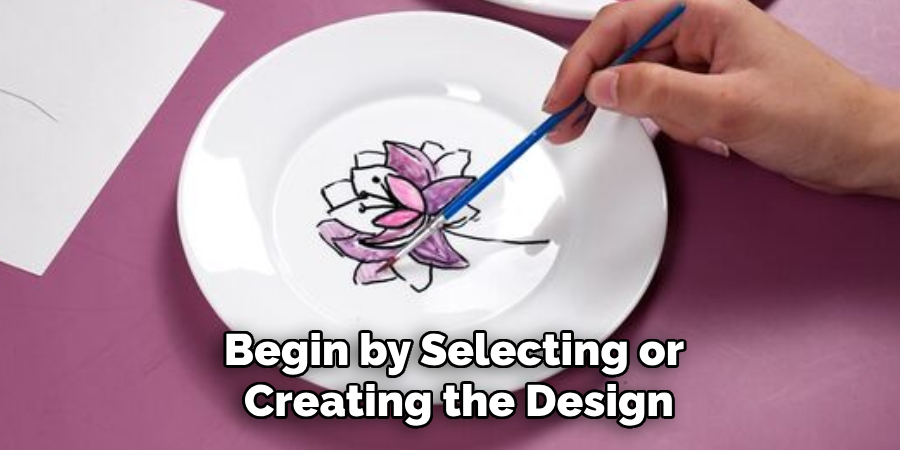
Begin by selecting or creating the design you wish to transfer onto your ceramic piece. Use design software such as Adobe Photoshop or Illustrator to craft your image. When preparing your design, ensure it fits the dimensions of your ceramic piece, and consider the color scheme that will appear vibrant after being fired. If you’re using text, you may need to mirror the image, especially if printing with a laser printer.
Double-check that your design is free from any errors or unwanted elements, as any mistakes will be permanent once transferred and fired. Save your completed design in a high-resolution format to ensure clarity when printing onto the decal paper.
Step 2: Print Your Design
Once your design is ready, the next step is to print it onto the decal paper. Ensure that you use the correct type of decal paper for your printer—either inkjet or laser. Before printing, check your printer settings to optimize for the best quality, selecting a high-resolution print option. Gently feed the decal paper into your printer, ensuring it is loaded correctly to avoid jams or misprints. After printing, let the ink dry completely to prevent smudging.
If using inkjet paper, apply a clear gloss spray or decal fixative lightly over the printed sheet to seal the ink and make it water-resistant. This step is crucial to ensuring that the design remains intact during application and firing. Allow the fixative to dry thoroughly before moving on to the next step.
Step 3: Cut Out the Decal
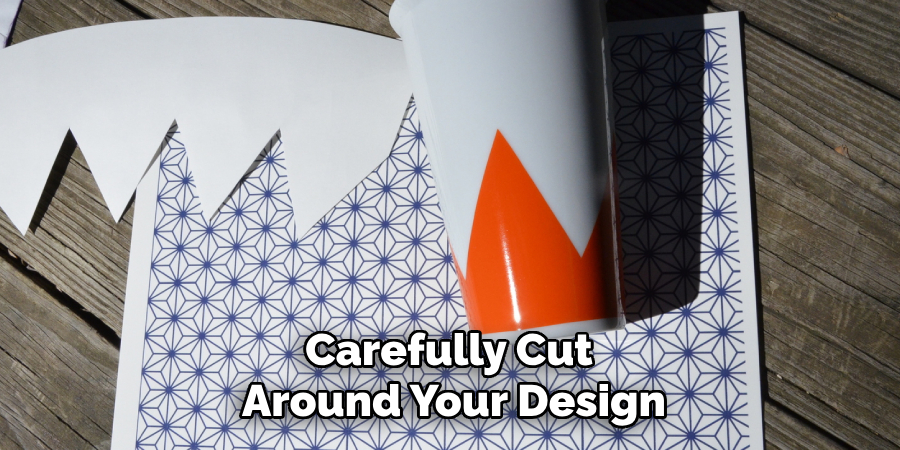
Carefully cut around your design, leaving a small border of blank space around the edges. This white border will be used to help adhere the decal onto your ceramic piece later on. It’s essential to have clean, straight lines when cutting to prevent any unwanted spaces or gaps in your design.
The decal is now ready to be applied to the ceramic piece.
Step 4: Prepare Your Ceramic Piece
Before applying the decal, it is crucial to ensure that your ceramic piece is clean and ready for the process. Begin by washing the ceramic thoroughly with mild soap and water to remove any dust, dirt, or oils that might interfere with the adhesion of the decal. Rinse it well and dry it completely with a lint-free cloth to avoid leaving any residue.
If your ceramic piece has an unfinished or bisque surface, consider applying a base glaze and firing it according to the glaze instructions to create a smooth and glossy finish. This step will help the decal adhere better and enhance the vibrancy of the design. Inspect the surface for any imperfections or scratches and address them before proceeding to ensure a flawless application.
Step 5: Apply the Decal
Carefully place your decal onto the ceramic piece, making sure it is straight and centered. To prevent wrinkles or air bubbles, smooth out the decal with a soft, damp cloth, starting from the center and working towards the edges. Carefully remove any excess water or air trapped beneath the decal with a paper towel.
It’s essential to note that once applied, the decal cannot be repositioned, so take your time and ensure it is correctly placed before proceeding.
Step 6: Let It Dry
After the decal has been successfully applied, it’s crucial to let it dry thoroughly before proceeding to the firing stage. Allow the ceramic piece to sit undisturbed in a clean, dry environment to ensure the decal adheres properly to the surface. This drying process typically takes about 24 hours, but drying times can vary based on humidity and temperature.
Avoid touching the decal during this period to prevent any movements that could cause imperfections. Ensuring the decal is completely dry will help achieve crisp and vibrant results once the ceramic piece is fired in the kiln.
Step 7: Fire in the Kiln
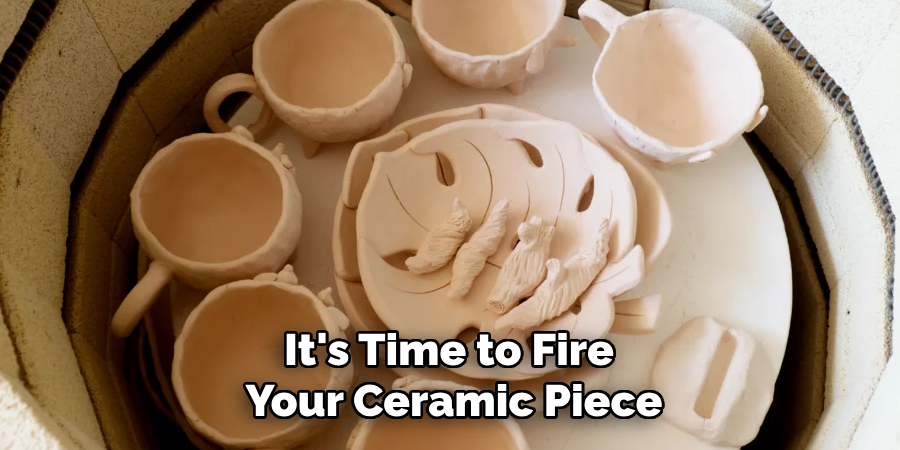
After the decal has dried, it’s time to fire your ceramic piece in a kiln. The firing temperature and duration will vary depending on the type of decal paper used. Refer to the specific instructions for your chosen decal paper and follow them carefully.
It’s essential to use a kiln-safe shelf or support when firing delicate pieces with decals to prevent any warping or damage during the heating process. Once fired, let the ceramic cool completely before handling.
Step 8: Apply a Final Coat of Glaze (Optional)
If desired, you can apply an additional layer of clear glaze over your finished piece after firing. This step will further enhance the appearance of the decal and make it more durable. Follow the instructions for your chosen glaze and apply it carefully, making sure to avoid any drips or streaks.
After applying the glaze, fire the ceramic piece once again in a kiln, following the specific instructions on how to make ceramic decals for your chosen glaze. Once cooled, your ceramic decal piece is now complete and ready to be displayed or used.
Do You Need to Use Professionals?
When embarking on creating ceramic decals, you might wonder if it’s necessary to hire professionals for assistance. While professional services can ensure precision and quality, many steps in making ceramic decals are feasible as a DIY project with the right tools and techniques. If you’re new to ceramics or lack confidence in handling the equipment, consulting professionals for certain stages such as kiln firing might be beneficial.
However, for those with experience and access to the required materials, creating vibrant and lasting decals can be a rewarding and cost-effective endeavor. Consider your comfort with the process and the resources available to you when deciding whether to involve a professional.
Frequently Asked Questions
Q1: What is the Difference Between Inkjet and Laser Decal Paper?
A1: Inkjet decal paper is designed to work with inkjet printers, while laser decal paper is specifically made for laser printers. It’s crucial to use the correct type of decal paper for your printer to ensure a successful transfer and application process.
Q2: Can I Apply the Decal To Any Type of Ceramic Piece?
A2: Yes, you can apply decals onto most ceramic pieces, including glazed and unglazed surfaces. However, it’s essential to follow proper preparation steps for each type of surface to achieve the best results.
Q3: Can I Use Water Slide Decals on Curved or Uneven Surfaces?
A3: Water slide decals work best on flat surfaces, but with careful handling and application techniques, they can also be used on curved or uneven surfaces. It’s essential to take your time and smooth out any wrinkles or air bubbles during the application process.
Q4: How Long Do Ceramic Decals Last?
A4: With proper care, ceramic decals can last for many years without fading or peeling. Regular cleaning and avoiding exposure to harsh chemicals or extreme temperatures can help prolong the lifespan of ceramic decals.
Conclusion
Making ceramic decals may seem like a daunting process, but with proper preparation and attention to detail, it can be an enjoyable and rewarding experience.
With these simple step-by-step guidelines on how to make ceramic decals, you can create beautiful and personalized designs on your ceramics that are sure to impress.
Remember to take your time, be patient, and have fun creating unique pieces of art with ceramic decals!
Specialization:
- Master of wheel-throwing, hand-building, and advanced glazing techniques
- Focus on creating both functional pottery and decorative art pieces
Recognition:
- Celebrated by collectors and art enthusiasts for creating one-of-a-kind pieces that blend artistry with functionality
- Participates in local and national exhibitions, earning accolades for his innovative designs and craftsmanship
Passion:
- Deeply committed to exploring and pushing the boundaries of ceramic artistry
- Continuously experiments with new materials, firing techniques, and artistic concepts to evolve his craft
Personal Philosophy:
- Believes in the transformative power of art, aiming to evoke emotions and connections through his ceramic creations
- Advocates for sustainability in ceramics, using eco-friendly materials and practices whenever possible