


Ceramic drawer pulls are an excellent way to add a touch of creativity and personality to your furniture. Whether updating an old dresser or enhancing a custom-built piece, handmade ceramic pulls can transform ordinary furniture into something uniquely yours. One of the greatest advantages of making your own pulls is the affordability compared to store-bought options and the freedom to create designs that suit your style and décor.
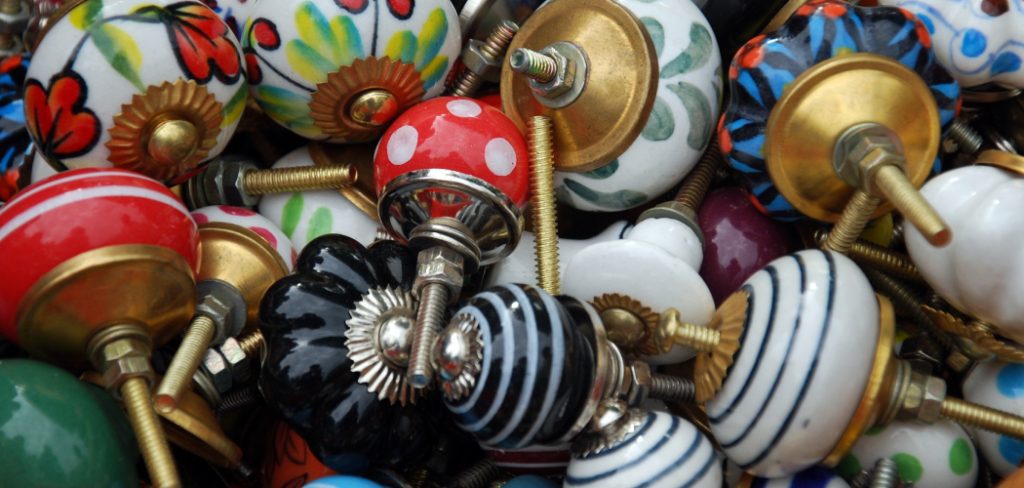
Beyond affordability, crafting your own ceramic pulls brings immense satisfaction, allowing you to express your creativity while adding a personal touch to your home. The process of How to Make Ceramic Drawer Pulls is both fun and rewarding, involving three main steps: designing the pulls, crafting them by molding and firing the ceramic material, and finally installing the finished pieces. This guide offers an easy-to-follow approach, making it perfect for beginners and seasoned crafters.
Materials and Tools Needed
Gathering the right materials and tools before starting your ceramic drawer pull project is crucial for achieving quality results. Below is a list of the essentials you’ll need:
Materials
- Ceramic Clay: Choose either air-dry clay for simplicity or kiln-fired clay for a more durable finish. The choice depends on your available resources and preferences.
- Glazes, Paints, or Finishes: These are used to decorate and seal your pulls, ensuring they match your desired style and maintain longevity.
- Metal Screws and Inserts: Necessary for mounting the pulls securely to your furniture.
Tools
- Clay Modeling Tools: Items such as a rolling pin and shaping tools help you craft the pulls into your desired designs.
- Drill and Drill Bits: Required for creating insertion holes or preparing your ceramic pulls for mounting hardware.
- Sandpaper: Use to smooth out rough edges or imperfections after drying or firing your ceramic pieces.
Optional Items
- Stamps, Molds, or Stencils: These tools provide opportunities to add intricate patterns or unique textures, giving your drawer pulls distinctive character.
By assembling these materials and tools ahead of time, you’ll set yourself up for a streamlined and enjoyable crafting experience.
Designing the Drawer Pulls
Choosing Shapes and Sizes
Selecting the right shape and size is a crucial first step when designing your ceramic drawer pulls. Common shapes such as round or square are timeless and versatile, blending seamlessly with most furniture styles. Alternatively, you might explore custom shapes that reflect a specific theme or aesthetic for a personal touch. Remember the ergonomic aspect—drawer pulls should be easy to grip and comfortable to use. Testing your chosen shape for functionality before finalizing the design is highly recommended.

Incorporating Decorative Elements
Adding decorative elements can transform ordinary pulls into unique, eye-catching accents. Consider carving intricate designs into the clay, such as patterns, floral motifs, or abstract forms. Texturing the surface using stamps, natural objects, or tools can also create visual interest. For a more eclectic appearance, embed small decorative materials like beads, shells, or polished stones into the clay. These elements should align with the overall style of your furniture while offering personality and charm.
Sketching the Design
Before shaping the clay, take time to sketch your ideas on paper. Visualizing your designs beforehand allows you to refine concepts, play with proportions, and decide on the best way to incorporate decorative details. This simple preparatory step ensures a clear vision, making the crafting process smoother and more enjoyable.
How to Make Ceramic Drawer Pulls: Shaping the Drawer Pulls
Creating beautiful and functional drawer pulls starts with carefully preparing and shaping the clay. This process ensures each piece is durable, consistent, and ready for installation.
Preparing the Clay
Begin by thoroughly kneading the clay to remove any air bubbles. This step is crucial for avoiding cracks or imperfections during the drying and firing process. Kneading also ensures the clay has an even texture, making it easier to shape and manipulate.
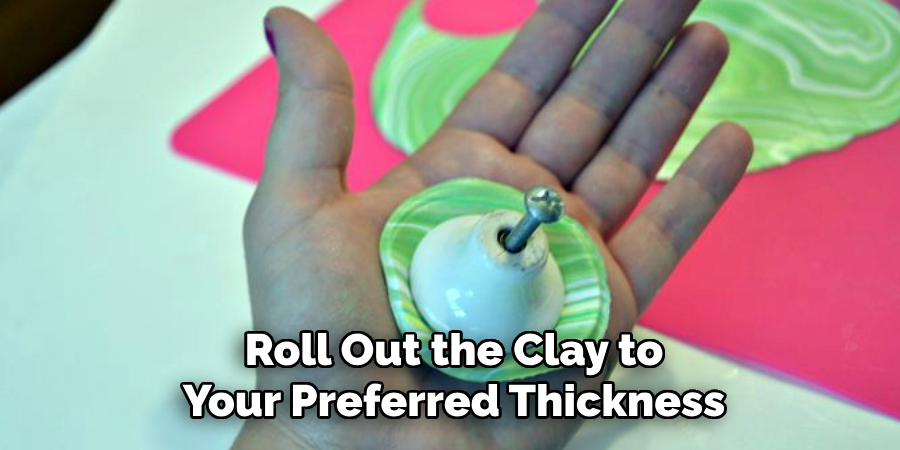
Shaping the Base
Once prepared, roll out the clay to your preferred thickness. Use a mold to cut uniform shapes or hand-shape the designs for a more organic, custom look. Consistency in size is key, especially if the drawer pulls are used in the same furniture set. Taking time to measure and create evenly shaped pulls results in a professional finish.
Drilling Attachment Holes
While the clay is still workable, carefully drill holes for the screws that will attach the pulls to the drawers. Use a tool like a skewer or thin rod to create clean, even holes. Be mindful of the alignment to ensure proper installation later on. Double-check the placement to avoid adjustments once the clay hardens.
By mastering these steps, you’ll create drawer pulls that are practical and add a personal, handcrafted touch to any piece of furniture.
Drying and Firing the Pulls
Once the drawer pulls have been shaped and drilled, the next crucial step is drying and firing to harden and set the clay.
Air-Dry Method
For an air-dry approach, place the shaped pulls on a flat, non-stick surface and allow them to dry naturally for 24 to 48 hours. Ensure the space is well-ventilated, avoiding direct sunlight or overly humid environments, as these conditions can cause cracking or warping. Flip the pulls occasionally during drying to ensure even drying on all sides. While this method is less intensive, it is suitable for pulls that won’t endure heavy use.
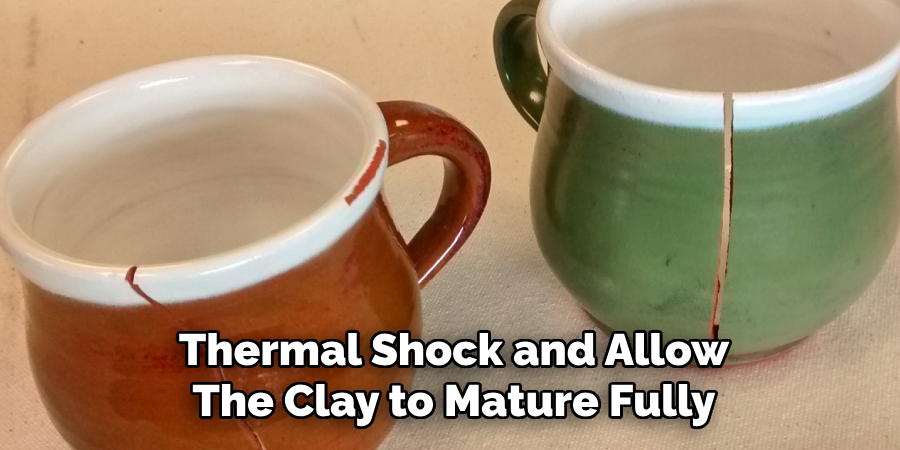
Kiln-Firing Option
For increased durability, consider kiln-firing the pulls. Begin by preheating the kiln to the appropriate temperature, which depends on the type of clay used—typically between 1,800°F (982°C) and 2,300°F (1,260°C) for most ceramic clays. Place the dried pieces into the kiln, ensuring they don’t touch to prevent sticking during the firing process. Slowly increase the temperature to avoid thermal shock and allow the clay to mature fully. Carefully remove the pulls once the firing cycle is complete and the kiln has cooled. This method produces a stronger, more durable finish, ideal for everyday use.
Whether air-dried or kiln-fired, drying and firing the pulls properly ensures they are ready for their final artistic touches.
Decorating and Finishing the Pulls
Painting and Glazing
Adding color and protection to your ceramic pulls requires careful consideration of materials and techniques. Acrylic paints can hand-paint intricate designs or softly blended patterns for vibrant and versatile options. Alternatively, ceramic glazes provide a durable, glossy finish and are ideal for creating rich, saturated colors. For a more natural look, stains can highlight the clay texture beneath. Sponging allows for interesting gradients or textures, while stencils are perfect for consistent, repetitive designs. These tools enable you to craft unique pulls reflecting your artistic vision.
Sealing
Applying a clear sealant is crucial for non-glazed finishes to ensure long-lasting protection. A sealant acts as a barrier, helping to make the pulls water-resistant and preserving the painted or stained designs from wear. Whether you’re using matte or glossy finish sealant, it ensures the durability of your work while enhancing the colors and details.
Sanding and Polishing
To achieve a professional look, addressing any rough edges or uneven surfaces is essential. Gently sanding the pulls with fine-grit sandpaper removes imperfections and provides a smoother finish. After sanding, polishing the surface can add a slight sheen and elevate the craftsmanship. Attention to these finishing touches enhances the aesthetic appeal and ensures every pull is comfortable to use and visually stunning.
Installing the Ceramic Drawer Pulls
Preparing the Furniture
Before attaching the new ceramic drawer pulls, preparing the furniture properly is crucial. Start by carefully removing any old hardware using a screwdriver or drill. Once the old pieces are detached, thoroughly clean the furniture’s surface to remove dust, residue, or grease. This step ensures a clean workspace and better adhesion and alignment for the new pulls.
Mounting the Pulls
Begin the installation process by positioning the ceramic pulls over the pre-drilled holes. Insert the screws through the holes in the furniture and gently align them with the threaded inserts in the pulls. Tighten them securely using a screwdriver, ensuring the screws are snug but not overly tightened, which could damage the ceramic material. Use washers or spacers to provide extra stability, particularly for heavier or oversized pulls.
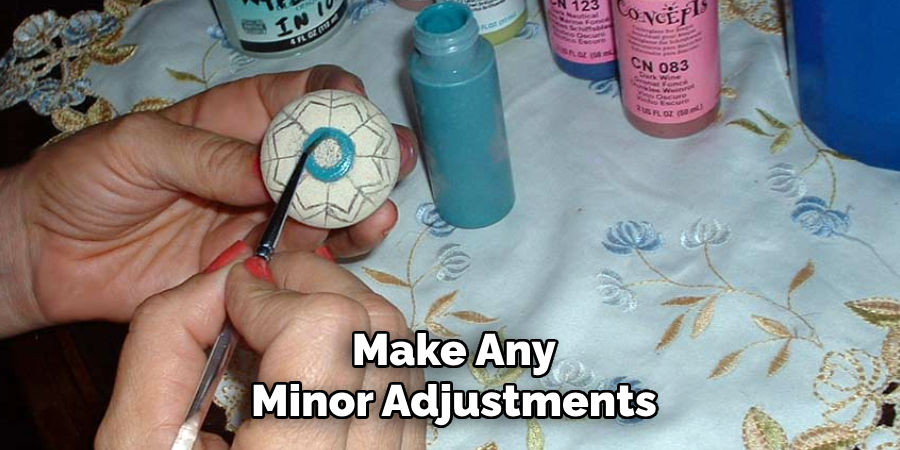
Final Adjustments
Once all pulls are mounted, ensure they are evenly aligned and positioned uniformly across the furniture. Make any minor adjustments to straighten or level the pulls, tightening screws as needed. Finally, test the functionality of each pull, confirming they are tightly secured and comfortable for regular use. With everything in place, your furniture is now refreshed and ready to enjoy!
Safety Considerations
Handling the stone carefully when hot
When working with hot materials, such as ceramic pulls or tools, it is essential to handle them with caution to avoid burns. Always use heat-resistant gloves or tongs when moving or adjusting items after kiln-firing or oven use, as surfaces can retain heat for extended periods.
Avoiding sudden temperature changes
Sudden temperature changes can cause cracks or fractures in ceramic pieces. Avoid placing cold items directly into a hot oven or kiln to prevent this. Instead, allow the pieces to acclimate to room temperature before exposing them to heat, and similarly, let them cool gradually after the firing process.
Keeping children and pets away
Always ensure children and pets are kept safe from the kiln or oven while in use. This minimizes the risk of accidents and ensures a safe workspace for all involved.
Conclusion
Creating custom ceramic drawer pulls offers a rewarding way to blend creativity with functionality. From preparing the clay to firing and finishing, the process provides an opportunity to craft unique, personalized pieces for home décor. By exploring different designs and techniques, you can bring your artistic vision to life while also learning valuable skills. Remember, proper care and maintenance will ensure your creations last for years. For anyone inspired to start their own project, “How to Make Ceramic Drawer Pulls” serves as a practical and enjoyable guide for turning ideas into beautifully crafted pulls.
Specialization:
- Master of wheel-throwing, hand-building, and advanced glazing techniques
- Focus on creating both functional pottery and decorative art pieces
Recognition:
- Celebrated by collectors and art enthusiasts for creating one-of-a-kind pieces that blend artistry with functionality
- Participates in local and national exhibitions, earning accolades for his innovative designs and craftsmanship
Passion:
- Deeply committed to exploring and pushing the boundaries of ceramic artistry
- Continuously experiments with new materials, firing techniques, and artistic concepts to evolve his craft
Personal Philosophy:
- Believes in the transformative power of art, aiming to evoke emotions and connections through his ceramic creations
- Advocates for sustainability in ceramics, using eco-friendly materials and practices whenever possible