


Creating ceramic flower vases is a timeless craft that beautifully blends art and functionality. This process allows crafters to express their creativity while producing elegant pieces that can enhance any space. Whether you’re an experienced potter or a beginner eager to learn, making your own ceramic vases offers a rewarding and fulfilling experience.
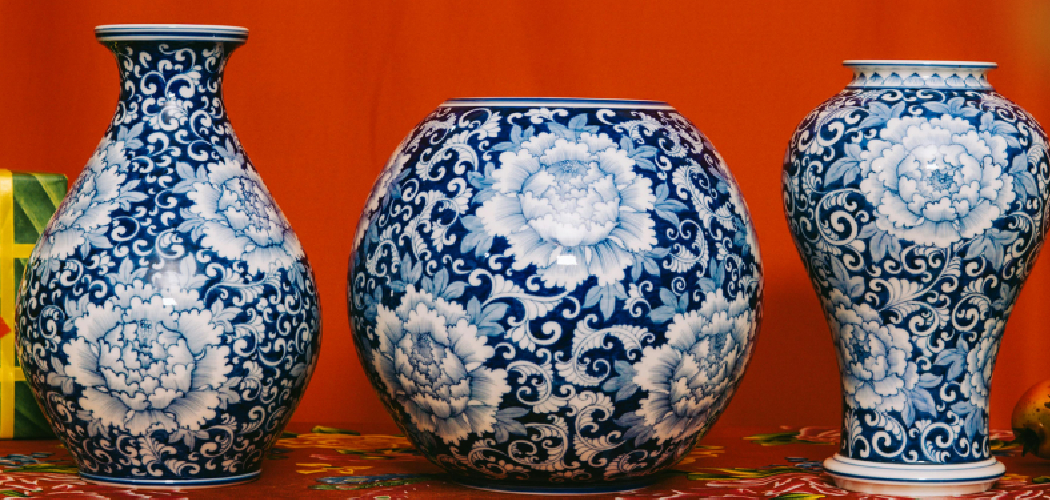
This guide on how to make ceramic flower vases will take you through the fundamental steps and techniques needed to craft stunning ceramic flower vases, from selecting the right clay to adding the finishing touches with glazes. Prepare to delve into the world of ceramics and discover the joy of making your very own masterpiece.
Why Make Ceramic Flower Vases?
Before we dive into the steps of creating ceramic flower vases, let’s explore the reasons why this craft is so popular and why you should consider making your own vases.
Personalized Touch:
One of the greatest benefits of handcrafting your own ceramic flower vases is the ability to add a personalized touch. You have complete control over the design, shape, and size of your vase, allowing you to create a unique piece that reflects your personal style.
Cost-effective:
Buying a ceramic flower vase from a store can be expensive, especially if you’re looking for a high-quality piece. Making your own allows you to save money while producing one-of-a-kind vases.
Therapeutic and Relaxing:
Working with clay has been proven to have numerous therapeutic benefits, such as reducing stress and increasing mindfulness. Creating ceramics is also a fantastic way to relax and unwind after a long day.
Materials You Will Need
To get started on creating your ceramic flower vases, you will need the following materials:
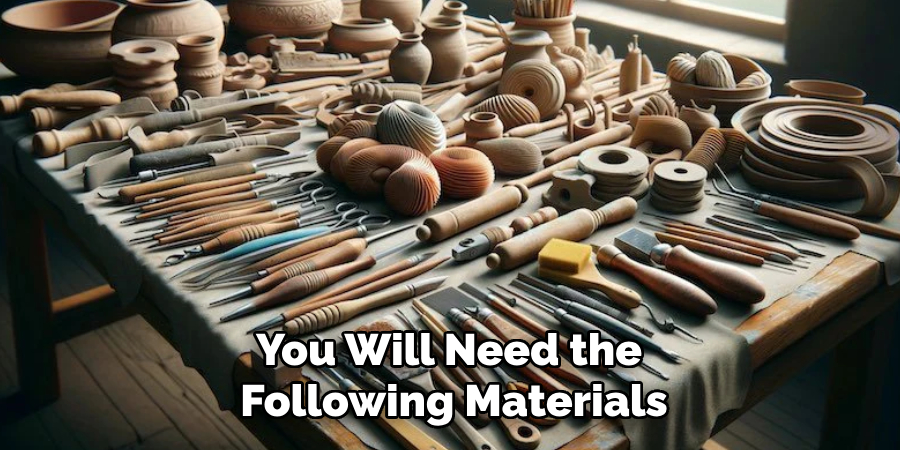
- Clay (Preferably Stoneware or Earthenware)
- Pottery Wheel or Hand-building Tools
- Rolling Pin
- Canvas Cloth or Board
- Knife or Clay Cutter
- Sponge and Bowl of Water
- Glazes and Brushes (Optional)
8 Step-by-step Guidelines on How to Make Ceramic Flower Vases
Step 1: Choose Your Clay
The first step in making a ceramic flower vase is to select the right type of clay. Two popular choices for vase-making are stoneware and earthenware. Stoneware is known for its durability and strength, making it an excellent option if you want a robust and long-lasting vase. It fires at a high temperature, allowing vibrant glazes to shine. On the other hand, earthenware is a softer and more porous clay that fires at lower temperatures, often resulting in a rustic, earthier aesthetic.
Consider the final look and feel you want your vase to have when deciding which clay to use. If you’re a beginner, testing different types of clay can help you understand their qualities and find what suits your artistic vision best.
Step 2: Prepare Your Clay
Once you have selected your clay, it’s important to prepare it properly before you begin shaping your vase. Start by kneading or wedging the clay to remove any air bubbles and ensure it has a uniform consistency. This process, similar to kneading dough, involves pressing on the clay with the palms of your hands and folding it over repeatedly. Properly wedging the clay is crucial, as air bubbles can cause the final product to crack during the firing process.
Additionally, wedging aligns the clay particles, making it easier to handle when throwing on a pottery wheel or hand-building. Spend a few minutes on this step to ensure your clay is well-conditioned and ready for the creative process.
Step 3: Choose Your Technique
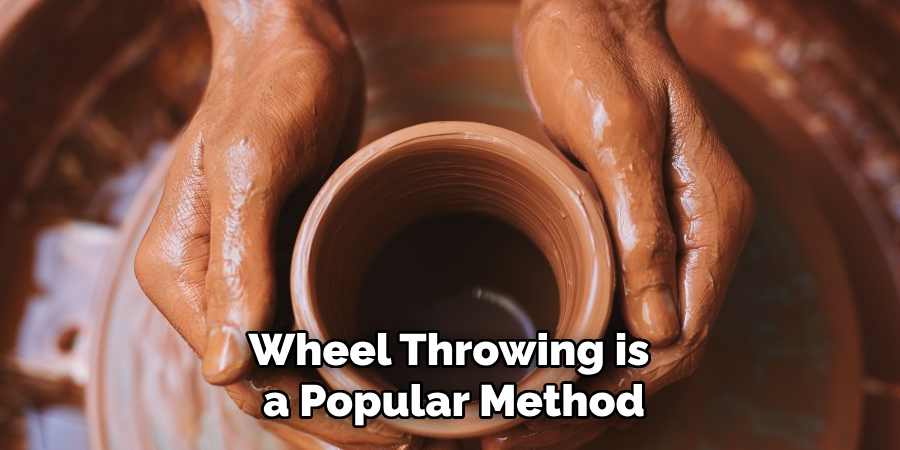
When it comes to shaping your ceramic flower vase, you have two main techniques to choose from: wheel throwing and hand-building. Wheel throwing is a popular method for creating symmetrical and smooth vases. This technique involves centering a lump of clay on a potter’s wheel and using your hands to form the desired shape while the wheel spins. It requires practice and skill to achieve even walls and consistent shapes, but it allows for precision and fluidity in your designs.
Hand-building, on the other hand, offers a more accessible and flexible approach, especially for beginners. This technique does not require a pottery wheel and is ideal for crafting unique and organic shapes. You can employ various methods such as pinching, coiling, or slab building to construct your vase. Each method provides different textures and aesthetics that can add character to your piece. Consider experimenting with both techniques to determine which one aligns best with your vision and skill level, or combine techniques for a truly distinctive vase.
Step 4: Prepare Your Workstation
Before you start shaping your vase, it’s essential to set up your workstation. This includes having all your tools and materials within reach, a clean and smooth surface to work on, and a bowl of water for keeping the clay moist. A canvas cloth or board can be used as a non-stick workspace that allows you to move your piece without damaging its delicate form.
The right amount of moisture is crucial in clay work since it helps prevent cracking and allows for easier shaping. Keeping a damp sponge nearby can also help smooth out any rough edges or imperfections.
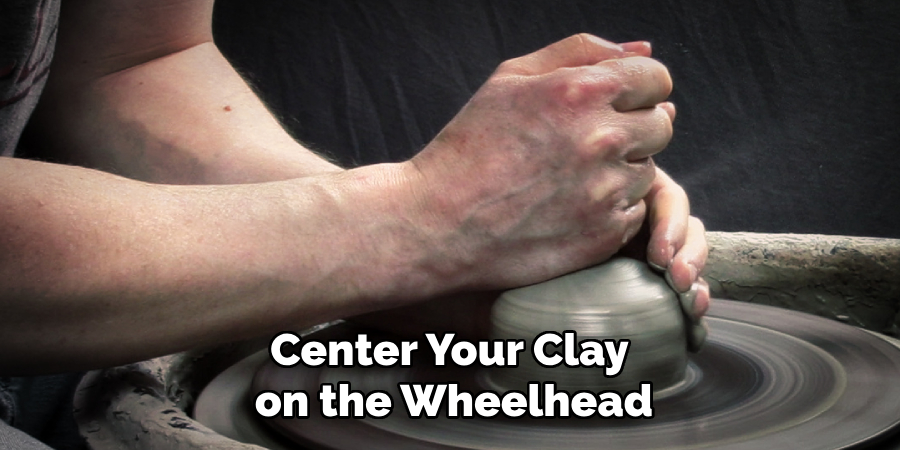
Step 5: Begin Shaping Your Vase
Now comes the fun part – shaping your vase! If using a pottery wheel, center your clay on the wheelhead and use both hands to shape it into a cylinder by pushing down with one hand while gently pulling up with the other. Once you have an even cylinder, use your fingertips to create a hollow in the center and gradually widen it by pulling the clay upwards.
If hand-building, begin with a lump of clay and pinch or coil it into your desired shape, using tools such as a rolling pin or knife to help refine and shape the edges. Remember to keep the clay moist while working on it.
Step 6: Add Details
After forming the general shape of your vase, consider adding details such as handles, decorative elements, or carving patterns onto its surface. These details can add personalization and character to your piece. Use different tools like needle tools, trimming loops, or ribs to create unique textures and designs.
Step 7: Let It Dry
After shaping and detailing your ceramic flower vase, it’s crucial to allow it to dry completely before moving on to the firing process. Place your vase in a well-ventilated area at room temperature and away from direct sunlight to prevent uneven drying or cracking. Depending on the size and thickness of your vase, drying can take anywhere from a few days to a week. It’s essential that the vase feels cool to the touch and has turned a lighter color, indicating that all moisture has evaporated.
Patience is key during this step, as rushing the drying process may compromise the structural integrity of your creation. Once thoroughly dry, your vase is ready for firing in a kiln, where it will undergo a transformation to become a sturdy and beautiful final product.
Step 8: Add the Finishing Touches
After firing and cooling your vase, you can now apply glazes or other decorative finishes to add color and shine. Glazes come in various types such as matte, glossy, or textured, allowing for endless possibilities to bring your artistic vision to life. Apply the glaze evenly using a brush or dipping method, following the manufacturer’s instructions on how to make ceramic flower vases for firing temperatures and times. After the final firing process, your ceramic flower vase is complete and ready to display with pride.
As you embark on your journey of making ceramic flower vases, remember that each piece is unique and reflects the artist’s creativity and personality. Don’t be afraid to experiment and let your imagination guide you in creating a one-of-a-kind piece that will bring joy and beauty to your home. Happy crafting!
How Much Time Do I Need?
Creating a ceramic flower vase is an art form that requires time and patience, and the duration of the project can vary based on several factors. Generally, expect to spend several hours on preparation and shaping, as these steps are crucial for ensuring your vase’s design and structural integrity. Wedging the clay and choosing your technique might take around an hour while shaping, whether by wheel throwing or hand-building, demands focus and can range from one to three hours, depending on your experience and the complexity of your design.
The drying step requires the most patience, as it can take a few days to a week for the clay to thoroughly dry before firing. It’s important not to rush this step to ensure the vase doesn’t crack. Firing in the kiln includes two stages: the bisque firing, which typically lasts several hours, and the glaze firing, which requires additional time depending on the type of glaze used.
In total, excluding drying and firing, plan for at least half a day of active work. However, with drying and kiln time accounted for, the entire process could extend over a week. Naturally, your skills and techniques will improve with each project, potentially reducing the time spent on future creations. Remember, every piece you make is an opportunity to embrace the meditative nature of pottery and develop your artistry.
Conclusion
Creating a ceramic flower vase is a rewarding journey that combines artistry, skill, and patience. With each step on how to make ceramic flower vases, from shaping the clay to applying the final glaze, you engage in a process that transforms raw materials into a uniquely beautiful creation.
This craft not only results in a functional piece of art but also connects you to a long tradition of pottery-making that dates back centuries. Whether you are a beginner learning the basics or an experienced artist refining your technique, the act of making pottery is both a meditative and enriching experience.
Celebrate each creation, embrace the learning curve, and take pride in the personal touch you bring to this timeless art form. Happy crafting!
Specialization:
- Master of wheel-throwing, hand-building, and advanced glazing techniques
- Focus on creating both functional pottery and decorative art pieces
Recognition:
- Celebrated by collectors and art enthusiasts for creating one-of-a-kind pieces that blend artistry with functionality
- Participates in local and national exhibitions, earning accolades for his innovative designs and craftsmanship
Passion:
- Deeply committed to exploring and pushing the boundaries of ceramic artistry
- Continuously experiments with new materials, firing techniques, and artistic concepts to evolve his craft
Personal Philosophy:
- Believes in the transformative power of art, aiming to evoke emotions and connections through his ceramic creations
- Advocates for sustainability in ceramics, using eco-friendly materials and practices whenever possible