Creating ceramic jewelry at home is a rewarding and creative process that allows you to design unique, wearable art. Whether you are a beginner or have prior experience with ceramics, this craft offers endless possibilities for personalization.

From earrings and necklaces to bracelets and charms, ceramic jewelry adds a touch of handcrafted elegance to any outfit. With some basic tools, materials, and a little patience, you can learn the techniques needed to shape, decorate, and fire your own ceramic pieces. This guide will walk you through the steps to get started how to make ceramic jewelry at home making journey.
What Is Ceramic Jewelry?
Ceramic jewelry is a form of wearable art made using clay that is shaped, fired, and often glazed to create durable and decorative pieces. The use of ceramics in jewelry dates back centuries, with artisans crafting intricate designs that reflect personal style and cultural significance.
Unlike metal or gemstone jewelry, ceramic pieces are highly customizable, allowing for endless creativity in terms of shape, color, and texture. These pieces can range from sleek and minimalist to bold and expressive, making ceramic jewelry a versatile accessory for any occasion. Lightweight and unique, ceramic jewelry provides a distinct alternative to traditional materials while offering the added charm of handmade craftsmanship.
Popular Types of Ceramic Jewelry
Ceramic jewelry encompasses a wide variety of styles and designs, making it suitable for diverse tastes and occasions. Some popular types of ceramic jewelry include:
- Earrings: From dainty studs to bold statement pieces, ceramic earrings are a favorite among jewelry enthusiasts. Their lightweight nature and customizable designs make them both comfortable and fashionable.
- Necklaces: Ceramic pendants and beads are often featured in necklaces, offering unique focal points with hand-painted patterns, shapes, or glazes.
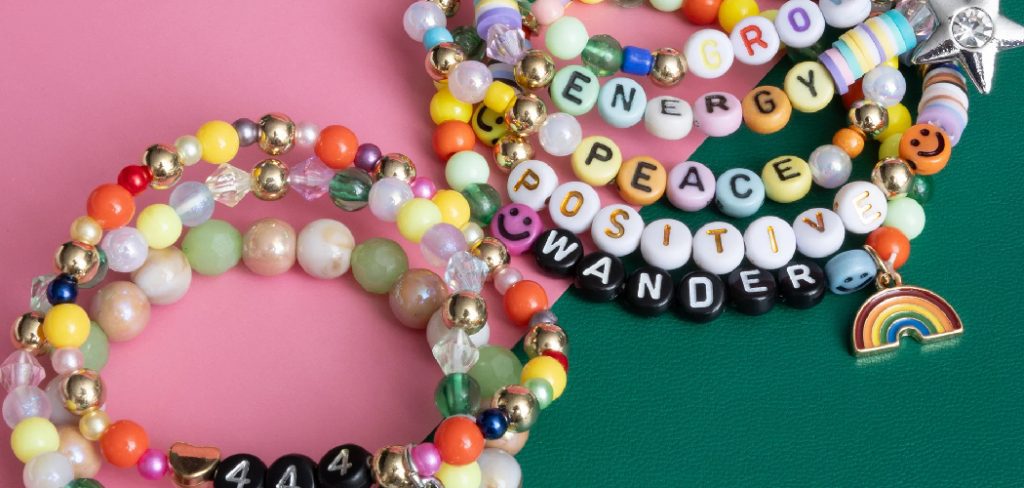
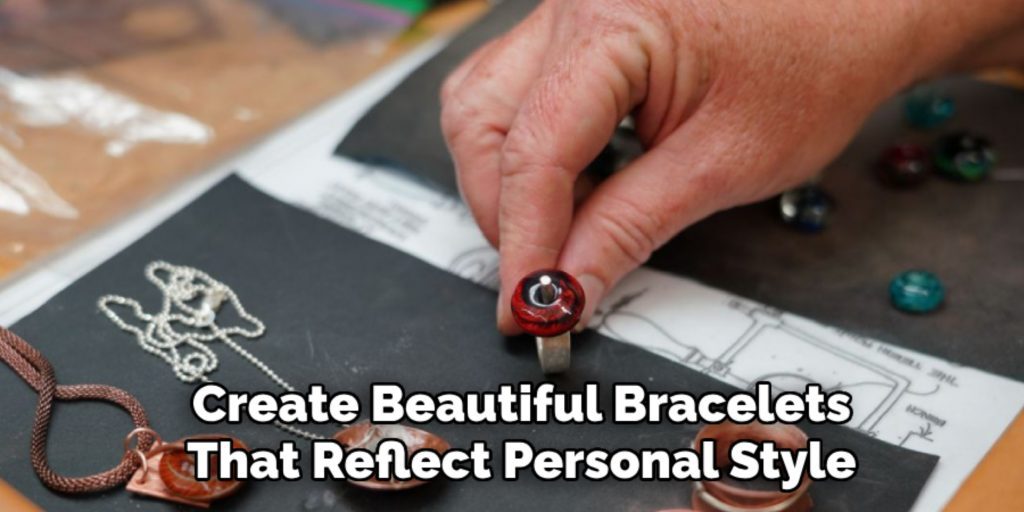
- Bracelets: Ceramic beads and charms can be strung together to create beautiful bracelets that reflect personal style. These pieces can be paired with other materials like leather or metal for added texture.
- Rings: Ceramic rings are becoming increasingly popular for their minimalist appeal and vibrant color options. They can be crafted in various shapes and sizes to suit different preferences.
- Charms: Small ceramic charms add a playful and creative touch to bracelets and necklaces. They are often used to represent personal symbols or themes.

10 Methods How to Make Ceramic Jewelry at Home
1. Gather the Necessary Materials
Before starting the process of making ceramic jewelry, it’s important to gather all the necessary materials. You will need ceramic clay, a rolling pin, a set of sculpting tools, a cutting mat, and a craft knife.
A kiln is essential for firing the clay, but if you don’t have one, you can find alternatives like air-dry clay that doesn’t require firing. Additionally, consider acquiring jewelry findings such as earring hooks, jump rings, chains, and clasps. Having all the supplies ready ensures a smooth workflow and a polished end product.
2. Prepare the Clay
Start by preparing your ceramic clay. If you’re using air-dry clay, knead it well to soften and ensure an even texture. For kiln-fired clay, you will need to wedge the clay to remove air bubbles and ensure consistency in the material. Use your hands or a clay tool to knead and soften the clay, ensuring that it is pliable and smooth.
Proper preparation of the clay is crucial as it ensures even firing and reduces the risk of cracks or warping during the baking process.
3. Roll Out the Clay
Once your clay is prepared, use a rolling pin to roll it out into a smooth, even sheet. Aim for a thickness of about 1/8 inch to 1/4 inch, depending on your design.
If you are new to ceramic jewelry making, it’s helpful to use guides (such as a thickness gauge or two wooden dowels) to ensure an even thickness throughout the sheet. Rolling out the clay evenly will help achieve a uniform look in your pieces, whether you’re creating pendants, earrings, or rings.
4. Design and Cut Your Jewelry Pieces
After rolling the clay, it’s time to design and cut out your jewelry pieces. Use a craft knife or cookie cutters to cut your desired shapes. If you’re making earrings, pendants, or beads, you can create various shapes such as circles, squares, or more intricate designs like leaves or flowers.
Be sure to leave enough space around each shape to allow for handling and attaching jump rings or hooks later on. You can also use sculpting tools to add textures or small details to enhance the design. Let your creativity flow—this is the most fun and personalized part of the process!
5. Create Holes for Attachments
For jewelry pieces like earrings, necklaces, or bracelets, you’ll need to create holes for attaching jump rings, hooks, or chains. Use a small needle tool or a metal skewer to make a hole in the clay where the jewelry findings will be inserted. Be careful when making the hole—ensure it is large enough to fit the findings but not too large that it weakens the structure of the piece. For earrings, you may also want to make a small hole at the top of each piece for attaching earring hooks.
6. Dry and Hardening the Clay
After shaping and adding details to your ceramic pieces, let the clay dry and harden. If you’re using air-dry clay, follow the manufacturer’s instructions and allow the pieces to dry at room temperature for 24 to 48 hours, depending on their size and thickness. For kiln-fired clay, allow the pieces to dry completely to prevent cracking during the firing process. It’s crucial not to rush this step, as any remaining moisture inside the clay can cause it to crack or warp when exposed to heat.

7. Firing the Clay
Once your clay pieces are completely dry, it’s time to fire them. If you’re using kiln-fired ceramic clay, place the pieces in a kiln and follow the recommended firing schedule based on the type of clay you used.
Ceramic jewelry typically requires two firings: the first bisque firing at a lower temperature to harden the pieces, and the second glaze firing at a higher temperature to add a smooth finish. If you are using air-dry clay, skip this step, as the pieces will not require firing. The firing process hardens the clay, making it durable and ready for further decoration.
8. Glaze and Decorate
After the first firing, your ceramic jewelry is ready to be glazed. Choose a ceramic glaze in your preferred color and apply it to your jewelry pieces using a brush, dipping method, or spraying technique. You can experiment with different colors and even create intricate designs using stencils or freehand painting.
Ceramic glazes come in a variety of finishes such as glossy, matte, or satin, allowing you to customize the look of your jewelry. Once you’ve applied the glaze, return the pieces to the kiln for the final firing, which will set the glaze and enhance the surface finish.
9. Assemble the Jewelry
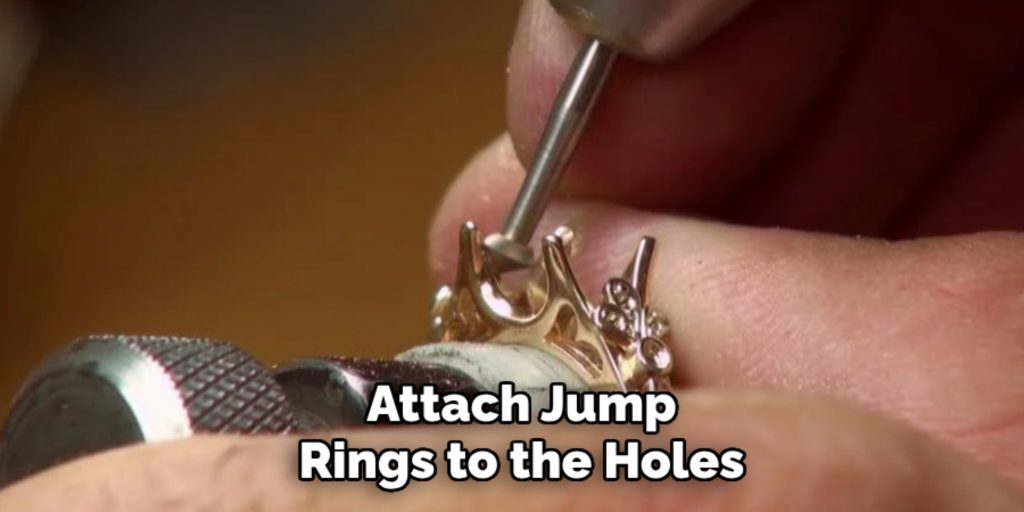
Once your ceramic pieces are fully fired and glazed, it’s time to assemble your jewelry. Using jewelry pliers, attach jump rings to the holes you created earlier. You can now connect the ceramic pieces to chains, ear hooks, or bracelet links to create a complete piece of jewelry.

For earrings, add earring hooks, and for necklaces, connect the pieces to a chain or cord. If you’re creating rings, you can attach a pre-made ring base to your ceramic design. Take your time during the assembly process to ensure that all components are securely attached and positioned correctly.
10. Polish and Finish the Jewelry
To give your ceramic jewelry a professional finish, polish the pieces using a soft cloth to remove any remaining dust or glaze residue. You can use a special ceramic polishing compound if needed to enhance the shine and smoothness of the surface.
Check for any sharp edges and carefully file them down to ensure comfort when wearing the jewelry. Finally, inspect the overall piece for any imperfections or flaws that might need attention. Once everything is polished, your ceramic jewelry is ready to wear or gift.
Maintenance and Upkeep
Proper care and maintenance are essential to ensure the longevity and beauty of your ceramic jewelry. Start by storing your pieces in a safe place, such as a jewelry box or pouch, to protect them from scratches or accidental damage.
Avoid exposing ceramic jewelry to excessive moisture, harsh chemicals, or extreme temperatures, as these can weaken the glaze or structure over time. When cleaning your jewelry, use a soft damp cloth to wipe the surface gently and avoid abrasive cleaners that may damage the finish.
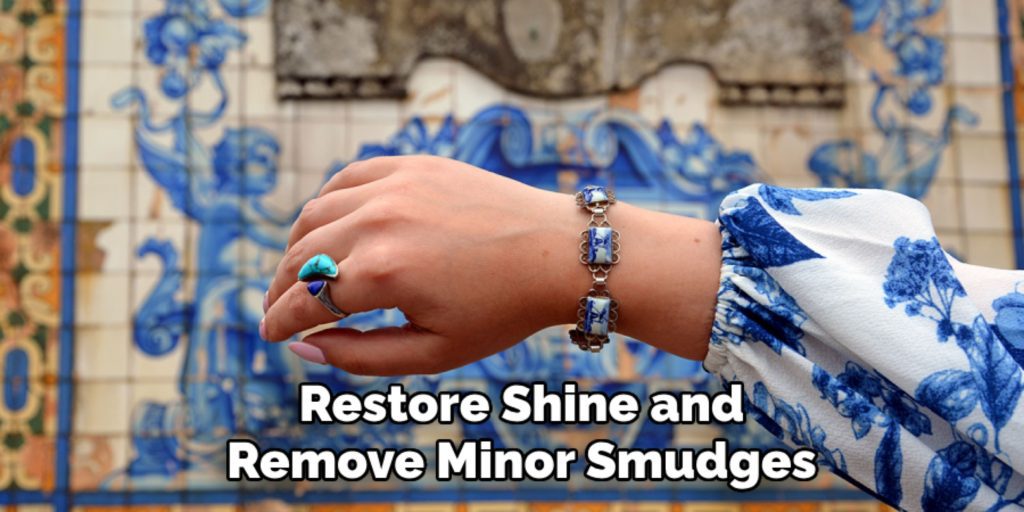
For glazed pieces, a non-abrasive polishing cloth can help restore shine and remove minor smudges. With regular care and careful handling, your ceramic jewelry can remain a cherished accessory for years to come.

Conclusion
Making ceramic jewelry at home is a creative and fulfilling process that allows you to produce beautiful, personalized pieces. With the right materials, tools, and techniques, you can create stunning necklaces, earrings, and bracelets that are both unique and functional. So, there you have it – a quick and easy guide on how to make ceramic jewelry at home.
Specialization:
- Master of wheel-throwing, hand-building, and advanced glazing techniques
- Focus on creating both functional pottery and decorative art pieces
Recognition:
- Celebrated by collectors and art enthusiasts for creating one-of-a-kind pieces that blend artistry with functionality
- Participates in local and national exhibitions, earning accolades for his innovative designs and craftsmanship
Passion:
- Deeply committed to exploring and pushing the boundaries of ceramic artistry
- Continuously experiments with new materials, firing techniques, and artistic concepts to evolve his craft
Personal Philosophy:
- Believes in the transformative power of art, aiming to evoke emotions and connections through his ceramic creations
- Advocates for sustainability in ceramics, using eco-friendly materials and practices whenever possible


