


Ceramic jewelry trays are both functional and stylish home décor pieces designed to help you organize rings, bracelets, and other jewelry items neatly and elegantly. These trays keep your treasured accessories in one place and enhance the aesthetics of any space with their artistic flair. The benefits of ceramic jewelry trays lie in their ability to be customized according to personal style, their inherent durability, and their timeless appeal that complements any home decor.
The beauty of these trays is their versatility—they can be crafted to suit a myriad of tastes and preferences. This article aims to provide a comprehensive step-by-step guide on how to make ceramic jewelry tray, covering everything from selecting the right materials and understanding the techniques involved to adding personalized finishing touches. With this guide, you’ll learn how to craft a personalized piece that reflects your unique style while serving a practical purpose.
Materials Needed
Creating your own ceramic jewelry tray requires a selection of both essential and optional materials to ensure a successful crafting experience.
Essential Materials
To begin, depending on your preference and the desired outcome, you’ll need clay, which can be stoneware, earthenware, or porcelain. Pottery tools are essential, including a rolling pin for flattening the clay, carving tools for shaping, a sponge for smoothing surfaces, and smoothers for refining edges. Glaze is crucial for finishing, providing both color and shine. Access to water is vital for working with clay, and a kiln is necessary for firing and hardening the ceramic piece.
Optional Materials
If you wish to personalize your jewelry tray further, consider using underglaze to add color before the final glazing process. Stamps or texture tools can create intriguing designs on the surface. Ceramic paint offers precision for detailed artwork, while wax resist can be applied to create striking decorative finishes, adding a unique touch to your creation.
Designing Your Jewelry Tray
Planning the Design

Deciding on the size and shape of your jewelry tray is an important initial step. Common shapes include round, square, and oval, but feel free to explore unique custom shapes to suit your creative vision or specific space. Consider the function of the tray: would you like it to have multiple compartments to separately hold rings, bracelets, or earrings? This aspect will guide the overall layout and utility of your tray. Think about where the tray will be placed in your home or office, as size decisions should complement the available space while achieving your desired aesthetic effect.
Decorative Elements
Consider adding different textures, patterns, or designs to transform your jewelry tray into a personalized masterpiece. Stamped motifs and carved details can elevate the visual appeal and introduce a unique tactile element. Underglazed decoration allows for vibrant colors and intricate designs before the final finishing, giving the tray a professional look. It’s essential to balance aesthetics with functionality; choose designs that enhance the tray’s appeal and maintain its purpose as a jewelry holder. Remember that overly intricate designs might affect the tray’s stability or jewelry-holding capabilities, so opt for styles that ensure both beauty and practicality.
Preparing the Clay
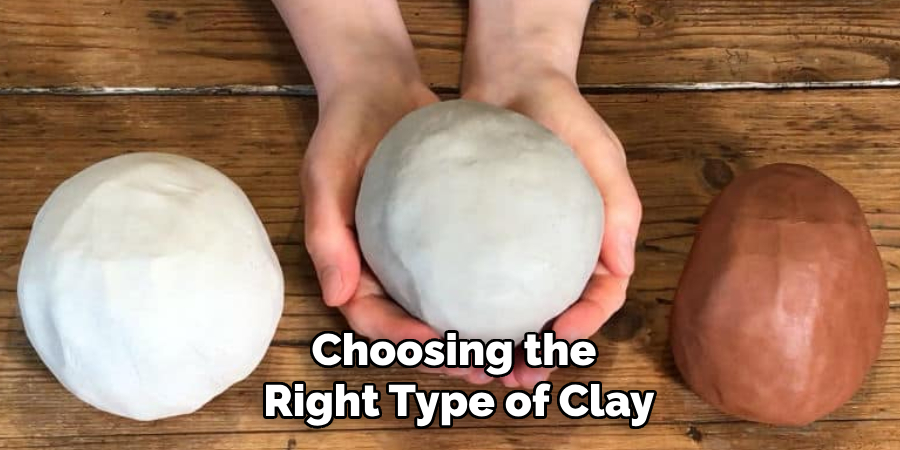
Selecting the Clay
Choosing the right type of clay is crucial for crafting a ceramic jewelry tray that is both functional and aesthetically pleasing. Stoneware is highly recommended due to its exceptional durability, making it ideal for items that need to withstand regular use. Its robust nature ensures that detailed designs and patterns are preserved through the firing process.
Earthenware, known for its ease of shaping, is another option; it’s particularly suited for beginners who are exploring ceramic crafting for the first time. For those seeking a refined and delicate finish, porcelain clay offers a smooth texture perfect for elegant and sophisticated tray designs. Stoneware’s sturdiness and ability to capture intricate details make it a preferred choice for creating functional pieces like jewelry trays that require both strength and attention to detail.
Preparing the Clay
Properly preparing the clay is essential to ensure the best results when shaping and firing. Begin by wedging the clay—a process similar to kneading dough—which helps to remove trapped air bubbles that could compromise the structure of your tray. Wedging also aligns the clay particles, rendering it smooth and uniform for shaping. Maintaining the clay’s moisture at an optimum level is vital throughout the sculpting process. Keep the clay covered or sealed when not in use to prevent it from drying out prematurely, making it easier to handle and mold into your desired tray design.
How to Make Ceramic Jewelry Tray: Shaping the Jewelry Tray
Handbuilding Techniques
Roll out the prepared clay into a flat, even slab to begin shaping your jewelry tray using hand-building techniques. Use a rolling pin, applying gentle and consistent pressure to achieve the desired thickness while ensuring uniformity across the slab. The thickness should be sufficient to provide stability to the tray but thin enough to allow for detailed design work. Once you have a flat slab, use carving tools to cut and shape it into your chosen tray design.
Consider rounding the corners for a softened look, or create a slight lip or raised edges to help contain your jewelry securely. For added functionality, add dividers or small compartments by attaching coils or additional slabs of clay. Score the edges of the pieces you wish to join, apply slip (clay and water mixture), and press them together firmly. This allows for creating designated sections within the tray, providing an organized space for rings, earrings, or other small items.

Using a Pottery Wheel
For those using a pottery wheel, start by centering the kneaded clay on the wheel’s bat. Apply water sparingly to help the clay maintain smooth movement, and use both hands to press and center the clay. Once it is secured and centered, press your thumbs gently into the center to begin forming the base.
Gradually widen the piece outward to define the tray’s overall shape, maintaining even pressure to form a smooth and consistent surface. Utilize your hands or specialized tools to shape the lip or sides of the tray, creating a subtle curve or a more defined edge, depending on your preference. Consider trimming the tray’s foot with a trimming tool as a final touch. This step, although optional, gives a more professional appearance and helps balance the tray, enhancing its functionality and aesthetic appeal. By trimming, you define the base, ensuring that it sits flat and stable when placed on surfaces.
Drying and Firing the Tray
Drying the Tray
To ensure your jewelry tray dries evenly and without any warping or cracking, it’s critical to let it dry slowly under controlled conditions. Start by placing the tray on a flat, porous surface that allows air to circulate beneath it. Cover the tray loosely with plastic to slow down the drying process, preventing the surface from drying too quickly compared to the underside. Periodically check the tray and gently flip it over or rotate it halfway through drying. This technique helps distribute the drying evenly, maintaining the tray’s shape and stability. Patience during this phase ensures the longevity and quality of your ceramic piece.
Bisque Firing
Once the tray is thoroughly dried, bisque firing is essential to transform the fragile clay into a sturdier, porous form suitable for glazing. This initial firing is typically done at around 1800°F (982°C). The bisque firing process gradually heats the clay, driving out moisture and organic materials, strengthening the piece, and leaving it ready to accept glaze. The porous nature of post-bisque firing allows for an even glaze application, ensuring a smooth and consistent finish after the final firing. This foundational step is crucial to achieving a durable, professional-quality ceramic tray.
Glazing the Jewelry Tray
Choosing the Right Glaze
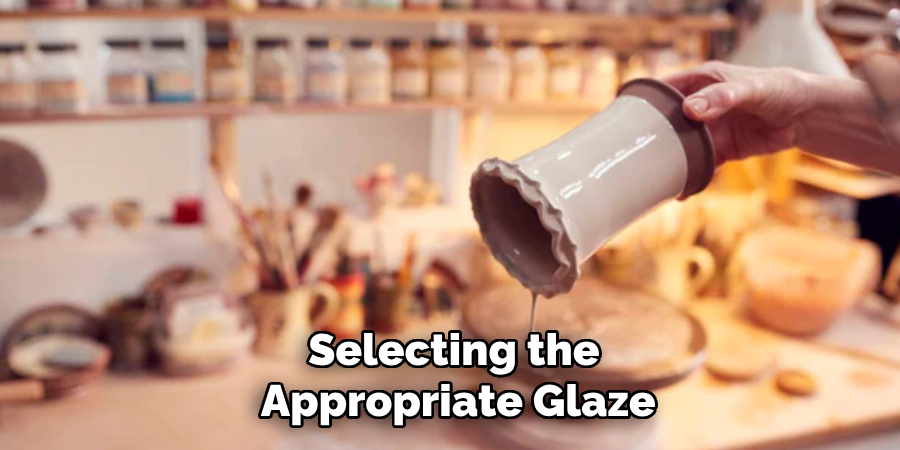
Selecting the appropriate glaze for your jewelry tray is essential to complement its design and meet your aesthetic preferences. Matte glazes offer a subtle, understated finish that can highlight intricate designs without overwhelming them. Glossy glazes provide a shiny, reflective surface that enhances vibrant colors and adds a polished look. Transparent glazes preserve the natural beauty of the clay body, perfect for showcasing unique textures. For a more personal touch, colored glazes can match or contrast with your existing decor. When choosing a glaze, consider how it will interact with the tray’s shape and any design features to ensure a cohesive and attractive result.
Applying the Glaze
When applying the glaze, ensure the tray is free of dust or debris. You can dip the tray into a glazed container for an even coat, which is ideal for smoothly covering the entire surface. Consider brushing the glaze on for more control, allowing precision around intricate details. Alternatively, spraying offers uniform coverage, especially for larger trays. Pay special attention to the edges and dividers, applying the glaze evenly to prevent drips that could mar the finish. Rotate the tray carefully during application to fully glaze both the inside and outside surfaces, ensuring thorough coverage for a professional and durable finish.
Firing the Glazed Jewelry Tray
Glaze Firing Process
The glaze firing process solidifies the glaze, rendering the jewelry tray both durable and aesthetically pleasing. This step requires firing the tray in a kiln at a higher temperature, approximately 2200°F (1204°C), to ensure that the glaze sets consistently across the entire surface. Monitoring the firing for any signs of glaze defects or unevenness, such as crawling or blistering, is crucial. Though corrections can’t be made during this stage, identifying issues can inform adjustments in the glaze application or firing technique for future projects.
Cooling and Inspection
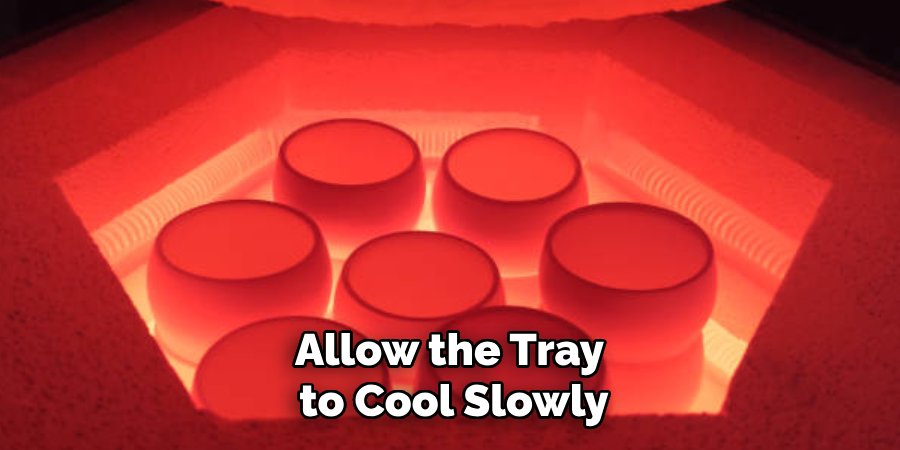
Once the firing is complete, allow the tray to cool slowly and uniformly, avoiding rapid temperature changes that can lead to thermal shock and cracking. After the tray has cooled completely, conduct a thorough inspection to confirm the glaze is properly set and visually appealing. Check for any remaining imperfections and ensure the tray is functional, stable, and has the desired look and finish.
Conclusion
Learning how to make ceramic jewelry tray involves several engaging and rewarding steps, from designing and shaping to glazing and firing. This comprehensive guide helps you craft a functional and beautiful piece. As you start using or displaying your tray, consider incorporating it into a vanity or dresser or even gifting it to someone special. Experiment with different shapes, designs, and glaze colors to create a unique, personalized touch. Embrace your creativity and refine your techniques to produce stunning trays that showcase both your style and craftsmanship.
Specialization:
- Master of wheel-throwing, hand-building, and advanced glazing techniques
- Focus on creating both functional pottery and decorative art pieces
Recognition:
- Celebrated by collectors and art enthusiasts for creating one-of-a-kind pieces that blend artistry with functionality
- Participates in local and national exhibitions, earning accolades for his innovative designs and craftsmanship
Passion:
- Deeply committed to exploring and pushing the boundaries of ceramic artistry
- Continuously experiments with new materials, firing techniques, and artistic concepts to evolve his craft
Personal Philosophy:
- Believes in the transformative power of art, aiming to evoke emotions and connections through his ceramic creations
- Advocates for sustainability in ceramics, using eco-friendly materials and practices whenever possible