


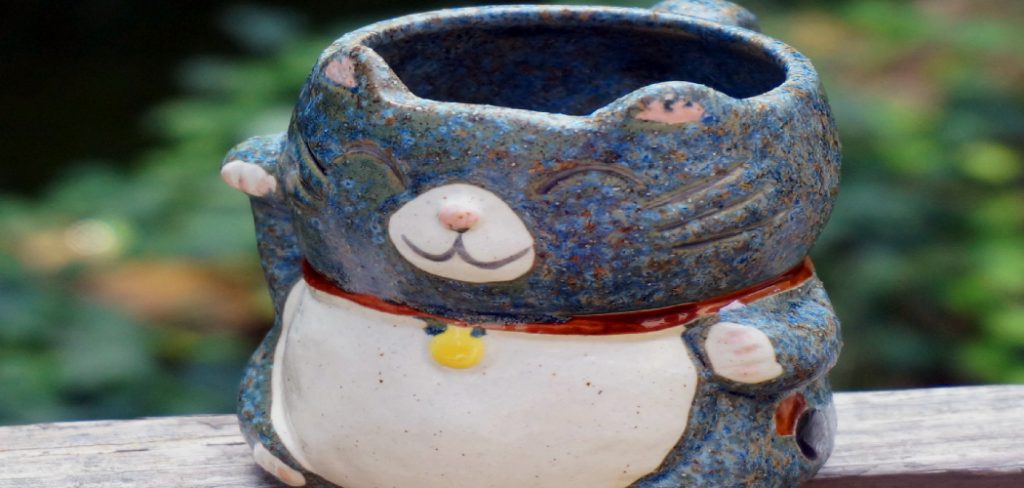
Are you looking to make a cute ceramic kitty statue to add personality to your home décor? Look no further! This tutorial will guide you through the step-by-step process of creating your own ceramic kitty statue.
How to make ceramic kitty statue is a delightful and rewarding project that combines creativity and craftsmanship. Whether you’re a seasoned artist or a beginner exploring the world of ceramics, this guide will walk you through shaping, detailing, and finishing your unique feline masterpiece.
With some basic materials, tools, and patience, you can bring your vision of a charming ceramic kitty to life. Let’s get started on this fun, artistic endeavor!
What Are the Benefits of Making a Ceramic Kitty Statue?
Creating something with your hands can be incredibly fulfilling, and making a ceramic kitty statue is no exception. Here are some of the benefits that come with this project:
- Personalization: By making your ceramic kitty statue, you have complete control over its design and appearance. You can add personal touches to make it truly one-of-a-kind.
- Relaxing Activity: Working with clay and creating something from scratch can be therapeutic and help reduce stress and anxiety.
- Skill Development: This project will allow you to develop new skills in ceramics, such as shaping, detailing, glazing, and firing techniques.
- Creative Outlet: Making a ceramic kitty statue allows you to express your creativity and imagination in a tangible form.
- Home Décor: Once completed, your ceramic kitty statue can be a unique and eye-catching home décor piece. It will bring personality and warmth to any space.
What Will You Need?
Before we dive into the process, here’s a list of materials and tools you will need:
- Clay: Choose a type of clay suitable for sculpting, such as air-dry or oven-bake clay.
- Sculpting Tools: These can include knives, scrapers, and shaping tools to help you mold and detail your statue. You can also substitute household items like toothpicks, forks, and spoons.
- Water: This will keep the clay moist while you work on it.
- Glaze (optional): If you want to add color to your ceramic kitty statue, you can use glazes in various shades and finishes.
- Kiln (optional): A kiln is not required if you use oven-bake clay. However, if you use air-dry clay, you will need access to a kiln to fire your statue.
10 Easy Steps on How to Make Ceramic Kitty Statue
Step 1: Prepare Your Workspace
Start by setting up a clean, flat area where you’ll work on your ceramic kitty statue. Lay down a protective covering, like a plastic sheet or old newspapers, to keep the surface clean and protect it from scratches or stains. Ensure the area is well-lit so you can see the details of your work.

Gather all the materials and tools you’ll need, placing them within easy reach to streamline your sculpting process. Keep a small bowl of water nearby if you’re working with clay that requires water to stay moist. Having a damp cloth or sponge handy is also a good idea to wipe your hands or tools as needed. Taking the time to set up a well-organized workspace will make the process more enjoyable and efficient.
Step 2: Knead the Clay
Before you start shaping your kitty statue, you’ll need to knead the clay to remove any air bubbles and ensure a smooth texture. Press a chunk of clay firmly with your hands, folding and rolling it repeatedly. This process, often called wedging, helps improve the clay’s workability and prevents cracks from forming later. Ensure the clay feels pliable and consistent before moving on to the next step. If the clay feels too dry, add a touch of water to hydrate it; if it’s too wet, leave it out for a short while to air dry slightly. Properly prepared clay is key to creating a sturdy and attractive ceramic kitty.
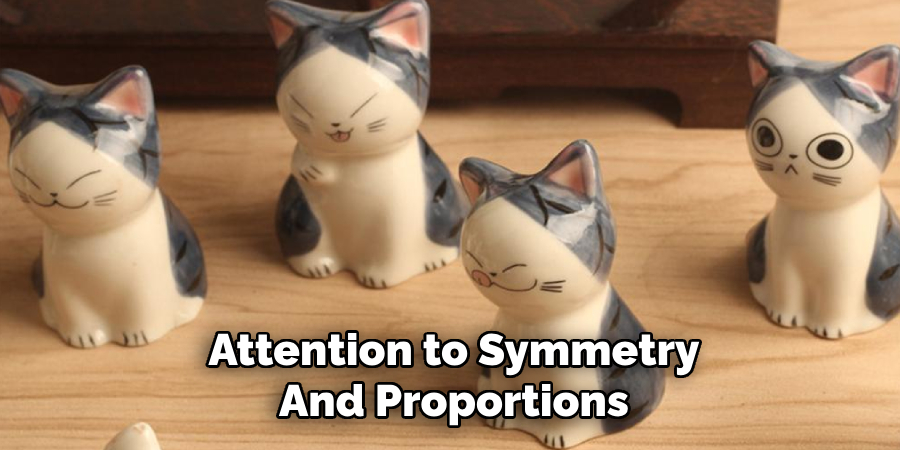
Step 3: Shape the Body
Start shaping the main body of your ceramic kitty by forming a basic oval or cylinder that will serve as the torso. Use your hands to mold and smooth the clay into the desired shape gently. If you’re aiming for a sitting kitty, make the bottom flat so it can sit securely. Pay attention to symmetry and proportions as you work since this will set the foundation for the rest of your sculpture. Don’t worry about adding fine details at this stage – the goal is to create a solid, balanced base for your statue. Keep your tools and a bit of water nearby to refine the shape as needed, and make sure the base is sturdy to prevent wobbling.
Step 4: Add the Head
Once the body is shaped and stable, it’s time to create the head of your ceramic kitty. Roll a smaller piece of clay into a ball or an oval, depending on the look you want for your kitty. Attach the head to the body by gently pressing the two pieces together and smoothing the clay at the connection point. You can blend the edges seamlessly with a bit of water and a sculpting tool. Ensure the head is securely attached to avoid it detaching later. Care to center the head on the body for balance and a natural appearance.
Step 5: Shape the Ears
Now that the head is attached, it’s time to craft the kitty’s ears. Shape two small pieces of clay into triangles or rounded shapes, depending on your preferred style. Attach the ears to the top of the head by gently pressing them into place and blending the edges with a sculpting tool. Use your fingers or tools to refine the shape and ensure both ears are symmetrical. Add a touch of water if needed to smooth out any rough spots. This step will give your ceramic kitty its characteristic feline charm.
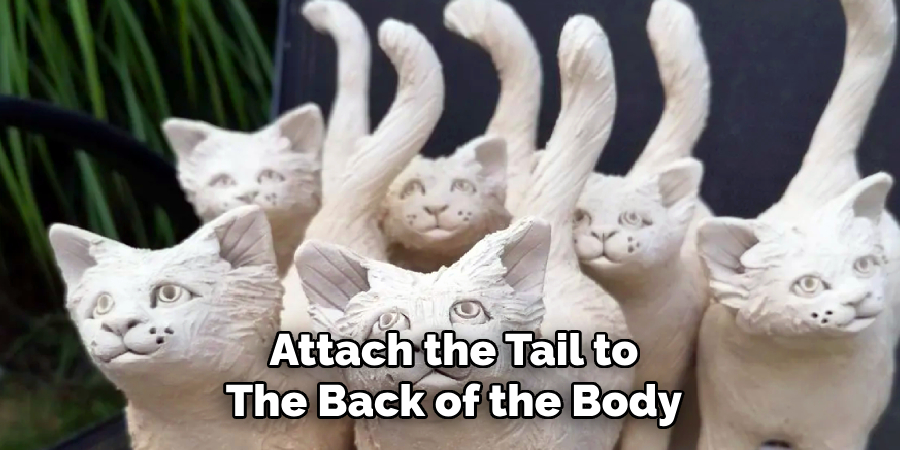
Step 6: Add the Tail
Create the tail next to give your ceramic kitty a playful or elegant flair. Roll a piece of clay into a long, thin cylinder, adjusting the length and thickness to match the desired look. Curve or shape the tail to add character—whether straight, curled, or looped. Attach the tail to the back of the body by gently pressing it into place and using a sculpting tool to blend the edges seamlessly. Support the tail during this step to maintain its shape as the clay dries. This detail will bring your ceramic kitty to life with personality.
Step 7: Create the Facial Features
Now it’s time to give your ceramic kitty its expressive face. Use a small amount of clay to shape tiny details such as the nose, mouth, and eyes. Roll little balls of clay for the eyes and carefully press them into place. Form a small triangle or oval shape for the nose and attach it in the center of the face just above the mouth area.
Sculpt subtle lines or indentations to create a smiling or neutral expression. You can add details like whisker indentations using a fine sculpting tool if you wish. Take your time with this step to ensure the facial features look balanced and full of character—this is where your ceramic kitty truly comes to life!
Step 8: Smoothing the Surface
Once all the features of your ceramic kitty are in place, it’s essential to smooth the surface for a polished finish. Use a damp sponge or soft brush to gently smooth out any rough edges, cracks, or fingerprints on the clay. This step improves the overall appearance and ensures the surface is free from imperfections that could weaken it during the firing process. Be careful not to disturb the finer details, such as the facial features or tail, while smoothing. Allow the clay to dry completely before moving on to the next step.
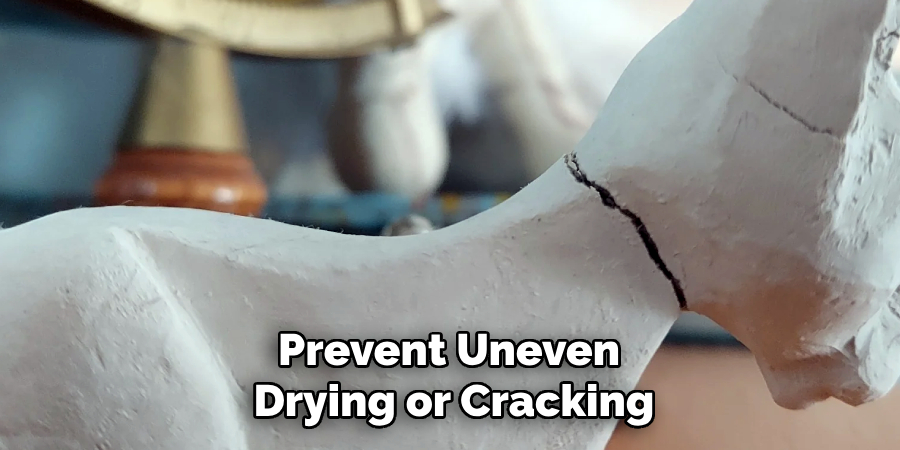
Step 9: Drying the Kitty
After the clay has been smoothed and all the details are finalized, allowing your ceramic kitty to dry thoroughly before firing is crucial. Place your creation in a well-ventilated area away from direct sunlight or heat sources to prevent uneven drying or cracking. Depending on the size and thickness of your sculpture, drying may take a few days. Ensure the clay feels completely dry to the touch and has a consistent color before proceeding. Patience at this stage will contribute to a successful firing and a durable finished piece.
Step 10: Firing the Kitty
Once your ceramic kitty is completely dry, it’s time to fire it in a kiln. Firing hardens the clay and sets its shape permanently. Place your piece carefully into the kiln, ensuring it does not touch other items to avoid damage. Follow the recommended firing temperature for the type of clay you used, as different clays require different heat levels. Typically, the firing process is carried out in bisque and glaze. Monitor the kiln closely and allow it to cool completely before removing your sculpture. Proper firing ensures your ceramic kitty is sturdy and ready for the final touches.
Following these ten steps, you can create a beautiful ceramic kitty sculpture that adds charm and character to your home.
Conclusion
How to make ceramic kitty statue is a rewarding process that combines creativity, patience, and craftsmanship.
You can craft a unique and charming piece that reflects your style by carefully following the outlined steps—from preparing your workspace to sculpting, detailing, and firing. Each stage requires attention and care, but the final result is a durable and decorative sculpture that can be treasured for years.
Whether you are a beginner or an experienced artist, this guide provides all the essentials to bring your artistic vision to life.
Specialization:
- Master of wheel-throwing, hand-building, and advanced glazing techniques
- Focus on creating both functional pottery and decorative art pieces
Recognition:
- Celebrated by collectors and art enthusiasts for creating one-of-a-kind pieces that blend artistry with functionality
- Participates in local and national exhibitions, earning accolades for his innovative designs and craftsmanship
Passion:
- Deeply committed to exploring and pushing the boundaries of ceramic artistry
- Continuously experiments with new materials, firing techniques, and artistic concepts to evolve his craft
Personal Philosophy:
- Believes in the transformative power of art, aiming to evoke emotions and connections through his ceramic creations
- Advocates for sustainability in ceramics, using eco-friendly materials and practices whenever possible