


Ceramic light switch covers are decorative and functional additions that enhance the aesthetic appeal of wall spaces while protecting light switches. These covers are crafted from durable ceramic material and uniquely elevate a room’s design. Unlike standard plastic covers, ceramic versions allow for greater creativity and personalization, enabling homeowners to match their unique home decor or showcase artistic flair. Using custom designs, you can incorporate colors, textures, and patterns that complement your interior style, making the light switch cover a subtle but striking piece of functional art.

Creating your own ceramic light switch covers is a rewarding experience that combines artistry with practical skills. The process involves several key steps, including designing the shape and style, forming the ceramic material, decorating it with glazes or embellishments, and firing it in a kiln to finalize the piece. Discover “how to make ceramic light switch covers” and transform your walls!
Materials and Tools Needed
To create your own ceramic light switch covers, you’ll need a few essential materials and tools to ensure a smooth crafting process.
Materials
- Ceramic clay (stoneware or earthenware): The base material to shape your switch cover.
- Slip (optional): Perfect for adding decorative details or layering designs.
- Underglaze or glaze: Used to color, finish, and seal the ceramic piece for durability and aesthetic appeal.
- Kiln: Necessary for firing the ceramic to harden and complete the transformation.
Tools
- Rolling pin or slab roller: To evenly roll out the clay to the desired thickness.
- Light switch cover template or an existing cover: Ensures dimensions fit standard switch sizes.
- Needle tool: This is for precision cutting the clay into shape.
- Sponge: Used to smooth and refine edges during shaping.
- Ruler: Ensures accurate and consistent measurements for a perfect fit.
- Carving tools or stamps: Adds decorative patterns, textures, or personal touches.
- Small drill bit or similar tool: To create clean and precise screw holes.
With these materials and tools, you’ll be equipped to craft customized ceramic light switch covers that are both functional and artistic.
Preparing the Clay
Conditioning the Clay
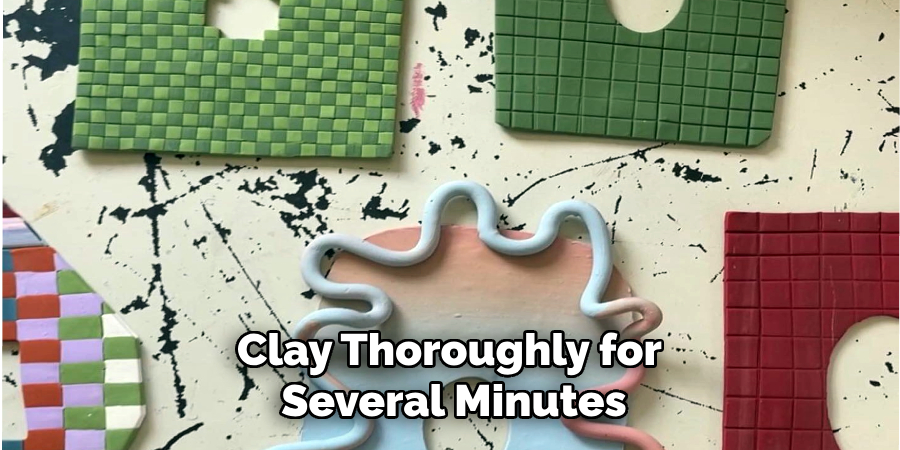
Before beginning any project, it is crucial to properly condition the clay to ensure workability and to prevent cracking during the drying and firing process. Start by kneading the clay thoroughly for several minutes. This step helps remove any trapped air bubbles and makes the clay more pliable and easier to handle. Once the clay is soft and uniform in texture, roll it out evenly to a thickness of approximately 1/4 inch. Using a rolling pin or a slab roller will help achieve consistent thickness, which is essential for a durable and professional-looking piece.
Creating the Base Shape
After preparing the clay slab, carefully place a light switch cover template or an existing cover on the rolled-out clay. Use a needle tool to trace and cut around the template, following its edges closely to create a precise shape. Make sure the clay edges are smooth and uniform, as jagged or uneven edges can compromise the final appearance and fit. You can use a damp sponge to gently refine the edges, ensuring the cutout is clean and professional. This base shape will serve as the foundation for your custom ceramic light switch cover.
How to Make Ceramic Light Switch Covers: Shaping and Cutting Openings
Cutting Openings
Place the light switch template back onto the clay base to mark the opening(s) for the switch. Align the template carefully to ensure proper placement and functionality. Using a needle tool or a sharp knife, methodically cut out the switch opening(s) by following the marked lines. Work slowly and with precision to avoid unintentional cuts or mistakes. Once the openings are cut, check the alignment again to confirm it matches the intended design.
Adding Screw Holes
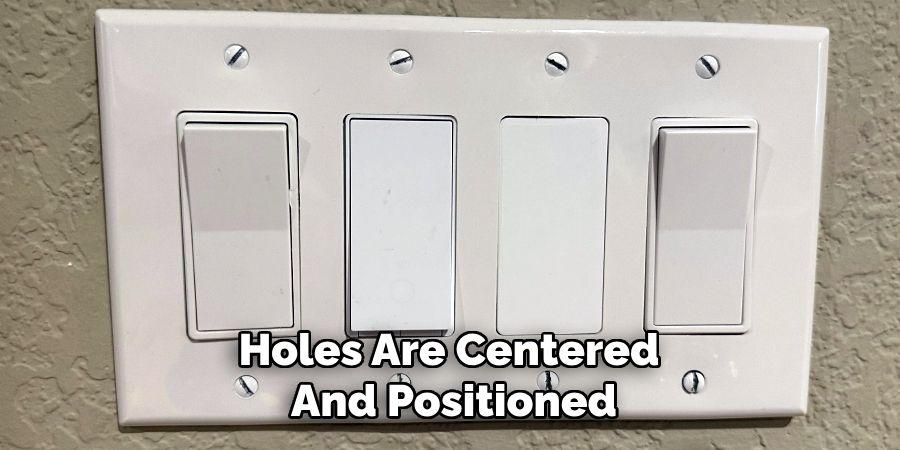
To secure the finished cover to the wall, you need to create screw holes. Use a small drill bit, a straw, or any similarly shaped tool to punch holes at the appropriate positions, usually at the top and bottom of the cover. Ensure these holes are centered and positioned . After forming the holes, gently smooth their edges to remove roughness and reduce the risk of cracking during the firing process.
Refining the Edges
Refining the edges of your cover ensures a polished, professional finish. Use a damp sponge to carefully smooth all external edges, openings, and screw holes. This step improves the appearance and reduces the likelihood of sharp edges or imperfections causing damage or discomfort after firing.
Decorating the Cover
Decorating the cover is a creative and exciting step in transforming your piece into a unique work of art that complements your home decor.
Adding Texture
You can imprint intricate patterns onto the clay’s surface using stamps, lace, or carving tools. Experiment with various designs to suit the style of your space, such as delicate floral motifs, bold geometric patterns, or abstract textures. Press tools gently into the soft clay, being careful not to distort its shape. Plan your pattern placement in advance to ensure a cohesive and balanced design.
Creating Raised Details
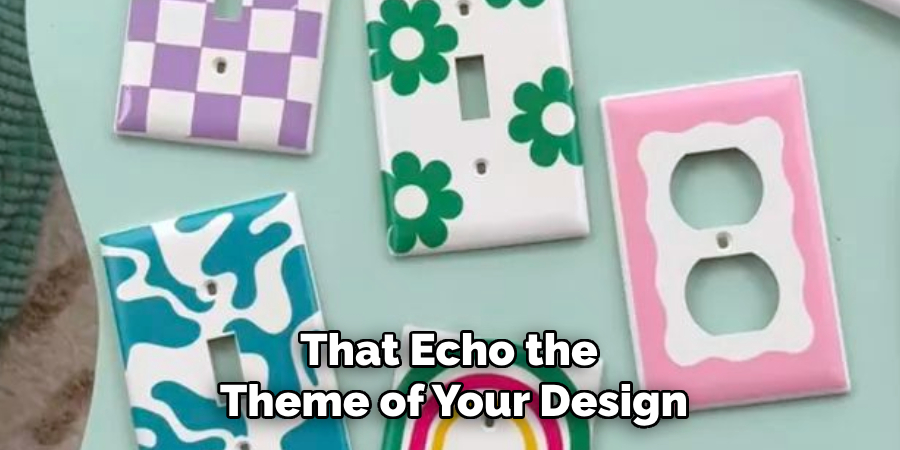
For added dimension, consider attaching raised elements to the surface. Roll out small clay pieces and use slip—a mixture of clay and water—as a bonding agent to attach them securely. Popular choices for raised details include decorative scrolls, dots, or sculpted shapes that echo the theme of your design. Smooth the seams of each attachment to ensure they merge seamlessly with the base, creating a polished appearance.
Painting with Underglaze
Apply underglaze directly onto the raw clay for more detailed and colorful decorations. This technique allows for fine line work, vibrant colors, or artistic imagery to become part of the final piece. Use brushes of varying sizes to achieve your desired level of detail, and consider layering colors for depth and visual interest. Once your design is complete, allow the underglaze to dry completely before proceeding with the bisque firing to ensure a clean and durable finish.
Drying and Firing the Cover
Drying Process
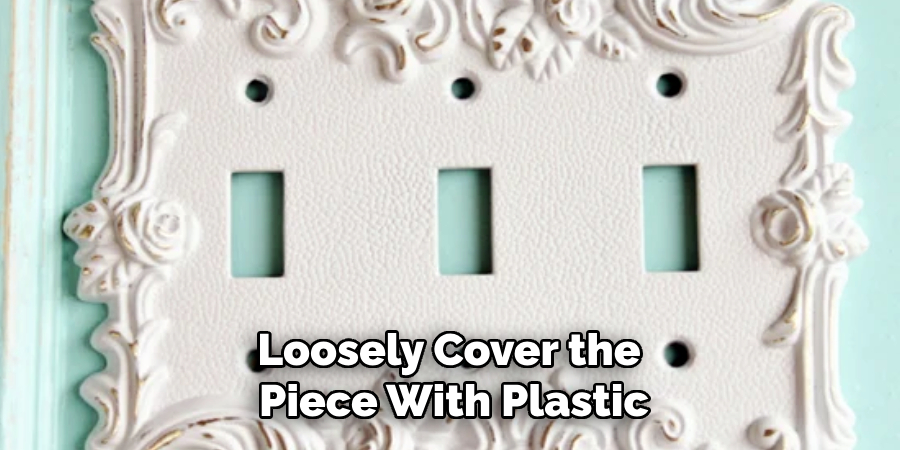
Proper drying is essential to ensure the structural integrity of your cover. Allow the cover to dry slowly to prevent warping or cracking. Place it on a flat, non-porous surface in a well-ventilated area, away from direct sunlight or heat sources that could cause uneven drying. To control the drying speed, loosely cover the piece with plastic, such as a plastic bag or sheet. Check on the cover periodically and adjust the plastic covering as needed to allow for gradual air exposure. The drying process can take several days, depending on the thickness and overall size of the piece.
Bisque Firing
Once the cover is completely dry, it will be ready for the bisque firing stage. Load it carefully into the kiln, ensuring even spacing from other pieces to allow proper airflow during firing. To transform the clay into a durable ceramic material, fire the cover to the appropriate bisque temperature, usually around 1800°F (Cone 06). After bisque firing, inspect the cover for imperfections such as cracks or uneven surfaces. These should be addressed before glazing or applying additional finishes to ensure the best final result. Treat this step with care, as it sets the foundation for the strength and longevity of your piece.
Glazing and Final Firing
Applying Glaze
The glazing process begins with selecting the appropriate glaze to suit your piece’s design and functional requirements. Whether you prefer a bold, glossy finish or a subtle, matte texture, choose a glaze that complements the decor or enhances the overall appearance of your cover. Apply the glaze evenly using your preferred method—brushing, dipping, or spraying. When applying glaze, take care to avoid clogging any screw holes, openings, or other functional areas of the piece. Wipe away any excess glaze from these spots using a damp sponge or cloth.
Detail Work
For more intricate designs, consider using multiple glaze colors to add depth and complexity to your work. Mask off areas with tape or wax resist to ensure precision and clean lines between different colors. Depending on your creative vision, layers can be applied methodically to achieve advanced detailing or textures. Patience and careful planning during this stage can significantly elevate the final aesthetic of your piece.
Final Firing
Once the glazing is complete, prepare the piece for the final firing. Load it carefully into the kiln, making sure it is not in direct contact with other pieces, as glazes become fluid during firing and can fuse. Fire the glazed cover to the recommended temperature, which for stoneware is typically around 2200°F (Cone 5 or 6). Follow the kiln’s cooling cycle carefully, allowing the kiln to cool entirely to avoid thermal shock. Only remove the cover once it has returned to room temperature. The finished cover will now exhibit a stunning, durable, glazed surface, ready for functionality or display.
Attaching and Testing
Cleaning the Cover:
After the final firing, inspect the cover for any rough edges or imperfections. If needed, gently sand or smooth these areas using fine-grit sandpaper, taking care not to damage the glazed surface. Once satisfied, use a damp cloth to clean the cover and remove any remaining dust or debris. This step ensures a neat and polished look.
Installing the Cover:
Position the cover over the wall plate, carefully aligning the screw holes to ensure proper placement. Secure the cover in place using screws, tightening them evenly to avoid unnecessary stress on the material. Once installed, test the fit to confirm that the cover sits flush against the wall and is both functional and visually appealing. This final step completes your project, showcasing a beautifully crafted piece that merges artistry with practicality.
Conclusion
Creating ceramic light switch covers is rewarding and blends craftsmanship with creativity. The possibilities are endless, from selecting the right materials and techniques to exploring innovative designs such as metallic glazes, matte finishes, or hand-painted patterns. Unique shapes, cutouts, and personal touches can turn a functional item into an eye-catching art piece. You’ll discover the joy of transforming ordinary decor into something truly special by experimenting with various ideas. With patience and imagination, “how to make ceramic light switch covers” becomes a fulfilling way to add a personal and artistic touch to your home.
Specialization:
- Master of wheel-throwing, hand-building, and advanced glazing techniques
- Focus on creating both functional pottery and decorative art pieces
Recognition:
- Celebrated by collectors and art enthusiasts for creating one-of-a-kind pieces that blend artistry with functionality
- Participates in local and national exhibitions, earning accolades for his innovative designs and craftsmanship
Passion:
- Deeply committed to exploring and pushing the boundaries of ceramic artistry
- Continuously experiments with new materials, firing techniques, and artistic concepts to evolve his craft
Personal Philosophy:
- Believes in the transformative power of art, aiming to evoke emotions and connections through his ceramic creations
- Advocates for sustainability in ceramics, using eco-friendly materials and practices whenever possible