


Ceramic mold-making is a fascinating process that enables artists and craftsmen to create precise replicas of ceramic pieces such as figurines, tiles, and functional pottery. This technique involves crafting a mold—often made from plaster—into which liquid clay, or slip, is poured. The mold allows for greater precision and consistency in reproduction, making it a preferred method over hand-building or wheel-throwing, particularly for mass production.
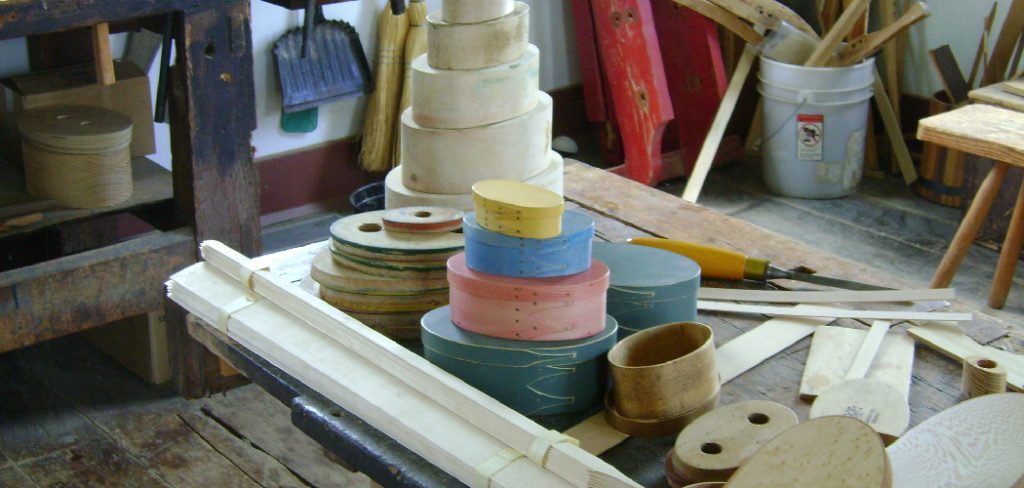
Using plaster molds in ceramic production is not only efficient but also beginner-friendly, offering an accessible entry point for novices interested in learning how to make ceramic molds. However, patience and meticulous attention to detail are crucial, as each step demands accuracy to successfully form clay pieces. This approach has revolutionized the way artists and hobbyists produce ceramic works, streamlining the creation process and allowing for detailed craftsmanship in each piece.
Materials and Tools Needed
To successfully create ceramic molds, you will need a variety of materials and tools to ensure precision and efficiency. First, select a Model (Original Object)—this is the item you wish to replicate in ceramic. Essential to the process is Plaster of Paris, which is used to form the mold. You’ll also need a Mold Box—a simple frame or box that contains the plaster around the model, holding it in place. For multi-part molds, Clay is useful for building walls or barriers. Sculpting Tools come in handy for shaping and cleaning the model and mold.
To avoid plaster adhering to your model, apply Vaseline or Mold Release Agent. You’ll also need Water and a Mixing Bowl to prepare the plaster. Secure the mold with Rubber Bands or Clamps when pouring the slip. Protect your workspace with Plastic Sheeting, and use a Sponge and Sandpaper to clean and finish the mold.
Preparing the Model
Creating a successful ceramic mold begins with careful preparation of the model. This crucial step ensures that the resulting mold accurately captures the details of the original object and facilitates easy removal after casting.
Step 1: Select the Model
Choose an original object to replicate, such as a ceramic piece, a sculpted object, or even a found item. The model should be free of intricate undercuts or details that could complicate the mold-making process. Clean and smooth the model to ensure it’s free of imperfections. This helps produce a clean cast and reduces the likelihood of flaws in the final ceramic piece.
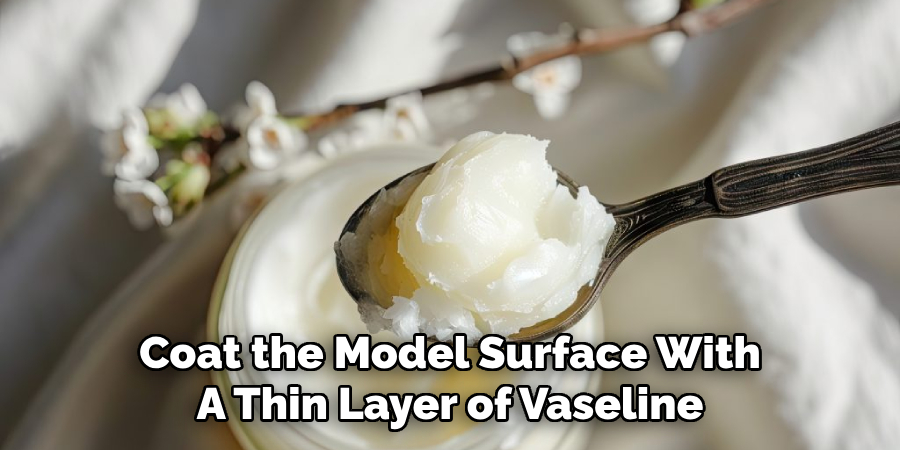
Step 2: Apply Mold Release
Coat the entire model surface with a thin layer of Vaseline or a commercial mold release agent. Ensure all areas are covered evenly, preventing the plaster from sticking to the model. An even application is key to avoiding complications during the mold’s separation, ensuring that the model can be removed without damaging either the model or the mold itself.
Step 3: Set Up the Mold Box
Build a mold box that is slightly larger than your model using wooden boards or plastic containers. The box should have enough space for the plaster to flow around the model and create a sturdy mold. Use clay or sculpting tools to securely anchor the model in the center of the mold box. This setup is vital for maintaining the model’s position and preventing any unwanted movement when pouring the plaster, which could result in distortions or inaccuracies in the mold.
How to Make Ceramic Molds: Mixing and Pouring the Plaster
The process of mixing and pouring the plaster is critical to achieving a durable and accurate ceramic mold. This stage requires careful attention to ensure the plaster captures every detail of the model and sets properly to form a solid mold.
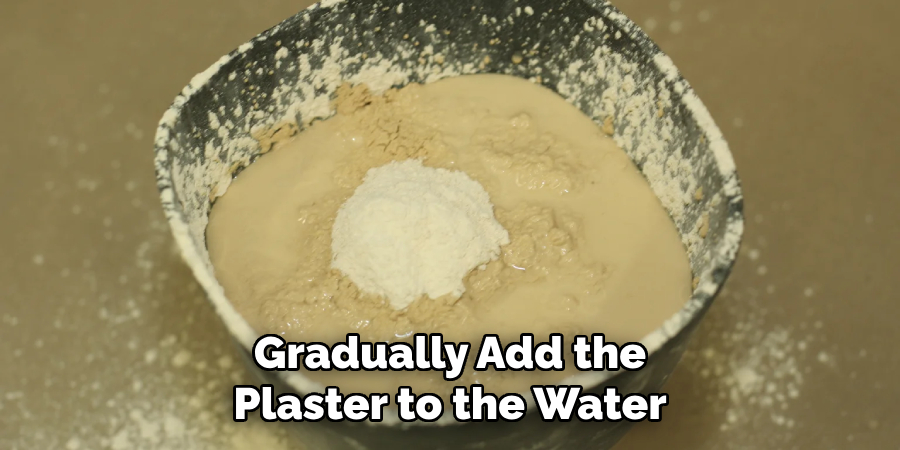
Step 1: Prepare the Plaster
Begin by preparing the Plaster of Paris. In a large mixing bowl, combine the plaster with water following the package instructions, which usually recommend a ratio of about two parts plaster to 1 part water. Gradually add the plaster to the water rather than vice versa, as this helps prevent lumps from forming. Stir the mixture thoroughly until it reaches a smooth consistency akin to thick cream. After mixing, allow the plaster to sit for a minute or two. This resting period allows the mixture to thicken slightly, making it ideal for capturing intricate details when poured.
Step 2: Pour the Plaster into the Mold Box
Once the plaster is prepared, carefully pour it into the mold box over the model. Aim to pour from a single spot to minimize air bubble formation, letting the plaster flow evenly over and around the model. After pouring, gently tap the sides of the mold box to encourage any trapped air bubbles to rise to the surface and escape. Ensuring the model is fully submerged in the plaster, aim for at least 1–2 inches of plaster around all sides of the model to achieve a sufficiently strong mold.
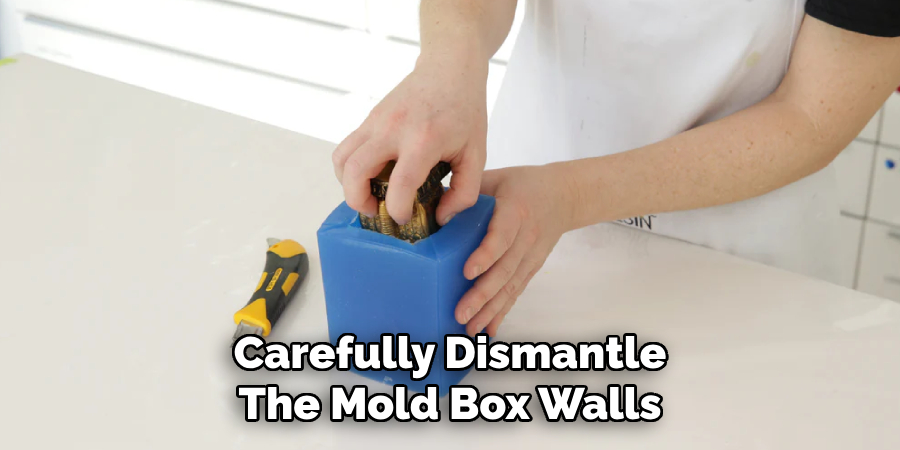
Step 3: Let the Plaster Set
After the plaster has been poured and leveled, allow it to sit untouched until it hardens. The setting time can vary between 30 minutes to an hour, depending on the mold’s size and thickness. The plaster should be firm to the touch before proceeding. Once set, carefully dismantle the mold box walls, revealing a sturdy plaster mold ready for further processing. This step is crucial, as the structural integrity of the mold depends heavily on ensuring the plaster has hardened fully before handling.
How to Make Ceramic Molds: Creating a Multi-Part Mold (If Needed)
Step 1: Determine if a Multi-Part Mold is Required
Before proceeding with a multi-part mold, evaluate whether your model requires it. Complex models with intricate details or undercuts, which might otherwise get trapped in a single mold, often necessitate a mold made in two or more parts. Typically, a two-part mold suffices for most models; however, sculptures with complex dimensions might demand three or more parts to capture every nuance without damage or distortion.
Step 2: Create a Clay Wall
Begin by constructing a clay wall to separate one part of your model within the mold box. Carefully build this wall around half of the model, ensuring it effectively divides the object. Press the clay tightly both against the model and onto the bottom of the mold box to prevent any plaster from seeping under the wall, which could compromise the integrity of the separate mold sections.
Step 3: Pour the First Half of the Mold
Once the clay wall is in place, apply a mold release agent generously over the model and the clay divider to prevent plaster adherence. Prepare the plaster as instructed earlier, and gently pour it over the side of the model contained by the clay wall. Tap the sides of the mold box to coax any air bubbles to the surface, which ensures a smooth mold surface. Allow the plaster to set completely before carefully dismantling and removing the clay wall.
Step 4: Pour the Second Half
With the first half of the mold in place and set, apply a mold release agent to the exposed surface of the hardened plaster to prevent the second half from adhering. Next, pour the newly mixed plaster to form the second half of the mold, ensuring it encapsulates any remaining portions of the model. Allow ample time for this plaster to set firmly before dismantling the mold box.
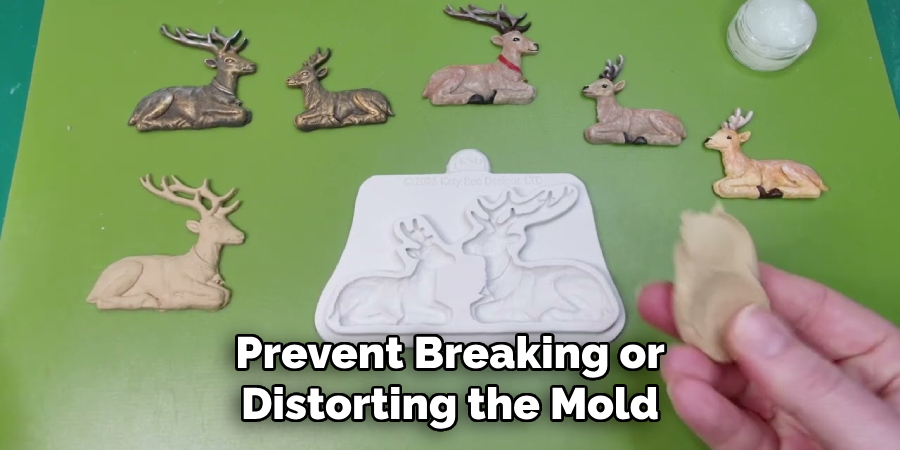
Step 5: Remove the Model
Once both halves of your multi-part plaster mold have hardened completely, gently pry them apart, being cautious not to damage the plaster. Carefully extract the original model to prevent breaking or distorting the mold. Inspect the mold interiors for minor imperfections; smooth these areas using fine-grit sandpaper, honing the mold for optimal casting quality.
Preparing the Mold for Use
Properly preparing the mold before casting ceramics is essential to achieving the best results. Each step in this process ensures the mold is in optimal condition, allowing for smooth and accurate casting.
Step 1: Clean the Mold
Begin by thoroughly cleaning the interior of the mold using a sponge or a damp cloth to remove any dust or plaster debris. This cleaning step is crucial to prevent imperfections in the final ceramic piece that could be caused by particles left on the mold surface. Ensure the mold is completely dry before proceeding. Any lingering moisture can affect the slip or other casting materials, compromising the finish.
Step 2: Check for Imperfections
Carefully inspect the inside of the mold for cracks, air pockets, or rough spots. If left unaddressed, these defects could translate into the ceramic piece. Small imperfections can be repaired using additional plaster. Once repaired, sand these areas smoothly to maintain the mold’s integrity. A flawless surface is key to producing high-quality ceramics without unwanted markings or distortions.
Step 3: Apply Mold Release (Optional)
For some ceramicists, applying a thin layer of mold release agent is an added step before pouring slip into the mold. While optional, this step is highly beneficial, especially when working with new molds or intricate designs that may be difficult to remove once set. The mold release aids in separating the ceramic piece from the mold without damaging it, extending the life of the mold and enhancing the overall casting process.
Casting Ceramics with the Mold
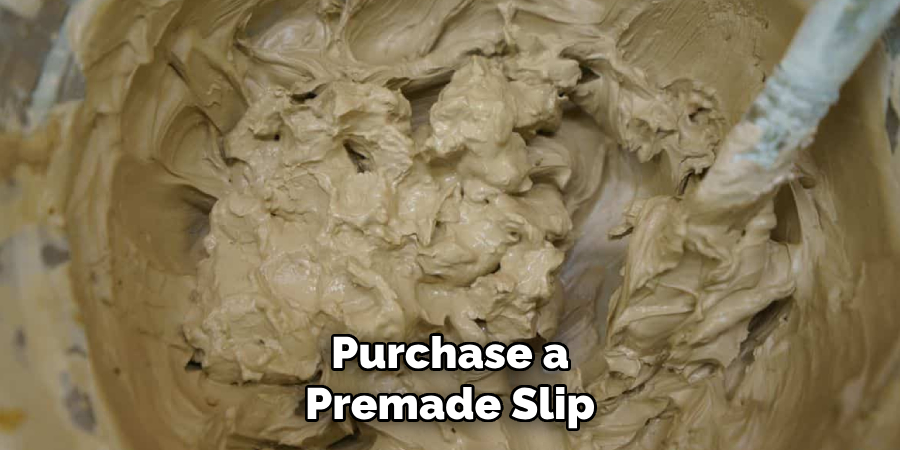
Step 1: Prepare the Ceramic Slip
Mix your ceramic slip (liquid clay) according to the manufacturer’s instructions, or purchase a pre-made slip from a ceramic supply store. Ensure that the slip is smooth and free of lumps or air bubbles. A well-prepared slip is critical to achieving a uniform texture and preventing imperfections in your final ceramic product.
Step 2: Pour the Slip into the Mold
Secure the two (or more) parts of your plaster mold together using rubber bands or clamps. Slowly pour the ceramic slip into the mold until it reaches the top. Tap the sides of the mold to remove any air bubbles that might be trapped inside. Air bubbles can cause weak spots or cavities in the finished piece, so this step is crucial for producing a durable ceramic product.
Step 3: Let the Slip Set
Allow the slip to sit in the mold for 15-30 minutes, depending on the thickness of the piece you’re making. The plaster will absorb the moisture from the slip, forming a thick wall inside the mold. After the appropriate time has passed, pour out the excess slip from the mold, leaving the solidified clay walls behind. This process helps ensure the piece achieves the desired thickness and structural integrity.
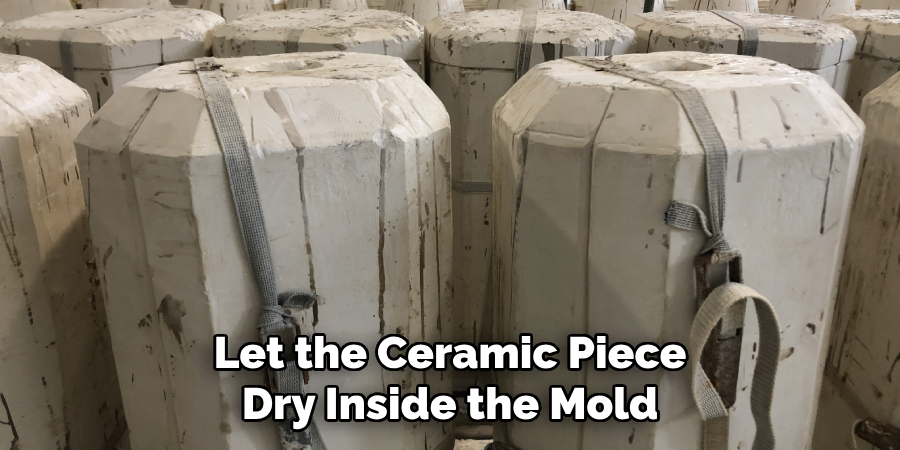
Step 4: Drying and Demolding
Let the ceramic piece dry inside the mold for several hours or overnight. Once the clay is firm and has shrunk away from the plaster, gently separate the mold halves and remove the ceramic piece. Let the piece dry completely before trimming or firing it in a kiln. Proper drying and handling at this stage are essential to prevent cracking or distortion, ensuring your ceramic piece is pristine and ready for the next phase of finishing or glazing.
Conclusion
In summary, understanding how to make ceramic molds involves a meticulous series of steps that set the foundation for successful ceramic casting. Prepare the model and carefully construct a clay wall for precise mold segmentation. Pour plaster thoughtfully to form both halves of the mold, then clean and inspect each half to ensure a flawless casting surface. Before casting, ensure the mold is impeccably prepared, allowing for consistent quality in the final ceramic piece.
Crafting a mold and casting ceramics requires unwavering attention to detail and patience, which are the keys to achieving a high-quality, reusable mold. You can uncover fresh creative avenues in your ceramic work by experimenting with various models and molds. This disciplined yet adventurous approach will enhance your skills and broaden your artistic horizons in the rewarding field of ceramics.
Specialization:
- Master of wheel-throwing, hand-building, and advanced glazing techniques
- Focus on creating both functional pottery and decorative art pieces
Recognition:
- Celebrated by collectors and art enthusiasts for creating one-of-a-kind pieces that blend artistry with functionality
- Participates in local and national exhibitions, earning accolades for his innovative designs and craftsmanship
Passion:
- Deeply committed to exploring and pushing the boundaries of ceramic artistry
- Continuously experiments with new materials, firing techniques, and artistic concepts to evolve his craft
Personal Philosophy:
- Believes in the transformative power of art, aiming to evoke emotions and connections through his ceramic creations
- Advocates for sustainability in ceramics, using eco-friendly materials and practices whenever possible