


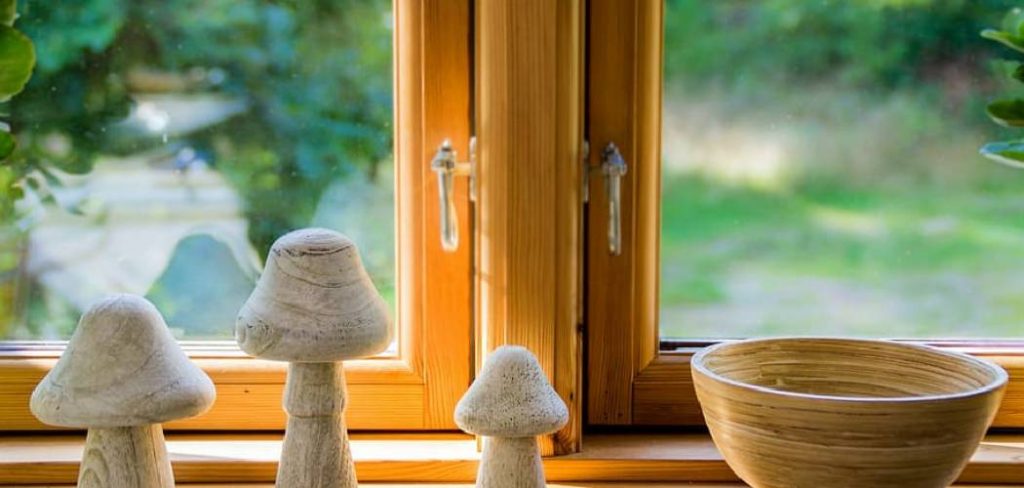
Are you a fan of fairy gardens? Do you love adding cute and unique decorations to your home or garden? Making ceramic mushrooms is easy, fun, and affordable to add charm and whimsy to your space.
How to make ceramic mushroom is a fun and artistic way to explore your creativity while crafting unique decorative pieces. Whether you’re an experienced ceramicist or a beginner enthusiast, this project allows you to experiment with shapes, textures, and glazes to bring your vision to life. Ceramic mushrooms can be used as garden ornaments, whimsical home decorations, or thoughtful handmade gifts. The process involves shaping clay, refining the details, firing the pieces in a kiln, and adding colors or finishes for a beautiful, polished look.
This guide will walk you through the steps to help you make your ceramic mushrooms easily and enjoyably.
What Are the Benefits of Making Ceramic Mushrooms?
Aside from being a fun and creative way to spend your time, making ceramic mushrooms has several benefits.
- Affordability: Making ceramic mushrooms is an affordable hobby as it only requires basic materials like clay, glaze, and tools. You can even use recycled or found objects for unique molds or texture stamps.
- Versatility: The possibilities are endless when designing and creating ceramic mushrooms. You can make them in all shapes and sizes, with various textures, colors, and finishes to fit any style or theme.
- Satisfaction: There’s something deeply satisfying about working with your hands and seeing your creation come to life. Making ceramic mushrooms allows you to tap into your artistic and creative side while producing tangible, beautiful pieces.
- Personalization: Whether you’re making them for yourself or as gifts, ceramic mushrooms can be personalized to reflect your personality or the recipient’s taste. You can add unique details, patterns, or even names to make each piece one-of-a-kind.
These are just a few of the many benefits of making ceramic mushrooms. Now, let’s dive into the step-by-step process to create your very own.
What Will You Need?
Before getting started, gather all the necessary materials and tools. Here’s a list of the basic supplies for making ceramic mushrooms:
- Clay: Choose a type of clay suitable for your project, such as air-dry clay or low-fire earthenware clay.
- Mold or template: You can use objects like bowls, cups, or lids as molds or templates to shape your mushrooms.
- Texture stamps or tools: To add texture and details to your mushroom, consider using stamps made from natural objects like leaves or bark or tools like needles and carving knives.
- Glaze: Once fired in a kiln, glaze adds color and shine to your ceramic mushroom.
- Kiln: A kiln is necessary to fire the clay and make it durable. If you don’t have access to a kiln, consider using air-dry or oven-dry clay instead.
- Paintbrushes: These apply glaze or add painted details after firing.
- Protective gear: To protect yourself from any potential hazards, wear gloves, an apron, and eye protection when working with clay and glaze.
Once you have all the materials and tools ready, it’s time to get creative and start making your ceramic mushrooms.
9 Easy Steps on How to Make Ceramic Mushroom
Step 1: Prepare the Clay
Start by ensuring your workspace is clean and organized; a clutter-free environment will make the process smoother. Take your block of clay and knead it thoroughly to remove any air bubbles. This process, known as wedging, helps to make the clay uniform in texture and prevents cracks or breaks during firing. Use a clean, flat surface or a wedging board for this step. Kneading the clay also makes it easier to work with and shape.
If your clay feels too dry, gradually add a small amount of water while kneading until it achieves a pliable consistency. Conversely, if the clay feels too sticky, allow it to dry slightly or add a bit of powdered clay to balance the texture. When the clay is ready, cut out the amount you’ll need for your mushroom project and cover the remaining clay with plastic wrap or a damp cloth to keep it from drying out.

Step 2: Shape the Mushroom Cap
Use your hands to take a portion of the prepared clay and roll it into a ball. The size of the ball will determine the size of your mushroom cap. Once the ball is formed, gently press and flatten it slightly to create a dome resembling a mushroom cap. Use your fingers or a small modeling tool to smooth out the surface and refine the edges. If desired, add texture to the cap using toothpicks, sponges, or sculpting tools to mimic the natural patterns found on real mushrooms. Set the cap aside to begin working on the stem.
Step 3: Create the Mushroom Stem
Roll another portion of the prepared clay into a cylindrical shape between your hands. The length and thickness of the cylinder will determine the proportions of your mushroom stem. Taper one end of the cylinder to mimic the natural narrowing found in real mushroom stems. Attach the broader end of the stem to the underside of the mushroom cap by pressing them together gently. Use your fingers or sculpting tools to blend the joint and ensure the cap and stem are securely connected. Add slight curves or texture to the stem for a more realistic look if needed.
Step 4: Add Details to Your Mushroom
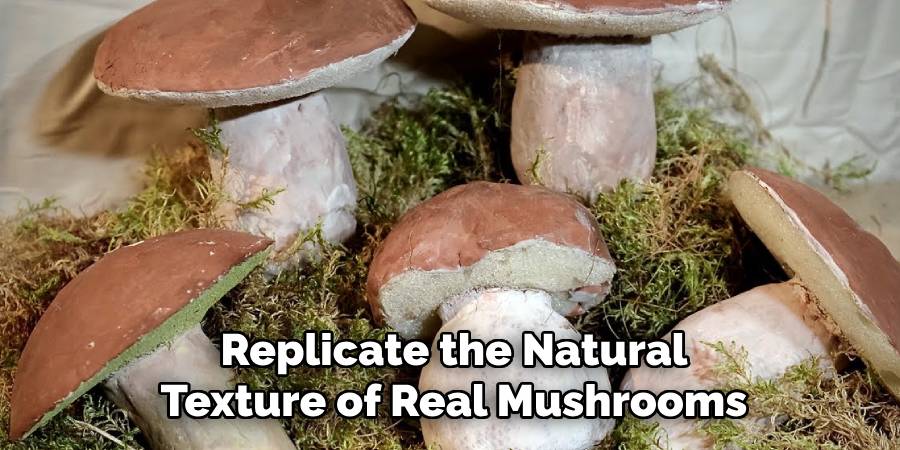
Once the cap and stem are securely attached, focus on adding finer details for realism. Use a small tool, such as a fine-tipped stylus or needle, to carve gills under the mushroom cap. Create evenly spaced lines radiating outward from the center of the underside of the cap. You can also add minor imperfections or tiny indentations along the stem and cap to replicate the natural texture of real mushrooms. If you wish to add a ring to the stem, roll out a thin strip of clay and carefully wrap it around it, securing it with gentle pressure.
Step 5: Bake and Harden Your Mushroom
After completing all the details, it’s time to harden your clay mushroom. Follow the instructions for your specific type of clay to ensure proper baking. Typically, this involves preheating your oven to the recommended temperature and placing your mushroom on a baking tray lined with parchment paper. Bake for the allotted time specified for your clay type, taking care not to overbake, as this can cause discoloration or cracking. Once baked, allow your mushroom to cool completely before handling or painting.
Step 6: Paint and Finish Your Mushroom
Once your clay mushroom has cooled, it’s time to add color and bring it to life. Use acrylic paints to carefully apply your desired colors, starting with a base coat and then adding details like spots, gradients, or other patterns to the cap. Consider using a fine-tipped brush to paint subtle lines or shading for added realism. Allow the paint to dry completely, and if desired, apply a clear sealant to protect your work and give it a slight shine. Your mushroom is now complete and ready for display!

Step 7: Display Your Mushroom
Now that your mushroom is complete, it’s time to showcase your unique creation! Depending on your style and preferences, there are countless ways to display your handiwork. You can place it on a shelf as a standalone decorative piece or create a whimsical scene by arranging multiple mushrooms with natural elements like moss, stones, or small branches. For indoor plants, consider using your mushroom as a decorative topper by placing it in the soil of a potted plant.
If you’d like to turn your mushroom into a functional piece, you could glue it to a magnet or attach a small loop to use it as an ornament. Whether you keep it for yourself or gift it to someone special, your clay mushroom will brighten any space with its charm!
Step 8: Care for Your Creation
To ensure your clay mushroom remains in excellent condition over time, proper care is essential. Avoid exposing it to excessive moisture, which could weaken the material or damage the finish. If dust accumulates on your mushroom, gently wipe it clean with a soft, dry cloth. Keep it in a stable environment, away from direct sunlight or extreme temperatures, to preserve its colors and structure. With a bit of care, your handmade mushroom can be enjoyed for years to come!
Step 9: Share Your Creation
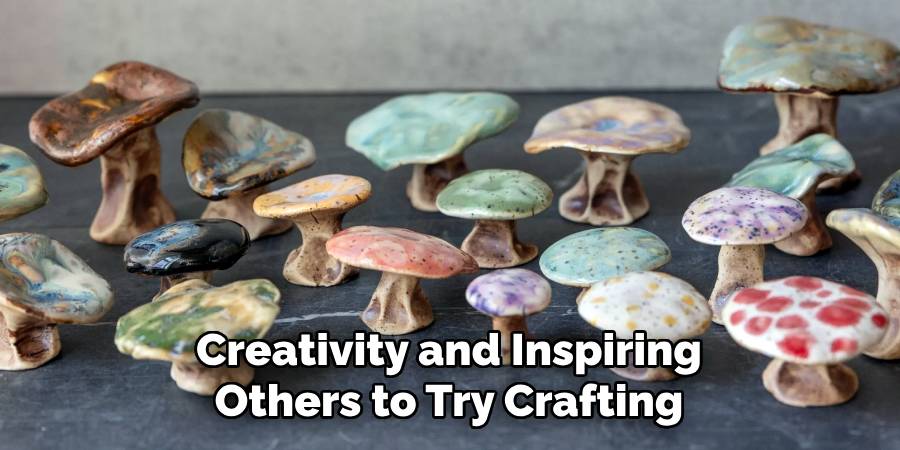
Now that your clay mushroom is complete, why not share your masterpiece with others? You can take photos of your creations and share them on social media, showcasing your creativity and inspiring others to try crafting their own. If you belong to a crafting community or group, consider bringing your mushroom to a meetup to exchange ideas and techniques with fellow enthusiasts. Sharing your work not only spreads joy but also fosters connections with like-minded individuals who appreciate the art of handmade creations.
By following these steps and using your imagination, you can create a variety of clay mushrooms in different sizes, shapes, and colors.
Conclusion
How to make ceramic mushroom is a fulfilling and imaginative process that allows you to explore your artistic side while crafting unique and decorative pieces.
By following the outlined steps, from gathering the materials to shaping, painting, and caring for your mushrooms, you can bring your vision to life. Remember, the key to success lies in patience, attention to detail, and a willingness to experiment.
Whether used as home decor, garden ornaments, or gifts, your handmade ceramic mushrooms will undoubtedly bring charm and personality to any space. Happy crafting!
Specialization:
- Master of wheel-throwing, hand-building, and advanced glazing techniques
- Focus on creating both functional pottery and decorative art pieces
Recognition:
- Celebrated by collectors and art enthusiasts for creating one-of-a-kind pieces that blend artistry with functionality
- Participates in local and national exhibitions, earning accolades for his innovative designs and craftsmanship
Passion:
- Deeply committed to exploring and pushing the boundaries of ceramic artistry
- Continuously experiments with new materials, firing techniques, and artistic concepts to evolve his craft
Personal Philosophy:
- Believes in the transformative power of art, aiming to evoke emotions and connections through his ceramic creations
- Advocates for sustainability in ceramics, using eco-friendly materials and practices whenever possible