


Ceramic resin cups have surged in popularity within the DIY crafting community due to their stunning versatility and unique aesthetic appeal. Combining ceramic’s elegant simplicity with resin’s glossy finish creates timeless pieces that are as functional as they are beautiful. Learning how to make ceramic resin cups allows creators to craft customized drinkware, home decor, or heartfelt personalized gifts that stand out.
The durability of ceramic paired with the protective and decorative qualities of resin results in finished pieces that are resistant to wear and tear while maintaining their shine over time. These cups can serve practical purposes, such as drinkware or decorative roles, like planter holders or art pieces. The endless design options—from sleek modern looks to intricately detailed creations—make ceramic resin cups a favorite among novice and experienced artisans alike.
Understanding Materials and Tools
Creating ceramic resin cups is rewarding, but it requires the right materials, tools, and safety precautions to ensure a successful and safe project.
Materials Needed
To start, you will need ceramic cups or molds as your base. These can be store-bought or handmade, depending on your design preferences. Epoxy resin is essential for the glossy and durable finish, and resin pigments or dyes are used to add color and personality to your project. Additionally, protective gear is indispensable to safeguard against spills and fumes.
Tools Required
Basic tools include mixing cups for precise resin preparation and stir sticks to blend the resin and pigments thoroughly. A heat gun or torch is useful for removing bubbles from the resin surface, ensuring a smooth finish. Always wear gloves to protect your hands from direct contact with epoxy.
Types of Resin
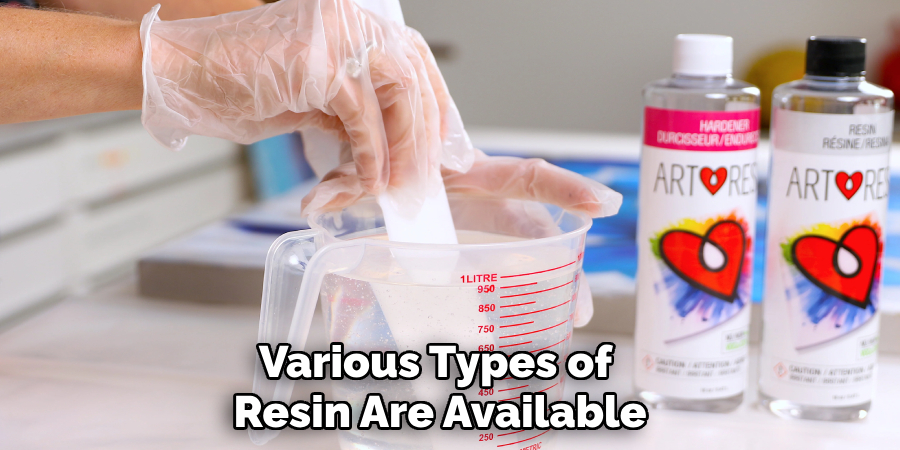
Various types of resin are available, but for this craft, food-safe epoxy resin is recommended if your cups will be used for drinking. Decorative-grade resins are ideal for purely ornamental creations, such as planters or decorative pieces.
Safety Precautions
Epoxy resin can emit strong fumes; therefore, it works in a well-ventilated area to minimize inhalation risks. Always wear gloves and a mask to protect your skin and lungs. Following these precautions ensures not only safe crafting but also professional-quality results.
Preparing Ceramic Cups
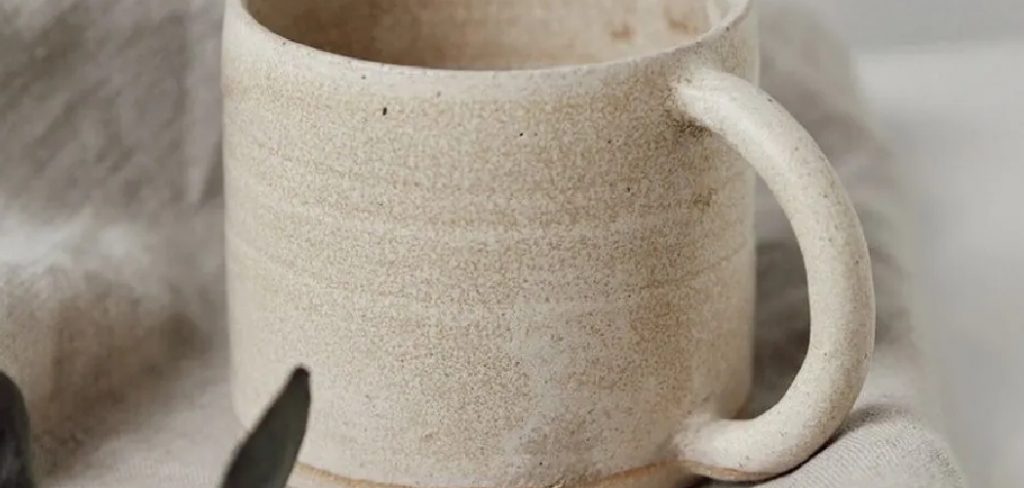
Selecting the Right Ceramic Base
Choosing the right ceramic base is crucial for achieving the best results in your resin project. Smooth, unglazed ceramic surfaces are highly recommended, as they allow for better resin adherence than glazed or uneven surfaces. Unglazed items also provide a natural texture that bonds well with resin, reducing the risk of peeling or cracking over time.
Cleaning and Sanding
Before starting, thoroughly clean the ceramic cups to remove any dust, grease, or stains that may interfere with the resin application. Use a mild detergent and water, then dry the surface completely. After cleaning, sand the surface lightly with a fine-grit sandpaper. This step removes any imperfections or glossy coatings, providing an ideal surface for the resin to adhere to. Wipe away any residue with a clean, lint-free cloth before proceeding.
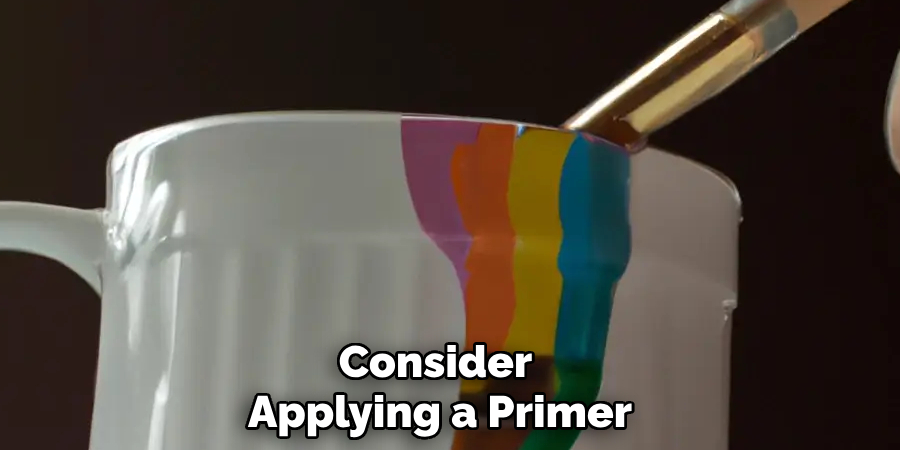
Optional Base Coat
Consider applying a primer or base color to the ceramic surface for added design flexibility. A base coat not only enhances the overall look of the finished product but also acts as a foundation for the resin, ensuring vibrant and even coverage. Make sure the base coat is fully dry before moving on to the resin application phase.
Mixing and Preparing the Resin
Measuring Resin and Hardener
To achieve the best results, it’s essential to accurately measure both the resin and hardener according to the manufacturer’s recommended ratio. This ratio is crucial for the resin to cure properly and ensures durability. Use a clean, disposable container and measuring tools to avoid contamination that could affect the outcome.
Mixing Process
Once measured, combine the resin and hardener in your container and stir thoroughly. Use a mixing stick to blend them together smoothly, scraping the sides and bottom of the container to incorporate all components. This thorough mixing reduces the risk of an uneven cure and creates a consistent texture. Avoid stirring too vigorously, as this can introduce excess air bubbles into the mixture.
Adding Pigments or Inclusions
For additional creativity, you can add a variety of pigments, glitter, or small decorative items to the resin. These inclusions can be mixed directly into the resin to create unique and personalized effects. Introduce these elements gradually to avoid overloading the mixture, which can interfere with its ability to set properly.
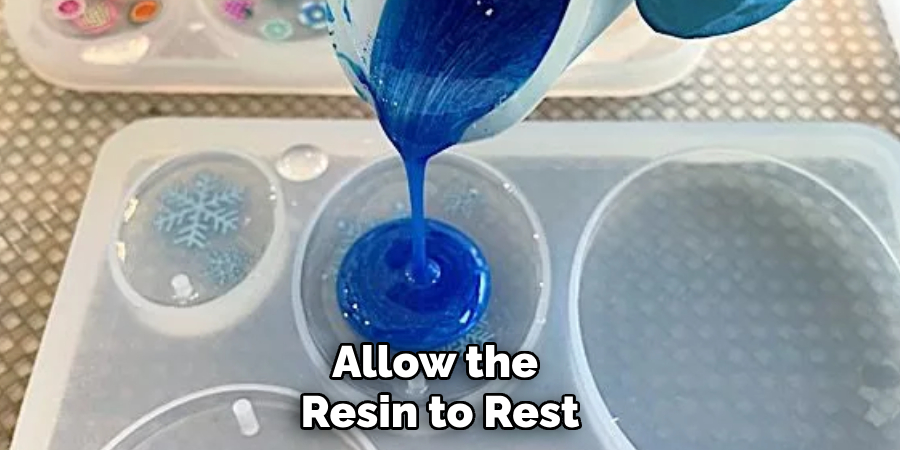
Resting the Mixture
After mixing, allow the resin to rest for a few minutes to enable any formed air bubbles to rise to the surface. If air bubbles persist, use a heat gun or a small torch to gently remove them. Hold the tool at a safe distance to prevent burning the resin, ensuring it remains clear and ready for application.
How to Make Ceramic Resin Cups: Pouring Resin onto Ceramic Cups
Creating Layers
Pour the resin onto the ceramic cups in thin, even layers to achieve the best results. This method reduces the overflow risk and helps ensure the surface remains smooth and free from imperfections. Working gradually gives you more control over the application process, allowing the resin to settle evenly. Thin layers also allow for the building up of depth and the creation of a more dimensional effect if desired.
Rotating the Cup
After pouring the resin, gently tilt and rotate the cup to help spread the mixture evenly across its surface. This process ensures thorough coverage and minimizes uneven patches. Take your time during this step, as rushing may cause streaks or pooling. If any areas appear missed, you can use a small tool, like a craft stick, to guide the resin into those spots for a seamless finish.
Managing Resin Overflow
Always place the ceramic cup on a silicone mat or a similar non-stick surface to handle potential resin drips and protect your workspace. Silicone mats are easy to clean and prevent the resin from adhering to your table or work area, making them a practical addition to your setup. Any excess resin that drips off will form on the mat rather than damaging the surroundings.
Handling Air Bubbles
Finally, once the resin is applied, inspect the surface for any air bubbles that may have formed. These can disrupt the clarity and smoothness of the finish. To eliminate them, use a heat gun or a small torch and carefully move it over the surface of the resin. Maintain a safe distance and consistent motion to avoid overheating or damaging the finish. This will leave the resin crystal-clear and beautifully enhanced.
Curing the Resin
Once the resin has been applied and smoothed, it is crucial to allow proper curing time to achieve the best results. The curing process generally takes between 24 and 48 hours, depending on the specific resin product and environmental conditions such as temperature and humidity. Avoid handling the ceramic cups during this period to prevent smudges or imperfections.
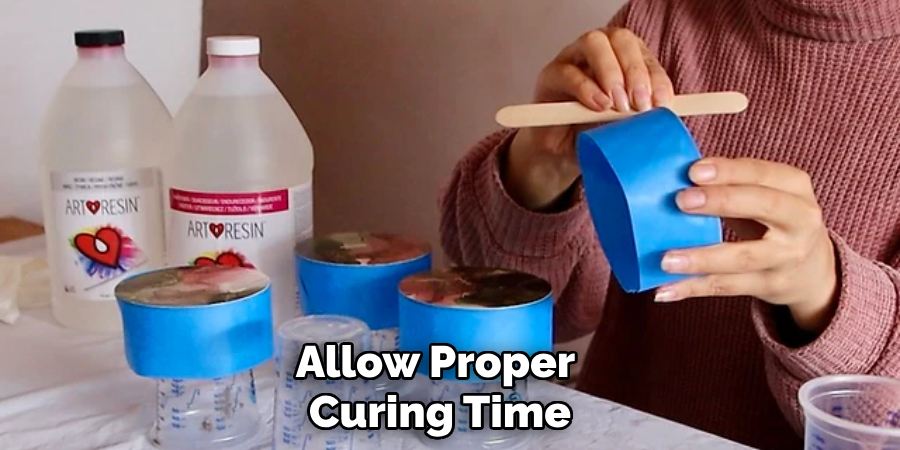
Allowing Proper Time to Cure
To ensure the resin hardens completely, leave it undisturbed in a clean and stable environment. Follow the manufacturer’s instructions for the recommended curing time. Premature handling can disrupt the finish and compromise the durability of the resin layer.
Monitoring for Dust and Debris
During the curing process, monitoring for dust, hair, or other debris that might settle on the resin surface is essential. To prevent contamination, cover the ceramic cups with an inverted box or a clear dome. Ensure the cover does not touch the resin, as this can leave marks or deformities.
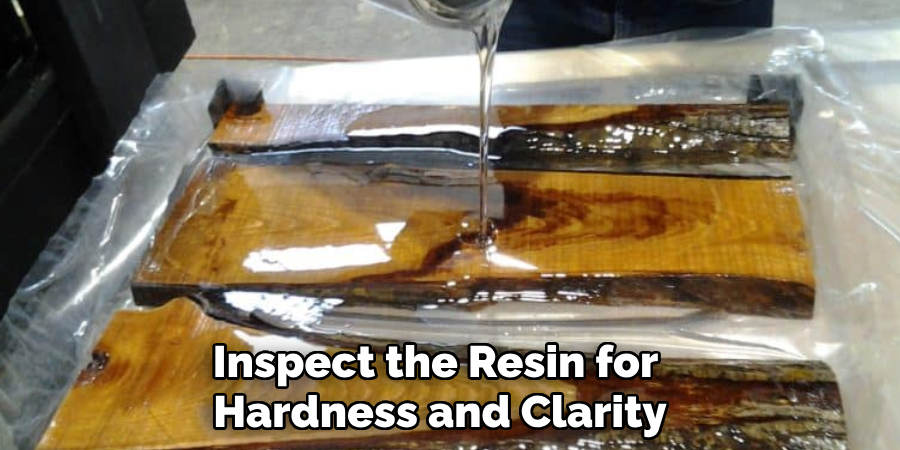
Testing for Hardness
After the recommended curing time, inspect the resin for hardness and clarity. Gently tap the surface with your finger to check whether it has fully set. If the resin feels slightly tacky, allow additional curing time, as environmental factors might slow the process. Once the resin is firm and smooth, the curing is complete, and your ceramic cups are ready to showcase their beautifully enhanced finish.
Finishing Touches
Sanding the Edges
Once the resin has fully cured, inspect the edges of the ceramic cups for any rough or sharp areas. Use fine-grit sandpaper—grits between 400 and 600 work best—to smooth out these imperfections gently. Be careful not to sand too aggressively, as this could damage the resin layer or the cup itself. Wipe away any dust generated during sanding with a clean, slightly damp cloth.
Applying a Second Coat
Applying a second coat of resin can provide stunning results for those seeking an ultra-smooth, high-gloss finish. Prepare and mix a small batch of resin, following the same steps as the initial application. Pour the resin evenly over the surface of the cups, allowing it to self-level. Use a small brush for detailed areas or to correct uneven spots. Ensure the cups are placed in a dust-free environment during this additional curing period.
Polishing the Surface
Once the final resin coat has cured, enhance its shine and provide protection by polishing the surface. Use a resin-safe polish or wax and apply it with a soft, non-abrasive cloth. Buff the surface in circular motions until the desired brilliance is achieved, leaving your ceramic cups with a professional, showroom-quality finish.
Creative Design Ideas
Marble Effects
Swirl contrasting resin colors together during the pouring process for a stunning marbled appearance. Use a toothpick or a small stick to create intricate patterns, blending the colors lightly without fully mixing them. This technique mimics the natural beauty of marble and adds a luxurious aesthetic to your ceramic cups. Experiment with bold color combinations or subtle, earthy tones to achieve the desired look.
Embedded Items
Take your designs to the next level by embedding decorative items into the resin layer. Incorporate dried flowers, small beads, glitter, or decals to give your cups unique textures and visual interest. Carefully place the embellishments on the surface before pouring the resin to ensure they stay in place. This method offers endless possibilities for creating one-of-a-kind pieces that stand out.
Custom Engravings
For a truly personalized touch, engrave the ceramic surface before applying the resin. Use a small engraving tool to etch names, meaningful quotes, or intricate designs onto the cups. Once the engraving is complete, the resin will fill the carved areas, highlighting the details and creating a smooth, glossy finish. This approach makes for thoughtful, customized gifts or personalized home décor pieces.
Conclusion
Creating ceramic resin cups is an enjoyable and rewarding process that allows for endless creativity. Proper preparation, including sanding and cleaning the ceramic surface, is crucial for achieving optimal results. Equally important is allowing ample curing time to ensure a durable, long-lasting finish. With countless design possibilities—ranging from bold colors to embedded decorations or custom engravings—the options for personalization are limitless. You can craft unique and stunning items by exploring various materials and techniques. For those looking to learn more, understanding “how to make ceramic resin cups” will inspire creative designs and unforgettable pieces.
Specialization:
- Master of wheel-throwing, hand-building, and advanced glazing techniques
- Focus on creating both functional pottery and decorative art pieces
Recognition:
- Celebrated by collectors and art enthusiasts for creating one-of-a-kind pieces that blend artistry with functionality
- Participates in local and national exhibitions, earning accolades for his innovative designs and craftsmanship
Passion:
- Deeply committed to exploring and pushing the boundaries of ceramic artistry
- Continuously experiments with new materials, firing techniques, and artistic concepts to evolve his craft
Personal Philosophy:
- Believes in the transformative power of art, aiming to evoke emotions and connections through his ceramic creations
- Advocates for sustainability in ceramics, using eco-friendly materials and practices whenever possible