Creating your own ceramic spice jars is a rewarding and creative project that combines functionality with artistry. These handmade jars not only add a personal touch to your kitchen but also help organize your spices in a stylish and practical way. Whether you’re a seasoned ceramicist or a beginner looking to explore pottery, this guide will walk you through the step-by-step process of how to make ceramic spice jars, ensuring you craft beautiful and durable jars that enhance your culinary space.
The Appeal of Customizing Your Spice Storage
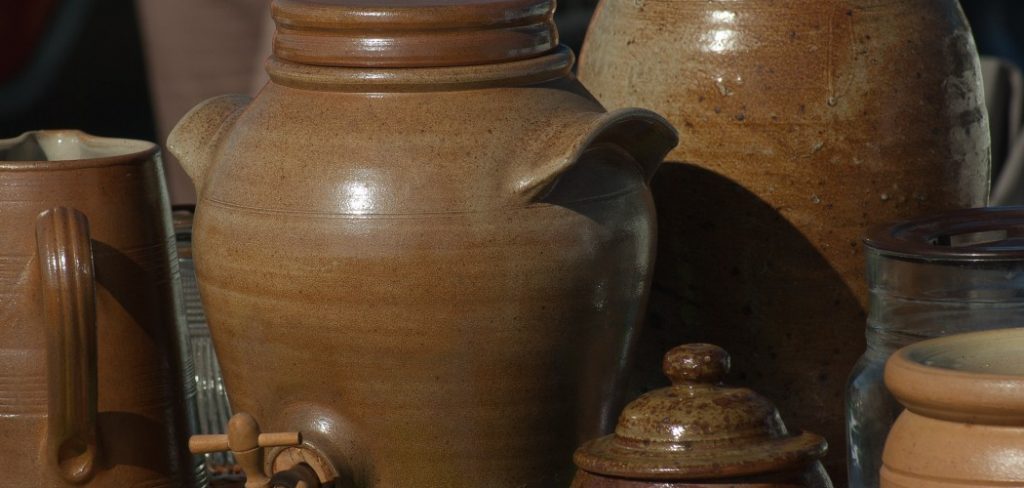
Customizing your spice storage allows you to create a space that reflects your personal style while serving a practical purpose. Handmade ceramic spice jars offer endless possibilities for customization, from their shape and size to the colors, patterns, and finishes used. This creative freedom lets you design jars that complement your kitchen’s aesthetic, whether you prefer a rustic, modern, or eclectic look. Additionally, personalized spice jars are not only visually appealing but also make it easier to organize and identify your spices, reducing clutter and enhancing efficiency in your cooking process. Customizing your spice jars adds a unique, artistic touch to your kitchen while fulfilling everyday needs.
Tools and Materials Needed
Before getting started, you’ll need to gather the essential tools and materials for making ceramic spice jars. Having the right supplies will ensure a smoother and more enjoyable crafting process. Here’s what you’ll need:
- Clay: Choose a type of clay suited for pottery, such as stoneware or porcelain, depending on the desired look and durability of your jars.
- Pottery Wheel or Hand-Building Tools: A pottery wheel is great for creating even, symmetrical jars, while hand-building tools like a rolling pin, carving tools, and shaping paddles are perfect for more organic designs.
- Slip and Scoring Tool: For joining pieces of clay together securely.
- Sponges and Water Bowl: To keep the clay moist and smooth during shaping.
- Needle Tool: Ideal for fine details, cutting, and shaping.
- Ribs and Scrapers: For smoothing surfaces and refining shapes.
- Kiln: A kiln is necessary for firing your pots to make them durable.
- Glazes and Underglazes: Choose colors and finishes that match your desired design.
- Brushes: For applying glazes and creating decorative details.
- Masking Tape (Optional): To create clean lines or guide patterns when glazing.
Having these tools and materials ready will help you stay organized and set the foundation for crafting beautiful ceramic spice jars.
10 Methods How to Make Ceramic Spice Jars
1. Design the Shape and Size
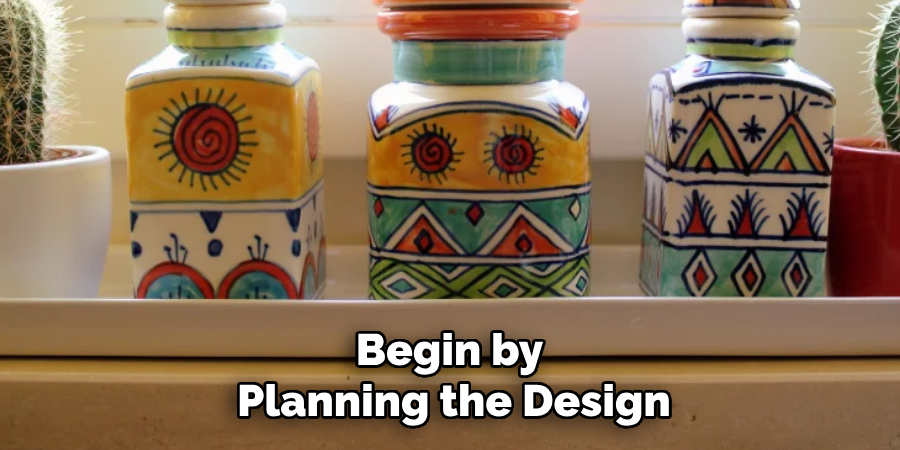
Begin by planning the design and dimensions of your spice jars. Consider the type of spices they will hold and the storage space available. Small cylindrical jars work well for powdered spices, while slightly larger ones can accommodate whole spices like cloves or cinnamon sticks. Sketch your designs, paying attention to proportions and functional elements like lids and bases. The jars should be compact, easy to handle, and visually consistent if creating a set.
2. Choose a Suitable Clay Body
Selecting the right clay is crucial for durability and food safety. Stoneware clay is an excellent choice due to its strength and ability to hold up under daily use. Porcelain is another option for a refined and elegant look but requires more precision during handling. If you prefer a rustic aesthetic, consider using terracotta clay. Ensure the clay you choose is food-safe and compatible with your intended glazes.
3. Throw or Hand-Build the Jars
Depending on your skill level and available tools, you can either throw the jars on a pottery wheel or hand-build them. For wheel throwing, center the clay and shape it into a cylinder before refining the walls and forming a rounded or flat base. Hand-building techniques, such as coiling or slab construction, are ideal for creating unique shapes. Smooth the surfaces and edges with a rib or damp sponge to achieve a polished finish.
4. Create Functional Lids
Spice jars need well-fitting lids to keep the contents fresh and protected. For wheel-thrown jars, shape the lid as a separate piece, ensuring it has a flange or inset lip that fits snugly into the jar’s opening. If hand-building, you can mold the lid to match the jar’s shape. Test the fit during the leather-hard stage and make adjustments if necessary. Adding a small knob or handle on the lid enhances usability and aesthetics.
5. Incorporate Ventilation and Sealing Features
While spice jars generally don’t require ventilation, airtight sealing is important for preserving freshness. You can achieve this by adding a groove on the jar’s rim and a matching lip on the lid. For a more secure seal, consider using a cork stopper or silicone ring fitted into the lid. These features enhance functionality and make the jars suitable for various storage needs.
6. Decorate with Textures and Patterns
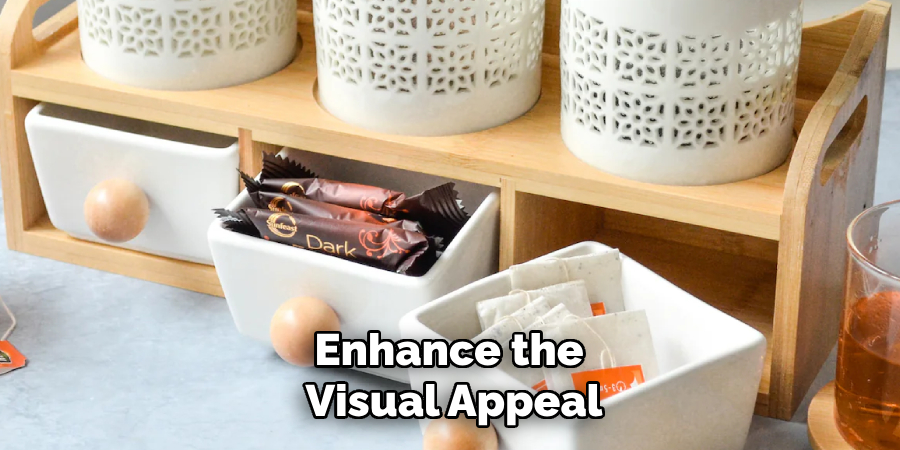
Enhance the visual appeal of your spice jars by adding textures and patterns. Use carving tools, stamps, or natural objects like leaves to create intricate designs on the surface. For a minimalist look, focus on clean lines and subtle details. Decorative bands, dots, or floral motifs can add charm and uniqueness to each jar. Ensure any raised designs are smooth and easy to clean to maintain practicality.
7. Dry and Bisque Fire the Jars
Allow the jars and lids to dry evenly and completely before firing. Drying slowly under controlled conditions helps prevent cracking or warping. Once fully dry, fire the pieces in a kiln to the bisque stage. Bisque firing hardens the clay and prepares it for glazing. During this stage, inspect the jars for any imperfections and sand rough edges if necessary.
8. Apply Food-Safe Glazes
Glazing is essential to make the spice jars food-safe and visually appealing. Choose non-toxic, lead-free glazes that comply with food safety standards. Dip, brush, or spray the glaze onto the jars, ensuring even coverage inside and out. For a cohesive set, use consistent colors or complementary tones. You can also experiment with layered or ombré effects to create a distinctive look. Allow the glaze to dry thoroughly before the final firing.
9. Glaze Fire and Inspect
Fire the glazed jars in a kiln according to the glaze’s firing temperature. This process vitrifies the clay and glaze, creating a durable and glossy finish. After cooling, carefully inspect each jar for any defects, such as pinholes, uneven glaze, or cracks. Sand the bases if needed to ensure smooth contact with surfaces. At this stage, your spice jars should be fully functional and ready for use.
10. Label and Finish the Jars
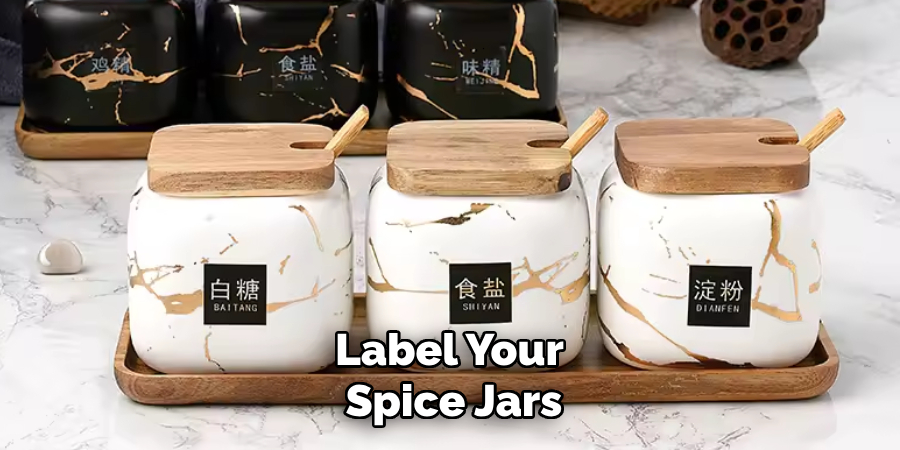
For added functionality, label your spice jars to indicate their contents. You can hand-paint the names of spices using ceramic paint or underglaze before the final firing. Alternatively, use chalkboard paint for erasable labels or attach adhesive labels for a modern look. Adding a decorative ribbon, twine, or wooden spoon to the jars provides a finishing touch that enhances their presentation, especially if they are intended as gifts.
Tips for Achieving the Best Results
Creating high-quality ceramic spice jars requires attention to detail and adherence to best practices. Here are some tips to help you achieve the best results:
- Choose the Right Clay: Opt for a mid-fire or high-fire clay body that is durable and less prone to cracking. Experiment with different clay types to find one that suits your style and functional needs.
- Maintain Consistent Thickness: Keep the walls and bases of your jars and lids at an even thickness to ensure uniform firing and minimize the risk of warping or cracking during drying and firing processes.
- Test Fits Regularly: Check the fit of your lids periodically during the leather-hard stage. A well-fitted lid adds functionality and ensures that your spices remain fresh and protected.
- Control Drying Conditions: Dry the pieces slowly and evenly in a controlled environment. Avoid rapid drying, which can lead to cracks or distortions in your work.
- Experiment with Decoration Techniques: Don’t hesitate to try out different carving tools, stamps, or glaze styles. Experimentation can lead to unique, eye-catching designs that distinguish your creations.
- Document Your Process: Keep a record of your clay body, tools, glaze combinations, and firing schedules. This will help you replicate successful results or identify and troubleshoot potential issues in future projects.
- Allow Room for Expansion: Remember that clay shrinks during drying and firing stages. Always account for shrinkage when planning dimensions, particularly when designing lids or grooves for airtight sealing.
- Invest in Quality Tools: Using high-quality tools like precise carving instruments, sponges, and ribs ensures better control and refinement in your work.
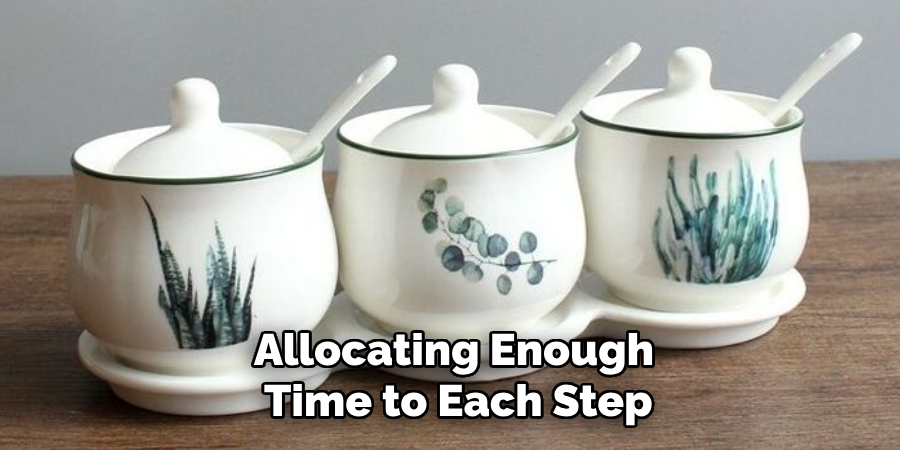
- Practice Patience: Rushing through stages like drying or glazing can result in flaws. Allocating enough time to each step will lead to a higher standard of craftsmanship.
Conclusion
Crafting ceramic spice jars is a rewarding process that combines functionality, creativity, and craftsmanship. By following these detailed steps and incorporating best practices, you can produce beautiful, durable, and food-safe jars that enhance any kitchen. Whether you choose to keep the jars for personal use or gift them to loved ones, they serve as a testament to the art of handmade ceramics. So, there you have it – a quick and easy guide on how to make ceramic spice jars.
Specialization:
- Master of wheel-throwing, hand-building, and advanced glazing techniques
- Focus on creating both functional pottery and decorative art pieces
Recognition:
- Celebrated by collectors and art enthusiasts for creating one-of-a-kind pieces that blend artistry with functionality
- Participates in local and national exhibitions, earning accolades for his innovative designs and craftsmanship
Passion:
- Deeply committed to exploring and pushing the boundaries of ceramic artistry
- Continuously experiments with new materials, firing techniques, and artistic concepts to evolve his craft
Personal Philosophy:
- Believes in the transformative power of art, aiming to evoke emotions and connections through his ceramic creations
- Advocates for sustainability in ceramics, using eco-friendly materials and practices whenever possible


