


Creating a ceramic trinket dish is a wonderful way to combine functionality with creativity. These small dishes are perfect for holding jewelry, keys, or other small items, and can be customized to match any style or decor.
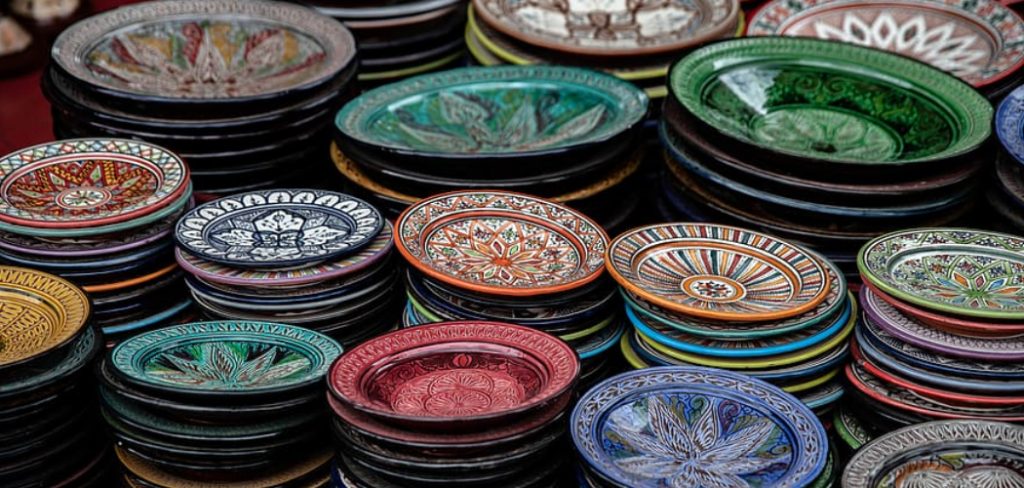
Whether you are a complete beginner or an experienced crafter, making your own ceramic trinket dish is a fun and rewarding project that allows you to express your artistic flair. With just a few simple materials and some basic techniques, you’ll have a handmade piece that is both beautiful and practical. In this article on how to make ceramic trinket dish, we’ll guide you through the process step by step.
Materials Needed
Ceramic Clay:
The most important material you’ll need for this project is ceramic clay. There are many types and brands of clay available, so choose one that suits your preferences and budget. Air-dry clay is a good option for beginners as it can be used without a kiln. However, if you have access to a kiln, firing your finished dish will make it more durable and long-lasting.
Rolling Pin:
You’ll need a rolling pin or any other flat surface to roll out the clay evenly.
Cutting Tools:
To cut and shape the clay, you can use various tools such as knives, cookie cutters, or even a simple butter knife.
Texturing Materials:
To add texture to your trinket dish, you can use various household items like fabrics, stamps, leaves, or lace.
Paints and Brushes:
If you want to add some color to your dish after it’s fired, you’ll need some ceramic paints and brushes. These are easily available at any craft store.
Varnish or Sealant:
To protect your dish from water and other damage, you can use a clear varnish or sealant to coat the finished product.
8 Step-by-step Guides on How to Make Ceramic Trinket Dish
Step 1: Prepare Your Workspace
Before starting, make sure your workspace is clean and organized. Lay down a protective covering, like a plastic sheet or parchment paper, to prevent the clay from sticking to your table or countertop. Gather all the materials and tools you’ll need for the project and keep them within easy reach.
Having a well-prepared workspace not only ensures a smoother crafting process but also helps.
Step 2: Knead the Clay
Before shaping your trinket dish, it is important to knead the clay thoroughly. This process, also known as wedging, helps eliminate air bubbles and ensures the clay has a uniform texture. Start by pressing and folding the clay repeatedly with your hands, applying consistent pressure.
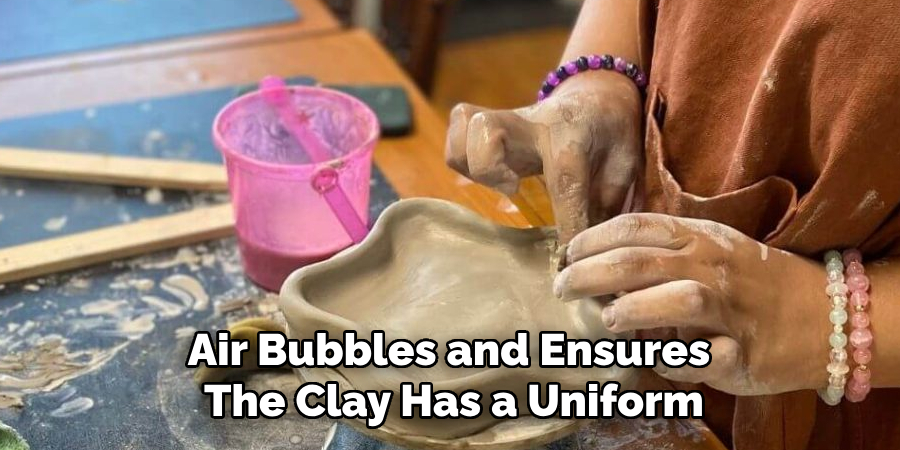
Continue kneading for a few minutes until the clay feels smooth and pliable, resembling the consistency of soft dough. Proper kneading not only makes the clay easier to work with but also reduces the risk of cracks forming in your finished piece.
Step 3: Roll Out the Clay
Once the clay is kneaded and smooth, place it on your prepared workspace. Use a rolling pin to evenly roll out the clay to your desired thickness—typically around 1/4 inch for a sturdy trinket dish. To prevent the clay from sticking to the rolling pin, you can lightly dust the pin or the surface of the clay with cornstarch or place parchment paper between the clay and the pin.
Aim for an even thickness throughout, as this will ensure a uniform look and reduce the chance of cracking or weak spots in the dish.
Step 4: Cut Out the Shape
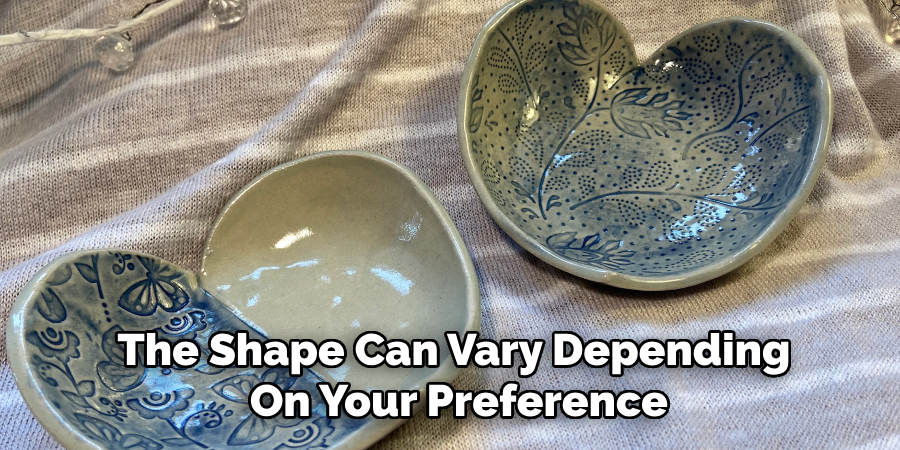
Using a knife or cookie cutter, cut out your desired shape from the rolled-out clay. This can be a basic circle, square, or any custom shape you prefer. You can also use templates to guide you if needed.
The size of the shape can vary depending on your preference, but keep in mind that it will shrink slightly during the drying and firing process. Leave enough space around the edges for shaping and adding texture.
Step 5: Shape the Dish
After cutting out the shape, gently lift it from the workspace and place it onto a flat surface like a wooden board or foam mat. Using your fingers or a tool, carefully press down along the edges to create a slight curve or lip around the dish. This will ensure that small items placed inside don’t roll off easily. You can also add other design elements like fluted edges or scallops at this stage.
You can also shape the dish by placing it inside a bowl or other object with a similar shape and pressing down gently. This will create a more defined curve or indentation.
Step 6: Add Texture
This is where you can get creative and add your own personal touch to the trinket dish. Press various objects onto the surface of the clay to create textures, patterns, or imprints. You can also use tools like stamps or carving tools to create designs.
Experiment with different techniques and materials until you achieve the desired look for your dish. Just make sure not to press too hard as this may cause the clay to crack or lose its shape.
Step 7: Let It Dry
Once you are happy with the shape and texture of your dish, set it aside to dry. This can take anywhere from a few hours to several days, depending on the type and thickness of clay used. If using air-dry clay, make sure to follow the manufacturer’s instructions for drying time.
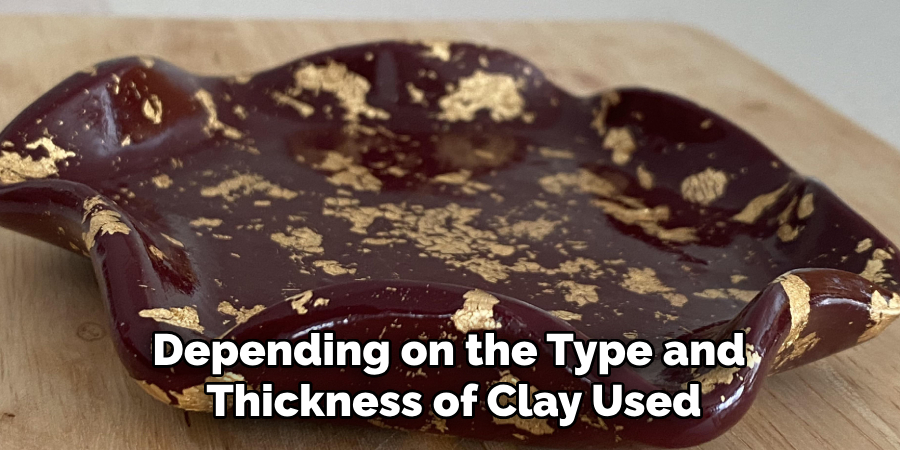
During the drying process, make sure to check on your dish regularly and smooth out any cracks or imperfections that may appear. You can also add more texture or definition at this stage if desired.
Step 8: Fire (Optional) and Finish
If you have access to a kiln, firing your ceramic trinket dish will make it stronger and more durable. However, this step is optional, and your dish will still be usable without firing. If you do choose to fire it, make sure to follow the manufacturer’s instructions for temperature and duration.
Once fired, let your dish cool down completely before adding any paint or varnish. Use ceramic paints and brushes to add color to your dish, or leave it as is for a more natural look. Once painted and dried, coat the dish with a clear varnish or sealant to protect it from water and other damage.
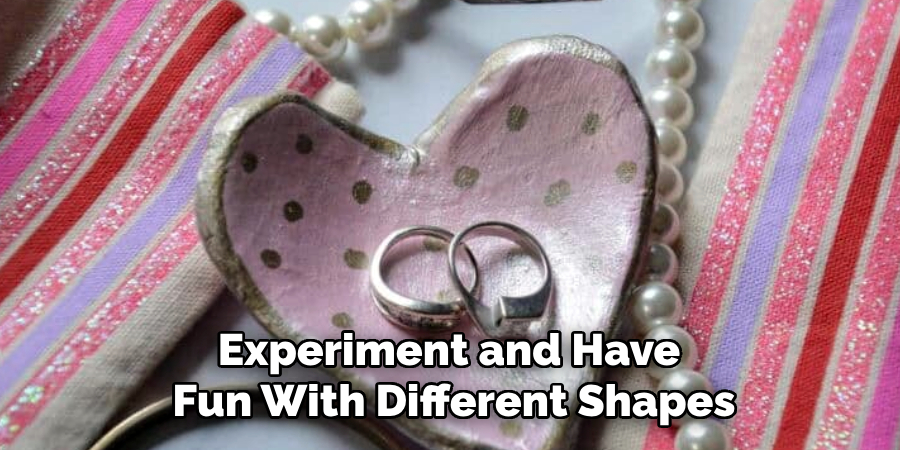
Following these steps on how to make ceramic trinket dish, you can create your own personalized ceramic trinket dish that is not only functional but also a beautiful addition to your home decor. Don’t be afraid to experiment and have fun with different shapes, textures, and colors. Happy crafting!
Creative Ideas for Trinket Dish Designs
Unleash your imagination and create trinket dishes that reflect your personal style. Here are some creative ideas to inspire your designs:
1. Nature-Inspired
Bring the beauty of the outdoors into your dish by incorporating leaf imprints, floral patterns, or even textured bark-like designs. You can use real leaves, flowers, or textured stamps to create these natural elements.
2. Geometric Patterns
Experiment with modern and minimalist geometric patterns by using stencils, rulers, or etching tools. Triangles, hexagons, and lines can create striking visual effects.
3. Marbled Effect
Achieve a luxurious marbled finish by swirling together two or more clay colors. This is a great way to add depth and a unique flair to your dish.
4. Metallic Accents
Once your dish is painted and sealed, you can add a touch of elegance with metallic highlights. Gold or silver leaf paint around the edges or in small accents can make your dish look sophisticated.
5. Personalized Engravings
Add initials, names, or meaningful dates to your dish for a personal touch. These make perfect gifts for friends and loved ones.
6. Abstract Art
Unleash your creativity by playing with abstract shapes and colors. Use tools to add swirls, splatters, or free-form patterns to your clay before letting it dry.
7. Seasonal Themes
Design dishes based on holidays or changing seasons. For example, create a snowflake texture for winter or use bright floral patterns for spring.
8. Animal Motifs
Form your trinket dish into animal-inspired silhouettes like cats, butterflies, or birds. Alternatively, you can imprint paw designs or feathers to give it a playful twist.
These ideas are just a starting point to spark your creativity. Always feel free to combine techniques or try out new concepts to make each piece uniquely yours!
Troubleshooting and Common Mistakes
Like any craft, making ceramic trinket dishes can come with its own set of challenges. Here are some tips to troubleshoot common mistakes and ensure a successful outcome:
Cracking
If your clay is cracking during the drying process, try misting it lightly with water or covering it with a plastic bag to slow down the drying time. Also, make sure you are not pressing too hard when adding texture or shaping the dish.
Uneven Shaping
If your dish ends up lopsided or uneven, gently press down on one side while holding the other side with your fingers to even out the shape.
Sticking to Surface
To prevent your clay from sticking to the work surface, lightly dust it with cornstarch or use a silicone mat. Alternatively, you can also work on a sheet of parchment paper that can easily be lifted and transferred to a drying spot.
Paint Not Adhering
Make sure your dish is completely dry before adding paint. If the paint still doesn’t adhere, try roughening up the surface with sandpaper or using a primer coat before painting.
Remember, practice makes perfect! Don’t get discouraged if your first attempts don’t turn out as expected. Keep experimenting and have fun with the process. With time and patience, you’ll create beautiful trinket dishes that you can proudly display or gift to others. Happy crafting!
Frequently Asked Questions
Q1: Can I Use Regular Clay for Trinket Dishes?
A: Yes, you can use regular clay to make trinket dishes. However, air-dry or polymer clay is recommended as it requires no firing and is more user-friendly. Regular clay may also require additional steps such as glazing and firing, which can be challenging for beginners.
Q2: How Can I Make Sure My Dish is Food Safe?
A: If you intend to use your dish for food items, make sure to use a food-safe sealant and avoid using any materials that may contain toxic chemicals. It’s best to check with the manufacturer or do a patch test before using it for food. Alternatively, you can use your dish as a decorative piece to store non-food items.
Q3: What Other Uses Does A Trinket Dish Have?
A: Trinket dishes are versatile and have many uses beyond holding jewelry and small items. You can use them as catch-all dishes for keys, coins, and other daily essentials. They also make beautiful decorative pieces or candle holders.
Conclusion
Creating ceramic trinket dishes is a rewarding and enjoyable craft that allows you to blend functionality with artistic expression. Whether you’re a beginner exploring a new hobby or an experienced crafter looking for unique projects, these dishes offer endless possibilities for personalization.
By following the steps on how to make ceramic trinket dish and the ideas shared above, you can craft beautiful, one-of-a-kind pieces that make meaningful gifts or stunning additions to your home. Remember to have fun and experiment with different techniques—your creativity is what makes each dish truly special. Happy crafting!
Specialization:
- Master of wheel-throwing, hand-building, and advanced glazing techniques
- Focus on creating both functional pottery and decorative art pieces
Recognition:
- Celebrated by collectors and art enthusiasts for creating one-of-a-kind pieces that blend artistry with functionality
- Participates in local and national exhibitions, earning accolades for his innovative designs and craftsmanship
Passion:
- Deeply committed to exploring and pushing the boundaries of ceramic artistry
- Continuously experiments with new materials, firing techniques, and artistic concepts to evolve his craft
Personal Philosophy:
- Believes in the transformative power of art, aiming to evoke emotions and connections through his ceramic creations
- Advocates for sustainability in ceramics, using eco-friendly materials and practices whenever possible