


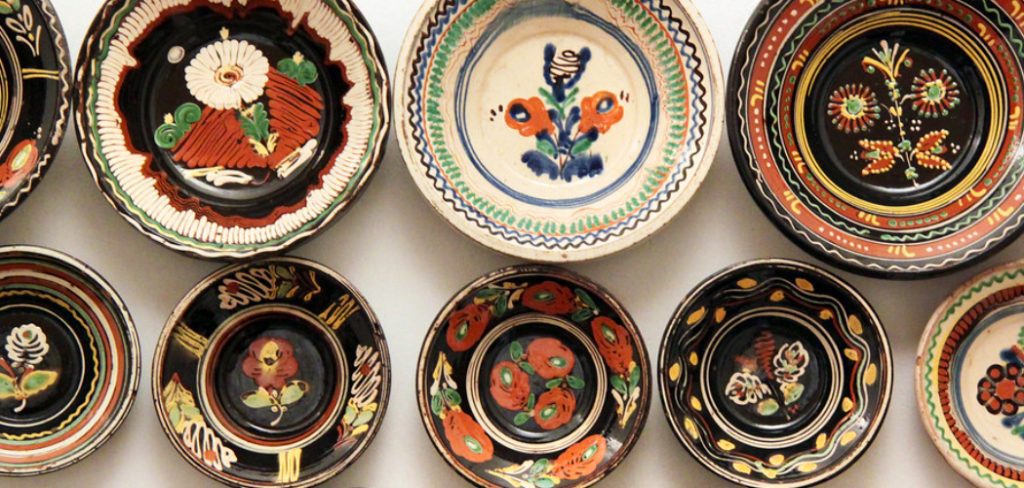
Creating ceramic wall hangings is a delightful way to add a personal and artistic touch to your home decor. Whether you’re an experienced ceramic artist or a complete beginner, this craft blends creativity and functionality. With a few basic materials and simple techniques, you can design unique pieces that reflect your style and bring life to any wall space.
This guide on how to make ceramic wall hanging will walk you through the essential steps to make your own ceramic wall hanging, offering tips and inspiration along the way.
Why Make Ceramic Wall Hangings?
Ceramic wall hangings are a great way to refresh your living space without breaking the bank. Unlike traditional artworks, they don’t require expensive frames or hanging systems. Plus, you have complete creative control over the design and can easily customize it to fit your home’s color scheme and aesthetic.
Moreover, making ceramic wall hangings is a therapeutic activity that allows you to unwind and tap into your artistic side. It can be an excellent stress-relieving hobby for anyone looking to disconnect from technology and create something beautiful with their hands.
Materials Needed
Clay:
This will serve as the base material for your wall hanging. You can use any type of clay, such as air-dry clay, polymer clay, or self-hardening clay. Each type has its own unique qualities, so choose the one that best suits your project’s needs.
Rolling Pin:
A rolling pin is crucial for flattening and shaping the clay into your desired form. You can also use a smooth glass bottle or jar if you don’t have a rolling pin.
Cutting Tools:
You’ll need some cutting tools to carve out your design from the clay. These can range from simple kitchen knives to more specialized pottery tools.
Glazes and Paints:
Once your wall hanging is fired and hardened, you can add color and details using glazes or acrylic paints. Choose colors that complement each other and your home’s decor.
Hanging Materials:
To hang your ceramic wall hanging, you’ll need some wire or string and a small drill to make holes for the wire to go through. You can also use adhesive hooks if you prefer not to drill into your walls.
8 Step-by-step Guides on How to Make Ceramic Wall Hanging
Step 1: Sketch Your Design
Begin by sketching out your design on paper. This step helps you visualize the final look of your ceramic wall hanging and ensures that you have a clear plan before working with the clay. Consider the shapes, patterns, and textures you want to incorporate. Will your design include geometric patterns, floral motifs, or abstract elements? Use this opportunity to experiment with different ideas until you’re satisfied with the overall concept.

Remember to keep the size and proportions of the design within a manageable range, considering the space where you intend to hang it. Having a well-thought-out sketch will make the crafting process much smoother.
Step 2: Prepare Your Clay
Before starting, make sure to knead your clay thoroughly to remove any air pockets and soften it for easier handling. Then use a rolling pin or glass bottle to roll out your clay into a flat slab of about ¼ inch thickness.
You can also use a clay slab roller or flatten your clay using two pieces of wood as guides to ensure an even thickness.
Step 3: Transfer Your Design
Place your sketch on top of the rolled-out clay and trace over it with a sharp tool, such as a needle or toothpick. This will transfer your design onto the clay.

Alternatively, you can cut out the design from your paper sketch and use it as a stencil by placing it on top of the clay and lightly tracing around its edges.
Step 4: Cut Out Your Design
Using a sharp cutting tool, carefully cut along the lines of your traced design to separate it from the surrounding clay. Precision is key during this step, so take your time to follow the outline closely. You can use a clay knife, craft knife, or even a small kitchen knife to achieve clean edges.
Once the design is cut out, gently smooth the edges with your fingers or a soft damp sponge to remove any roughness or jagged areas. This step will ensure that the final piece looks polished and professional. If your design includes intricate details, use smaller tools or toothpicks to refine those areas further. Keep the cut-out clay on a flat surface to maintain its shape while you proceed to the next steps.
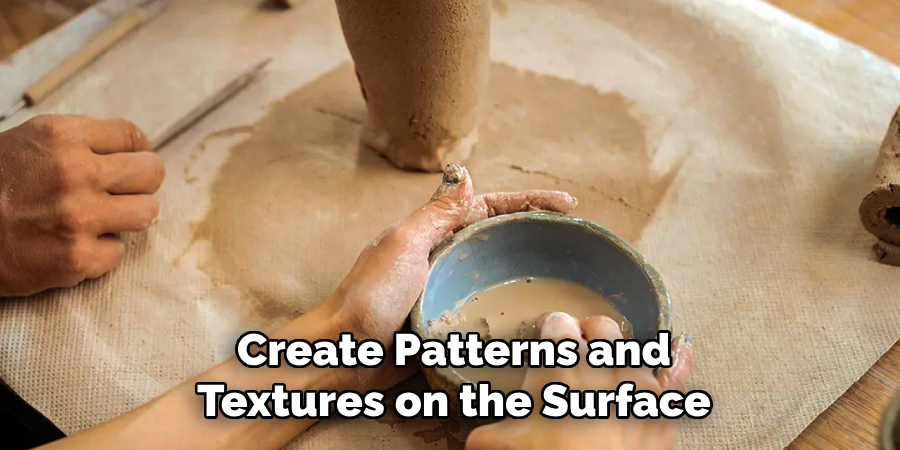
Step 5: Add Texture and Details
To give your ceramic wall hanging some character, consider adding textures and details before it dries. You can use various tools to create patterns and textures on the surface of the clay. For example, you can use a fork or comb to make lines or a toothbrush to add texture.
You can also use stamps, lace, leaves, or any other objects that leave interesting imprints on the clay. Experiment with different techniques until you achieve the desired effect.
Step 6: Create Holes for Hanging
Using a small drill bit (or sharp tool), carefully make two holes near the top edge of your design. This is where you’ll thread your wire or string for hanging. Make sure the holes are big enough to comfortably fit your chosen hanging material.
Alternatively, you can wait until the clay is dry and use a hot glue gun to attach adhesive hooks to the back of your ceramic wall hanging.
Step 7: Let it Dry and Fire it Up
Once you’re satisfied with your design and have made any necessary adjustments, leave your ceramic wall hanging to dry completely. The drying time will depend on the type of clay used; air-dry clay may take a few days, while other clays may require heating in an oven or kiln.
Follow the instructions on the specific type of clay you’re using for proper firing techniques and temperature. This step will harden the clay and make it durable for long-term display.
Step 8: Add Color and Hang it Up
Once your ceramic wall hanging is fully dried and fired, you can add color using glazes or acrylic paints. Use a variety of colors to bring your design to life and complement your home’s decor.
After adding color, thread your chosen hanging material through the holes you made in Step 6, and hang it up in your desired location. Stand back and admire your handcrafted masterpiece!
Following these steps on how to make ceramic wall hanging, you can create a beautiful and unique ceramic wall hanging that adds personality and charm to any room. Don’t be afraid to experiment with different techniques, colors, or designs, and have fun with the process!
Troubleshooting and Common Mistakes
- If the clay is too dry, it can be difficult to work with and may crack easily. To avoid this, make sure to keep your clay moist by wrapping it in plastic or damp cloths when not in use.
- Be careful not to handle the clay too roughly during the shaping process as this can also cause cracking. Use gentle pressure and take breaks if needed.
- Make sure your design is well-supported while drying to prevent warping or bending. You can place it on a flat surface or use foam blocks for support.
- If you are using glazes, make sure to apply them evenly and allow for proper drying time before firing. Uneven application can result in an inconsistent finish.
- Don’t be discouraged if your first attempt doesn’t turn out the way you envisioned. Practice makes perfect, and each piece will only improve with experience and experimentation.
Creative Ideas and Customization
- Instead of using traditional clay, try experimenting with air-dry clay or polymer clay for a different look and feel.
- Use multiple layers of different colors to create a gradient effect on your design.
- Incorporate other materials such as beads, wire, or fabric into your ceramic wall hanging for added texture and dimension.
- Personalize your design by adding initials, names, or quotes using alphabet stamps or carving tools.
- Create a series of smaller ceramic wall hangings that can be displayed together as a set. This allows for more versatility in decorating and adds visual interest.
Conclusion
Creating a ceramic wall hanging is a rewarding and enjoyable craft that allows you to express your creativity while making something beautiful for your home. By following the steps on how to make ceramic wall hanging outlined above, you can design a unique piece that reflects your personal style and artistic vision. Remember to take your time, experiment with different techniques, and have fun with the process.
Even if your first attempt isn’t perfect, each project you undertake will help you refine your skills and unlock new possibilities. With patience and practice, you can create stunning ceramic art pieces that will be cherished for years to come.
Specialization:
- Master of wheel-throwing, hand-building, and advanced glazing techniques
- Focus on creating both functional pottery and decorative art pieces
Recognition:
- Celebrated by collectors and art enthusiasts for creating one-of-a-kind pieces that blend artistry with functionality
- Participates in local and national exhibitions, earning accolades for his innovative designs and craftsmanship
Passion:
- Deeply committed to exploring and pushing the boundaries of ceramic artistry
- Continuously experiments with new materials, firing techniques, and artistic concepts to evolve his craft
Personal Philosophy:
- Believes in the transformative power of art, aiming to evoke emotions and connections through his ceramic creations
- Advocates for sustainability in ceramics, using eco-friendly materials and practices whenever possible