


Creating ceramic whimsy minis is a delightful way to combine artistic expression with the charm of miniature creations.

These tiny ceramic pieces are perfect for adding unique flair to your home décor, crafting thoughtful gifts, or simply enjoying a relaxing and creative hobby. Whether you’re new to ceramics or an experienced artisan, this guide will walk you through the basics of how to make ceramic Whimsy Mini.
What is a Ceramic Whimsy Mini?
A ceramic whimsy mini is a small, handcrafted piece of pottery that often features playful, imaginative, or whimsical designs. These tiny creations can take the form of miniature animals, plants, abstract shapes, or even functional items like tiny bowls or vases. The charm of ceramic whimsy minis lies in their intricate details and creative designs, making them both decorative and meaningful. These pieces are often used to add a touch of personality to shelves, desks, or other spaces, and they can also serve as unique keepsakes or gifts.
Tools and Materials You’ll Need
To create ceramic whimsy minis, having the right tools and materials is essential. Here’s a list of what you’ll need to get started:
- Clay: Choose a type of clay suitable for ceramics, such as air-dry clay or kiln-fired clay, depending on your access to a kiln.
- Pottery Tools: Basic tools like a needle tool, wire cutter, clay knife, and smoothing tools will help you shape and refine your minis.
- Work Surface: A clean, smooth surface where you can roll, cut, and shape the clay.
- Slip and Water: Slip (a liquid mixture of clay and water) helps join pieces together, while water can be used to keep the clay pliable.
- Paints or Glazes: Acrylic paints or ceramic glazes can be used to add vibrant colors and finishes to your creations.
- Brushes: A selection of fine brushes for detailing and glazing.
- Kiln (if needed): For firing your creations, a kiln is necessary if you’re using kiln-fired clay.
- Sealer: If using air-dry clay, a clear topcoat or sealer can add durability and shine to your minis.
With these tools and materials, you’ll be ready to bring your creative ideas to life and craft your own whimsical ceramic minis.
10 Methods How to Make Ceramic Whimsy Mini
1. Conceptualize and Sketch Your Whimsical Ideas
Every ceramic whimsy mini starts with a burst of creative thought. Begin by brainstorming characters, creatures, or objects that inspire joy or humor. Think of miniature dragons sipping tea, frogs wearing crowns, or dancing mushrooms with smiling faces. Once your ideas are flowing, sketch your concepts on paper from various angles.
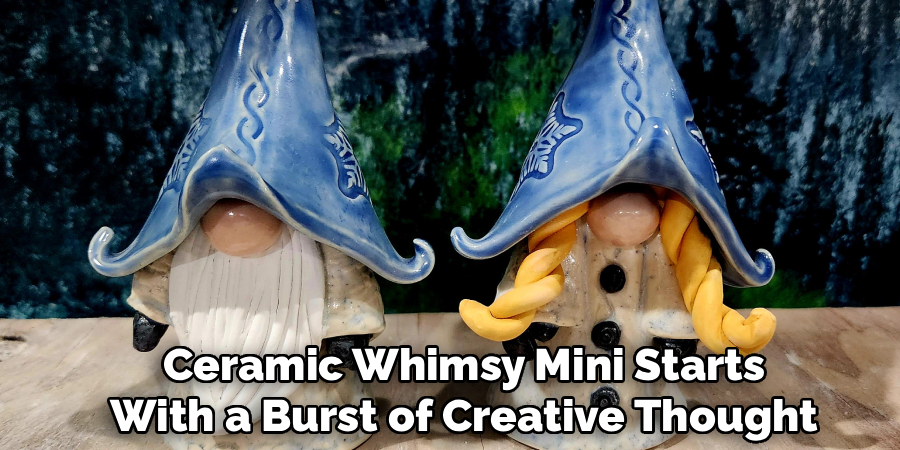
This helps solidify details such as facial features, body proportions, and pose. Since you’re working small, clarity in design is essential—your mini should read clearly at a glance. Keep the designs fun, exaggerated, or magical to embrace the whimsical theme.
2. Choose Fine-Textured Clay for Detail
To bring your miniature ideas to life, select a fine-textured clay like porcelain, earthenware, or smooth white stoneware. Porcelain is ideal for precision and delicate details, though it can be challenging to handle for beginners due to its softness. White stoneware is a good middle-ground option that offers strength and ease of sculpting. Condition your clay thoroughly before use by kneading and wedging to remove air bubbles. Since minis are small, the quality and consistency of the clay will have a major impact on your ability to add detail.
3. Sculpt Using Pinch and Carve Techniques
When making small sculptures, avoid overhandling the clay. Start by pinching small balls of clay into rough shapes, then refine them using fingers and small sculpting tools. For example, a whimsical owl might start as an egg-shaped body. Add tiny wings, beak, and tufts using bits of clay attached via scoring and slipping. Carve out textures like fur, feathers, or scales using a fine needle or ribbon tools. Working in small increments prevents distortion. Keep a damp sponge nearby to moisten tools and smooth surfaces without over-wetting the clay.
4. Hollow Larger Minis to Prevent Cracking
Though whimsy minis are typically small, anything larger than 1.5 inches thick should be hollowed to prevent cracking in the kiln. Use a clay knife or wire tool to slice the figure in half once it’s leather hard, scoop out the interior, then carefully reattach the halves using slip and scoring. Ensure the seams are well blended so they don’t show post-firing. If the figure is complex, you can make it in parts (like a separate head or limbs) and join them together after hollowing. Leave a small pinhole to allow air to escape during firing.
5. Add Expressive and Playful Details
The heart of whimsy lies in its expressive details. Use small sculpting tools, toothpicks, or even sewing needles to etch faces, buttons, patterns, or funny accessories. Give your mushroom a mustache, or your fox tiny spectacles. These touches elevate the mini from simple to unforgettable.
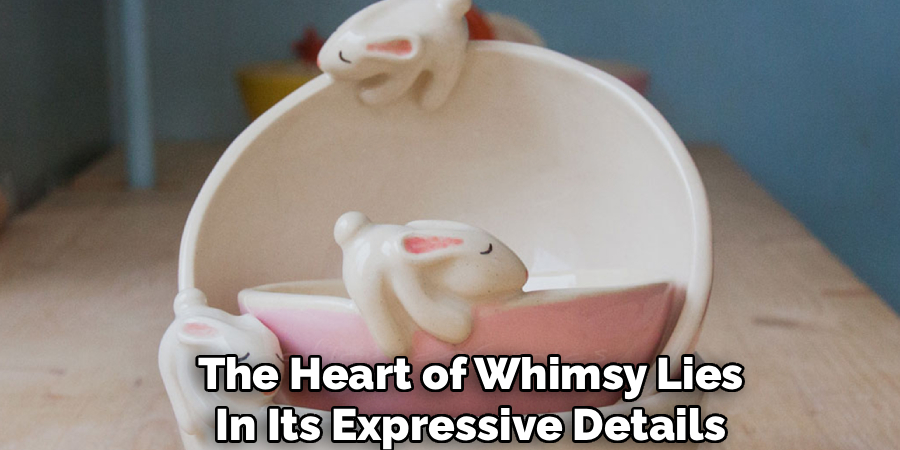
Textures like curly hair, swirling tails, or leafy hats add storybook appeal. Don’t shy away from asymmetry—it often enhances the charm. Keep a light hand and rotate your sculpture frequently to ensure balanced design from all sides.
6. Dry Slowly and Evenly to Avoid Breakage
Miniatures are fragile when wet and even more so during drying. Place your completed minis on a porous surface like a wooden board or plaster slab to help wick away moisture evenly. Cover them loosely with plastic to slow the drying process and prevent sudden air exposure, which can cause cracking. Allow at least 2–3 days for full drying, depending on your humidity and clay type. Test dryness by touching the base; if it feels cool, it’s not fully dry yet. Do not rush this step—patience ensures longevity.
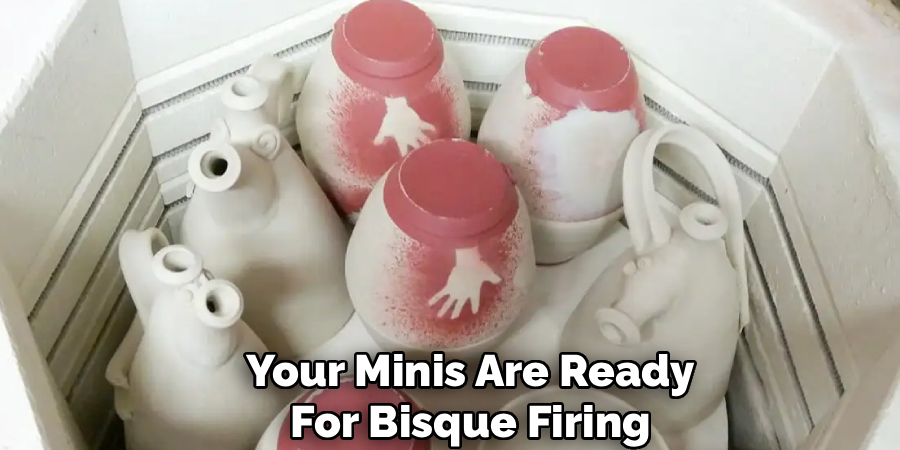
7. Bisque Fire with Spacing for Delicate Pieces
Once bone dry, your minis are ready for bisque firing. Arrange them carefully in the kiln with enough spacing to account for any movement or potential tipping. Use a kiln shelf with fine sand if needed to stabilize rounded bases. Fire according to your clay’s recommendation—typically cone 04–06 (approximately 1830°F or 1000°C). After firing, the pieces will be hard and porous, perfect for glazing. Let the kiln cool fully before handling the minis, as thermal shock is a common cause of tiny piece breakage.
8. Glaze with Colorful and Imaginative Finishes
Glazing is where whimsy truly comes alive. Use underglazes, overglazes, and translucent glazes to create colorful, layered effects. For intricate painting, underglazes are excellent because they can be applied before a clear glaze topcoat. Use small brushes to add rosy cheeks, rainbow scales, or polka dots. Matte or glossy glazes both work well—choose based on your aesthetic. Avoid glazing the bottom of the minis unless using stilts. Alternatively, leave a 1/8-inch unglazed area to prevent sticking to the kiln shelf.
9. Glaze Fire and Inspect for Detail Preservation
Place your glazed minis back in the kiln for glaze firing, following the temperature appropriate to your glaze and clay—typically cone 5–6 for stoneware or cone 06–04 for low-fire earthenware. Use care when loading minis; support fragile parts like ears or wings with grog or soft fiber pads if necessary. After cooling, inspect your pieces. The colors should be vibrant and the surface smooth. If the glaze has pooled or obscured fine details, note the issue for next time. Minor imperfections often add character in whimsy art.
10. Seal, Display, or Gift Your Minis with Charm
Once completed, your ceramic whimsy minis can be finished in several ways. You can seal unglazed sections with a food-safe or waterproof sealer if they’ll be handled often. Attach magnets, pin backs, or hooks to turn them into functional art. For display, arrange them in tiny terrariums, shadow boxes, or handcrafted shelves. If gifting, wrap them in hand-stamped boxes or tiny drawstring bags. Consider adding whimsical name tags or backstories for each character—this deepens their charm and makes each piece feel special and unique.
Maintenance and Upkeep
Proper care can ensure your minis remain vibrant and intact for years to come. Keep them away from direct sunlight to prevent colors from fading, and avoid exposing them to excessive moisture unless they are sealed appropriately. Dust them gently with a soft, dry brush or microfiber cloth to maintain their appearance without causing damage.
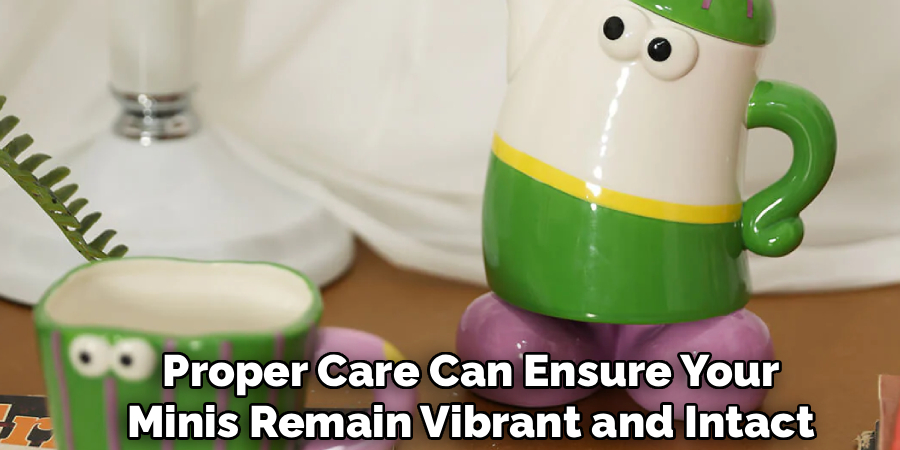
If any sealed sections begin to wear over time, reapply a food-safe or waterproof sealer to preserve their durability. For minis with delicate details or added components like magnets or hooks, handle them carefully to prevent breakage. Regular upkeep will help retain their charm and ensure they continue to delight.
Conclusion
Making ceramic whimsy minis is a joyful and rewarding process that blends skill with imagination. From the first sketch to the final glaze, each step contributes to a miniature work of art full of personality and magic. Whether you’re crafting a smiling cactus, a sleepy narwhal, or a dancing fox, these minis capture a world of wonder in the palm of your hand.
By following these ten elaborated methods, you’ll not only refine your ceramic skills but also breathe life into delightful little creations that can charm anyone who sees them. Thanks for reading our blog post on how to make ceramic Whimsy Mini! We hope you found it helpful and informative.
Specialization:
- Master of wheel-throwing, hand-building, and advanced glazing techniques
- Focus on creating both functional pottery and decorative art pieces
Recognition:
- Celebrated by collectors and art enthusiasts for creating one-of-a-kind pieces that blend artistry with functionality
- Participates in local and national exhibitions, earning accolades for his innovative designs and craftsmanship
Passion:
- Deeply committed to exploring and pushing the boundaries of ceramic artistry
- Continuously experiments with new materials, firing techniques, and artistic concepts to evolve his craft
Personal Philosophy:
- Believes in the transformative power of art, aiming to evoke emotions and connections through his ceramic creations
- Advocates for sustainability in ceramics, using eco-friendly materials and practices whenever possible