


Creating clay ghosts is a fun and simple craft project that’s perfect for celebrating the spooky season. Whether you’re looking to decorate your home, create party favors, or have a hands-on activity for kids, making clay ghosts allows for creativity and a personal touch.
With just a few materials and some imagination, you can craft adorable or eerie ghosts to suit your Halloween vibe. In this blog post we will show you how to make clay ghosts so that it functions properly. Read on to learn more about which components and tools are needed for the job as well as detailed instructions on completing the task!
Popular Uses for Clay Ghosts
Clay ghosts are versatile decorations that can add a playful or spooky touch to various settings. One popular use is as Halloween ornaments, where they can be displayed on shelves, tables, or even hung from string to create a floating effect. They can also serve as creative party favors for Halloween gatherings, delighting guests with their handmade charm.
Another use is incorporating them into DIY centerpieces or wreaths, giving your seasonal decor a unique and personalized twist. Additionally, clay ghosts can be used for crafting projects with kids, making memorable keepsakes for the spooky season. Their adaptability and charm make them a favorite for festive occasions.
Materials and Tools Needed
Before you start crafting your clay ghosts, gather the following materials and tools to ensure a smooth and enjoyable process:
- Air-dry clay or polymer clay (white is recommended for a ghostly appearance)
- Rolling pin or a smooth cylindrical object to flatten the clay
- Cookie cutters or a knife for shaping (optional)
- Sculpting tools or toothpicks for detailing
- Black paint or marker for adding facial features
- Paintbrush for applying paint
- Wax paper or silicone mat to protect your workspace
- String or wire (optional, for hanging decorations)
Having these items on hand will prepare you to create your clay ghosts with ease and bring your spooky vision to life!
10 Methods How to Make Clay Ghosts
1. Basic Ghost Shape with Pinch Pot Technique
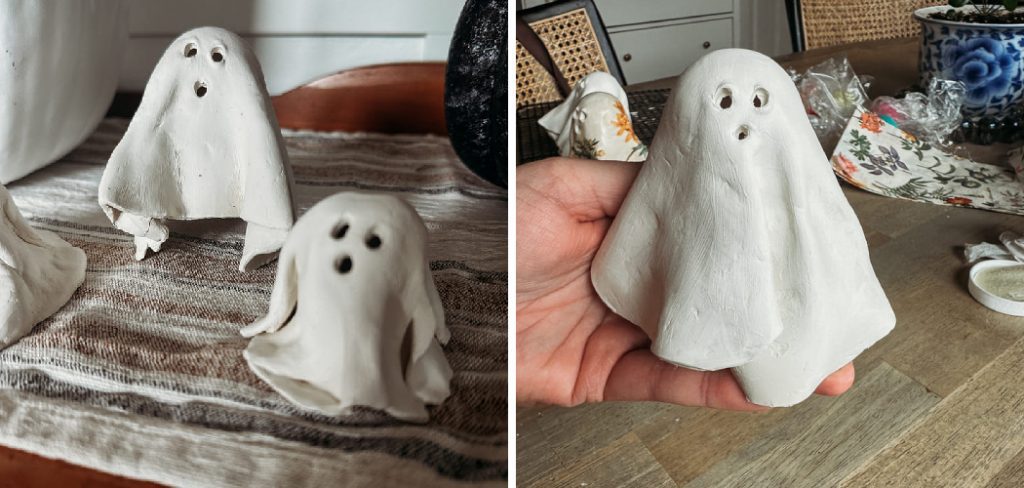
One of the easiest methods for making a clay ghost is using the pinch pot technique, which is perfect for beginners. Start by rolling a small ball of clay, which will serve as the base of the ghost’s body. Pinch the ball between your thumb and fingers to form an oval or teardrop shape, and then elongate the bottom to create the flowing part of the ghost.
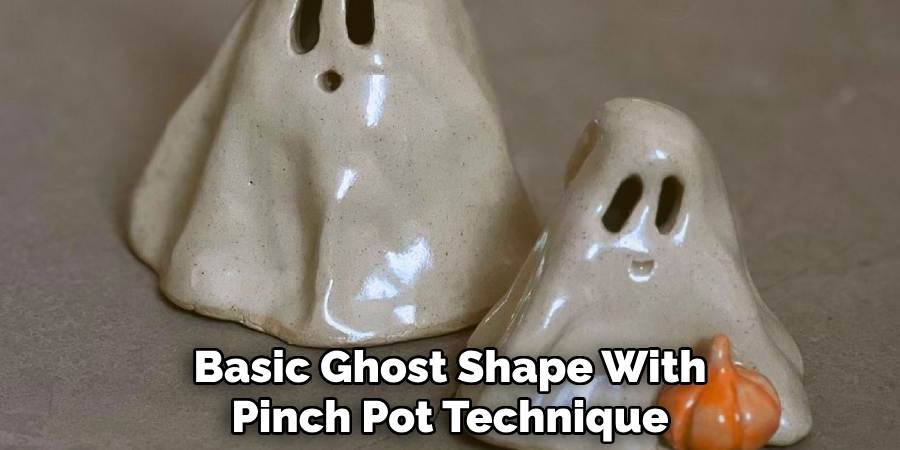
The pinch pot method gives the ghost a rounded, whimsical appearance, as if it’s floating. After shaping, use a modeling tool to carve out simple facial features like eyes and a mouth, giving your ghost a fun, spooky expression. Once finished, allow the clay to dry and fire it in a kiln (if using ceramic clay), or simply let it air dry (if using air-dry clay).
2. Sculpting a Flowing Ghost with Coil Method
For a more detailed and fluid ghost shape, the coil method can be used to sculpt the body. Begin by rolling out long coils of clay, ensuring they are uniform in size. Start at the top by forming the ghost’s head, and then add coils in layers to build up the ghost’s body.
Each coil can be gently flattened and blended into the previous one as you move downward, creating a flowing, cascading effect, similar to a ghost’s ethereal form. This technique allows for a more fluid, natural look, and the use of coils gives the ghost a dynamic, wavy texture.
3. Using Slabs for a Flat Ghost Design
For a flat, stylized ghost design, the slab-building method is an excellent approach. Begin by rolling out a thin sheet of clay using a rolling pin, then cut out a simple ghost shape with a sharp tool. You can create a rounded top for the head and a flowing bottom to give the ghost its signature floating appearance.
Once the basic shape is cut out, you can use tools or your hands to add texture or simple details like a mouth, eyes, or draped edges to mimic the ghost’s ethereal, tattered nature.
4. Ghosts with Fabric Texture
To give your clay ghosts a more unique and textured look, you can use fabric to create a ghost with a soft, cloth-like appearance. After rolling out a thin sheet of clay, place a piece of fabric over it, such as cheesecloth or an old t-shirt. Press the fabric into the clay to create an impression of folds, wrinkles, and texture.
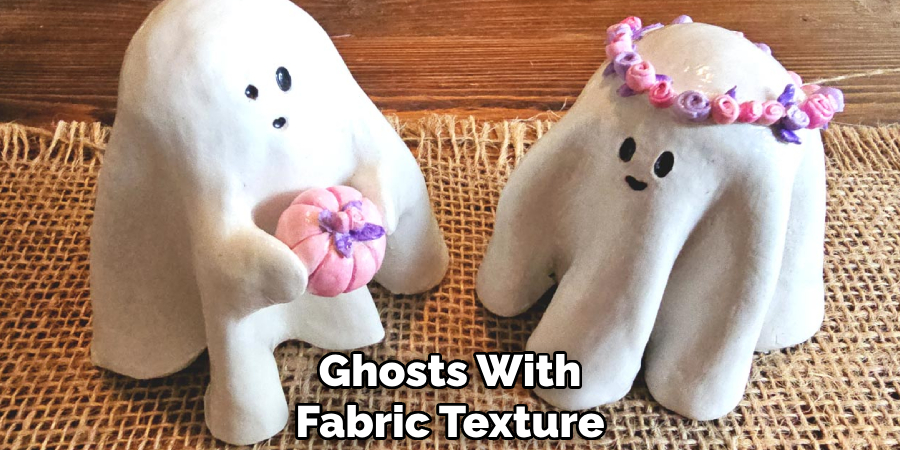
Once the fabric pattern is transferred, carefully remove the fabric and cut out the shape of the ghost. This method produces a beautiful, subtle texture that mimics the ghost’s wispy, ethereal qualities.
5. Making Clay Ghosts with Wire Armature
For those seeking a more 3D ghost, creating a wire armature provides structure and stability while still allowing the ghost to have a floating, translucent look. Start by bending a piece of wire into the shape of a ghost, creating a loose outline of the body and head. Then, roll out small pieces of clay and wrap them around the wire armature, building up the ghost’s form.
Focus on layering the clay gently, ensuring the wire stays hidden inside the ghost. This method provides a sturdy frame for your ghost, allowing for more detailed textures and smooth, flowing shapes. Once finished, you can sculpt the face or add additional features like floating hands or ghostly drapes.
6. Sculpting a Ghost Using the Sgraffito Technique
For a more intricate and detailed ghost, consider using the sgraffito technique, which involves carving designs into the clay surface. Start by sculpting your ghost’s body using either the pinch pot or coil method. Once the shape is formed and the clay is leather-hard, use a carving tool or a fine-point knife to etch in details like a spooky face or swirling patterns.
The sgraffito technique works well for adding texture to the surface of the ghost, creating an eerie effect. You can carve light, airy lines to give the ghost a more ethereal, wispy appearance or add deeper lines for contrast.
7. Polymer Clay Ghosts with Layered Colors
Polymer clay is a versatile medium for creating small, detailed ghost sculptures with vibrant color variations. To make a polymer clay ghost, begin by rolling out a small ball of white polymer clay and forming it into a rounded or teardrop shape for the body.
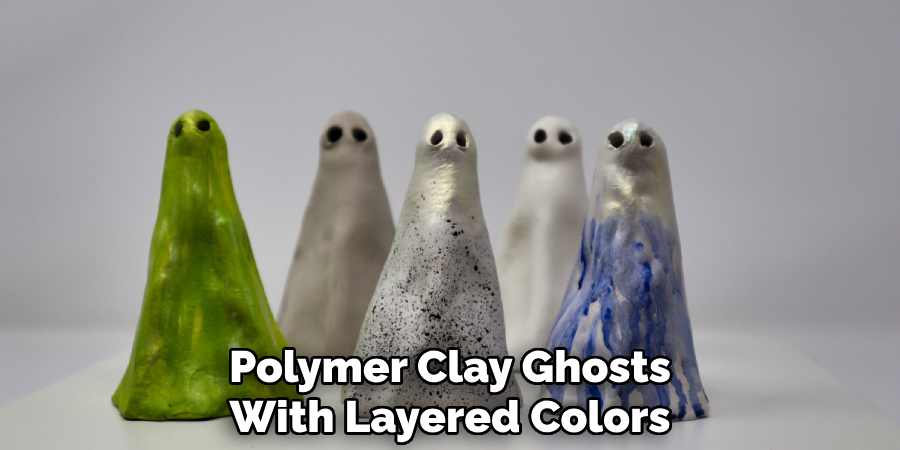
You can add extra details by rolling out small bits of different-colored clay, like black or orange, and shaping them into eyes, mouths, or patterns. For a layered effect, you can alternate colors of clay and flatten them together before shaping the ghost, creating a gradient or patchwork effect.
8. Air-Dry Clay Ghosts with Painted Details
Air-dry clay is a fantastic medium for beginners and is perfect for crafting simple and cute clay ghosts. Start by forming a basic ghost shape, either using the pinch pot, coil, or slab method. Once the ghost is shaped, allow the clay to dry fully.
Afterward, you can paint the ghost with acrylic paints, using black for the eyes, mouth, or any other spooky designs. You can also add other details, such as cracks or textures, by gently carving the surface of the dried clay. If you want to create a glowing effect, you can add glow-in-the-dark paint to the eyes or body.
9. Ghost Mobile Using Multiple Clay Ghosts
For a fun, interactive display, you can create a ghost mobile by making several smaller clay ghosts and suspending them from a string or wire. Begin by making several individual ghosts using any method, such as the pinch pot, coil, or slab techniques.
Once they are dry or fired, thread small pieces of wire or string through holes in the tops of the ghosts and hang them from a central structure, like a dowel rod or an old hanger. These floating ghosts will give the illusion of movement and add a whimsical touch to your Halloween décor.
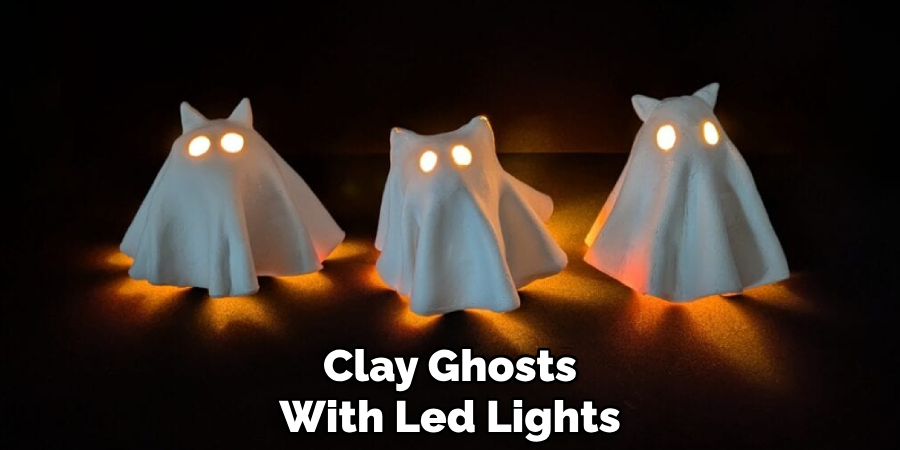
10. Clay Ghosts with LED Lights
For a ghost with a spooky glow, you can incorporate LED lights into your clay sculpture. Start by sculpting your ghost’s body using any method you prefer. Once the ghost shape is complete, leave a small hollow space in the center or bottom to insert an LED tea light or small battery-powered light.
This will illuminate your ghost from within, giving it an eerie, glowing effect. You can carve the clay in areas where you want the light to shine through or leave some parts translucent to enhance the light’s visibility.
Conclusion
Making clay ghosts is a wonderful and creative project that can be tailored to any skill level. From simple pinch pots to more advanced techniques involving wire armatures or LED lights, there are endless possibilities for creating unique ghost sculptures.
Whether you’re looking for a fun Halloween craft or a lasting piece of art, these ten methods offer a wide range of techniques for bringing your spooky creations to life. Enjoy the process and embrace your creativity to make a ghost that perfectly captures the eerie, whimsical spirit of the season. So, there you have it – a quick and easy guide on how to make clay ghosts.
Specialization:
- Master of wheel-throwing, hand-building, and advanced glazing techniques
- Focus on creating both functional pottery and decorative art pieces
Recognition:
- Celebrated by collectors and art enthusiasts for creating one-of-a-kind pieces that blend artistry with functionality
- Participates in local and national exhibitions, earning accolades for his innovative designs and craftsmanship
Passion:
- Deeply committed to exploring and pushing the boundaries of ceramic artistry
- Continuously experiments with new materials, firing techniques, and artistic concepts to evolve his craft
Personal Philosophy:
- Believes in the transformative power of art, aiming to evoke emotions and connections through his ceramic creations
- Advocates for sustainability in ceramics, using eco-friendly materials and practices whenever possible