


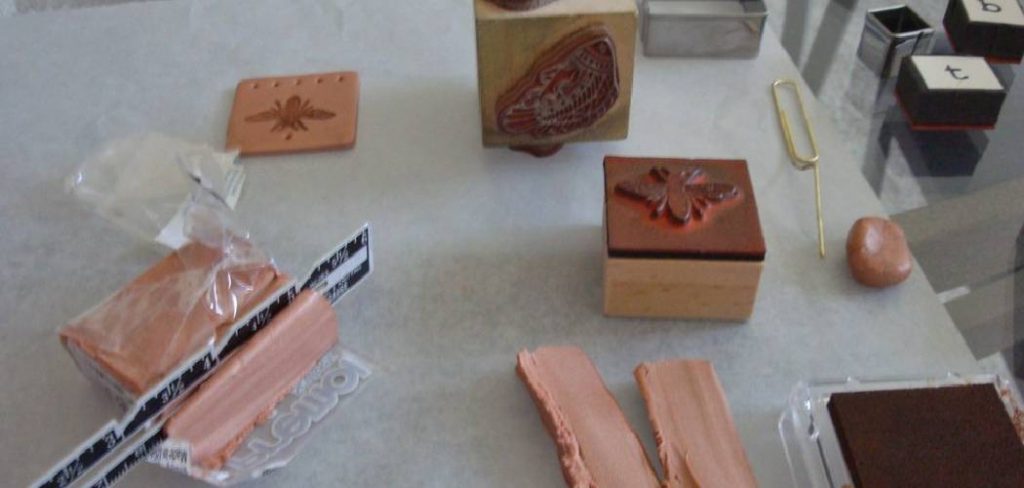
Creating personalized clay stamps is a delightful and imaginative way to showcase your creative side. Whether you’re crafting, personalizing gift tags, or adding charm to handmade cards, clay stamps offer limitless possibilities. This guide will take you step by step on how to make clay stamps, from choosing the right materials to achieving flawless impressions. Whether you’re new to crafting or a seasoned creator, these steps will help you make stamps you’ll love to use and share.
Types of Clay Suitable for Tile Making
When it comes to crafting durable and aesthetically pleasing tiles, selecting the right type of clay is crucial. Here are some commonly used clays for tile making:
- Earthenware Clay: Known for its versatility and ease of use, earthenware clay is a popular choice for beginners. It fires at a relatively low temperature and produces a terracotta finish, making it ideal for decorative tiles.
- Stoneware Clay: Firing at higher temperatures, stoneware clay is denser and more durable, making it suitable for functional tiles that need to withstand wear and tear. It has a natural grayish tone that can be glazed for varied finishes.
- Porcelain Clay: This high-fire clay is known for its strength and translucence. Porcelain clay requires precise handling due to its fine particles but produces sophisticated, high-quality tiles that are ideal for elegant designs.
- Polymer Clay: Unlike traditional clays, polymer clay is a synthetic material that can be cured in a home oven, making it convenient for small projects. It offers vibrant colors and is perfect for intricate designs or mosaic tiles.
Choosing the right clay depends on your project requirements and desired aesthetic, ensuring your tiles are not only functional but also beautiful.
Materials and Tools Needed
To create your own clay stamps, you’ll need a selection of materials and tools to ensure a smooth crafting process. Here’s what you’ll need:
- Clay: Depending on your project, choose from earthenware, stoneware, porcelain, or polymer clay.
- Stamp Design Templates: You can create your own designs or use pre-made templates for inspiration.
- Clay Roller or Rolling Pin: Essential for flattening the clay to your desired thickness.
- Clay Cutting Tools: Include a selection of cutting tools such as clay knives or cookie cutters to shape your stamps.
- Texturing Tools: Use items like textured mats, stamps, or everyday objects to imprint designs onto the clay surface.
- Baking Sheet or Kiln: For curing or firing your clay, depending on the type of clay you’re using.
- Non-stick Surface or Mat: To prevent the clay from sticking while you work with it.
- Sandpaper or Smoothing Tools: Useful for refining and smoothing edges once the clay has dried or been cured.
- Glaze or Sealant (optional): If you want to add a glossy finish or protect your stamps, choose a glaze compatible with your clay type.
Having these materials and tools on hand will prepare you for a successful and enjoyable clay stamp-making experience.
10 Methods How to Make Clay Stamps
1. Choose the Right Type of Clay for Stamping
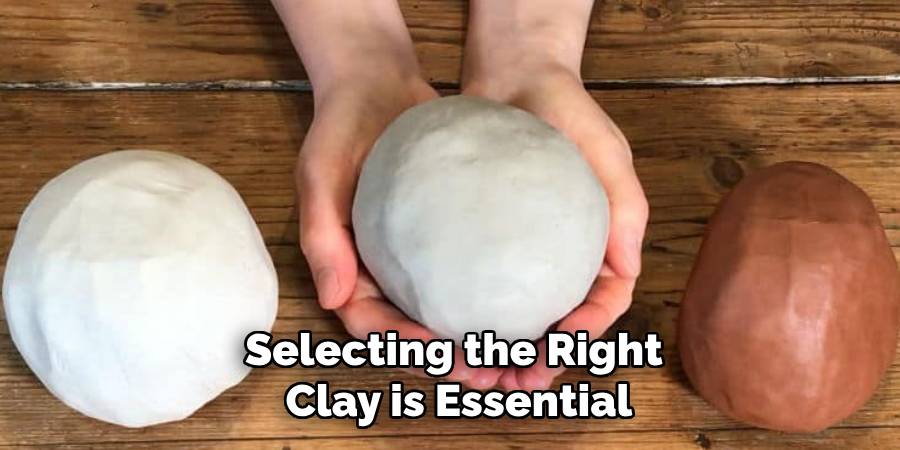
Selecting the right clay is essential for making durable, easy-to-use stamps. Air-dry clay is convenient as it doesn’t require firing, though polymer and ceramic clay are popular choices for creating more permanent stamps. Ceramic clay is a good option if you have access to a kiln, as it can withstand repeated use and pressure. Ensure the clay you choose has a firm consistency to hold intricate designs without collapsing or losing detail.
2. Sketch Your Design Beforehand
Having a clear idea of your design will help guide the carving or impression process. Sketch your design on paper first to plan your pattern, shapes, or letters. Simple, bold patterns generally work best, as they’ll show up more clearly when stamped. Decide whether you want a raised design or an indented one, as this will affect the carving method. A well-thought-out design translates into a clean, professional-looking stamp that’s easy to use.
3. Prepare the Clay for Shaping
Begin by kneading or conditioning the clay to make it pliable, ensuring any air bubbles are removed. Once softened, roll the clay into a flat slab about ¼ to ½ inch thick. This thickness allows for easy handling and enough surface area to create a detailed stamp without risking breakage. Use a rolling pin or slab roller, keeping the thickness even, as this consistency will make it easier to carve or impress patterns onto the stamp.
4. Shape the Stamp Base
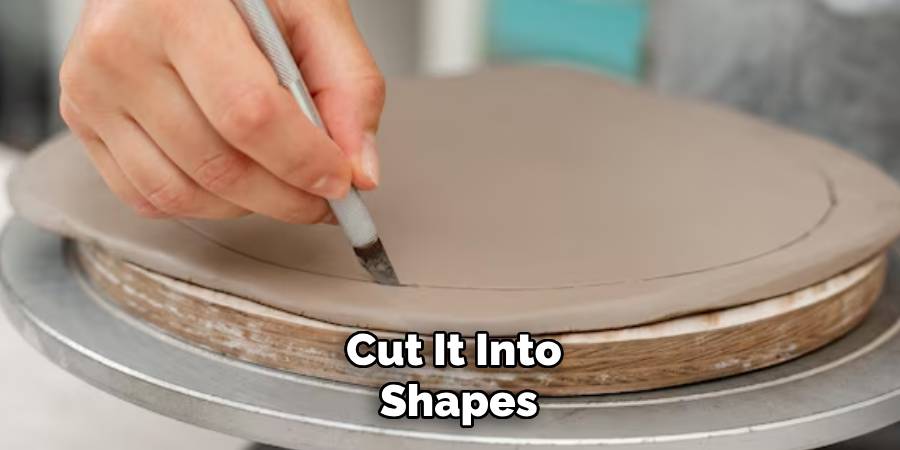
Once you’ve rolled the clay to the desired thickness, cut it into shapes that are easy to handle, such as circles, squares, or rectangles. Use cookie cutters, small lids, or clay tools to achieve clean, uniform edges. Make sure the shape you choose complements the design and provides enough space for detailed patterns. A comfortable, well-sized base improves the stamp’s functionality, making it easier to control when printing onto surfaces.
5. Carve Patterns Directly into the Clay
Using clay-carving tools, toothpicks, or even small knives, begin etching your design into the clay surface. For a reverse (indented) design, carve your pattern directly into the clay, keeping lines and shapes clear and precise. For letters or symbols, remember to carve them in reverse so they appear correctly when stamped. Work slowly and carefully, as neat carving ensures that the stamped impression will be clear and professional.
6. Use Found Objects to Create Textures
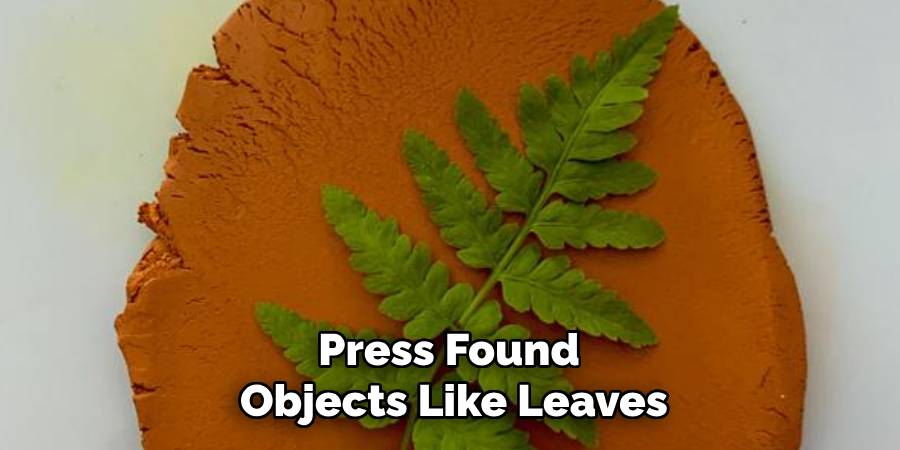
To add texture without the need for carving, press found objects like leaves, lace, buttons, or textured fabrics into the clay to create interesting, organic patterns. This technique works well for creating background textures and adds a unique, handmade feel to your stamps. Experiment with various objects to see how they imprint on the clay. This method is especially useful if you want a quick, easy way to create patterns without the need for extensive carving.
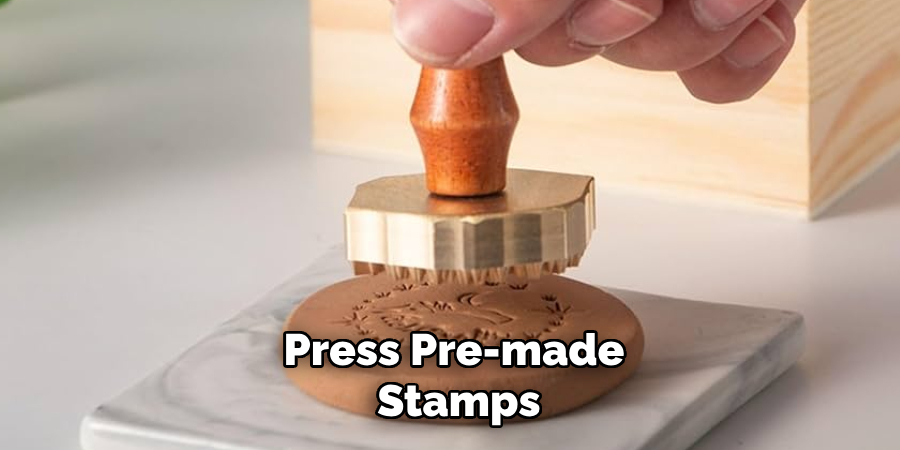
7. Make Use of Ready-Made Stamps or Molds
If you want to duplicate certain shapes or textures, press pre-made stamps, textured molds, or silicone mats onto the clay slab. This allows you to make multiple identical stamps quickly. Press evenly to ensure the entire design transfers cleanly onto the clay. This technique is ideal for crafters who want consistent results across multiple projects, and it can save time when creating sets of tiles or other items that require uniform patterns.
8. Create a Handle for Easier Stamping
Adding a handle makes your stamp more user-friendly, particularly for larger stamps. Roll a small piece of clay into a cylinder or shape that can be comfortably gripped, then attach it to the back of the stamp base. Blend the edges securely using a bit of water to ensure the handle adheres well. This added feature offers more control, making it easier to press the stamp evenly onto surfaces and achieve consistent impressions.
9. Let the Stamp Air Dry or Fire It in a Kiln
Once the stamp is shaped and designed, allow it to dry completely if using air-dry clay, or bisque-fire it if you’ve used ceramic clay and have access to a kiln. Make sure it’s fully hardened before use to prevent damage. Firing or thoroughly drying the clay increases its durability and ensures that it will hold up during stamping. Proper drying or firing is critical to achieving a solid, lasting stamp that will withstand repeated use.
10. Test the Stamp and Refine as Needed
After the stamp is fully dry or fired, test it on paper, fabric, or clay to see how the impression looks. This initial testing allows you to see if any adjustments are necessary. If the design isn’t as clear as you’d like, make refinements with carving tools, or sand down raised areas to improve the definition. Testing ensures the stamp creates crisp, clean impressions and meets your desired aesthetic, adding a professional polish to the final product.
Things to Consider When Making Clay Stamps
When starting a clay stamp-making project, a few key factors can help ensure success. First, think about the material you’ll be stamping on, as it affects your design’s depth and detail. For example, porous surfaces like fabric might need deeper patterns for clear impressions. Also, consider the stamp’s purpose; larger and more intricate designs suit stationary or craft paper, while simpler patterns work well for pottery or tiles.
Durability is crucial, too—stamps used often should be crafted from strong clays like polymer or ceramic to endure frequent use. Lastly, plan your workspace and tools ahead of time to make the crafting process smooth. Having all materials handy in a suitable environment for shaping and drying the clay can greatly enhance both the creation process and the final product’s quality.
Conclusion
Creating clay stamps is a fun, creative way to personalize craft projects, offering endless opportunities for experimentation with textures and designs. From carving patterns to using textured objects and firing for durability, these ten methods provide the steps to create unique, reliable stamps. Whether for decorating ceramics or adding texture to artwork, homemade clay stamps offer a versatile tool that lets you express your creativity and bring a personal touch to your projects.
Specialization:
- Master of wheel-throwing, hand-building, and advanced glazing techniques
- Focus on creating both functional pottery and decorative art pieces
Recognition:
- Celebrated by collectors and art enthusiasts for creating one-of-a-kind pieces that blend artistry with functionality
- Participates in local and national exhibitions, earning accolades for his innovative designs and craftsmanship
Passion:
- Deeply committed to exploring and pushing the boundaries of ceramic artistry
- Continuously experiments with new materials, firing techniques, and artistic concepts to evolve his craft
Personal Philosophy:
- Believes in the transformative power of art, aiming to evoke emotions and connections through his ceramic creations
- Advocates for sustainability in ceramics, using eco-friendly materials and practices whenever possible