


Claystone crafts are a wonderful way to combine creativity and functionality, resulting in stunning handmade pieces. Whether you’re a seasoned artist or a complete beginner, working with claystone offers endless possibilities for crafting decorative items, jewelry, or even household accessories. By learning a few fundamental techniques and tips, you can transform this versatile material into unique creations that reflect your personal style.
In this blog post on how to make claystone crafts, we will cover everything from the basics of claystone to specific techniques and project ideas. So grab your apron and let’s get started!
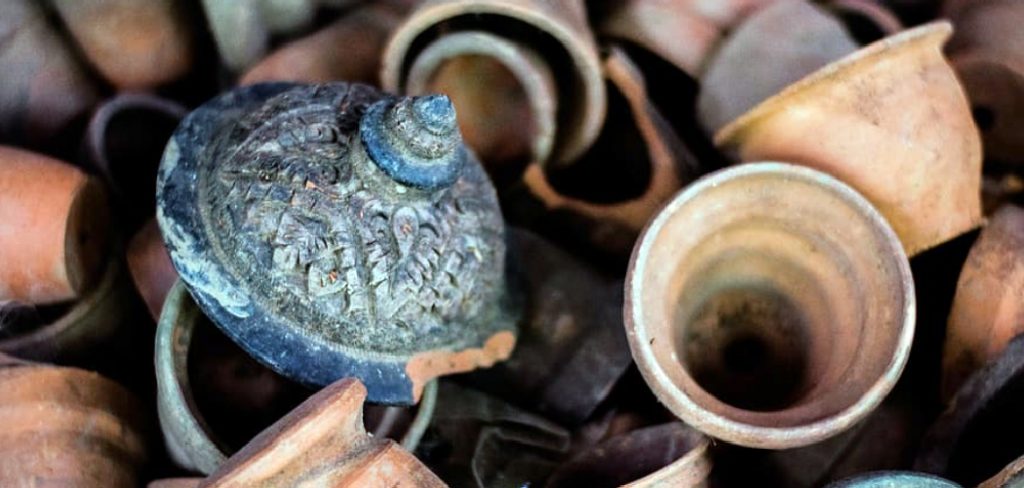
What is Claystone?
Claystone is a natural material composed primarily of fine-grained clay particles that have been compacted over time. It is known for its smooth texture, durability, and workability, making it an ideal medium for crafting. Unlike ordinary clay, claystone has a slightly firmer consistency, which allows for greater precision when shaping and detailing. This material is popular among artisans and hobbyists because it can be molded, sculpted, and even painted to create a variety of intricate designs.
Additionally, claystone is versatile and can be used for a wide range of projects, from small decorative items to larger, more functional pieces. Whether air-dried or kiln-fired, claystone is a fantastic choice for those looking to bring their creative visions to life.
Getting Started: Materials and Tools
Before diving into your claystone crafts, it’s essential to have the right materials and tools on hand. Here are some of the basic supplies you’ll need:
Claystone:
You can purchase claystone from most craft stores or online retailers. It comes in various colors, textures, and thicknesses, so choose one that best suits your project.
Rolling pin:
A rolling pin is necessary for flattening and smoothing the claystone before working on it. A wooden one works best, but you can also use a glass bottle as an alternative.
Modeling Tools:
These come in different shapes and sizes and are used to shape, carve, and add details to your claystone creations. You can find them at your local craft store or make your own using household items like toothpicks, Q-tips, or even old credit cards.
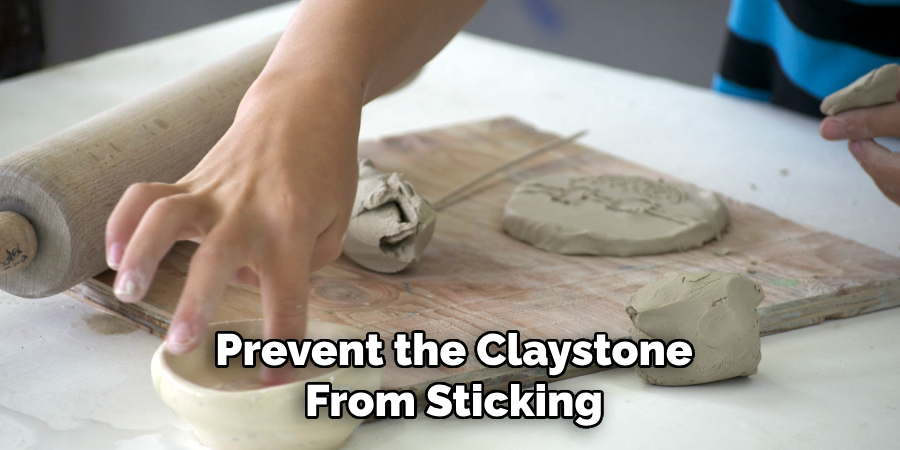
Work Surface:
Make sure to work on a clean and smooth surface that won’t damage the claystone. A flat piece of cardboard or a silicone mat works well. Remember to cover it with plastic wrap to prevent the claystone from sticking.
Finishing Tools:
Once you’re done creating your piece, you’ll need tools to smooth and refine its edges. A sponge, sandpaper, or a metal scraper can help achieve a polished finish.
8 Simple Instructions on How to Make Claystone Crafts
Step 1: Prepare Your Work Surface
Begin by setting up a clean and organized workspace to ensure a smooth crafting experience. Choose a flat and sturdy surface, such as a tabletop, and cover it with plastic wrap, a silicone mat, or parchment paper to prevent the claystone from sticking. Make sure the area is free of dust, debris, or any sharp objects that might damage your claystone or interfere with your project.
Having a well-prepared work surface will make it easier to handle and shape the material effectively, giving your creations a professional touch from the start.
Step 2: Knead the Claystone
Take your claystone and begin kneading it thoroughly before starting your project. Kneading helps soften the material, ensuring it is pliable and easy to work with. Use your hands to press, fold, and stretch the claystone repeatedly for several minutes.
This process not only makes the claystone smoother but also removes any air bubbles or inconsistencies that could affect the final shape of your craft. If the claystone feels too hard, you can add a small amount of water to make it more workable. Properly kneading the claystone is a crucial step in achieving a high-quality end product.
Step 3: Roll Out the Claystone
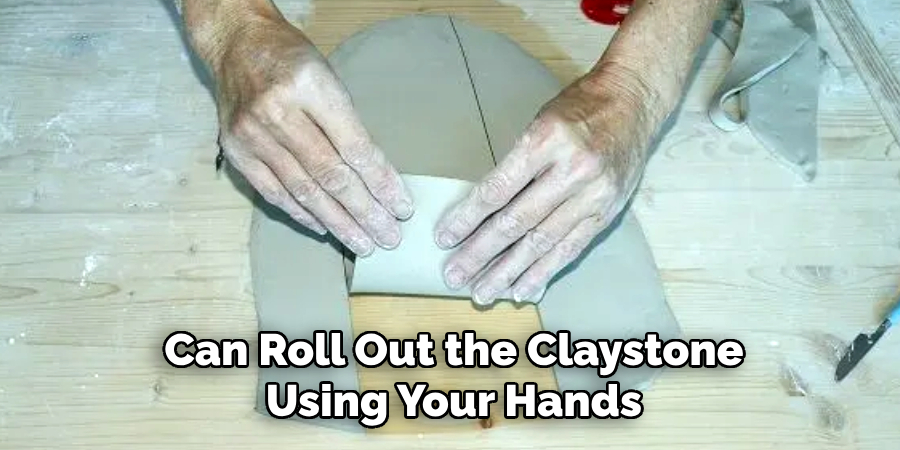
Place your kneaded claystone on a flat and clean surface. Using a rolling pin, gently flatten the material until it’s about half an inch thick. You can use guides like wooden dowels or rubber bands to ensure that the clay is rolled out evenly.
If you’re making a small project, you can roll out the claystone using your hands. However, for larger pieces, it’s easier and more efficient to use a rolling pin. The thickness of your claystone will depend on personal preference or the type of craft you’ll be making.
Step 4: Shape Your Design
Now that your claystone is rolled out to the desired thickness, it’s time to shape your design. Use cookie cutters, stencils, or freehand techniques to cut or mold the claystone into your desired shape. If you’re creating more intricate designs, use modeling tools like sculpting knives or toothpicks to carve out details and refine edges.
Take your time during this step to ensure precision and symmetry, as the shaping process greatly impacts the final look of your craft. If you make a mistake, don’t worry—simply re-knead and re-roll the claystone to start again. Shaping your design is where creativity shines, so feel free to experiment with different patterns and textures for a truly unique creation.
Step 5: Add Details
After shaping your design, it’s time to add details and personal touches. Use modeling tools or household items like toothpicks or Q-tips to create texture, patterns, or designs on the claystone surface. You can also add small embellishments like beads, sequins, or rhinestones for extra flair.

This is where you can let your imagination run wild and make your craft truly one-of-a-kind. Remember to keep in mind the overall design aesthetic and avoid overcrowding the piece with too many details.
Step 6: Let It Dry
Once you’re satisfied with your claystone creation, set it aside to dry completely. Depending on the type of claystone you’re using, it can take anywhere from a few hours to a couple of days.
Air-dry claystone typically takes longer to dry but is more convenient as it does not require kiln-firing. On the other hand, kiln-fired claystone dries faster and results in a more durable finished product.
Step 7: Sand and Finish
Once your craft is fully dried, use sandpaper or a metal scraper to smooth out any rough edges or imperfections on the surface. You can also use a sponge dipped in water to gently rub over the entire piece for a polished finish.
If desired, you can also paint your creation with acrylic or claystone-specific paints for a pop of color. Make sure to use a sealant spray to protect your craft from water damage and preserve its longevity.
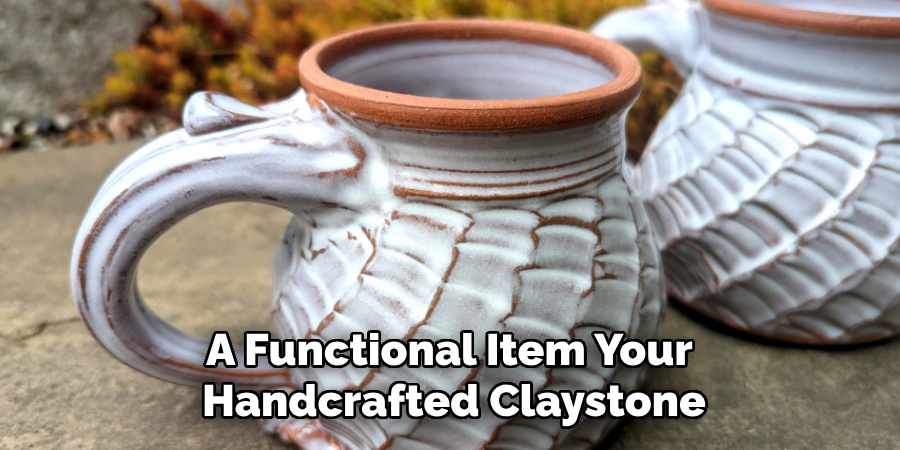
Step 8: Display and Enjoy!
Congratulations, you’ve successfully created your very own claystone creation! Now, it’s time to display and enjoy it. Whether it’s a decorative piece or a functional item, your handcrafted claystone craft is sure to add a personal touch to any room and make a great conversation starter.
Remember, practice makes perfect with any new crafting technique, so don’t be too hard on yourself if your first few attempts don’t turn out exactly as planned. With these simple instructions on how to make claystone crafts and some creativity, you’ll be making beautiful claystone crafts in no time. Happy crafting!
Additional Tips and Ideas for Claystone Crafting
- Experiment with different types of claystone, such as air-dry or kiln-fired, to see which one you prefer working with.
- Add texture to your claystone using natural objects, such as leaves or twigs, by pressing them onto the surface before drying.
- Use cookie cutters or molds for consistent and precise shapes.
- Mix different colors of claystone together to create a marbled effect.
- Use a toothpick to make small holes in your creation for stringing and hanging purposes.
- Try adding glitter or metallic paint for a touch of sparkle.
- Don’t be afraid to mix different crafting mediums, such as incorporating wood or fabric into your claystone project.
Frequently Asked Questions
Q1: How Do I Store Leftover Claystone?
A1: Leftover claystone can be stored in an airtight container or wrapped in plastic wrap to prevent it from drying out. It is best to use leftover claystone within a few days for optimal texture and workability.
Q2: Can I Bake Air-Dry Claystone in the Oven?
A2: No, air-dry claystone should not be baked in the oven. It should be left to air dry naturally, which can take several hours or days, depending on the thickness of the claystone.
Q3: Is Claystone Safe for Children to Use?
A3: Yes, most types of claystone are non-toxic and safe for children to use with adult supervision. However, it is always best to check the packaging and follow any safety precautions recommended by the manufacturer.
Conclusion
Claystone crafting is a versatile and enjoyable hobby that allows you to create unique and personalized items. Whether you’re making simple decorations or intricate designs, the process is both rewarding and accessible to beginners and experienced crafters alike.
By following these steps on how to make claystone crafts and incorporating your creativity, you can produce beautiful, handcrafted pieces that will be cherished for years to come. Remember to experiment with different techniques and materials to continually discover new possibilities in claystone crafting. Happy crafting!
Specialization:
- Master of wheel-throwing, hand-building, and advanced glazing techniques
- Focus on creating both functional pottery and decorative art pieces
Recognition:
- Celebrated by collectors and art enthusiasts for creating one-of-a-kind pieces that blend artistry with functionality
- Participates in local and national exhibitions, earning accolades for his innovative designs and craftsmanship
Passion:
- Deeply committed to exploring and pushing the boundaries of ceramic artistry
- Continuously experiments with new materials, firing techniques, and artistic concepts to evolve his craft
Personal Philosophy:
- Believes in the transformative power of art, aiming to evoke emotions and connections through his ceramic creations
- Advocates for sustainability in ceramics, using eco-friendly materials and practices whenever possible