


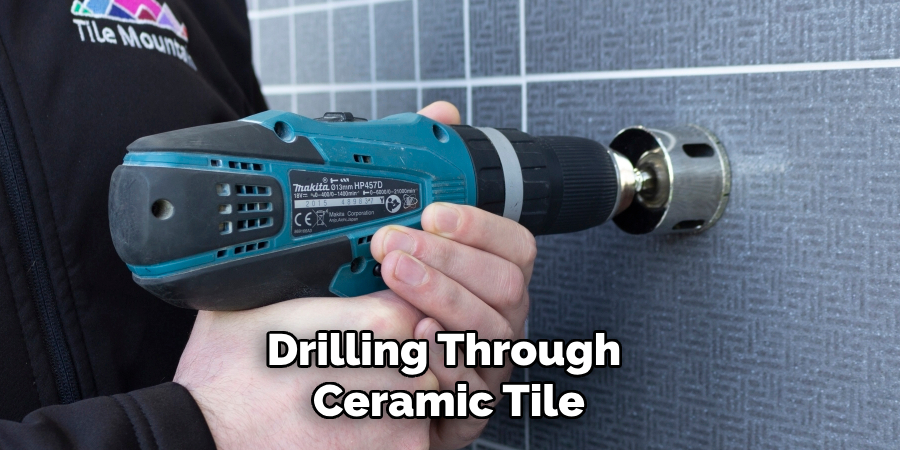
Drilling a hole in ceramic tile may seem like a daunting task, but with the right tools and techniques, it can be accomplished safely and efficiently.
Whether you’re hanging a towel rack or installing a shower fixture, understanding the correct method is crucial to avoid cracking or damaging the tile. The process involves careful preparation, choosing the appropriate drill bit, and using proper drilling techniques to ensure a clean, precise hole.

This guide on how to make hole in ceramic tile will walk you through the necessary steps to successfully drill into ceramic tiles, making your DIY projects easier and more manageable.
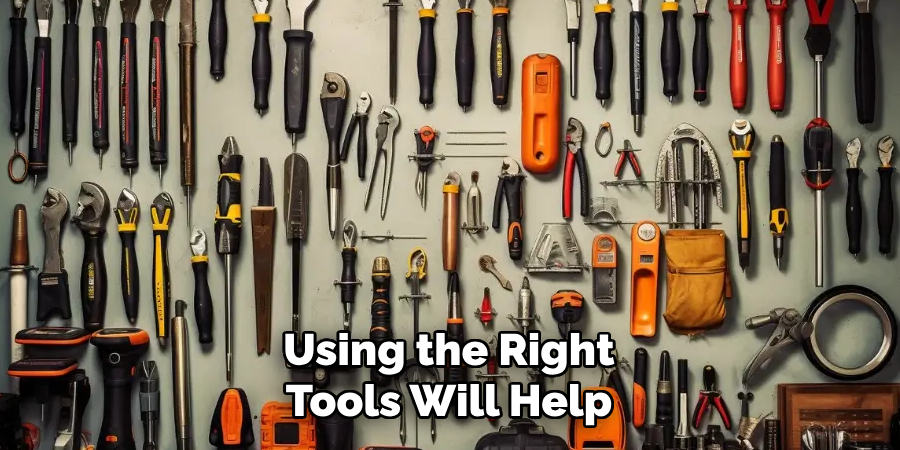
Why is it Important to Use the Right Tools?
Using the right tools for any task is essential, and drilling into ceramic tile is no exception. The tile’s hard surface requires a specific type of drill bit that can withstand its tough composition without breaking or causing cracks.
Standard drill bits, like those used for wood or metal, are not suitable for drilling into ceramic tile. They will not only be ineffective in creating a hole but may also cause damage to the tile itself.
Choosing the correct drill bit is crucial because it ensures a clean and precise hole without damaging the tile’s surface or structure.
Needed Materials
Before we dive into the steps for drilling a hole in ceramic tile, it’s essential to have all the necessary materials on hand. Here is a list of items you will need:
Ceramic Tile:
First and foremost, you will need the ceramic tile that you plan to drill into. Make sure to have extra tiles in case of any mistakes or mishaps during the drilling process.
Drill:
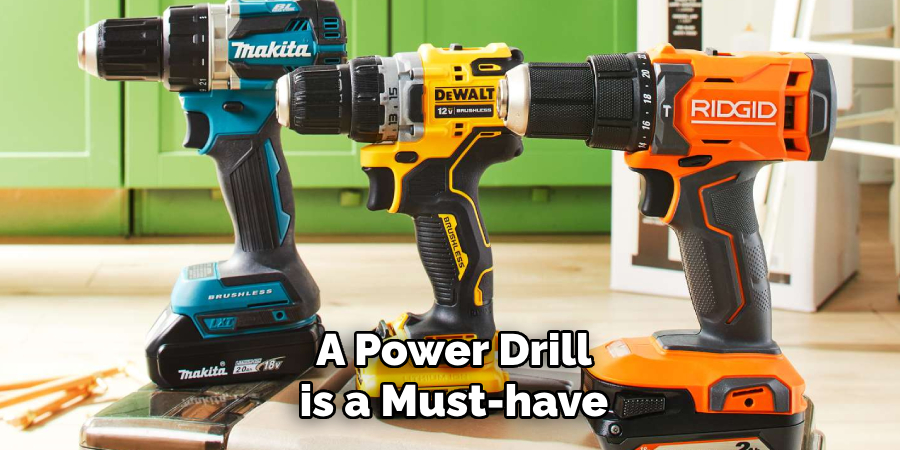
A power drill is a must-have tool for this task. Make sure it has adjustable speed settings, as well as a sturdy handle for stability and control.
Diamond-Tipped Drill Bit:
As mentioned earlier, standard drill bits are not suitable for drilling into ceramic tiles. A diamond-tipped drill bit is specifically designed to withstand the hardness of ceramic material and is essential for creating a clean hole without causing damage.
Masking Tape:
Masking tape helps protect the surface of the tile and prevents the drill bit from slipping or scratching it.
Safety Gear:
Always remember to wear protective gear, such as safety goggles and gloves, while drilling to avoid any accidents or injuries.
8 Steps on How to Make Hole in Ceramic Tile
Step 1: Measure and Mark the Spot
Before you start drilling, it’s crucial to accurately measure and mark the exact spot where you want the hole. Use a tape measure or ruler to find the precise location, ensuring it aligns with any fixtures or mounts you plan to install. Once you have determined the correct spot, use a pencil to lightly mark the center point on the ceramic tile.
For added precision and to prevent any slippage during drilling, place a piece of masking tape over the mark. The tape also helps provide a bit of traction for the drill bit, reducing the chances of scratching the tile surface.
Step 2: Prepare the Drill
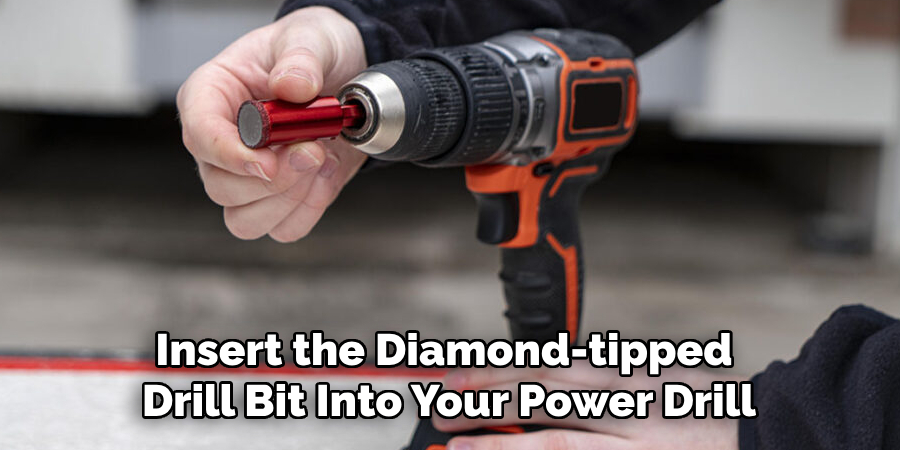
Insert the diamond-tipped drill bit into your power drill. Make sure it is securely attached and tighten any necessary fasteners or chucks. Adjust the speed settings on your drill to a low speed, as this will help prevent the tile from cracking or shattering during drilling.
But do not start drilling yet!
Step 3: Create a Guide Hole
Using the lowest speed setting on your drill, gently press the drill bit onto the marked spot to create a guide hole. This will help keep the drill bit in place and prevent it from slipping when you start drilling at full speed.
The guide hole should be shallow, just enough to create a small indentation in the tile’s surface.
Step 4: Increase Speed and Apply Pressure
Once you have created the guide hole, increase the speed of your drill to its maximum setting. Slowly and steadily apply pressure as you drill into the ceramic tile.
Be careful not to use too much force, as this can cause cracking or breaking. Let the drill bit do most of the work, applying only light pressure to keep it steady. You may also need to periodically pull the drill out to clear any debris from the hole.
Step 5: Keep Cool and Use Water
Drilling through ceramic tile generates a lot of heat due to friction between the tile and the drill bit. This heat can cause damage to both the tile and the drill bit if not properly managed. To prevent overheating, it’s essential to keep the drill bit cool by using water as a lubricant.
Drip or spray small amounts of water onto the drilling area while you work. This will help cool down the drill bit and reduce any potential damage to the tile.
Step 6: Drill Slowly and Steadily
Continue drilling slowly and steadily until you reach your desired depth. Remember to take breaks periodically to let the drill bit cool down and avoid any potential damage.
Also, pay attention to any changes in sound or vibrations coming from the drill. If you notice anything unusual, stop immediately and check for any issues before continuing.
Step 7: Clean and Remove Debris
Once the hole has been successfully drilled to the desired depth, it’s important to clean the area and remove any debris. Gently wipe away the ceramic dust and small fragments using a damp cloth or a soft brush. Ensure the surface around the hole is free from any residual particles that may interfere with the installation of your fixture or mount.
Take care not to apply too much pressure while cleaning, as this could potentially damage the edges of the hole. A thoroughly cleaned surface will help in achieving a seamless and professional-looking finish.
Step 8: Test and Install
Congratulations! You have successfully drilled a hole in ceramic tile. To ensure everything is perfect, test fit your fixture or mount it into the newly created hole before securing it in place.
If all looks good, go ahead and install your fixture using appropriate hardware and follow any additional instructions provided by the manufacturer.
Following these steps on how to make hole in ceramic tile and using the right tools will help make drilling into ceramic tiles a smooth and stress-free process. With the proper technique and precautions, you can achieve professional-looking results without damaging your tiles. So go ahead, get creative, and confidently tackle any project that requires drilling into ceramic tile! Happy drilling!
Frequently Asked Questions
Q: Can I Use a Regular Drill Bit to Drill Into Ceramic Tile?
A: No, standard drill bits are not suitable for drilling into ceramic tiles. You must use a diamond-tipped drill bit specifically designed for the job. The hardness of ceramic tile can cause regular drill bits to slip, break, or damage the tile.
Q: How Do I Know What Size Diamond-Tipped Drill Bit to Use?
A: The size of the diamond-tipped drill bit you need depends on the diameter of the hole you want to create. Measure and mark the spot on your tile, then choose a drill bit that matches that exact size or is slightly larger.
Q: How Do I Prevent Cracking or Shattering of Ceramic Tile While Drilling?
A: To prevent cracking or shattering, always use a low speed on your drill when starting and gradually increase the speed as needed. Also, do not apply too much pressure while drilling and keep the drill bit cool with water as a lubricant. If you notice any issues, stop immediately and check for any potential problems before continuing.
Q: Can I Use a Hammer Drill to Make Holes in Ceramic Tile?
A: No, hammer drills are not recommended for drilling into ceramic tile as their high-powered impact could cause damage to the tile. Stick to using a regular power drill with a diamond-tipped bit for the best results.
Q: What Other Safety Precautions Should I Take While Drilling Into Ceramic Tile?
A: In addition to wearing safety glasses and gloves, it’s also essential to secure the tile in place while drilling. You can use a clamp or have someone hold it steady for you. Also, make sure to unplug your drill before changing bits or making any adjustments. Always be aware of your surroundings and avoid tripping hazards while working.
Conclusion
Drilling into ceramic tile can seem like a daunting task, but with the right tools and techniques, it can be done easily and without any damage to your tiles. Remember to take your time, use proper safety gear, and stay patient throughout the process.
With these 8 steps on how to make holes in ceramic tile, you’ll be able to create precise holes in ceramic tile for various installations or repairs around your home. Just make sure to have all the necessary materials on hand and follow each step carefully for a successful outcome. Happy drilling!
Specialization:
- Master of wheel-throwing, hand-building, and advanced glazing techniques
- Focus on creating both functional pottery and decorative art pieces
Recognition:
- Celebrated by collectors and art enthusiasts for creating one-of-a-kind pieces that blend artistry with functionality
- Participates in local and national exhibitions, earning accolades for his innovative designs and craftsmanship
Passion:
- Deeply committed to exploring and pushing the boundaries of ceramic artistry
- Continuously experiments with new materials, firing techniques, and artistic concepts to evolve his craft
Personal Philosophy:
- Believes in the transformative power of art, aiming to evoke emotions and connections through his ceramic creations
- Advocates for sustainability in ceramics, using eco-friendly materials and practices whenever possible