


Creating a mosaic with beads is a fun and creative way to craft vibrant artwork or decorate objects. This art form allows you to combine beads of various colors, shapes, and sizes to design intricate patterns or bold, abstract arrangements. Whether you’re a beginner or an experienced crafter, making a bead mosaic is a rewarding activity that encourages imagination and adds a personal touch to your projects. In this blog post, we’ll walk you through the steps on how to make mosaic with beads so that you can get back to using it in no time! So grab your tools, and let’s get started!

What Is a Bead Mosaic?
A bead mosaic is a captivating form of art that involves creating intricate designs or images by arranging tiny beads onto a surface. Unlike traditional mosaic art, which often uses materials like glass or ceramic tiles, bead mosaics rely on the texture, color, and shine of beads to bring a design to life. These mosaics can be crafted on various bases such as wood, canvas, or fabric and range from simple patterns to highly detailed pictures. The versatility of bead mosaics makes them suitable for decorative home items, personalized gifts, or even expressive artistic pieces. By blending creativity with patience, bead mosaics allow artists to produce stunning works of art that are both visually striking and deeply personal.
Why Making Your Own Bead Mosaics
Creating your own bead mosaics is a fulfilling and rewarding activity that allows for self-expression and creativity. By designing and assembling your own patterns, you have complete control over the colors, materials, and themes used in your artwork, making each piece truly unique. Additionally, the process of crafting bead mosaics can be both relaxing and meditative, offering a way to de-stress while engaging in a productive and enjoyable hobby. Beyond personal satisfaction, handmade bead mosaics can also serve as meaningful gifts or bespoke decorations, adding a personal touch to any item. Whether you’re a seasoned artist or a beginner, making your own bead mosaics is a wonderful way to explore your artistic potential.
10 Methods How to Make Mosaic with Beads
1. Choose a Suitable Surface for Your Mosaic
The first essential step in making a bead mosaic is selecting the right base or surface to work on. Ideal materials include wood panels, sturdy canvas boards, trays, or thick cardboard—anything that can support the weight of beads and glue without warping. Flat and rigid surfaces work best because they allow your beads to adhere evenly. If you plan to display your mosaic vertically, such as on a wall, opt for a firm backing like MDF or plywood. A clean, smooth base will ensure better adhesion and a more professional finish to your mosaic.

2. Sketch or Transfer Your Design
Before applying any beads, it’s crucial to plan your design. Start by sketching your pattern directly onto the surface with a pencil. You can draw freehand for organic designs or use stencils or carbon paper to transfer more detailed images. Outlining sections or color zones helps you stay organized and avoid placing beads randomly, which could lead to uneven or unintentional results. This step is where your artistic vision comes to life, giving you a guide for selecting bead colors, shapes, and sizes for different sections.
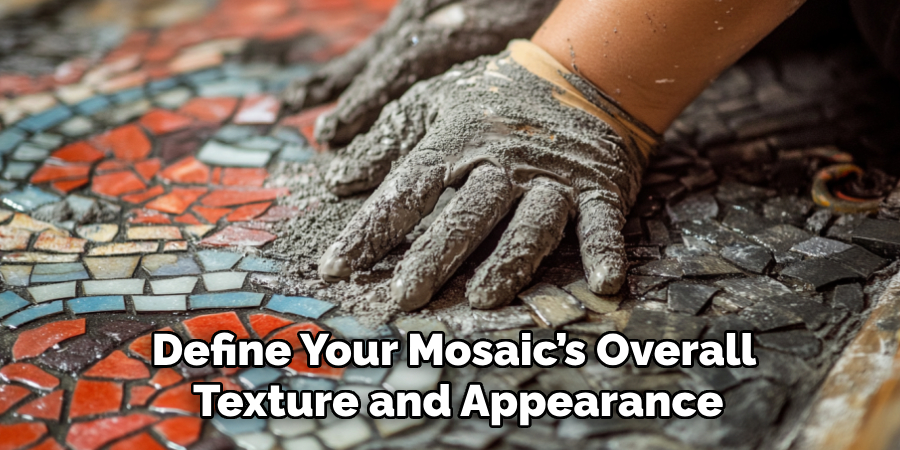
3. Select Beads Thoughtfully
The type of beads you use will define your mosaic’s overall texture and appearance. Seed beads, bugle beads, and round glass beads are all common choices for their size and color variety. When planning your design, consider bead material—glass, plastic, wood, or ceramic—as well as color palettes and finish types like matte, metallic, or iridescent. Uniformity in bead size gives a clean, even look, while mixing sizes can add dimension. Grouping beads by color and size before starting makes the application process smoother and faster.
4. Use the Right Adhesive
A strong, clear-drying adhesive is critical for bead mosaics. White craft glue works for light-use items, but for more durable or long-term pieces, a tacky glue or a gel-based epoxy is ideal. These provide a strong hold and dry relatively quickly. Use a fine-tip glue applicator or toothpick to apply small dabs of glue onto the base—just enough to hold one bead at a time. Avoid using hot glue, as it tends to dry unevenly and can melt certain types of beads. Always test your adhesive on a small section first.
5. Apply Beads with Tweezers or a Stylus
Precision is key in bead mosaic work. To place beads accurately, use a pair of fine-point tweezers, a wax-tipped stylus, or a bead applicator tool. These tools help you position each bead cleanly without smudging glue or disturbing surrounding beads. Work slowly and methodically, especially around edges or curves. Press each bead gently into the glue to ensure a strong bond. If a bead is out of place, it’s best to remove it immediately and reapply before the glue sets.
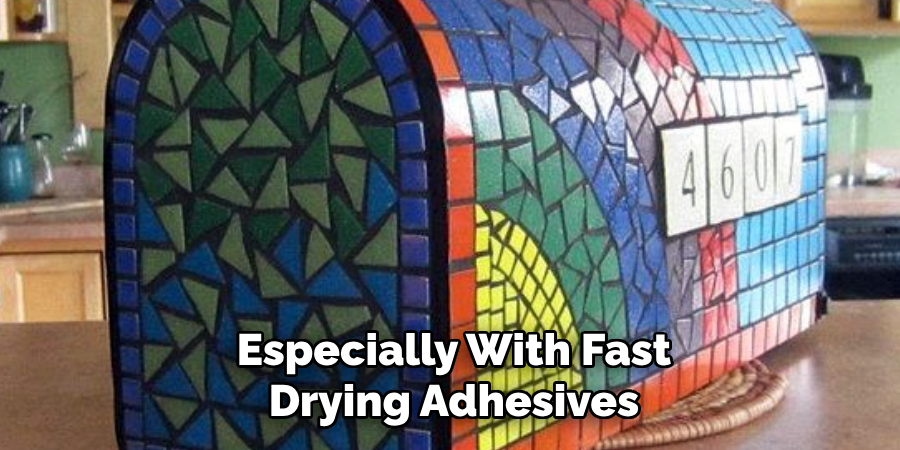
6. Work in Small Sections
Creating a bead mosaic can be time-consuming, and working in small areas at a time helps maintain precision and avoid glue drying before beads are placed. Divide your design into logical zones—perhaps by color, pattern, or shape—and complete one area before moving to the next. This not only makes the process more manageable but also reduces errors and keeps your design consistent. Covering too much surface area at once may lead to rushed placements or messy glue work, especially with fast-drying adhesives.

7. Fill Gaps Strategically
Despite careful placement, tiny gaps may appear between beads. These can be filled with miniature seed beads, microbeads, or even glitter for an added decorative effect. Alternatively, you can leave small spaces as part of the design for a textured, mosaic-style appearance. If you’re aiming for full coverage, use smaller beads in tight areas or angle larger beads slightly to fit. Just be careful not to overcrowd beads, which could disrupt the intended pattern and cause some to dislodge over time.
8. Secure with a Topcoat or Sealant
Once all beads are applied and the glue has fully dried (typically 24 hours), applying a clear sealant can help protect your work. This step is especially important if your mosaic will be touched often or displayed in a humid or dusty environment. Choose a non-yellowing, clear-drying sealant like Mod Podge, acrylic varnish, or a resin glaze depending on the desired finish. Matte finishes reduce shine, while gloss or high-gloss sealants enhance the color and brilliance of the beads. Apply with a soft brush or spray, ensuring an even coat without drips.
9. Incorporate Mixed Media for Depth
To elevate your bead mosaic, consider incorporating other materials like sequins, rhinestones, small shells, mirror shards, or even fabric accents. These elements can add visual interest and contrast, giving your mosaic a layered, multi-textural effect. Use them sparingly and strategically—perhaps to highlight focal points or create raised surfaces. Be sure all materials are similarly sized so the piece remains balanced. Always test how mixed elements react with your glue and sealant before finalizing your composition.
10. Frame or Mount Your Mosaic for Display
The final step in making a bead mosaic is preparing it for presentation. If your mosaic is on a flat panel, you might frame it using a shadow box or float-mount technique to protect the beads while showcasing their dimensionality. For items like trays or boxes, finish the edges with decorative tape, painted borders, or wood trim for a clean look. Mounting your mosaic on a backing board with hanging hardware ensures that wall pieces hang securely and evenly. A well-finished display elevates your craft to art and makes your bead mosaic ready for gifting, selling, or showcasing at home.
Maintenance and Upkeep
Proper maintenance is essential to preserve the beauty and longevity of your bead mosaic. To keep your creation clean, gently dust it with a soft, dry cloth or a microfiber duster. Avoid using water or cleaning solutions, as moisture can weaken the adhesive or damage certain beads. If the mosaic is framed or encased, periodically check the integrity of the frame or display to ensure it remains secure. For wall-mounted pieces, inspect the hanging hardware to confirm it is still firm and level. By taking these simple steps, you can ensure your bead mosaic remains vibrant and well-maintained for years to come.
Conclusion
Making a mosaic with beads is both an art and a craft—one that requires patience, creativity, and attention to detail. From selecting a surface and sketching a design to carefully placing beads and sealing the finished piece, each method described above contributes to creating a durable and beautiful mosaic. Whether you’re crafting decorative home items, functional trays, or expressive artwork, bead mosaics offer endless possibilities for personalization and artistic growth. With time and practice, you’ll find your rhythm and develop your own unique bead mosaic style. Now that you know how to make mosaic with beads, try it yourself today and feel good about completing such a big DIY job!
Specialization:
- Master of wheel-throwing, hand-building, and advanced glazing techniques
- Focus on creating both functional pottery and decorative art pieces
Recognition:
- Celebrated by collectors and art enthusiasts for creating one-of-a-kind pieces that blend artistry with functionality
- Participates in local and national exhibitions, earning accolades for his innovative designs and craftsmanship
Passion:
- Deeply committed to exploring and pushing the boundaries of ceramic artistry
- Continuously experiments with new materials, firing techniques, and artistic concepts to evolve his craft
Personal Philosophy:
- Believes in the transformative power of art, aiming to evoke emotions and connections through his ceramic creations
- Advocates for sustainability in ceramics, using eco-friendly materials and practices whenever possible