


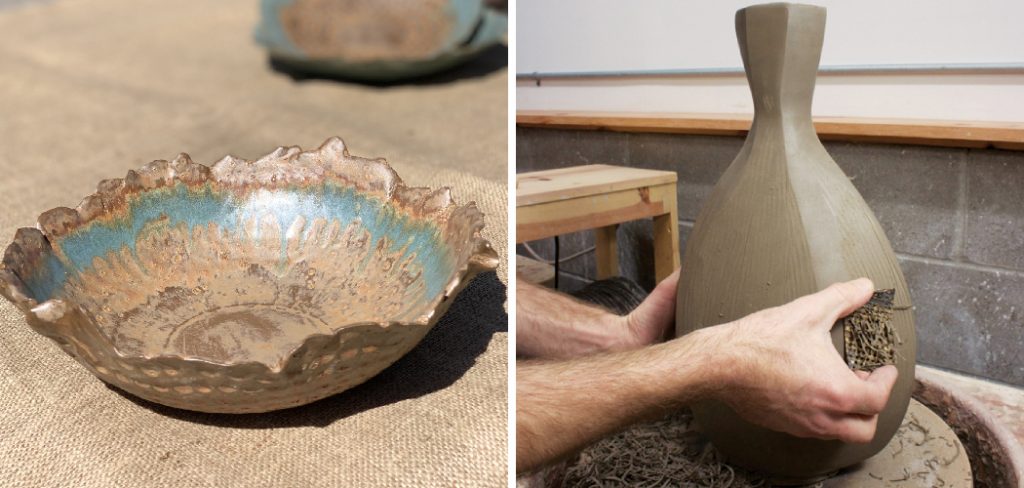
Creating torn edges on pottery is a fantastic way to add character and uniqueness to your ceramic pieces. This technique embraces imperfection and celebrates the organic, raw beauty of hand-built pottery. Whether you’re working with clay slabs or thrown forms, torn edges can make your work stand out, giving it a natural, earthy aesthetic.
In this guide on how to make torn edges on pottery, you’ll learn step-by-step how to achieve this effect, along with tips for refining and finishing your pieces to highlight the torn-edge look.
Why Torn Edges?
Torn edges bring a sense of individuality and authenticity to pottery that is difficult to replicate with traditional, precision-based techniques. They capture the natural movement of the hands and tools, resulting in textures and forms that feel alive and unrefined in the best way. This technique is particularly appealing for those who want to evoke a rustic or organic vibe in their work, as it complements the natural properties of clay.
Additionally, torn edges can help emphasize the handmade quality of a piece, setting it apart from mass-produced ceramics. The irregularity and rawness of torn edges tell a story—each piece becomes a reflection of the maker’s creative process.
Tools and Materials Needed
- Clay (Any Type, but Preferably One That is Suitable for Hand-building)
- Rolling Pin or Slab Roller
- Wooden Dowel or Ruler for Measuring and Cutting
- Sharp Knife or Clay Cutter Tool
- Water and Brush for Smoothing and Adhering Torn Edges
- Optional: Texture Mats or Stamps, Underglaze or Glaze for Decoration
9 Step-by-Step Guides on How to Make Torn Edges on Pottery
Step 1: Start with Soft Clay
Begin by preparing a slab of soft clay that is easy to work with. Use a rolling pin or slab roller to flatten the clay to your desired thickness, ensuring an even surface.
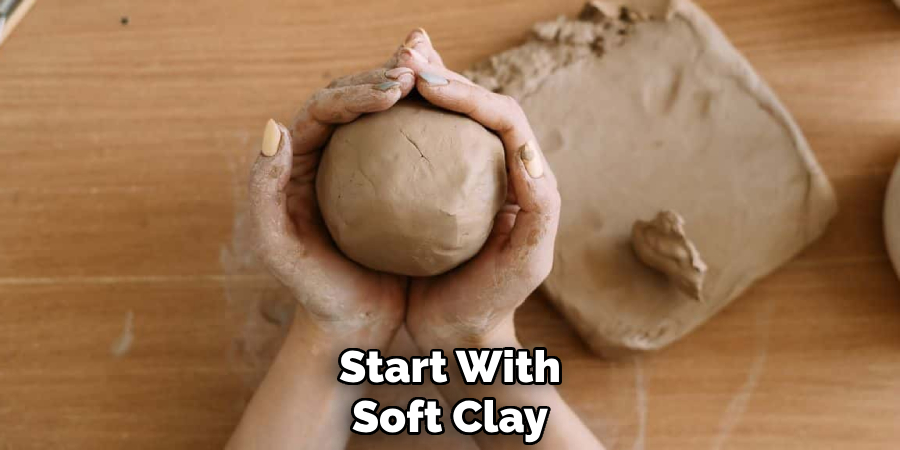
Soft clay is essential for creating natural-looking torn edges, as it is more malleable and responds well to the tearing process. Keep the clay moist by lightly spraying it with water if it starts to dry out.
Step 2: Prepare Your Work Surface
Set up a clean and stable work surface to handle the clay. Use a non-stick surface like a piece of canvas or a silicone mat to prevent the clay from sticking as you work.
Having a well-prepared area ensures that the clay remains smooth and makes it easier to manipulate during the tearing process. Keep essential tools such as a sponge, water spray bottle, and cutting tools within reach for convenience.
Step 3: Roll Out Your Clay
Take the conditioned clay and place it on your prepared work surface. Using a rolling pin or a similar tool, gently roll out the clay to your desired thickness. For evenness, consider using rolling guides or spacers on either side of the clay to maintain a consistent thickness across the entire piece.
Rotate the clay occasionally while rolling to prevent it from sticking and to achieve a uniform shape. Keep the surface lightly dusted with cornstarch or use a sheet of plastic over the clay to avoid any sticking during the process. This step lays the foundation for creating smooth and professional-looking projects.
Step 4: Tear the Edges
To add a natural or rustic touch to your project, gently tear the edges of the clay. Use your fingers to carefully pull and shape the edges, creating an uneven, organic look. This technique works especially well for artistic or decorative pieces, giving them a handmade and unique appearance.
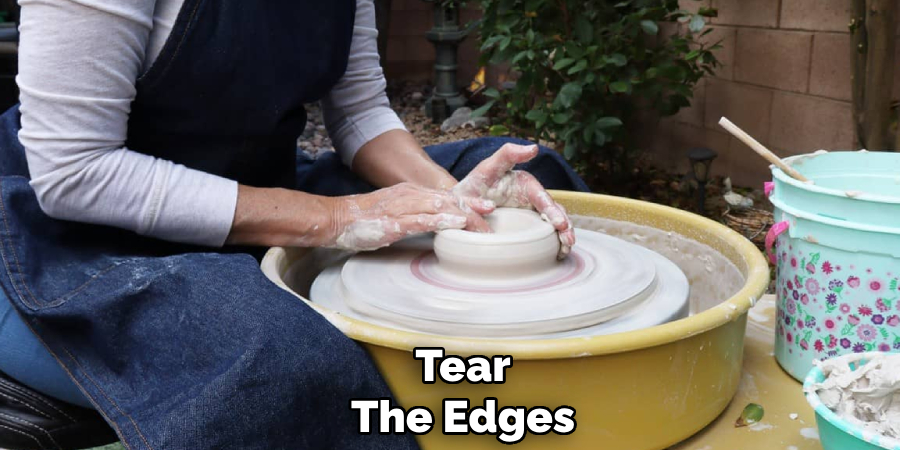
Be mindful not to tear too much at once to avoid splitting or compromising the structure of the clay. If needed, slightly dampen your fingers to help control the tearing process for a smoother finish.
Step 5: Shape Your Pottery Piece
Now it’s time to shape your clay into the desired form. Begin by gently molding the clay with your hands, gradually building the structure of your piece. Whether you’re creating a pot, bowl, or a more intricate design, work steadily and evenly to achieve the intended shape. Use basic tools, such as a wooden modeling stick or sponge, to refine curves and smooth out imperfections.
For symmetrical pieces, consider using a pottery wheel to ensure uniformity. Take your time during this step, as careful shaping will set the foundation for a polished and professional final product.
Step 6: Let the Clay Dry
Once you’ve finished shaping your piece, it’s crucial to allow the clay to dry thoroughly before firing it. Place your work in a cool, dry area away from direct sunlight or drafts, as uneven drying could cause cracking.
Depending on the size and thickness of your piece, the drying process can take anywhere from a few days to over a week. Monitor the clay for any signs of dampness, as firing wet clay can lead to breakage. Patience during this step ensures your piece remains intact and ready for the next stage.
Step 7: Fire Your Pottery Piece
Once your clay piece has completely dried, it’s time to fire it in a kiln. This process transforms the fragile dried clay into a hardened, durable material. Begin with a bisque firing, which is the first firing that removes any remaining moisture and solidifies your piece. Carefully place your work in the kiln, ensuring there is enough space between pieces to allow for even heat distribution.
Set the kiln to the appropriate temperature based on the type of clay you’re using, and follow the recommended firing schedule. After the bisque firing is complete and the kiln has cooled down, you can remove your piece. At this stage, it will be ready for glazing or decorative finishes before the final firing. Always exercise caution and follow safety guidelines when operating the kiln.
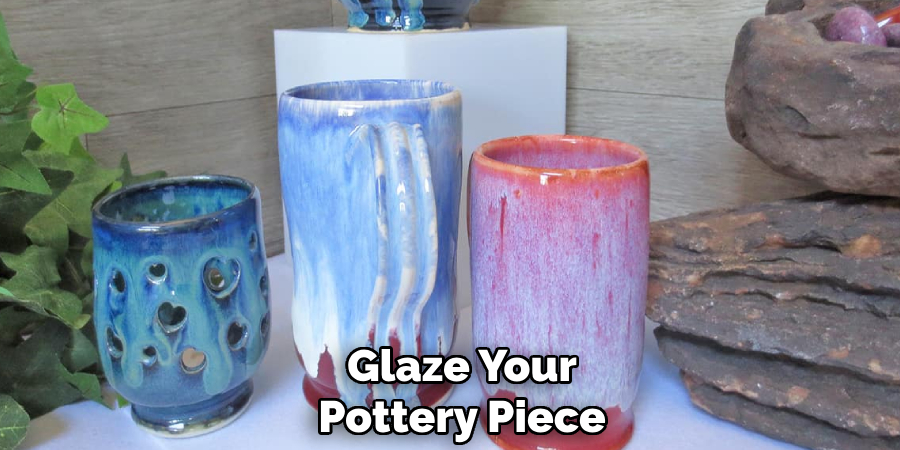
Step 8: Glaze Your Pottery Piece
After the bisque firing, your pottery is prepared for glazing. Begin by selecting the glaze or combination of glazes you wish to use, considering the color, texture, and finish you want to achieve. Clean your pottery piece thoroughly to remove any dust or debris, as this can affect the adhesion of the glaze. You can apply the glaze using various methods such as brushing, dipping, pouring, or spraying, depending on the effect you desire.
Ensure the glaze is applied evenly, and avoid excessive thickness, which could lead to defects during the firing process. Allow the glaze to dry completely before moving on to the final firing step. Proper glazing adds not only aesthetic value to your piece but also enhances its functionality.
Step 9: Enjoy Your Finished Pottery Piece
Once your pottery has completed the final firing process and has cooled down, it’s time to appreciate the outcome of your hard work. Take a moment to admire the unique textures, colors, and details that make your piece one of a kind. Whether you plan to use it as a functional item, such as a bowl or a vase, or display it as a decorative artwork, your pottery piece now serves as a testament to your creativity and craftsmanship. Share it with others, showcase it in your home, or simply take pride in the process of bringing your vision to life.
Following these steps on how to make torn edges on pottery can add a beautiful and rustic touch to your pottery pieces. Experiment with different techniques, such as varying the size and shape of the tears or using different clays for contrasting effects. You can also try incorporating torn edges into different types of pottery, including bowls, plates, and sculptures.
Common Challenges and Solutions
When creating pottery with torn edges, there are several challenges you might encounter. Here are some common issues and practical solutions to help you overcome them:
Uneven Tears
Achieving consistent and aesthetically pleasing torn edges can be tricky. To address this, practice controlling the pressure and direction of your tears. Using slightly dampened fingers can also help you shape the edges more evenly without cracking.
Cracks During Drying
Torn edges are more prone to cracking as they dry due to their thinner and uneven nature. To prevent this, ensure the clay is evenly moist before creating the tears and dry your pieces slowly. Covering them with plastic during the initial drying phase can help regulate the moisture loss.
Weak Structural Integrity
Pieces with torn edges may be more fragile, making them susceptible to breaking. To strengthen the edges, you can lightly compress the torn areas or reinforce them by adding slip to the joints. Using a durable clay body can also improve the overall strength of your work.
Glazing Challenges
Applying glaze to pieces with torn edges can sometimes result in uneven coverage or pooling. To avoid this, use a brush to carefully apply the glaze to intricate areas or consider using a thinner glaze for better control. Testing glazes on smaller pieces first can help you anticipate results.
By addressing these challenges with careful preparation and technique, you can enhance the quality of your pottery and enjoy the creative process.
Frequently Asked Questions
Q1: How Can I Prevent Glaze From Pooling or Creating Uneven Coverage on Pieces With Torn Edges?
A: Using a brush to carefully apply the glaze and considering using a thinner glaze can help you achieve better control and avoid these challenges. Additionally, testing glazes on smaller pieces first can help you anticipate results.
Q2: What Are Some Other Common Challenges When It Comes to Glazing Pottery?
A: Other common challenges include bubbling or pinholing in the glaze, poor adhesion to the surface of the piece, and difficulty achieving the desired color or texture. These challenges can also be addressed through careful preparation and technique.
Conclusion
Mastering the art of glazing pottery requires patience, practice, and an understanding of both the materials and techniques involved. By addressing common challenges such as thickness, bubbling, or color inconsistencies, and by testing and refining your methods, you can achieve stunning results that bring your creative vision to life.
Remember, the process of experimenting and learning is an essential part of the artistic journey. Keep exploring and enjoy the beauty that comes with crafting unique and personal works of art. Thanks for reading this article on how to make torn edges on pottery.
Specialization:
- Master of wheel-throwing, hand-building, and advanced glazing techniques
- Focus on creating both functional pottery and decorative art pieces
Recognition:
- Celebrated by collectors and art enthusiasts for creating one-of-a-kind pieces that blend artistry with functionality
- Participates in local and national exhibitions, earning accolades for his innovative designs and craftsmanship
Passion:
- Deeply committed to exploring and pushing the boundaries of ceramic artistry
- Continuously experiments with new materials, firing techniques, and artistic concepts to evolve his craft
Personal Philosophy:
- Believes in the transformative power of art, aiming to evoke emotions and connections through his ceramic creations
- Advocates for sustainability in ceramics, using eco-friendly materials and practices whenever possible