


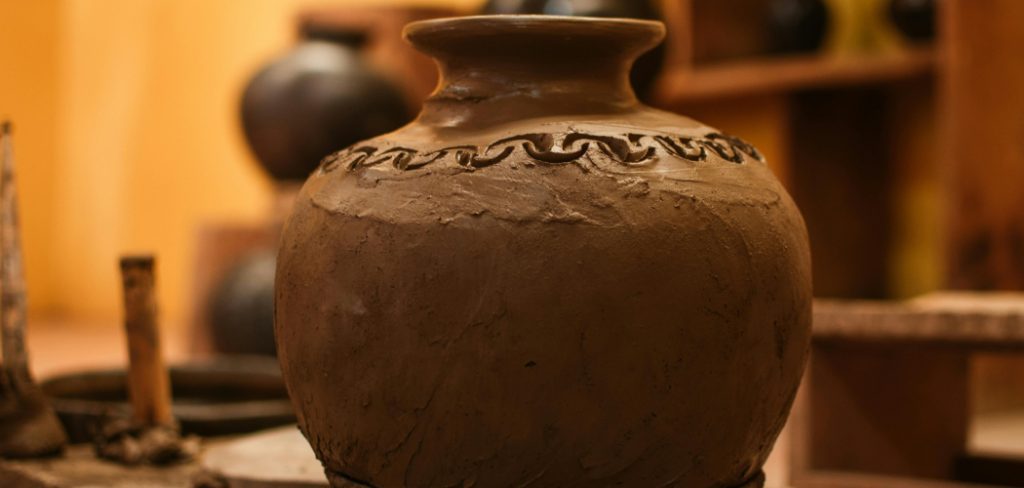
Creating a vase with clay is a rewarding and creative process that allows you to craft a unique and functional piece of art. Whether you’re a beginner or have experience working with clay, this project combines artistry and technique to produce a beautiful result. By following a few simple steps of how to make vase with clay, you can transform a lump of clay into a stunning vase that reflects your personal style and creativity.
Benefits of Creating Your Own Vase
Making your own vase comes with a variety of benefits beyond just having a functional piece of decor. First and foremost, it allows you to express your creativity and bring your artistic vision to life. Each handmade vase is a unique creation that reflects your personal style and adds a touch of individuality to your space. Additionally, working with clay can be a therapeutic and relaxing process, helping to reduce stress and promote mindfulness. Crafting your own vase also fosters a sense of achievement and pride, as you create something with your hands from start to finish. Lastly, it’s an eco-friendly option, allowing you to avoid mass-produced items and contribute to a more sustainable lifestyle.
Materials and Tools You’ll Need
To create your own handmade vase, you’ll need some essential materials and tools. Here’s a list to help you get started:
- Clay: Choose a type of clay that suits your project, such as air-dry, polymer, or ceramic clay.
- Pottery Wheel (Optional): If you’re experienced or want to try wheel-throwing, a pottery wheel can be helpful.
- Rolling Pin: For flattening and shaping the clay evenly.
- Sculpting Tools: Tools like carving knives, wire cutters, and wooden modeling tools for shaping and detailing.
- Slip and Scoring Tools: To join pieces of clay securely by scoring the edges and using slip as adhesive.
- Paints or Glazes: To finish and decorate your vase with colors or a protective coating.
- Sealing Agent (if required): For air-dry or polymer clay, a sealant can provide durability and a glossy finish.
Having these materials on hand will ensure a smooth and enjoyable crafting experience as you bring your vision to life.
10 Methods How to Make Vase with Clay
1. Use the Coil Method to Build Your Vase by Hand
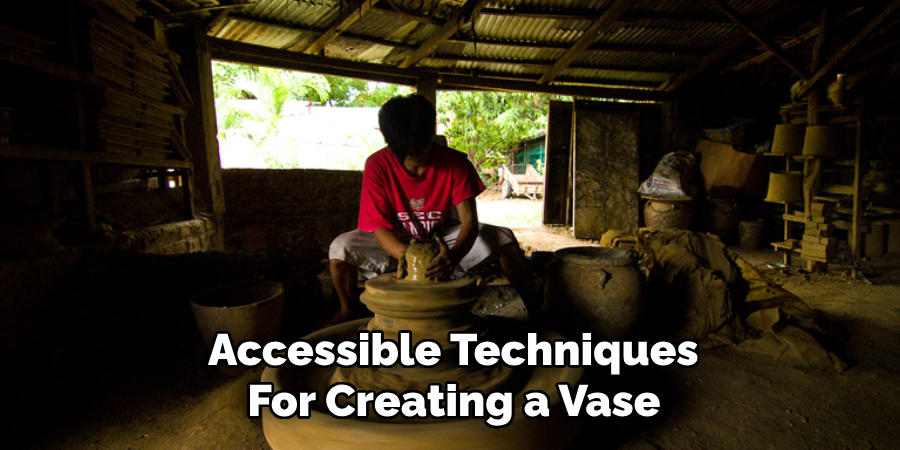
The coil method is one of the most traditional and accessible techniques for creating a vase, especially if you’re working without a pottery wheel. Begin by rolling long, even ropes of clay. Form the base of your vase first—usually a flat, circular slab—and begin stacking coils upward in a spiral, smoothing the joints together as you go. Press each coil into the one below it, then blend the interior and exterior walls with your fingers or a tool for strength and consistency. This method allows great flexibility in shape, from tall and slender to wide and curved.
2. Try the Slab Technique for a Modern, Geometric Form
The slab technique offers a clean, contemporary look that’s ideal for making vases with straight lines and bold edges. Roll out clay into flat sheets using a rolling pin or slab roller. Cut out your shapes using a ruler and craft knife—such as rectangles for a boxy vase or trapezoids for an angular form. Score and slip the edges where you want to join the pieces, pressing them together carefully and reinforcing the seams from the inside. This method is especially great for adding decorative carvings or textures before assembly.
3. Pinch a Vase from a Single Ball of Clay
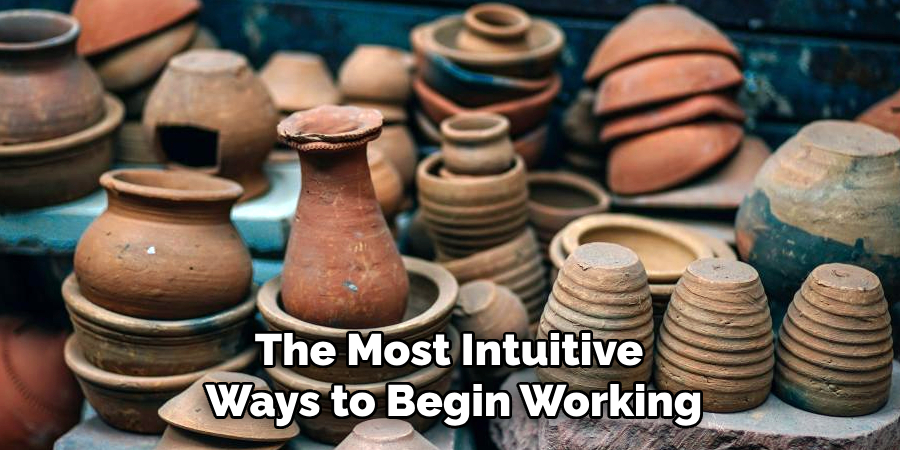
Pinch pots are one of the most intuitive ways to begin working with clay, and with enough practice, you can create elegant vase forms using this simple method. Start with a solid ball of clay, pressing your thumb into the center to form a hollow. Pinch around the edges, turning the piece as you go to maintain an even wall thickness. Gradually build up the height while shaping the mouth of the vase to your liking—round, flared, or asymmetrical. Pinching allows for an organic, handmade aesthetic that feels grounded and personal.
4. Throw a Vase on the Pottery Wheel for Symmetry
For a symmetrical and refined finish, the pottery wheel is an invaluable tool. Begin by centering a prepared ball of clay on the wheel and use steady pressure to shape it into a cylinder. From there, you can gradually open the center and pull the walls upward while controlling thickness. Form the neck, belly, and lip of the vase with tools and your hands, refining each section for a balanced silhouette. Wheel-thrown vases typically require trimming at the base and careful drying to avoid warping, but the results are classic and elegant.
5. Combine Multiple Techniques for a Unique Hybrid Design
Don’t feel restricted to one method—combining techniques can result in truly unique creations. For example, you might pinch the base of a vase and then add coil-built walls, or throw the main body on a wheel and add hand-built decorative elements. Mixing methods lets you take advantage of the strengths of each, allowing for dynamic shapes and textures. Just be mindful to join parts carefully using scoring and slip, and ensure the moisture content is similar throughout to prevent cracks during drying and firing.
6. Carve or Impress Decorative Designs into the Clay
Once your vase has taken shape and reached a leather-hard consistency, it’s time to personalize it with surface details. Use carving tools to etch lines, floral motifs, or geometric patterns directly into the clay. Alternatively, press lace, leaves, or textured fabric into the surface to create a tactile, embossed look. These embellishments give depth to the piece and can be enhanced further with glaze later on. Just remember that carving too deeply may weaken the walls, so balance aesthetic with structural integrity.

7. Add Handles, Spouts, or Sculptural Elements
Enhance your vase’s functionality or artistic impact by adding sculptural components. Small looped handles, curved spouts, or ornamental flourishes can transform a simple vase into a statement piece. When attaching additional parts, score and slip both surfaces to ensure a strong bond. Support the new additions as they dry with soft sponges or crumpled newspaper to prevent sagging. These extra features also offer another layer of expression—whether you’re mimicking traditional Grecian amphorae or inventing something entirely original.
8. Let the Vase Dry Slowly and Evenly
Drying your clay vase properly is crucial to prevent warping or cracking. Cover your piece loosely with plastic to slow the drying process, especially if it contains varying thicknesses or additions. Rotate the vase periodically and ensure it sits on a smooth, non-stick surface like drywall board or canvas. Drying should take several days or even a week, depending on size and climate. Rushing this phase is one of the most common mistakes in ceramics, and patience here often makes the difference between a finished piece and a broken one.
9. Bisque Fire to Harden Before Glazing
Once your vase is bone dry, it’s ready for bisque firing—the initial kiln firing that turns clay into ceramic. This stage removes water and organic material from the clay, solidifying it while keeping it porous enough to accept glaze. Place your vase in the kiln with adequate space around it for airflow and bring the temperature up slowly to avoid thermal shock. After cooling, the bisqued vase is lighter in color and sturdier, ready for the decorative magic of glazing.
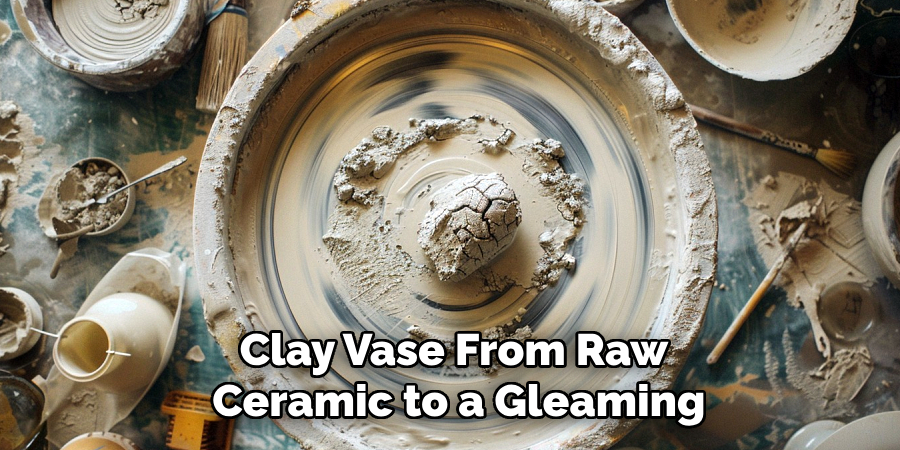
10. Glaze and Fire Again for a Finished Look
Glazing transforms your clay vase from raw ceramic to a gleaming, waterproof work of art. Choose a glaze that complements your design—glossy for shine, matte for a subtle finish, or raku for unpredictable beauty. Apply glaze by brushing, dipping, or spraying, and make sure the vase’s bottom is wiped clean to prevent sticking to the kiln shelf. Glaze firing requires precise temperature control depending on the glaze and clay body. Once fired and cooled, your vase will emerge with its final surface, ready to display or use.
Maintenance and Upkeep
Proper maintenance ensures your ceramic vase stays beautiful and functional for years to come. To clean, use a soft cloth with mild soap and warm water, avoiding abrasive scrubbers that could scratch the glaze. If your vase is not waterproof, avoid prolonged exposure to water and use it primarily for decorative purposes. For glazed vases, be cautious of extreme temperature changes, as sudden shifts can cause cracking or crazing in the surface. It’s also a good idea to handle the vase with care, especially if it features intricate designs or delicate edges. With gentle handling and routine care, your ceramic vase will continue to be a timeless addition to your space.
Conclusion
Making a vase with clay is more than just forming a container—it’s an exploration of form, texture, and expression. Each of these ten methods opens a different creative door, from ancient techniques to modern interpretations. Whether you’re seeking clean lines or organic charm, each vase you make becomes a personal artifact, a reflection of your hands and vision. So, there you have it – a quick and easy guide on how to make vase with clay.
Specialization:
- Master of wheel-throwing, hand-building, and advanced glazing techniques
- Focus on creating both functional pottery and decorative art pieces
Recognition:
- Celebrated by collectors and art enthusiasts for creating one-of-a-kind pieces that blend artistry with functionality
- Participates in local and national exhibitions, earning accolades for his innovative designs and craftsmanship
Passion:
- Deeply committed to exploring and pushing the boundaries of ceramic artistry
- Continuously experiments with new materials, firing techniques, and artistic concepts to evolve his craft
Personal Philosophy:
- Believes in the transformative power of art, aiming to evoke emotions and connections through his ceramic creations
- Advocates for sustainability in ceramics, using eco-friendly materials and practices whenever possible