Are you interested in making pottery? If you are, glazing is an essential step in the process. Glaze not only enhances the appearance of your pottery but also acts as a protective layer and adds color to your work.

How to mix glaze for pottery is a fundamental step in the ceramics process that allows artists to add color, texture, and character to their creations. Properly mixed glazes ensure even application and consistent results, helping to bring a potter’s vision to life. Whether crafting a glossy, matte, or textured finish, understanding the proper techniques and tools for glaze preparation is essential.
This guide will walk you through the basic steps to achieve a well-mixed glaze, ensuring your pottery pieces turn out beautifully every time.
What Are the Benefits of Mixing Glaze?
Mixing glaze may seem like an extra step in pottery, but it offers several benefits that make it worthwhile.
- Enhances Appearance: Glazing gives your pottery a finished and professional look. It adds depth, shine, and unique patterns to your pieces.
- Adds Durability: The layer of glaze not only protects your pottery from scratches and stains but makes it more durable against heat and wear.
- Provides Color Options: With countless colors and finishes, mixing glaze adds vibrancy or subtlety to your pottery pieces.
- Allows for Creativity: Mixing glazes can be a fun experiment for potters, allowing them to create unique colors and textures unavailable in commercial glazes.
- Offers Surface Options: By adjusting the thickness of the glaze or incorporating different materials, potters can control the surface texture of their pottery pieces.
These are just a few of the many benefits of mixing glaze for pottery.
What Will You Need?
Before diving into the process, ensure you have all the necessary tools and materials. Here are some essential items you’ll need for mixing glaze:
- Glaze Materials: There are different types of glazes available in the market, such as clear glaze, colored glaze, underglaze, and overglaze. Choose the type of glaze that best suits your project.
- Water: Depending on the type of glaze, you will need water to achieve the desired consistency.
- Sieve: A fine-mesh sieve is necessary to ensure a smooth and consistent glaze mix by removing lumps or impurities.
- Mixing Container: You can use a bucket, large bowl, or mixing tray as long as it’s clean and big enough to hold all the ingredients and allow room for mixing.
- Measuring Tools: To ensure accuracy, use measuring cups and spoons to measure the required amounts of each ingredient.
- Stirring Tools: A wooden paint stirrer or an electric mixer is ideal for mixing glaze ingredients.
- Safety Gear: As glazes contain chemicals, wearing a mask and gloves is essential while handling them.
Once you have all your materials ready, it’s time to start mixing!

9 Easy Steps on How to Mix Glaze for Pottery
Step 1: Measure Your Ingredients
Accurate measurements are crucial to achieving the right glaze consistency and ensuring repeatable results for your pottery projects. Begin by carefully reading through the glaze recipe and identifying the specific quantities of each ingredient you need.
Use clean, dry measuring tools to measure dry materials such as powdered clay, silica, or colorants. It’s best to level off the top of your measuring cups or spoons to avoid adding too much of any ingredient. For liquid components, use a separate set of measuring tools dedicated to wet ingredients, ensuring precision in your measurements. Keep track of each ingredient as you measure it to avoid missing any step or accidentally doubling an ingredient.
Remember, even slight variations in measurements can alter your glaze’s final appearance and texture. Take your time and work methodically for the best results.
Step 2: Sieve the Dry Materials
Sifting the dry ingredients is crucial in achieving a smooth, lump-free glaze. Using a fine-mesh sieve or sifter, pass each dry material through to ensure that no clumps or impurities make their way into the mixture. This process helps to aerate the ingredients, promoting even distribution when combined with the wet components later.
It also prevents uneven textures or inconsistencies in the glaze, which could affect its appearance and application. Take your time with this step, and if any residue remains in the sieve, discard it rather than trying to force it through. Consistency in texture begins here, so be thorough and ensure your dry materials are adequately sieved before moving on to the next step.
Step 3: Add Water Gradually
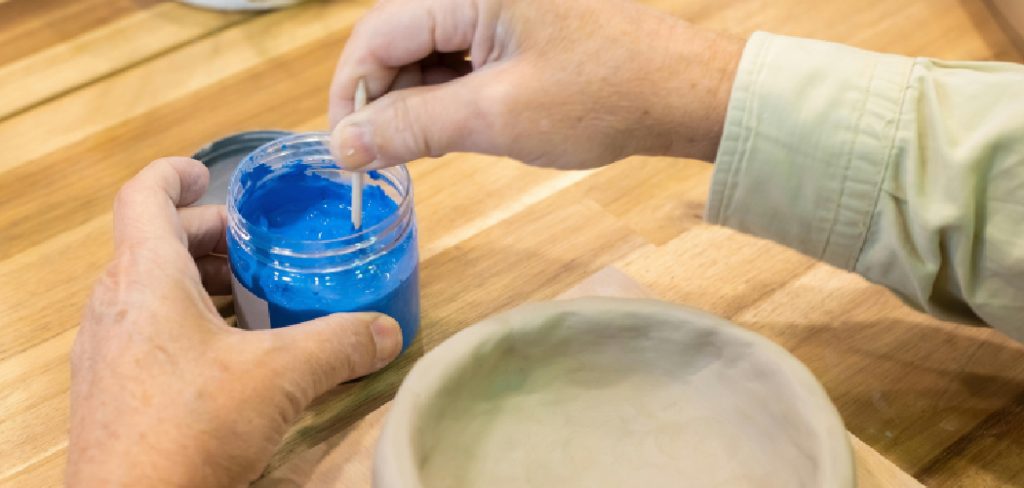
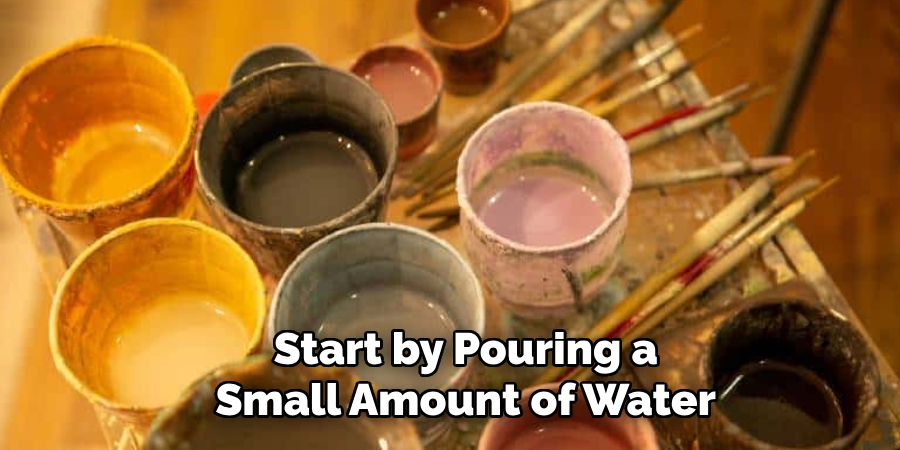
Once your dry materials are thoroughly sieved, it’s time to incorporate water into the mixture—this step requires patience and precision. Start by pouring a small amount of water into your dry ingredients, ideally about one-third of the total amount you intend to use.

Using a sturdy mixing tool, such as a whisk or stirring stick, combine the materials slowly. The key here is to ensure that the water is distributed evenly, helping to prevent the formation of lumps or dry pockets.
Gradually add more water in increments, mixing thoroughly after each addition until you achieve a smooth and creamy consistency. Avoid adding too much water all at once, as this can overwhelm the dry materials and result in a mixture that is too thin or difficult to correct later. If you notice the glaze becoming too thick as you mix, add a small amount of extra water to adjust, but proceed cautiously to maintain balance.
Step 4: Consider the Glaze’s Thickness
As you mix the glaze, it’s essential to remember its desired thickness for your project. This decision depends on several factors, including personal preference and the application method you intend to use. Different types of pottery may require varying thicknesses of glaze to achieve the desired effect. For instance, a clear or transparent glaze should be thinner than an opaque one to produce a consistent appearance.
Step 5: Test the Glaze Before Application
Before applying the glaze to your pottery, testing it on a sample piece or a small section of your project is crucial. This testing phase allows you to evaluate the consistency, color, and finish of the glaze after firing. Apply a thin, even coat of the glaze to the test piece and allow it to dry completely.
Once dry, fire the sample in the kiln according to the recommended temperature for the glaze. Observing the results will help you make necessary adjustments to the glaze mixture, ensuring it delivers the desired effect on your final piece.
Step 6: Apply the Glaze to Your Pottery
Once you have tested and refined your glaze, it is time to apply it to your pottery. Begin by cleaning your piece thoroughly to remove any dust, grease, or impurities that could interfere with the glaze application. Depending on the desired effect, you can use various methods such as brushing, dipping, pouring, or spraying to apply the glaze.
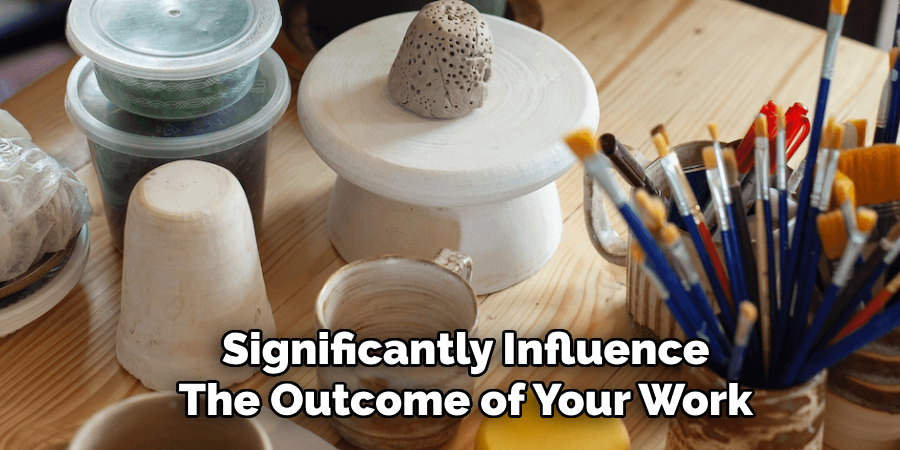
Ensure an even and consistent coat to avoid blotches or imperfections. Allow the glaze to dry completely before moving on to the firing process. Patience and precision during application will significantly influence the outcome of your work.

Step 7: Firing Your Glazed Pottery
The final step is firing your glazed pottery in the kiln. Carefully place your glazed pieces in the kiln, ensuring they are spaced apart to prevent them from sticking together during the firing process. Follow the specific firing schedule for your glaze, which includes the appropriate temperature and cooling rate.
During firing, the glaze will melt and fuse to the surface of the pottery, creating a durable and often glossy finish. Once the kiln has completed its cycle and fully cooled, you can safely remove your finished piece.
Step 8: Inspecting and Finishing
After the firing process is complete, carefully inspect your pottery for any defects, such as cracks, glaze runs, or irregularities. This step allows you to assess the success of your work and determine if any touch-ups or additional firing is necessary.
If your piece meets your expectations, you can consider further finishing techniques, such as adding decorative details, polishing, or sealing (if required). Evaluating and refining your finished piece ensures that it meets both functional and aesthetic standards.
Step 9: Cleaning Up Your Workspace
Maintaining a clean and organized workspace is essential for successful pottery making. After completing your project, thoroughly clean your tools, equipment, and surfaces to prevent any leftover clay, glaze, or dust from contaminating your future work. Properly dispose of any waste materials according to safety and environmental guidelines.
This step not only ensures a tidy environment but also prolongs the longevity of your tools and creates an efficient space for your next creative endeavor.
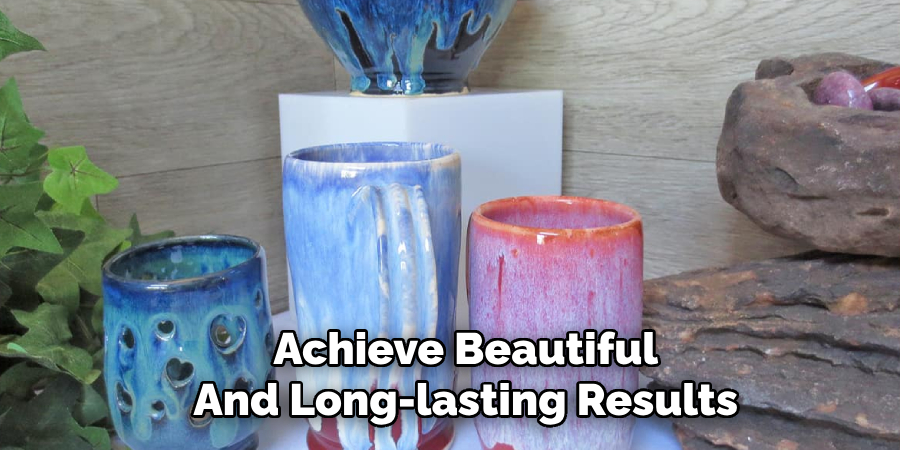
By following these steps and carefully mixing, applying, and firing your glaze, you can achieve beautiful and long-lasting results for your pottery projects.

Conclusion
How to mix glaze for pottery is a fundamental skill that allows you to personalize and enhance your ceramic creations.
You can achieve professional and artistic finishes by understanding the materials, tools, and techniques. Careful attention to each step, from measuring ingredients to applying the glaze, ensures safety, consistency, and high-quality results.
Whether you are a beginner or an experienced potter, mastering glaze preparation opens up endless possibilities for creativity and expression within your craft.
Specialization:
- Master of wheel-throwing, hand-building, and advanced glazing techniques
- Focus on creating both functional pottery and decorative art pieces
Recognition:
- Celebrated by collectors and art enthusiasts for creating one-of-a-kind pieces that blend artistry with functionality
- Participates in local and national exhibitions, earning accolades for his innovative designs and craftsmanship
Passion:
- Deeply committed to exploring and pushing the boundaries of ceramic artistry
- Continuously experiments with new materials, firing techniques, and artistic concepts to evolve his craft
Personal Philosophy:
- Believes in the transformative power of art, aiming to evoke emotions and connections through his ceramic creations
- Advocates for sustainability in ceramics, using eco-friendly materials and practices whenever possible


