


Kilns play a crucial role in the world of ceramics and other art forms, providing the intense heat needed to transform raw materials into durable, beautiful objects. Due to their essential function, proper handling and care of kilns are paramount. These heavy and often bulky appliances house fragile components, such as electrical heating elements that require utmost caution.
Understanding how to move a kiln is crucial for artists, as improper handling can lead to damage or injury. This article aims to offer a detailed guide on how to move a kiln safely, ensuring that the unit remains operable and individuals are not compromised during the process. Effective planning and execution are key to preserving the kiln’s functionality and avoiding any unnecessary mishaps.
Preparing to Move a Kiln: Key Considerations
Before moving a kiln, it is essential to assess its size and weight since this will influence the transportation method and manpower needed. Kilns can vary significantly; electric kilns are generally more compact and lighter compared to their larger, more cumbersome gas or wood-fired counterparts. Understanding your specific kiln’s weight is crucial for safe moving. Consulting the manufacturer’s guide for exact specifications will help you to make informed logistical decisions and ensure you have the appropriate help on moving day.
Some kilns can be dismantled into smaller, more manageable parts, such as the lid, rings, and base. This feature can greatly ease the moving process, reducing the risk of injury and damage. However, as disassembly methods can vary, it’s important to consult the kiln’s manual or directly contact the manufacturer for specific dismantling instructions.
Another critical preparation step involves planning the path. Measuring doorways, hallways, and staircases is vital to ensure the kiln can smoothly pass through without any obstructions. Clear any obstacles and ensure that the pathway is safe and accessible for transporting heavy equipment. Proper preparation will set the stage for a smooth and successful move.

Tools and Materials Needed for Moving a Kiln
Essential Tools and Equipment:
- Moving Dolly: This is ideal for heavy items. It provides stability and ease of movement, reducing the risk of injury.
- Furniture Sliders: Allow smooth sliding of the kiln over floors without much force, helping to protect both the kiln and flooring.
- Straps or Bungee Cords: Secure the kiln to the dolly or vehicle, preventing accidents due to tipping or shifting.
- Packing Blankets or Bubble Wrap: Cushion the kiln, providing a protective layer against bumps and scratches.
- Screwdriver and Wrench: Essential for disassembling parts if possible, facilitating easier maneuvering and transport.
- Gloves: Offer protection for hands while lifting and handling sharp or heavy parts.
Optional Tools:
- Moving Truck or Van with Ramps: Necessary when transporting the kiln over long distances, ensuring smooth loading and unloading.
- Plywood Sheets: Create a smooth surface over uneven ground or stairs, aiding in maintaining balance and safety.
These tools are crucial for safeguarding both the kiln and the individuals involved in the move. They provide stability, protection, and ease during transport, minimizing the risk of damage and injury.
How to Move a Kiln: Step-by-Step Guide
Step 1: Disconnect the Kiln from Power and Gas
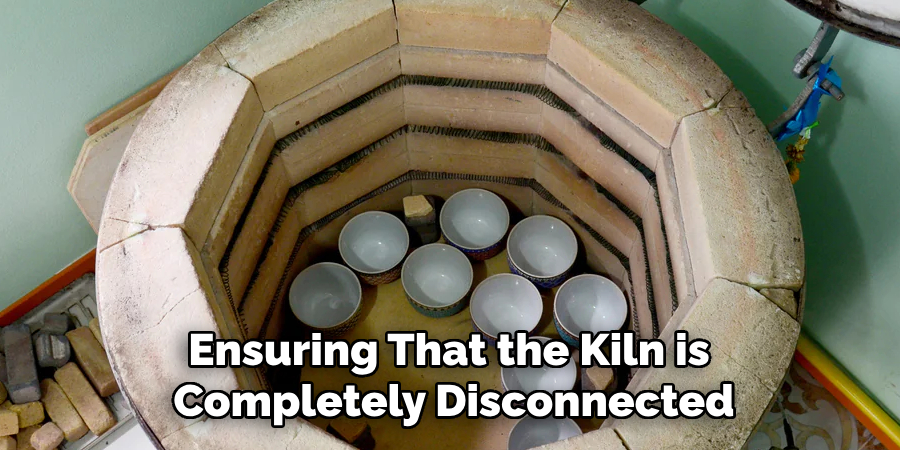
Before beginning any physical move, ensuring that the kiln is completely disconnected from all power sources is imperative. This includes unplugging the kiln or shutting off any gas connections, if applicable. Safety should be your top priority; therefore, double-check that all power supplies are disabled to eliminate any risk of electrification or gas leaks during the move.
Step 2: Remove Shelves, Elements, and Interior Components
The interior elements of the kiln, such as shelves, stilts, and other components, should be removed carefully to prevent damage. Each item should be individually wrapped in packing blankets or bubble wrap. This protective covering will help minimize the risk of breakage and ensure that these fragile items remain intact through the moving process.
Step 3: Dismantle the Kiln (if Possible)
If your kiln can be dismantled, begin by removing any detachable parts, such as the lid, body rings, and base. Use a screwdriver or wrench to carefully disconnect any bolts or fasteners holding the kiln together. Clearly label each part to simplify the reassembly process later on. Keeping track of each component will help maintain organization and reduce confusion.
Step 4: Wrap the Kiln for Protection
To safeguard the kiln from scratches or damage during the move, wrap the unit and all its components thoroughly in packing blankets or bubble wrap. When wrapping, ensure that the material is securely fastened using straps or bungee cords. This additional layer of protection will shield the kiln from any inadvertent bumps or scrapes.

Step 5: Load the Kiln onto the Dolly
With assistance, lift the kiln carefully and set it onto a moving dolly. Multiple people can help with this step to prevent accidents and injuries. Once positioned on the dolly, balance and securely strap the kiln to avoid tipping during transport. The dolly ensures ease of movement while minimizing risk.
Step 6: Move the Kiln Slowly and Carefully
Guide the kiln slowly and cautiously through doorways and around potential obstacles, ensuring it remains balanced on the dolly. If needed, use furniture sliders or plywood sheets to traverse uneven surfaces or stairs. Patience and caution are key to maintaining control and preventing accidents during this phase.
Step 7: Load the Kiln into the Vehicle (if Applicable)
If transporting the kiln over long distances, use ramps to safely transfer the kiln into a moving truck or van. Within the vehicle, secure the kiln using straps to prevent any shifting during transit. This ensures that the kiln remains safe and intact throughout the journey. Proper securing is necessary to avoid movement that could lead to damage.
Reassembling the Kiln After Moving
Step 1: Unload the Kiln and Place it in its New Location
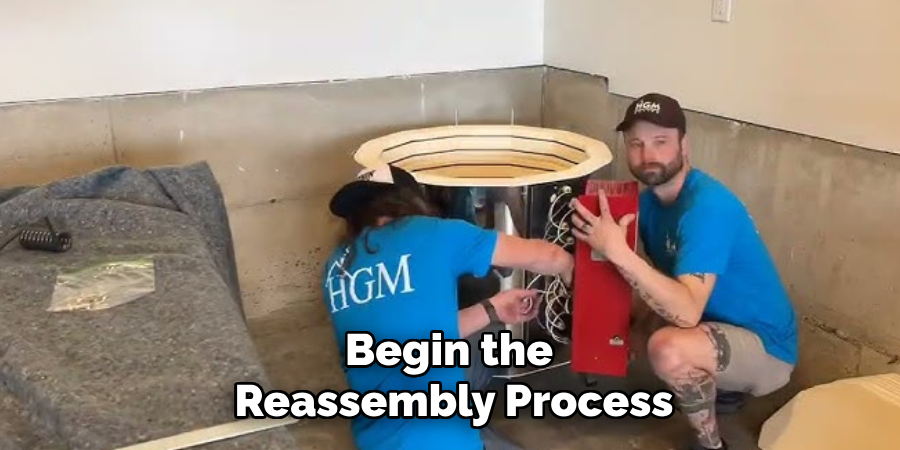
Begin the reassembly process by carefully unloading the kiln from the vehicle, using the same deliberate and cautious steps applied during loading. Enlist the help of others to guide the kiln down ramps and into its new place, taking care to navigate doorways and other potential obstacles. Once inside, position the kiln in its designated location, ensuring ample space around it for ventilation and safe operation. Adequate airflow is crucial to prevent overheating and ensure efficient functioning. Verify that the kiln has sufficient clearance from walls and nearby objects, allowing heat to dissipate safely.
Step 2: Reassemble the Kiln (if it was dismantled)
If you dismantle the kiln before moving, begin by reattaching the main components like the lid, body rings, and base. Refer to the labels and notes you made during disassembly to guide you in aligning parts correctly. Use tools such as screwdrivers and wrenches to secure any bolts or fasteners, ensuring each part is firmly in place. Once the structural elements are reassembled, proceed to reattach any electrical components, following the manufacturer’s guidelines for safe and correct connections. Finally, return shelves and interior elements, like stilts and other accessories, to their designated spots within the kiln chamber, ensuring they are placed securely.
Step 3: Check for Damaged or Loose Components
Before beginning operation, thoroughly inspect the kiln and its components for any signs of damage that might have occurred during transport. Look for dents, cracks, or misalignments, and check that all bolts and connections are tight and secure. Confirm that the kiln is stable and all reassembled elements, including electrical ones, are properly aligned. Address any issues immediately to maintain the kiln’s integrity and safety. Conducting this assessment is vital to ensure the kiln is ready for safe and efficient use in its new location.
Safety Tips and Precautions
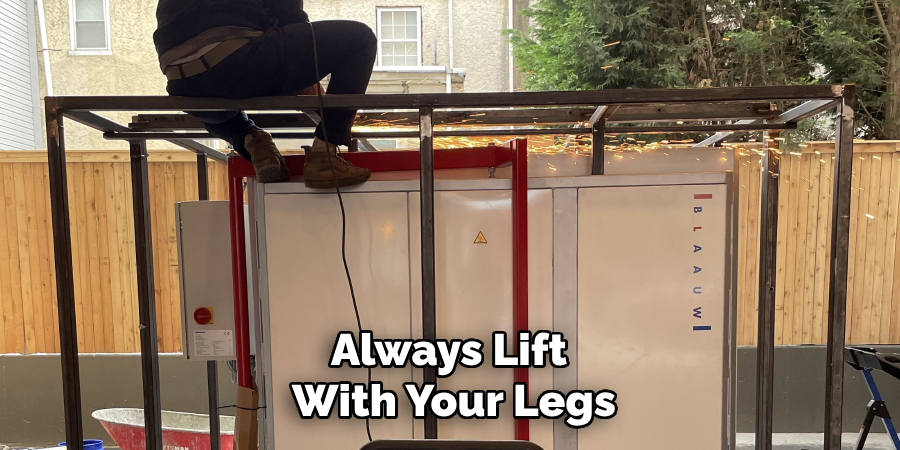
Use Proper Lifting Techniques
Always lift with your legs, not your back, to prevent injury when moving a heavy kiln. It’s advisable to enlist the help of two or more people for added safety and to ensure stable handling.
Keep the Kiln Balanced
Maintaining the kiln’s balance on a dolly or moving truck is essential to prevent accidents and damage. Move slowly and carefully and ensure that straps or supports are secure to avoid steep angles or tipping.
Be Cautious of Fragile Electrical Components
Kilns contain fragile heating elements that are susceptible to damage if mishandled. To avoid damaging these components, carefully navigate around obstacles and ensure the kiln is not bumped or jarred during transport.
Conclusion
In summary, understanding “how to move a kiln” involves several crucial steps to ensure a safe and damage-free transition. Begin by disconnecting the power and, if possible, dismantling parts like the lid and body rings for easier transportation. Securely wrap each component for protection using blankets or bubble wrap, and employ the right moving equipment, such as dollies and straps. Remember to take your time and gather adequate help to manage the kiln’s weight and fragility. By meticulously following these steps, you safeguard your kiln’s longevity and maintain its optimal performance in the new location.
You may check it out to Use a Kiln
Specialization:
- Master of wheel-throwing, hand-building, and advanced glazing techniques
- Focus on creating both functional pottery and decorative art pieces
Recognition:
- Celebrated by collectors and art enthusiasts for creating one-of-a-kind pieces that blend artistry with functionality
- Participates in local and national exhibitions, earning accolades for his innovative designs and craftsmanship
Passion:
- Deeply committed to exploring and pushing the boundaries of ceramic artistry
- Continuously experiments with new materials, firing techniques, and artistic concepts to evolve his craft
Personal Philosophy:
- Believes in the transformative power of art, aiming to evoke emotions and connections through his ceramic creations
- Advocates for sustainability in ceramics, using eco-friendly materials and practices whenever possible