Painting a ceramic bowl is a delightful and creative way to personalize your homeware while unleashing your artistic expression. Whether you are a seasoned artist or a beginner looking to explore new crafting skills, the process of painting ceramics offers endless possibilities for colors, patterns, and designs.

This guide on how to paint a ceramic bowl will walk you through the necessary steps and techniques needed to transform a plain ceramic bowl into a unique piece of art, one that can be cherished for years to come or gifted to loved ones as a special handmade present.
Why Paint a Ceramic Bowl?
There are several reasons why painting a ceramic bowl may be a great idea for your next crafting project.
Personalization:
Painting a ceramic bowl allows you to customize and personalize it according to your taste and style. You can choose any color, pattern, or design that reflects your personality or matches your home decor.
Cost-effective:
Buying hand-painted ceramic bowls from stores can be expensive. Painting your own allows you to create a beautiful piece at a fraction of the cost.
Relaxing and Therapeutic:
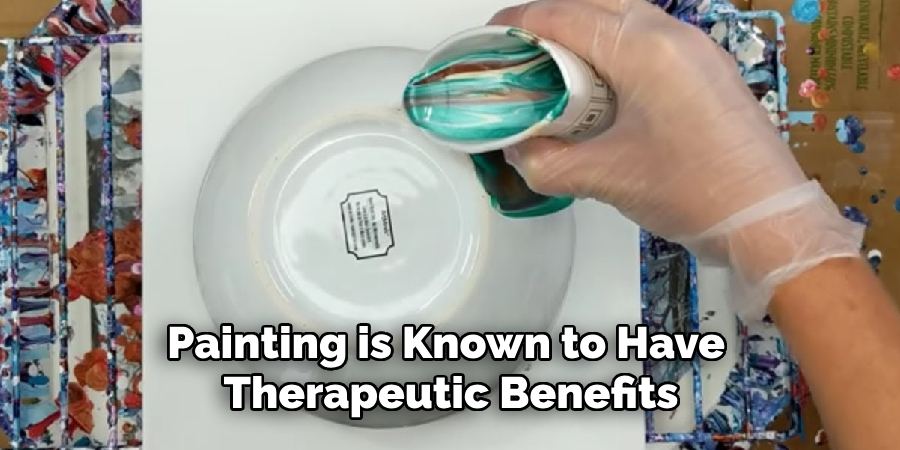
Painting is known to have therapeutic benefits, and painting on ceramics is no exception. It can be a form of meditation and help reduce stress while allowing you to express yourself creatively.

Materials Needed
Before we dive into the process of painting a ceramic bowl, here are the materials you will need:
- Ceramic Bowl (Can Be Purchased From a Craft Store or Use One You Already Have)
- Acrylic Paints (or Ceramic-specific Paints for Better Durability)
- Paintbrushes in Various Sizes
- Water
- Paper Towels or Cloth for Cleaning Brushes
- A palette or a Paper Plate for Mixing Paints
- Optional: Stencils, Painter’s Tape, and Rubbing Alcohol for Creating Designs and Patterns.
8 Step-by-step Guides on How to Paint a Ceramic Bowl
Step 1: Preparing the Bowl
Before you begin painting, it’s crucial to properly prepare your ceramic bowl to ensure the paint adheres well and results in a smooth, lasting finish. Start by washing the bowl thoroughly with warm water and mild soap to remove any dust, grease, or labels. After rinsing it clean, dry the bowl completely with a paper towel or clean cloth.
If desired, you can also wipe the surface with rubbing alcohol to remove any remaining residues and oils. This preparation step is essential as it creates a clean canvas for your artistic design, helping prevent any blemishes or uneven paint application.
Step 2: Choosing Your Design
Once your bowl is prepped and ready, the next step is to settle on a design that reflects your vision and creativity. Consider the style and color scheme you want to achieve and how it will complement your home decor or intended setting. If you’re aiming for a more detailed or intricate design, you might want to sketch it out on paper first or use stencils to assist with precision.

Alternatively, if you prefer a more spontaneous approach, freehand painting allows for a more organic and unique creation. Think about patterns like stripes, dots, floral motifs, or abstract art—each can impart a distinctive charm to your ceramic bowl. Remember, the key is to choose a design that you are excited to see come to life on your bowl, as this will make the painting process even more enjoyable.
Step 3: Setting Up Your Workspace
Before you begin painting, set up your workspace in a well-ventilated area with enough room to move around comfortably. Lay down some old newspapers or a plastic sheet to protect your work surface and gather all your materials nearby for easy access.
Ensure that the lighting is adequate and that there are no potential hazards or distractions around. Having an organized and uncluttered workspace will make the painting process more efficient and enjoyable.
Step 4: Mixing Paints (Optional)
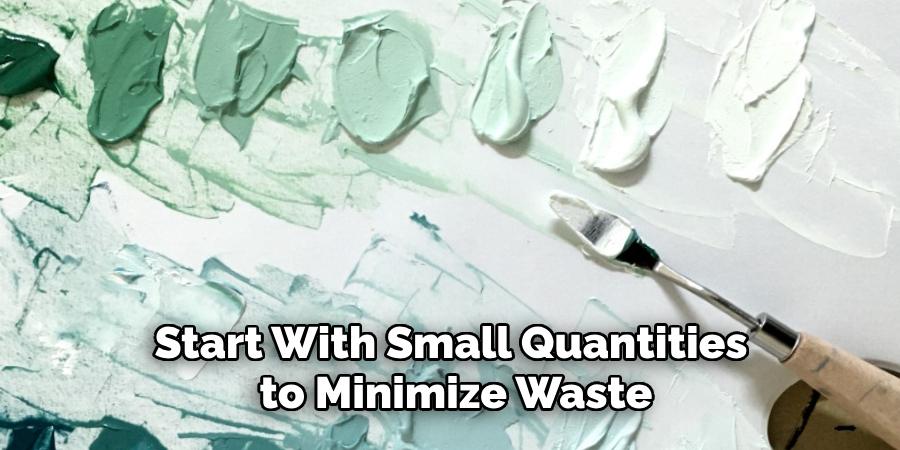
Mixing your paints can be an exciting part of the creative process, offering the chance to create bespoke colors and effects that perfectly suit your design. To begin, squeeze a small amount of your chosen acrylic or ceramic-specific paints onto a palette or a paper plate. If you wish to achieve a particular hue or shade, experiment by combining different colors. You can use the back of a paintbrush or a palette knife to thoroughly blend the paints together.

When mixing, start with small quantities to minimize waste and gradually add more paint if needed. Remember to keep track of the ratios in case you need to recreate a specific color. Mixing paints empowers you to expand beyond the basic colors you have, allowing for customization and a truly personalized touch on your ceramic bowl.
Step 5: Painting the Base Coat
Once you have chosen and mixed your desired paint colors, it’s time to start painting! Begin by applying a base coat on the entire surface of your ceramic bowl. This layer provides a foundation for your design and helps enhance the vibrancy of subsequent layers.
Make sure to use long, even strokes in one direction to prevent brush marks or uneven application. Using a larger brush can help cover more significant areas faster and create a smoother finish. Allow the first coat to dry completely before proceeding to the next step.
Step 6: Adding Details

After your base coat has dried, it’s time to add details and bring your design to life. Use smaller brushes for more intricate designs and switch between colors as needed. Work with thin layers of paint, allowing each one to dry before adding another. This technique helps create depth and prevents smudging or blending of colors.
Remember to take your time and have patience when painting details; it can be easy to rush or make mistakes if you’re not careful. You can also use stencils, painter’s tape, or other materials to help create clean lines and shapes for a more polished look.
Step 7: Finishing Touches
Once you’re satisfied with your painted design, let the bowl dry completely. If using acrylic paints, consider sealing the surface with a clear varnish or glaze for added protection and durability. Follow the manufacturer’s instructions to apply the sealant evenly and allow it to dry completely before using your ceramic bowl.
It’s also a good idea to clean your brushes thoroughly with water and mild soap before storing them for future use. This step helps prolong the life of your paintbrushes, ensuring they remain in top condition for your next painting project.
Step 8: Displaying Your Ceramic Bowl
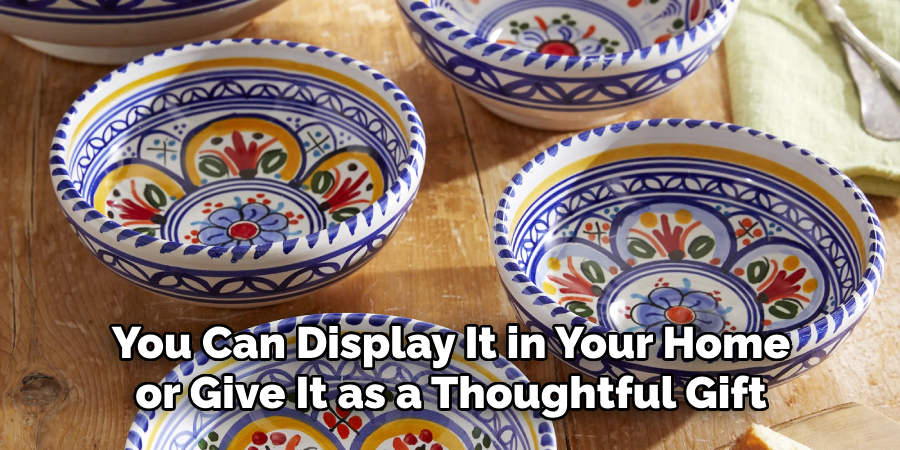
Congratulations, you have successfully painted a ceramic bowl! Once it has dried completely, you can display it in your home or give it as a thoughtful gift to someone special. Consider adding flowers or other decorative items inside the bowl to enhance its aesthetic appeal. With proper care, your ceramic bowl can last for years and serve as a beautiful piece of functional art in any setting.

Following these steps on how to paint a ceramic bowl and add your unique touch of creativity, you can create a stunning and personalized ceramic bowl that is truly one-of-a-kind. We hope this guide has inspired you to try your hand at painting ceramics and explore the endless possibilities it offers. Happy painting!
Cleaning and Care
To ensure the longevity and maintained beauty of your newly painted ceramic bowl, proper cleaning and care are essential. Always handle your bowl with care, especially when it is wet, to avoid any accidental chips or cracks. For routine cleaning, gently wash the bowl by hand using lukewarm water and a soft, non-abrasive sponge. Avoid using harsh detergents or scrubbing pads, as these can damage the painted surface or the protective sealant applied.
If necessary, mild dish soap can be added to the water, but ensure that it is thoroughly rinsed off to prevent any residue build-up. It’s best to avoid placing the painted bowl in a dishwasher, as the high heat and vigorous water jets can harm both the paint and the bowl itself. After washing, dry your bowl with a soft cloth immediately to prevent water spots or streaks. By following these cleaning and care guidelines, your ceramic bowl will retain its vibrancy and remain a cherished piece for years to come.
Frequently Asked Questions
Q: Can I Use Regular Acrylic Paint for Painting Ceramics?
A: Although it’s possible to use regular acrylic paint on ceramic surfaces, it is not recommended as this type of paint does not provide the durability and protection needed for long-term use. It’s best to use acrylic or ceramic-specific paints that are specifically formulated for painting on non-porous surfaces like ceramics.
Q: How Long Does it Take for Acrylic Paint to Dry on Ceramics?
A: The drying time of acrylic paint on ceramics can vary depending on factors such as humidity, thickness of layers, and type of sealant used. Generally, it takes 24 hours for acrylic paint to dry completely, but it’s best to wait at least 48-72 hours before using or handling the painted ceramic bowl.
Q: Can I Paint Over an Already Glazed Ceramic Bowl?
A: Yes, you can paint over a glazed ceramic bowl. However, you first need to prepare the surface by lightly sanding it to create roughness for the paint to adhere better. You can also use a primer specifically made for painting on glazed surfaces before applying your acrylic or ceramic paints.
Q: Can I Use Oil-Based Paints for Painting Ceramics?
A: No, oil-based paints are not recommended for painting ceramics as they do not bond well with non-porous surfaces and may eventually peel or flake off. Stick to using acrylic or ceramic-specific paints for best results and long-lasting durability.
Conclusion
Painting a ceramic bowl is a rewarding activity that allows you to express your creativity while crafting a beautiful and functional piece of art. By following each step on how to paint a ceramic bowl carefully—from preparation to design, and from setting up your workspace to the final touches—you can ensure a successful and satisfying project. This guide has hopefully demystified the process, making it accessible and enjoyable for both novice and seasoned artists alike.
Whether you create a colorful masterpiece or a minimalist design, the result is a reflection of your creativity and style. Don’t hesitate to experiment with techniques and colors, as each creation contributes to refining your skills. Remember, the true beauty of art lies in its individuality and the joy it brings both in the making and the final display.
Specialization:
- Master of wheel-throwing, hand-building, and advanced glazing techniques
- Focus on creating both functional pottery and decorative art pieces
Recognition:
- Celebrated by collectors and art enthusiasts for creating one-of-a-kind pieces that blend artistry with functionality
- Participates in local and national exhibitions, earning accolades for his innovative designs and craftsmanship
Passion:
- Deeply committed to exploring and pushing the boundaries of ceramic artistry
- Continuously experiments with new materials, firing techniques, and artistic concepts to evolve his craft
Personal Philosophy:
- Believes in the transformative power of art, aiming to evoke emotions and connections through his ceramic creations
- Advocates for sustainability in ceramics, using eco-friendly materials and practices whenever possible


