


Are you seeking a fun and creative way to bring color and personality to your home decor?
Painting ceramic cherubs is a delightful and creative activity that allows you to bring these decorative pieces to life with vibrant colors and intricate details. Whether you’re a seasoned artist or a beginner, this guide will help you transform plain ceramic figures into charming works of art. From selecting the right materials to adding finishing touches, learning the basics of painting ceramic cherubs can be both a rewarding and relaxing experience. With a bit of patience and creativity, you can create stunning pieces that beautifully complement any space or make thoughtful, personalized gifts.
In this guide on how to paint a ceramic cherubs, we will cover everything you need to know to get started on your painting journey.
What Are the Benefits of Painting Ceramic Cherubs?
There are countless benefits to painting ceramic cherubs, including the following:
- Relaxation: Painting can be a therapeutic and calming activity that allows you to disconnect from the stresses of daily life. Focusing on creating something beautiful with your hands can help clear your mind and promote relaxation.
- Creative Outlet: Painting is a great way to express yourself and tap into your creativity. You have complete control over the colors, designs, and techniques used in your artwork, allowing you to create something truly unique.
- Personalization: Painting ceramic cherubs allows you to personalize them however you like. Whether it’s adding details or incorporating special symbols or messages, you can make each piece truly one-of-a-kind.
What Will You Need?
To get started with painting ceramic cherubs, you will need the following materials:
- Ceramic cherub figurine
- Acrylic or ceramic paints
- Paintbrushes in various sizes
- Water and paper towels for cleaning brushes
- Palette or plate for mixing colors
- Optional: stencils, decals, glitter, or other embellishments
10 Easy Steps on How to Paint a Ceramic Cherubs
Step 1. Prepare Your Workspace
Start by finding a clean and well-lit area to work in. Lay down newspaper, a drop cloth, or a disposable table cover to protect your workspace from paint spills or splatters. Organize all your materials—ceramic cherub figurine, paints, brushes, and cleaning supplies—so they are within easy reach.
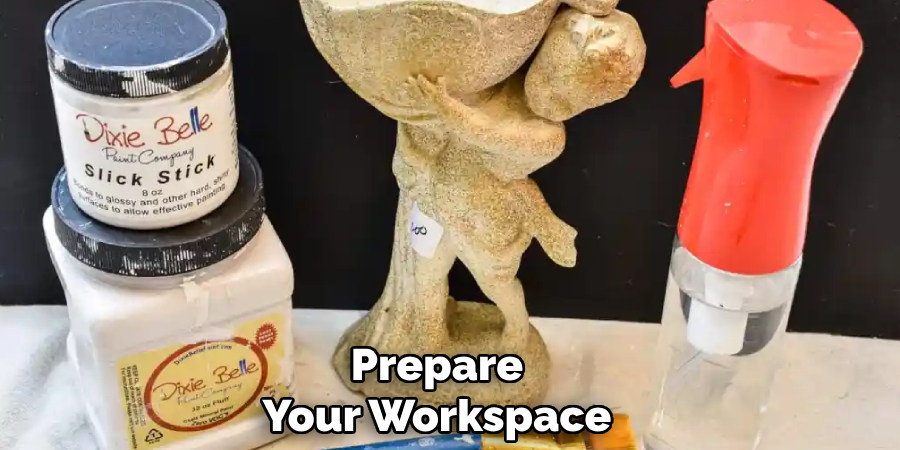
Ensure you have access to water for rinsing brushes and keep some paper towels on hand for drying or cleaning up. Good ventilation is also essential, especially when using paints with strong odors. A well-prepared workspace will make the painting process smoother and more enjoyable.
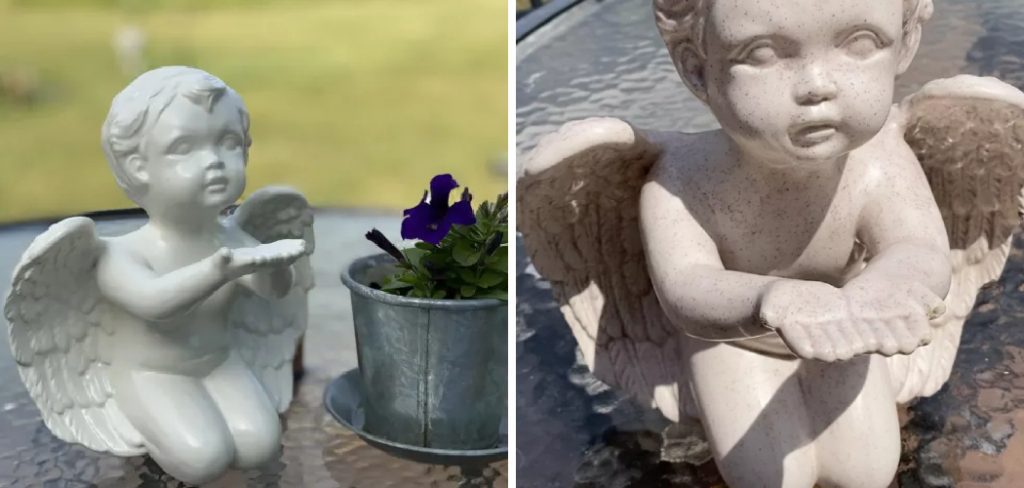
Step 2. Clean the Ceramic Figurine
Before you start painting, it’s essential to ensure your ceramic cherub figurine is clean and free from any dust or debris. Use a soft, damp cloth to wipe the surface of the figurine gently. If there are stubborn spots, a mild soap solution can be used; however, be sure to rinse it thoroughly and allow the figurine to dry completely.
Cleaning the surface helps the paint adhere better and ensures a smooth, professional finish for your artwork. Taking this extra step will set the foundation for a more polished result.
Step 3. Prime the Figurine
Priming your ceramic cherub figurine is a crucial step to ensure the paint adheres evenly and lasts longer. Begin by selecting a suitable primer designed for ceramics or similar surfaces. Using a small, soft brush or spray primer, apply a thin and even coat across the entire surface of the figurine. Be sure to cover all detailed areas, such as grooves or intricate designs, to achieve a seamless finish.
Allow the primer to dry completely according to the manufacturer’s instructions before proceeding to the painting stage. Proper priming prepares the surface for vibrant, long-lasting colors and enhances the overall appearance of your finished piece.
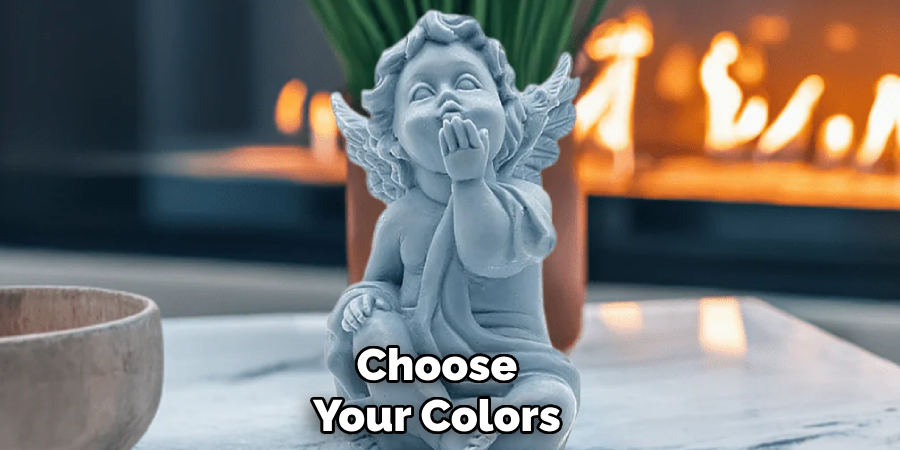
Step 4. Choose Your Colors
Selecting the right colors for your figurine can bring your vision to life and add personality to the piece. Start by considering the theme or story behind your figurine—do you want bold, striking colors or softer, muted tones? Refer to reference images or create a color palette that complements the overall design.
Acrylic paints are a popular choice for their versatility and vibrant finish. Be sure to test your colors on a scrap piece of material or cardboard to ensure they match your intended look. Once you’re satisfied with your palette, organize your paints and prepare your workspace for the painting process.
Step 5. Base Coat Application
A base coat is essential for creating a smooth and uniform foundation for your figurine. Start by selecting a neutral or primary color that aligns with your chosen design.
Using a flat, wide brush or an airbrush, evenly apply the base coat to the entire surface of the figurine. Make sure to cover all areas, including any hard-to-reach spots. If necessary, use multiple thin layers rather than one thick coat to avoid streaks, drips, or an uneven finish.
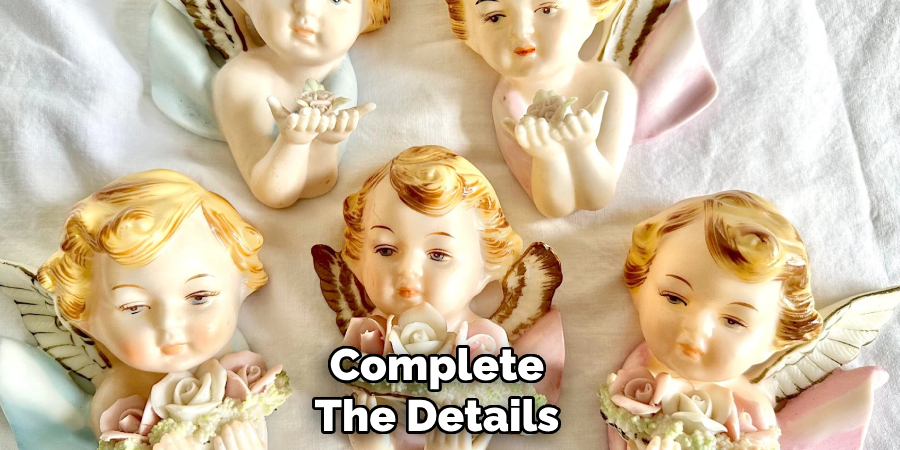
Step 6. Add Layered Details
Once the base coat is fully dry, it’s time to bring your figurine to life by adding layered details. Use finer brushes to apply smaller designs, textures, or patterns that match your vision. Start with the larger and more prominent features, such as clothing folds, armor highlights, or facial expressions.
Gradually build up the layers, working from darker shades to lighter highlights to create depth and dimension. For more intricate details, consider using a magnifying glass or fine-tip brush for precision. Take your time during this step, as these details will give your figurine its unique character and personality.
Step 7. Use Special Techniques
Experimenting with special techniques can elevate your figurine to a whole new level of artistry. Dry brushing is a popular method to highlight raised areas of the surface, creating a weathered or textured look. Washes, on the other hand, are perfect for adding shadows and depth by applying thinned-down paint that settles into crevices.
If you’re aiming for a metallic finish, consider using metallic paints or even experimenting with foil applications for a reflective effect. Additionally, blending techniques can create smooth transitions between colors and enhance the realism of your work. Don’t hesitate to try out these methods on a test piece first to refine your approach and achieve the desired effect on your figurine.
Step 8. Apply Decorations
Now that your base colors and details are complete, it’s time to add the finishing touches that will make your figurine truly stand out. Decorations can include elements like decals, tiny accessories, or intricate patterns that add personality and uniqueness to your piece.
For example, you could use fine-tip brushes or tools to paint symbols, textures, or delicate designs on the figurine’s surface. If your project allows, consider adding embellishments such as beads, tiny gems, or fabric pieces to enhance realism or storytelling.
Step 9. Seal the Paint
Sealing the paint is a crucial step in protecting the finished design and ensuring its durability. Choose a sealant that matches the type of paint used, such as a matte, satin, or glossy finish, depending on the desired look. Gently apply the sealant in thin, even layers using a spray or brush, making sure to cover the entire surface without overapplying.
Allow each layer to dry completely before adding the next to avoid smudging or bubbling. Sealing not only preserves the vibrant colors and intricate details of your figurine but also adds a professional and polished touch to the final result.
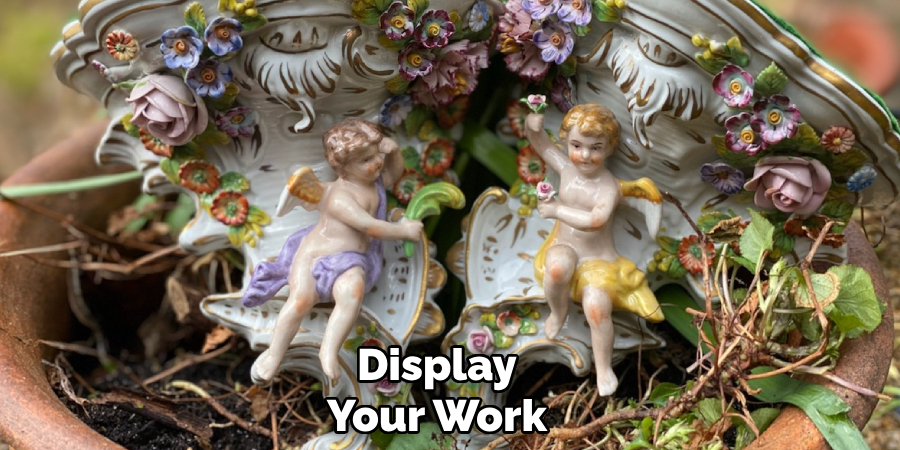
Step 10. Display Your Work
Once your figurine is fully sealed and dried, it’s time to showcase your masterpiece. Select a display location that not only showcases the details and colors of your work but also safeguards it from dust, direct sunlight, and excessive humidity. You might opt for a glass display case, a well-lit shelf, or even a rotating stand for added effect.
Consider the surroundings so that your figurine complements the space and draws attention as a focal piece. Sharing your creation with friends, family, or an online community can also be a great way to celebrate your artistry and inspire others.
By following these tips, you can ensure that your figurine is not only a reflection of your skills and creativity but also a cherished piece in your collection or display.
5 Things You Should Avoid
- Using Unprepared Surfaces
Failing to clean and sand the surface of your ceramic cherub can lead to uneven paint application or peeling. Always ensure the surface is smooth and free of dust or debris before you begin painting.
- Skipping the Primer
Applying paint directly to the ceramic without a primer can result in poor adhesion and reduced longevity of your artwork. Use a suitable primer to create a surface that allows the paint to set properly.
- Rushing the Drying Process
Painting in a hurry and skipping adequate drying time between layers can cause smudging or blending of colors. Allow each layer to dry completely before proceeding to the next.
- Overloading the Brush
Using too much paint on your brush can lead to drips or uneven strokes, especially on the delicate details of a cherub figurine. Use small amounts of paint and build up layers gradually for the best results.
- Neglecting Finishing Touches
Skipping the final sealant or varnish can leave your cherub vulnerable to chips, scratches, or fading over time. A clear protective coat will help preserve your work and give it a polished finish.
Conclusion
How to paint a ceramic cherubs is a rewarding and creative process that allows you to bring these figurines to life with your own personal touch.
By carefully selecting high-quality materials, preparing your workspace, and practicing patience throughout each step, you can achieve stunning results. Paying attention to details, from base preparation to sealing the finished piece, ensures that your ceramic cherubs remain vibrant and well-preserved for years to come.
With dedication and care, this art form can become an enjoyable and fulfilling craft.
Specialization:
- Master of wheel-throwing, hand-building, and advanced glazing techniques
- Focus on creating both functional pottery and decorative art pieces
Recognition:
- Celebrated by collectors and art enthusiasts for creating one-of-a-kind pieces that blend artistry with functionality
- Participates in local and national exhibitions, earning accolades for his innovative designs and craftsmanship
Passion:
- Deeply committed to exploring and pushing the boundaries of ceramic artistry
- Continuously experiments with new materials, firing techniques, and artistic concepts to evolve his craft
Personal Philosophy:
- Believes in the transformative power of art, aiming to evoke emotions and connections through his ceramic creations
- Advocates for sustainability in ceramics, using eco-friendly materials and practices whenever possible