


How to paint a ceramic plate is a fun and creative activity that allows you to personalize your kitchenware or create a unique gift. Don’t worry, you don’t have to be an artist to create a beautiful painted ceramic plate.
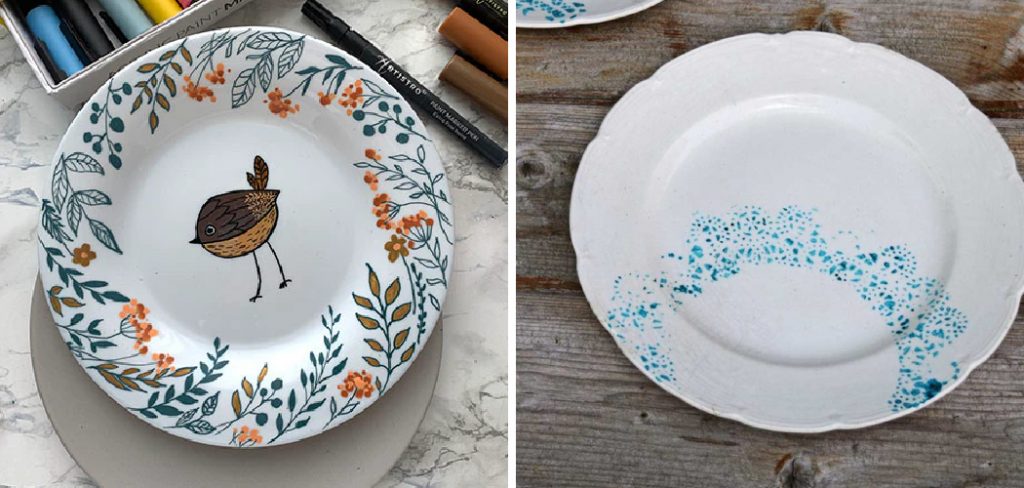
Whether you’re an experienced artist or a beginner, the process is enjoyable and straightforward, with countless design possibilities to explore. From selecting the right materials to choosing the perfect colors, painting ceramic plates is an excellent way to express your creativity while crafting something both beautiful and functional. Additionally, the finished product can be used for everyday dining or displayed as a decorative piece.
With a bit of patience and the proper techniques, you can transform a plain plate into a stunning work of art. Let’s dive into the steps involved in painting ceramic plates.
What Are the Benefits of Painting Ceramic Plates?
Painting ceramic plates has many benefits, both practical and creative. Here are just a few reasons why you should give it a try:
- Personalization: By painting your ceramic plates, you can create unique designs that reflect your style and taste. This is especially useful when you want to add a personal touch to your tableware or home decor.
- Cost-effective: Buying hand-painted ceramic plates from a store can be expensive, but painting them yourself allows you to save money while still having beautiful and customized pieces.
- Relaxation and Stress Relief: Painting on ceramics can be a therapeutic activity that helps reduce stress and improve overall well-being.
- Gift-giving: Hand-painted ceramic plates make a unique and thoughtful gift for special occasions such as birthdays, weddings, or housewarming parties.
- Family Bonding: Painting ceramics with your family can be a fun and creative way to bond, bringing everyone together.
What Will You Need?
To start painting ceramics, you will need some essential supplies such as:
- Ceramic Pieces: You can purchase unpainted ceramic pieces from craft stores or online shops.
- Paints: Acrylic paints are commonly used for painting on ceramics. They come in a wide variety of colors and are readily available at art supply stores.
- Brushes: Investing in a set of good-quality brushes will help you achieve different brushstrokes and details in your paintings.
- Water Container and Palette: A water container is necessary for cleaning your brushes between colors. A palette is also essential for mixing paint colors.
Once you have all your materials ready, it’s time to start painting on your ceramic piece!
10 Easy Steps on How to Paint a Ceramic Plate
Step 1. Clean the Plate:
Start by thoroughly cleaning the ceramic plate to ensure a smooth and even painting surface. Wash the plate using warm, soapy water and a soft sponge to remove any dust, grease, or residue. Once cleaned, rinse it thoroughly to remove all soap residue and pat it dry with a lint-free cloth.
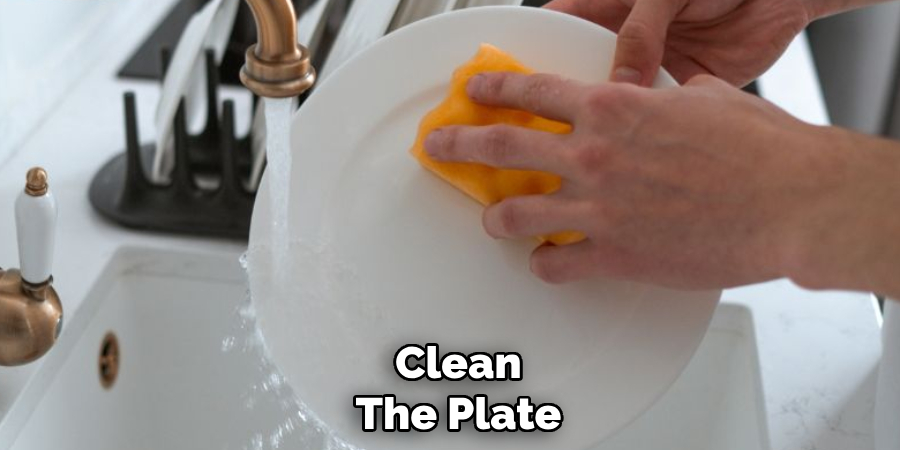
If the plate still feels slippery or has stubborn spots, consider using rubbing alcohol or a ceramic cleaner for a more thorough cleanup. Ensuring the plate is completely clean and dry will help the paint adhere properly and prevent any imperfections in your design.
Step 2. Sand the Surface:
Using fine-grit sandpaper, gently sand the surface of the plate to create a slightly rough texture. This step is crucial as it will help the paint grip the surface more effectively, ensuring a long-lasting and durable finish. Ensure that you move the sandpaper in small, circular motions, covering the entire area you plan to paint.
Avoid applying too much pressure, as this could cause scratches or uneven surfaces that may affect your design. Once the sanding is complete, wipe the plate with a damp lint-free cloth to remove any dust or debris, and allow it to dry thoroughly before proceeding to the next step. Sanding not only improves adhesion but also prevents the paint from chipping or peeling over time.
Step 3. Prepare Your Work Area:
Ensure your work area is clean, well-lit, and adequately ventilated to create an ideal environment for painting. Lay down a protective covering, such as a drop cloth or old newspaper, to safeguard surfaces from paint spills or splatters. Gather all the necessary tools and materials, including your paints, brushes, and any additional items required for your project, so they are within easy reach. Organizing your workspace in advance will help streamline the process and minimize disruptions while you work.
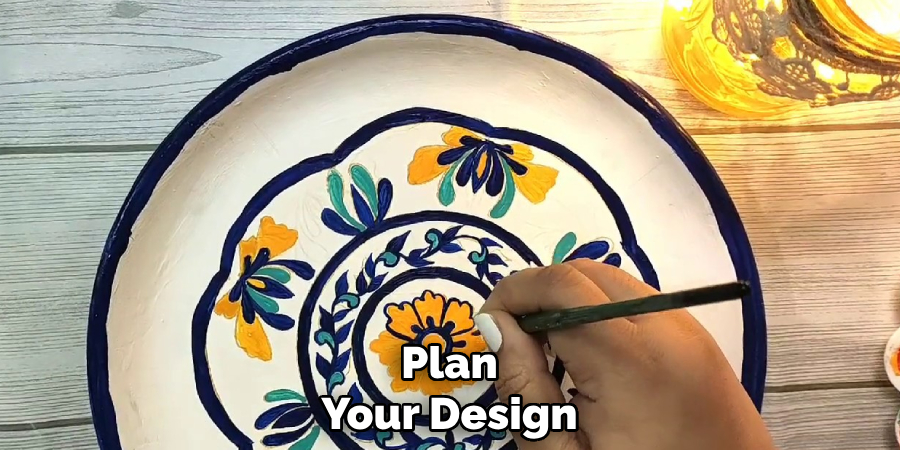
Step 4. Plan Your Design:
Take a moment to visualize and sketch out your design before you start painting. Consider the colors, patterns, and textures you want to include, and how they align with the overall theme or purpose of your project. Whether you are aiming for a bold, geometric pattern or a soft, abstract look, having a clear plan will help guide your creativity and ensure a cohesive final result. If needed, use stencils, tape, or outlines to create precise shapes and lines. Proper planning can make the painting process smoother and help you achieve your desired outcome with confidence.
Step 5. Start with Base Colors:
Once you have your plan and materials ready, begin by applying the base colors to your surface. Choose larger brushes or rollers to cover broad areas effectively and ensure an even application. Start with light or neutral tones if your design involves layering, as these will provide a solid foundation for more detailed work. Allow the base layers to dry completely before adding additional colors or patterns to avoid smudging and ensure clean, crisp lines. Taking your time with this step will set the stage for a polished and vibrant final piece.
Step 6. Add Details and Layers:
Once the base layer is dehydrated, it’s time to bring your creation to life with details and additional layers. Use smaller brushes or fine-tipped tools to add intricate designs, patterns, or highlights. Consider color contrasts and textures to create depth and highlight the key elements of your artwork. If layering colors, start with darker shades and gradually build up lighter tones to achieve a sense of dimension. Be patient during this process and allow each layer to dry before adding the next to avoid blending or unintended smudges.
Step 7. Correct Mistakes:
Mistakes are a natural part of the creative process, and learning how to address them effectively can enhance your final artwork. If you notice an error, assess whether it can be integrated into the design or if it requires fixing. Use an eraser, a damp cloth, or a clean brush to gently remove unwanted marks, depending on the medium you’re working with. For paint, layering the correct color over the mistake can provide a seamless solution. If the issue is more significant, don’t hesitate to start over on a specific section, as this can often lead to improved results.
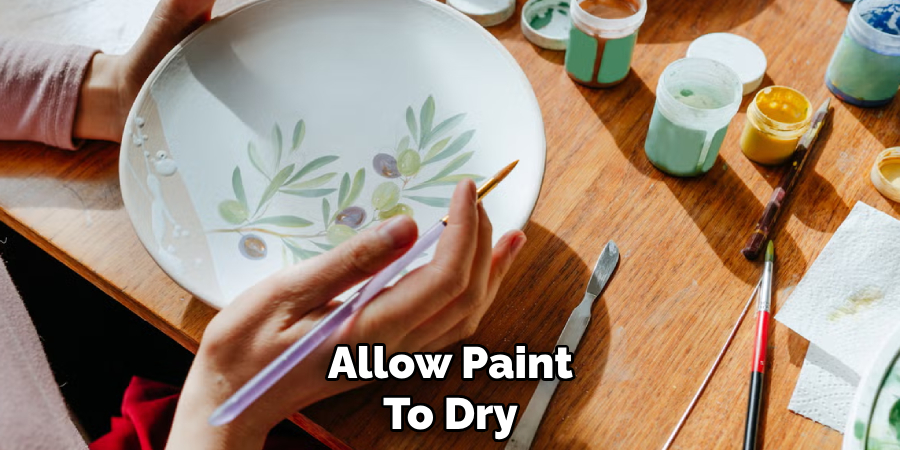
Step 8. Allow Paint to Dry:
Patience is essential when awaiting the drying process, as rushing may smudge or distort your work. Ensure your painting is placed in an area with proper ventilation and away from dust or debris that could settle on the surface. Depending on the type of paint you are using, drying times may vary—watercolors typically dry quicker, while oil paints may take days or even weeks. To check if the paint is fully dry, gently touch an inconspicuous area, being careful not to apply pressure. Once dry, your artwork will be ready for any additional touches or for display.
Step 9. Seal the Plate:
To ensure your design is protected and durable, apply a sealant to the surface of the plate. Choose a clear, non-toxic sealant that is appropriate for the type of paint you used. Using a soft brush or applicator, evenly coat the entire surface, ensuring you cover all painted areas. Allow the sealant to dry completely according to the manufacturer’s instructions. This step not only safeguards your artwork from scratches and fading but also gives the plate a polished, finished look.
Step 10. Cure Your Plate:
Curing your plate is a critical step to ensure the longevity of your painted design. Place the plate in a superb, dry location where it can remain undisturbed. Refer to the paint or sealant manufacturer’s guidelines for the recommended curing time, which typically ranges from 24 to 72 hours. This allows the paint and sealant to set and fully harden, making the design more resistant to wear and tear.
By following these steps, you can successfully paint and seal your ceramic plate to create a beautiful and personalized piece of home decor or a thoughtful gift.

Conclusion
How to paint a ceramic plate is an enjoyable and creative process that allows you to express your personal style while crafting a functional art piece.
By carefully selecting your materials, preparing the surface, applying your design with attention to detail, and sealing the plate properly, you can ensure a lasting and vibrant finish. Whether it’s for personal use, home decor, or a heartfelt gift, the time and effort you invest will result in a unique and cherished item.
With patience and practice, you can develop your technique and bring your artistic visions to life on ceramic surfaces.
Specialization:
- Master of wheel-throwing, hand-building, and advanced glazing techniques
- Focus on creating both functional pottery and decorative art pieces
Recognition:
- Celebrated by collectors and art enthusiasts for creating one-of-a-kind pieces that blend artistry with functionality
- Participates in local and national exhibitions, earning accolades for his innovative designs and craftsmanship
Passion:
- Deeply committed to exploring and pushing the boundaries of ceramic artistry
- Continuously experiments with new materials, firing techniques, and artistic concepts to evolve his craft
Personal Philosophy:
- Believes in the transformative power of art, aiming to evoke emotions and connections through his ceramic creations
- Advocates for sustainability in ceramics, using eco-friendly materials and practices whenever possible