


Painting a ceramic pumpkin is a delightful way to personalize your autumn decor and express your creativity. Whether you’re looking to create a classic design or something more whimsical, this activity provides a canvas for your artistic vision. With a few supplies and a bit of inspiration, you can transform a plain ceramic pumpkin into a gorgeous seasonal centerpiece. This guide will walk you through how to paint a ceramic pumpkin, ensuring that your painted pumpkin turns out beautifully and uniquely yours.

Benefits of Painting Ceramic Pumpkins
Painting ceramic pumpkins offers numerous benefits beyond just creating visually appealing decor. First and foremost, it’s a relaxing and therapeutic activity, allowing you to unwind and focus on the creative process. This can help reduce stress and improve mental clarity. Additionally, painting enhances your fine motor skills and stimulates the brain, fostering an environment conducive to developing creativity and problem-solving abilities.
Furthermore, it provides a perfect opportunity for social engagement, whether you’re painting with friends, family, or participating in a community workshop, encouraging bonding and collaboration. Lastly, painted ceramic pumpkins serve as long-lasting decorative pieces that you can cherish and display year after year, adding a personalized touch to your home’s seasonal ambiance.
Materials Needed for Painting a Ceramic Pumpkin
To begin your ceramic pumpkin painting project, you’ll need to gather a few key materials. Here’s a list of items that will ensure you have everything necessary for a successful creative session:
- Ceramic Pumpkin: Choose a pumpkin size and style that suits your decorative vision.
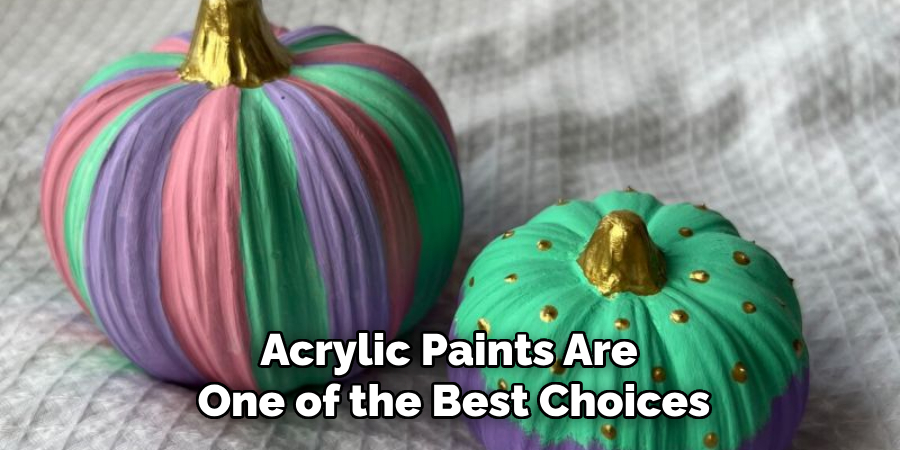
- Acrylic Paints: Select a variety of colors to bring your design to life. Acrylic paints are ideal due to their vibrant colors and versatility.
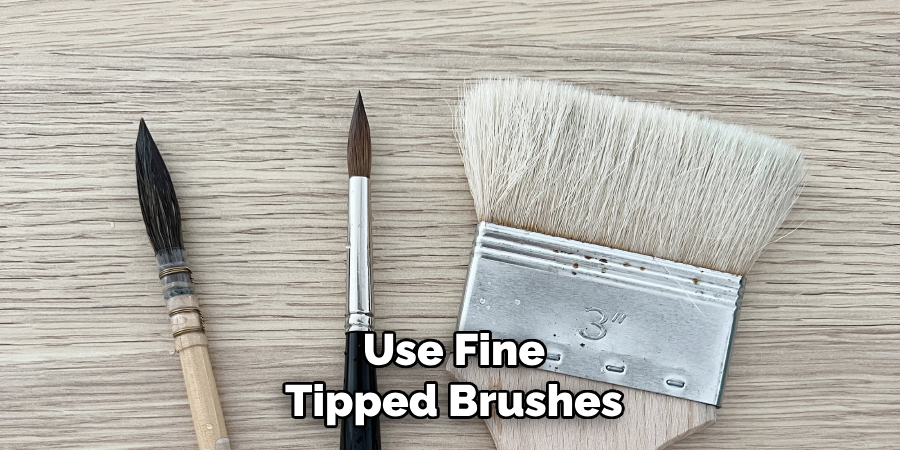
- Paintbrushes: Have an assortment of brushes on hand, including fine-tipped ones for details and wider ones for covering larger areas.
- Palette or Mixing Tray: Use this to mix and blend colors to achieve the perfect shades for your pumpkin.
- Painter’s Tape: This can be helpful for creating sharp, clean lines or patterns.
- Water Cup: Keep water nearby to clean your brushes between colors.
- Paper Towels or Rags: These will be handy for wiping brushes or cleaning accidental spills.
- Sealer or Varnish: Apply this after painting to add shine and protect your design.
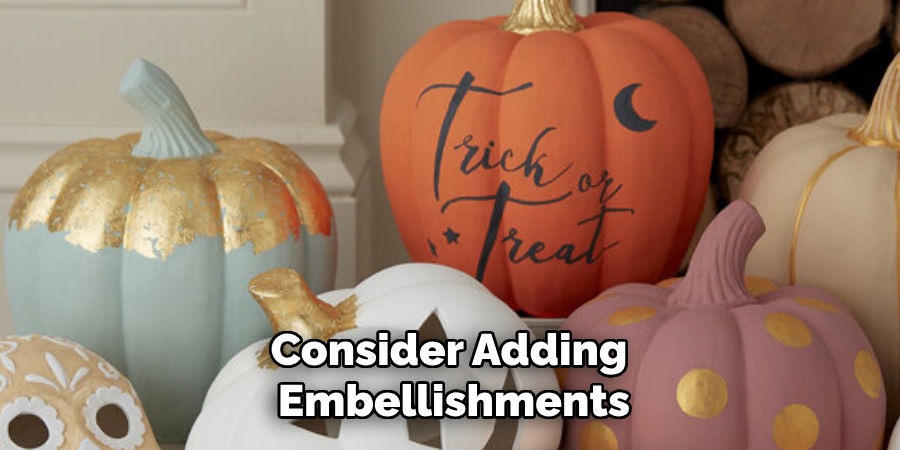
- Additional Decorative Items: Consider items like glitter, stickers, or rhinestones for extra embellishment.
With these materials ready, you’re set to start your ceramic painting project and bring your pumpkin to life with color and creativity.
10 Methods How to Paint a Ceramic Pumpkin
1. Start with a Clean Surface
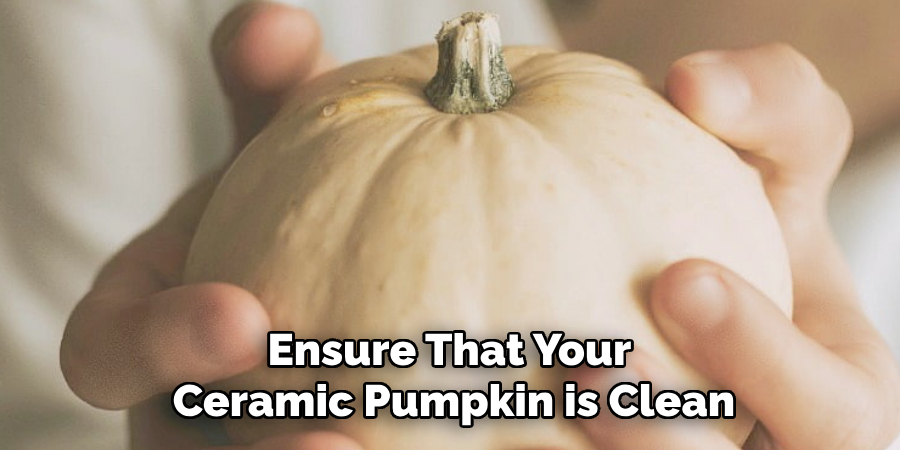
Before you begin painting, ensure that your ceramic pumpkin is clean and free of dust or oils. Use a damp cloth to wipe down the surface and let it dry completely. Any residue can interfere with paint adherence, leading to an uneven finish. For extra precision, you can gently sand the surface with fine-grit sandpaper, especially if the ceramic has a glaze; this will help the paint adhere better and result in a smoother, more even coat.
2. Apply a Primer for Long-Lasting Results
Using a primer, especially on ceramics, helps the paint stick better and last longer. A primer creates a smooth, consistent base and enhances the vibrancy of your colors. Choose a spray-on primer for a quicker application, or apply a brush-on primer for more control. Allow the primer to dry completely according to the manufacturer’s instructions before moving on to the next step. This layer also helps to cover up any minor imperfections in the ceramic.
3. Choose Acrylic Paints for Versatility
Acrylic paints are one of the best choices for ceramic due to their strong adhesion and wide range of colors. They also dry relatively quickly, making them ideal for layering. Select your color palette carefully, considering the style and mood you want to achieve. Whether you go for traditional orange and green or experiment with more modern hues, acrylic paints will give your pumpkin a vibrant, lasting finish.
4. Use Thin Layers to Build Up Color Gradually
When applying paint, use thin layers and let each coat dry before adding another. This method prevents clumping, streaking, and patchiness, giving your pumpkin a polished, professional look. It’s better to build up the color gradually with multiple thin coats than to apply one thick layer. Patience during this process pays off with a smoother, more even finish that doesn’t chip easily.
5. Experiment with Ombre Effects for Added Dimension
If you’re looking to create a unique design, consider an ombre effect to add depth to your ceramic pumpkin. Begin with a light base color, then gradually blend darker shades from the top or bottom of the pumpkin. Use a soft sponge or brush to blend the colors seamlessly. This technique can add a striking, sophisticated look to your pumpkin, making it stand out among traditional decorations.
6. Add Details with Fine Brushes or Paint Pens
Once the base color is dry, use fine-tipped brushes or paint pens to add intricate details like vines, leaves, or facial expressions. Fine brushes give you control over the paint, allowing you to create delicate, detailed designs. Paint pens work well for outlining shapes and adding lettering or small embellishments. Adding these touches gives your ceramic pumpkin character and personal flair, whether you’re going for a spooky Halloween face or autumnal floral designs.
7. Use Stencils for Consistent Patterns
If you want to add patterns like polka dots, chevrons, or leaves, stencils can help you achieve consistent, professional results. Position the stencil securely on your pumpkin, and use a sponge or stippling brush to dab paint onto the surface. Be sure not to use too much paint to prevent it from bleeding under the stencil. This technique is perfect for creating uniform patterns or adding text without freehand drawing, which can be challenging on curved surfaces.
8. Experiment with Metallic and Glitter Finishes
Metallic or glitter paints add an eye-catching sparkle and give your pumpkin an elegant touch. Apply a metallic finish over the entire pumpkin or as accents on the stem, vines, or specific patterns. If using glitter, apply a thin layer of craft glue to the desired area and sprinkle glitter on top, allowing it to dry fully before sealing. Metallic and glitter finishes are great for creating festive, luxurious decorations that stand out in your seasonal display.
9. Seal Your Work for a Durable Finish
Once you’re satisfied with your design, seal your painted ceramic pumpkin to protect it. A clear acrylic spray or brush-on sealer will help prevent the paint from chipping and keep the colors vibrant. Choose a matte, satin, or glossy finish based on your preference. Matte provides a more subtle look, while gloss enhances color depth and adds a shine. Allow the sealer to dry thoroughly in a well-ventilated area before handling your pumpkin.
10. Add a Personal Touch with Embellishments
For a final touch, consider adding embellishments like rhinestones, fabric leaves, or ribbons. Use a strong adhesive like craft glue to secure embellishments to the ceramic surface. You can add rhinestones along the pumpkin’s grooves for sparkle, tie a ribbon around the stem, or attach small silk leaves for a three-dimensional look. This method personalizes your ceramic pumpkin, transforming it from a simple piece to a unique work of art.
Things to Consider When Painting Ceramic Pumpkins
When embarking on a ceramic pumpkin painting project, there are a few key factors to consider to ensure your success and satisfaction. First, think about the environment in which you’ll be painting. A well-ventilated area is crucial, especially if you’re using spray paints or sealers, to protect your health from fumes. Next, consider the time you’ll need to dedicate to this project. Painting ceramics involves multiple steps, including cleaning, priming, painting, and sealing, each requiring adequate drying time. Plan your schedule accordingly to avoid rushing through the process. Additionally, consider the aesthetic and thematic elements you want to incorporate into your design.
Common Mistakes to Avoid
When painting ceramic pumpkins, several common mistakes can hinder the quality of your final design. One frequent error is failing to properly clean or prime the ceramic surface. Dirt or oils from handling can prevent paint from adhering correctly, leading to peeling or uneven application. Skipping the primer can also result in dull colors and reduced paint longevity. Another mistake is applying paint too thickly, which may cause unsightly drips, cracks, or an uneven texture. Always opt for multiple thin layers, allowing each to dry thoroughly before proceeding. Additionally, missing out on the sealing step can leave your work vulnerable to chipping or fading, especially if the pumpkin is to be displayed outdoors.
Conclusion
Painting ceramic pumpkins can be a rewarding and creative endeavor that allows you to personalize your seasonal decorations. By carefully selecting materials, applying paint with patience, and experimenting with different techniques, you can transform simple ceramic pieces into vibrant, artistic displays. Whether you’re crafting a spooky Halloween motif or an elegant autumnal design, the possibilities are virtually endless. Thanks for reading our blog post on how to paint a ceramic pumpkin! We hope you found it helpful and informative.
Specialization:
- Master of wheel-throwing, hand-building, and advanced glazing techniques
- Focus on creating both functional pottery and decorative art pieces
Recognition:
- Celebrated by collectors and art enthusiasts for creating one-of-a-kind pieces that blend artistry with functionality
- Participates in local and national exhibitions, earning accolades for his innovative designs and craftsmanship
Passion:
- Deeply committed to exploring and pushing the boundaries of ceramic artistry
- Continuously experiments with new materials, firing techniques, and artistic concepts to evolve his craft
Personal Philosophy:
- Believes in the transformative power of art, aiming to evoke emotions and connections through his ceramic creations
- Advocates for sustainability in ceramics, using eco-friendly materials and practices whenever possible