


Painting a clay pumpkin is a fun and creative activity that allows you to add a personal touch to your seasonal decorations. Whether you’re preparing for Halloween, Thanksgiving, or simply looking to enhance your home décor, this project is suitable for all skill levels.

With a few supplies and some imagination, you can transform a plain clay pumpkin into a unique masterpiece that reflects your style and creativity. In this article on how to paint a clay pumpkin, we’ll discuss the materials and steps you need to take to create your own beautifully painted pumpkin.
Why Paint a Clay Pumpkin?
Painting a clay pumpkin is an easy and budget-friendly way to add character and charm to your home. It also allows you to customize your decorations according to your preferences, whether you prefer bold and vibrant colors or more subtle and rustic designs.
Moreover, this project is suitable for all ages, making it a perfect activity for families and friends to do together. It’s also a great alternative to carving pumpkins, which can be messy and time-consuming.
Tools and Materials Needed
- A Clay Pumpkin (Can Be Found at Most Craft Stores or Online)
- Acrylic Paints in Various Colors
- Paintbrushes in Different Sizes
- Water and a Cup for Cleaning Brushes
- Optional: Paint Palette, Paper Towels, and Protective Covering for Your Workspace
7 Simple Step-by-Step Guidelines on How to Paint a Clay Pumpkin
Step 1: Prep Your Work Area
Start by choosing a clean, flat surface to work on. Lay down a protective covering, such as an old tablecloth or newspaper, to catch any paint spills or drips. Make sure the area is well-lit and ventilated for a comfortable painting experience.
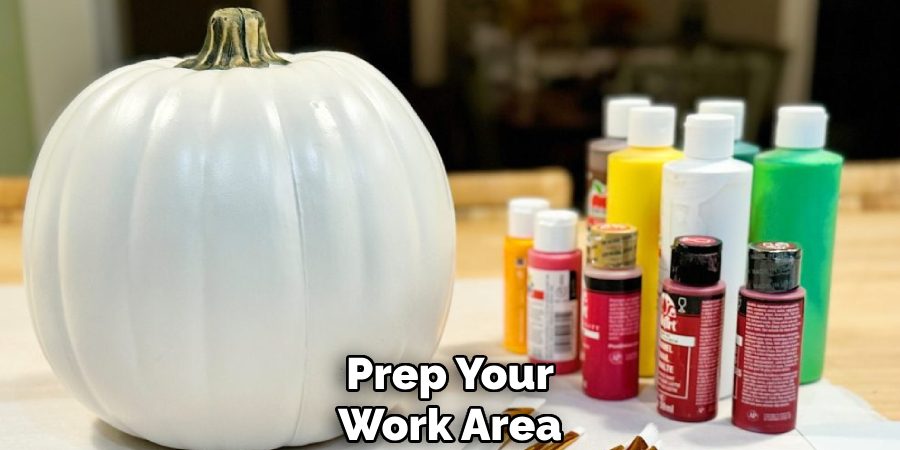
Arrange all your tools and materials within easy reach, including your clay pumpkin, paints, brushes, water cup, and paper towels. Having a clutter-free, organized workspace will help you focus on your creativity.
Step 2: Choose Your Color Scheme
Before you begin painting, consider the color scheme you want for your pumpkin. You can go for a traditional orange with black accents, or get creative with a different color combination that suits your personal style and home decor.
If you’re unsure, browse through some inspiration images online or in magazines to help guide your decision. Make sure to have all chosen paint colors on hand before starting.
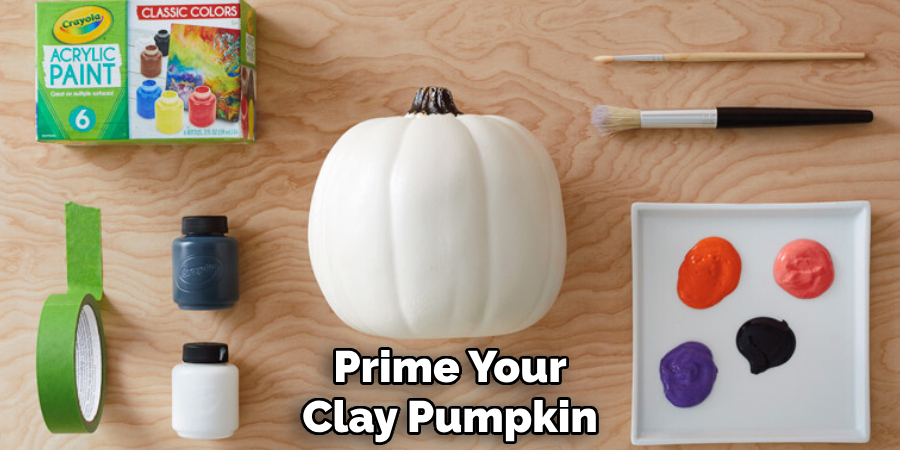
Step 3: Prime Your Pumpkin
Before applying your chosen colors, it’s essential to prime your pumpkin for a smooth and lasting finish. Use a clean, dry cloth to wipe away any dirt or debris on the surface. Then, apply a thin layer of primer paint or a white acrylic base coat to help your colors stand out and adhere better.
Allow the primer to dry completely before moving on to the next step. This preparation ensures that your artwork will have a polished and professional look.
Step 4: Paint Away
Now the fun begins! Choose your desired colors and start painting your pumpkin. Use brushes of different sizes for fine details and larger areas, ensuring an even application. Experiment with patterns, gradients, or bold designs to make your pumpkin uniquely yours.
If layering colors, allow each layer to dry completely before applying the next to avoid smudging. Have fun with accents like metallic paints, glitter, or stencils to enhance your design. Take your time and enjoy the process—every stroke adds personality to your masterpiece!
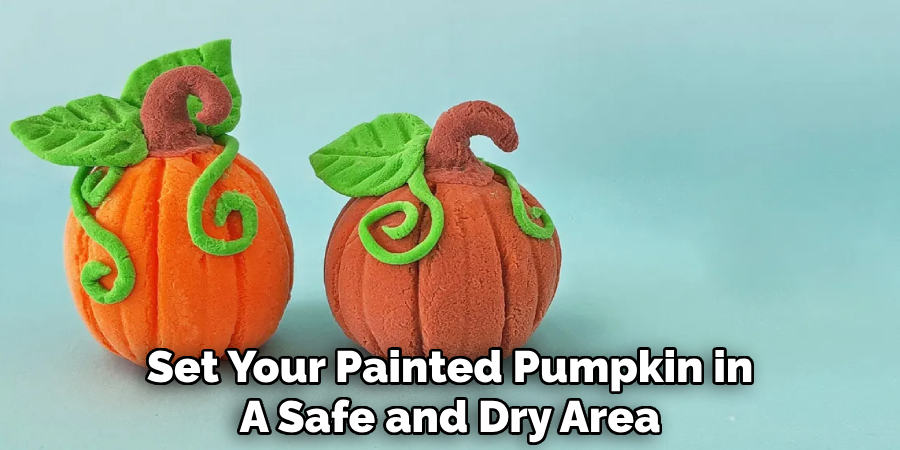
Step 5: Let It Dry
After completing your design, set your painted pumpkin in a safe, dry area where it won’t be disturbed. Allow plenty of time for the paint and any additional accents to dry completely.
Depending on the type of paint used, drying times may vary, so be patient to ensure your masterpiece is fully set. Once dry, your pumpkin will be ready to display and enjoy!
Step 6: Finishing Touches
Now that your painted pumpkin is dry, it’s time to add the finishing touches to truly make it stand out. Consider adding a layer of sealant to preserve the design and prevent any smudging or damage. If you used embellishments like glitter or rhinestones, double-check that they are securely attached.
You can also add accessories like ribbons, hats, or even small props to complement your theme. Once everything is in place, your pumpkin art is complete and ready to showcase your creativity!
Step 7: Display and Enjoy
Now that your painted pumpkin is complete, you can display it proudly in your home for the Halloween season. You can also use it as a centerpiece for a party or event, or give it as a unique gift to someone special.
Following these steps on how to paint a clay pumpkin will not only give you a beautiful decoration, but it can also be a fun and creative activity for individuals or groups. Don’t be afraid to experiment with different painting techniques and designs to make your pumpkin truly unique. Happy painting!
Displaying Your Painted Clay Pumpkin
Once your painted clay pumpkin is ready, there are countless ways to showcase it creatively. Place it on your mantelpiece or bookshelf to add a touch of seasonal charm to your living space. Arrange it as part of a fall-themed centerpiece on your dining table, surrounded by small gourds, candles, or autumn leaves.
If you’re decorating outdoors, your painted pumpkin can make a delightful addition to your porch or garden display, welcoming guests with its vibrant colors and unique design. Don’t forget to use proper lighting to highlight the details of your artwork, especially if you’ve included intricate patterns or shimmering finishes. With a little thought and creativity, your painted clay pumpkin will become a standout decoration that captures the spirit of the season!
Common Challenges and Solutions
Creating painted clay pumpkins can be a rewarding experience, but certain challenges may arise during the process. Here are some common issues and practical solutions to ensure your project turns out beautifully:
Paint Peeling or Chipping
Challenge:
Over time, paint may start to peel or chip off the clay surface.
Solution:
To prevent this, make sure to thoroughly clean the clay pumpkin before painting to remove dust or oils. Use a primer specifically designed for clay or ceramics to create a better surface for the paint to adhere to, and finish with a durable sealant to protect your design.
Uneven Paint Application
Challenge:
Achieving a smooth and even paint finish can sometimes be difficult, especially on textured surfaces.
Solution:
Apply thin coats of paint using a high-quality brush or sponge, allowing each layer to dry completely before adding the next. This will help eliminate streaks and uneven coverage.

Paint Not Drying Properly
Challenge:
Humidity or improper paint types may prevent the design from drying effectively.
Solution:
Use acrylic paints, which are quick-drying and well-suited for clay surfaces. Allow the pumpkin to dry in a well-ventilated, low-humidity area to speed up the process and ensure proper curing.
Smudging or Smearing Detail Work
Challenge:
Fine details can easily smudge, particularly if the paint hasn’t fully dried.
Solution:
Utilize small, precise brushes for intricate details, and give the paint ample drying time between steps. Once finished, gently spray a clear fixative to lock in the details without affecting the design.
By addressing these common challenges, you can create a painted clay pumpkin that is not only visually stunning but also durable enough to enjoy throughout the season. Whether it’s your first time or you’re a seasoned DIY enthusiast, these tips will help you achieve professional-looking results!
Frequently Asked Questions
Q1: Can I Use Regular Acrylic Paint for Painting Clay Pumpkins?
A: Yes, you can use regular acrylic paint for painting clay pumpkins. Just make sure to properly seal and protect the painted surface.
Q2: How Do I Prevent My Painted Clay Pumpkin From Cracking or Chipping?
A: To prevent cracking or chipping, make sure to properly condition the clay before sculpting and avoid using too much force or pressure when handling the pumpkin. Also, allow ample drying time between steps and consider using a clear fixative to seal the details.
Q3: Can I Add Additional Decorations or Embellishments to My Painted Clay Pumpkin?
A: Absolutely! You can add your own personal touch by incorporating other materials such as beads, rhinestones, or even decoupage cutouts onto the surface of your pumpkin. Just make sure to properly adhere them with a strong glue and allow enough time for it to dry before handling.
Q4: How Do I Display My Painted Clay Pumpkin?
A: There are endless possibilities for displaying your painted clay pumpkin. You can create a fall-themed centerpiece by placing it on a bed of leaves or incorporating it into a seasonal wreath. You can also simply place it on a mantel or shelf as part of your home decor. With its unique and handmade beauty, your painted clay pumpkin will surely bring warmth and charm to any display.
Conclusion
Crafting painted clay pumpkins is a delightful way to celebrate the fall season while expressing your creativity. This project allows you to personalize your decor and create something truly unique that reflects your style.
Whether you’re displaying your pumpkins as part of a festive centerpiece or giving them as thoughtful gifts, their handmade charm will add a special touch to your autumn celebrations. Take pride in your creation and enjoy the joy it brings to your home! Thanks for reading this article on how to paint a clay pumpkin.
Specialization:
- Master of wheel-throwing, hand-building, and advanced glazing techniques
- Focus on creating both functional pottery and decorative art pieces
Recognition:
- Celebrated by collectors and art enthusiasts for creating one-of-a-kind pieces that blend artistry with functionality
- Participates in local and national exhibitions, earning accolades for his innovative designs and craftsmanship
Passion:
- Deeply committed to exploring and pushing the boundaries of ceramic artistry
- Continuously experiments with new materials, firing techniques, and artistic concepts to evolve his craft
Personal Philosophy:
- Believes in the transformative power of art, aiming to evoke emotions and connections through his ceramic creations
- Advocates for sustainability in ceramics, using eco-friendly materials and practices whenever possible