


Painting ceramic with a coastal-crafted theme is a delightful way to bring the tranquility and charm of the ocean into your home decor. Whether you are an experienced artist or a beginner, this guide will walk you through the steps to create unique and beautiful designs inspired by sandy beaches, seashells, waves, and other seaside elements.

With the right materials and techniques, you can transform plain ceramic pieces into stunning coastal-inspired artwork that captures the essence of the shoreline. In this blog post, we’ll walk you through the steps on how to paint ceramic Coastal Crafted so that you can get back to using it in no time! So grab your tools, and let’s get started!
Importance of Painting
Painting is more than just a creative outlet; it serves as a powerful form of self-expression and relaxation. Engaging in painting allows individuals to channel their emotions and thoughts into visual art, fostering mental well-being and reducing stress.
It also enhances focus, patience, and fine motor skills, making it a beneficial activity for people of all ages. Furthermore, painting adds a unique and personal touch to objects or spaces, transforming everyday items into meaningful works of art. Whether as a hobby or a purposeful project, painting holds immense value in both personal and artistic development.
Tools and Materials Needed
To begin painting, having the right tools and materials is essential. Key items include a selection of brushes in varying sizes and shapes, which allow for versatility in techniques and detail work. You’ll also need a palette for mixing colors, and depending on the medium, high-quality paints such as acrylics, watercolors, or oils.
A sturdy canvas or appropriate painting surface is crucial for creating your artwork, though paper, wood, or even fabric can also be used for certain projects. Additional materials like easels, palette knives, and rags can help enhance the painting process. Don’t forget to keep a jar of water or medium for cleaning brushes and thinning paints as needed. With these basic tools at your disposal, you’ll be ready to bring your creative visions to life.
10 Methods How to Paint Ceramic Coastal Crafted
1. Prepare the Surface with Proper Cleaning and Sanding
Before applying any paint, prepare the ceramic surface thoroughly to ensure adhesion and a smooth finish. Start by cleaning the piece with a damp sponge or soft cloth to remove dust, fingerprints, or kiln residue. If the surface feels rough or uneven, gently sand it using fine-grit sandpaper (around 400 grit).
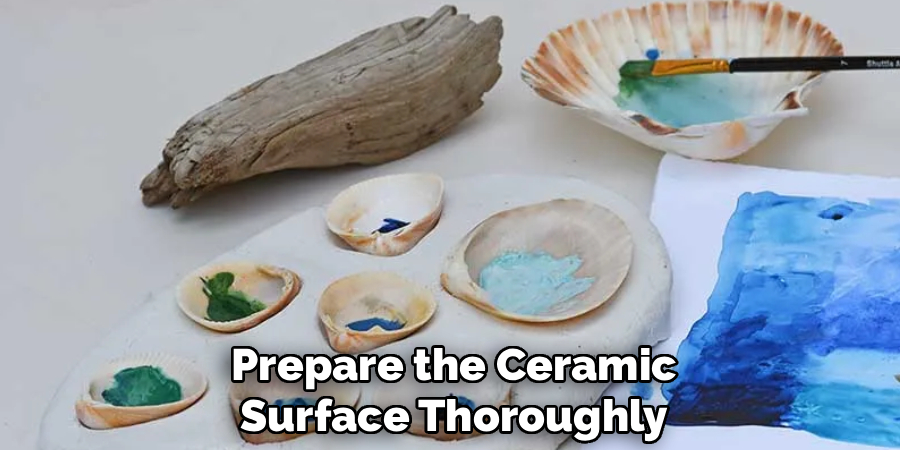
Sanding helps smooth imperfections and creates a slight “tooth” for the paint to grip. Avoid aggressive sanding that might damage delicate details or textures. Once cleaned and sanded, wipe the piece again with a dry cloth and let it air dry completely before painting.
2. Choose Appropriate Paints for Ceramic Surfaces
Selecting the right type of paint is critical for durability and visual effect. Acrylic paints are widely favored for ceramic crafts due to their quick drying time, vibrant colors, and water-based formulation, which makes them easy to clean up. For outdoor or frequently handled pieces, consider ceramic-specific paints or enamel paints that provide a harder finish. Watercolor or oil paints are generally unsuitable due to poor adhesion and durability on ceramic. Also, check that your paints are non-toxic and safe for your intended use, especially if the piece will come in contact with food or children.
3. Use a Coastal-Inspired Color Palette
To evoke the seaside spirit, select a harmonious palette inspired by coastal landscapes. Incorporate soft blues, aquamarines, and seafoam greens to represent water and waves. Sandy beiges, warm creams, and driftwood grays mimic shorelines and weathered wood. Add coral pinks, shell whites, and muted terra cottas to introduce variety and highlight natural elements like seashells or marine flora. Using a consistent color scheme creates unity and transports viewers to the beach. You may choose muted tones for a rustic look or brighter shades for a playful, whimsical effect.
4. Apply a Base Coat Evenly for Color Uniformity
Begin your painting by applying a thin, even base coat over the entire ceramic surface. This base coat serves to unify the color and provide a consistent foundation for subsequent layers. Use a wide, soft brush or sponge for smooth coverage, and avoid thick paint applications that may obscure fine details or textures. For light-colored coastal themes, consider white or pale blue as the base. Allow the base coat to dry completely, typically 30 minutes to an hour, before moving on. A well-applied base coat enhances vibrancy and longevity of top layers.
5. Build Up Color with Layered Painting Techniques
To add depth and realism, employ layering techniques using washes, dry brushing, or glazing. Thin washes—paint diluted with water or medium—can be applied to crevices or textured areas, emphasizing shadows and contours reminiscent of tide pools or driftwood grooves.

Dry brushing involves lightly dragging a mostly dry brush loaded with paint over raised surfaces, accentuating texture and simulating sun-bleached effects common on coastal wood or shells. Layering different shades of blue or green can mimic the varying depths and movement of ocean water. Patience is key; build layers gradually for natural transitions.
6. Use Fine Brushes and Detailing Tools for Intricate Areas
Coastal ceramic pieces often include intricate details such as shell ridges, starfish arms, or seaweed veins. Use fine-tipped brushes (sizes 0 to 2) and detailing tools like toothpicks or styluses to paint these small areas with precision. Detail work might include painting fine lines, dots, or patterns to replicate natural markings. For example, delicate white lines can imitate the lacy edges of a shell, while subtle stippling can represent coral texture. These details bring realism and charm to your piece, so take your time to achieve crisp, controlled strokes.
7. Highlight Textures with Shading and Highlights
To give your ceramic piece a three-dimensional, lifelike appearance, incorporate shading and highlighting techniques. Apply darker paint tones in recessed areas or shadowed spots, such as the base of a wave or the underside of a shell’s lip. Conversely, add highlights using lighter colors or even a touch of white on raised edges or sun-exposed surfaces. This contrast enhances the perception of depth and makes textures pop visually. Use soft blending to transition between shadows and highlights smoothly, avoiding harsh lines unless stylistically desired.
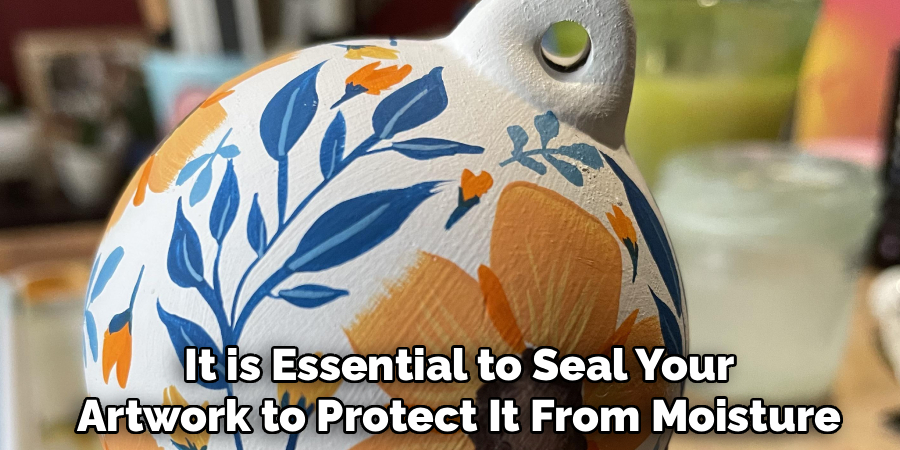
8. Seal the Painted Surface for Protection and Longevity
Once the paint has dried thoroughly, it is essential to seal your artwork to protect it from moisture, fading, and wear. Choose a clear acrylic varnish or sealant appropriate for ceramic surfaces, available in matte, satin, or glossy finishes depending on your aesthetic preference. Apply thin, even coats using a clean brush or spray, ensuring full coverage without pooling. Multiple light coats often yield the best results. The sealant also enhances color richness and makes the piece easier to clean. Allow the sealant to cure according to the manufacturer’s instructions before handling.
9. Experiment with Mixed Media Enhancements
For added dimension and creative flair, consider combining your painted ceramic coastal craft with other materials. You might embed tiny natural shells or sand into wet paint or sealant to create authentic texture. Metallic paints or leafing can highlight sun-kissed elements like driftwood or sandy patches. Additionally, adding subtle glazes or crackle finishes over painted areas can evoke weathered surfaces typical of coastal artifacts. These mixed media techniques elevate your piece from simply painted to a multisensory coastal treasure.
10. Display Thoughtfully to Enhance Coastal Ambiance
The final step is to place your painted ceramic coastal craft where it best complements its surroundings. Display it on driftwood shelves, among sea glass collections, or alongside nautical décor like rope or lanterns. Position your piece in natural light to showcase its colors and textures vividly, or use soft accent lighting to create a beachside ambiance indoors. Consider grouping several coastal minis together to form a cohesive vignette. Thoughtful display amplifies the impact of your painted work, inviting viewers to experience the calming essence of the coast.
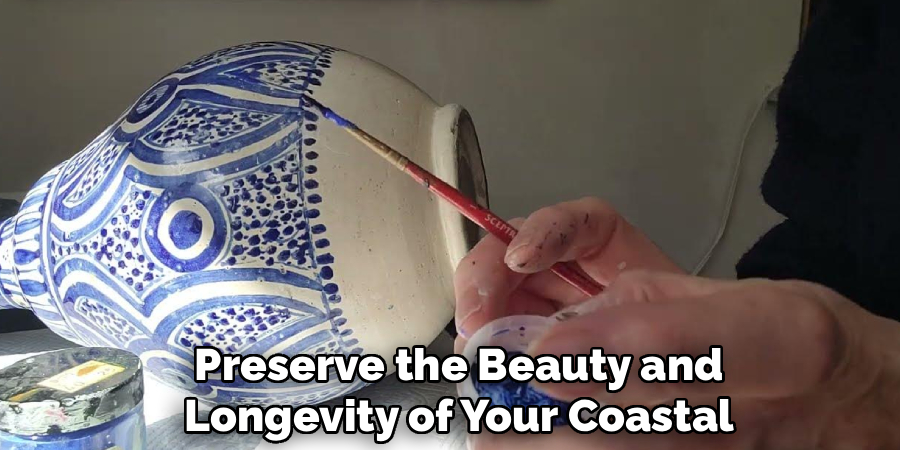
Maintenance and Upkeep
To preserve the beauty and longevity of your coastal-inspired painted miniatures, proper maintenance is essential. Begin by keeping the pieces away from direct sunlight for prolonged periods, as this can cause fading or discoloration over time. Regularly dust the surface with a soft, dry cloth to prevent the buildup of debris that could dull the colors or damage delicate details.
If your miniatures are displayed in particularly humid environments, consider using a dehumidifier to minimize the risk of moisture damage. For pieces with protective coatings, inspect them periodically, and apply a fresh sealant layer if signs of wear appear. With mindful care and upkeep, your painted miniatures can continue to bring coastal charm to your space for years to come.
Conclusion
Painting ceramic coastal crafted pieces is a rewarding artistic process that requires preparation, technique, and an eye for nature’s subtle beauty. Through careful surface preparation, thoughtful color choices, layered techniques, and protective sealing, you can transform simple ceramics into evocative coastal artworks that capture the spirit of the sea.
Whether your piece features the delicate swirl of a shell, the rugged texture of driftwood, or the sparkling hues of ocean waves, these ten methods ensure your painting elevates and preserves your ceramic coastal craft for years to come. Thanks for reading our blog post on how to paint ceramic Coastal Crafted! We hope you found it helpful and informative.
Specialization:
- Master of wheel-throwing, hand-building, and advanced glazing techniques
- Focus on creating both functional pottery and decorative art pieces
Recognition:
- Celebrated by collectors and art enthusiasts for creating one-of-a-kind pieces that blend artistry with functionality
- Participates in local and national exhibitions, earning accolades for his innovative designs and craftsmanship
Passion:
- Deeply committed to exploring and pushing the boundaries of ceramic artistry
- Continuously experiments with new materials, firing techniques, and artistic concepts to evolve his craft
Personal Philosophy:
- Believes in the transformative power of art, aiming to evoke emotions and connections through his ceramic creations
- Advocates for sustainability in ceramics, using eco-friendly materials and practices whenever possible