


Painting ceramic letters is a creative and enjoyable way to personalize your home décor, gifts, or craft projects. With just a few materials and simple techniques, you can transform plain ceramic letters into vibrant and unique pieces of art.
This guide will walk you through how to paint ceramic letters for a long-lasting finish. Whether you’re a beginner or an experienced crafter, painting ceramic letters allows you to express your creativity and add a personal touch to any space.
Benefits of Painting Ceramic Letters
Painting ceramic letters offers numerous benefits, making it a rewarding and versatile craft. Firstly, it allows for limitless creativity, enabling you to choose colors, patterns, and designs that perfectly match your style or the theme of your space. Personalized ceramic letters can also be thoughtful and meaningful gifts, tailored specifically to the recipient.
Additionally, the process of painting can be a relaxing and therapeutic activity, helping to reduce stress and foster mindfulness. For home décor, painted ceramic letters serve as unique and eye-catching embellishments that add character and charm to any room. Whether used for celebrations, nameplates, or art displays, these painted creations bring a personal and artistic touch to your surroundings.
Materials and Tools Needed
To successfully paint ceramic letters, you’ll need a few essential materials and tools to ensure a smooth and professional-looking finish. Here’s a list of what you’ll need:
- Ceramic Letters – Choose the size and shape that best suits your project.
- Acrylic Paints – These are ideal for ceramic surfaces and come in a wide range of colors.
- Paintbrushes – Use a variety of sizes; small, fine-tipped brushes work well for detailed designs, while larger brushes are great for base coats.
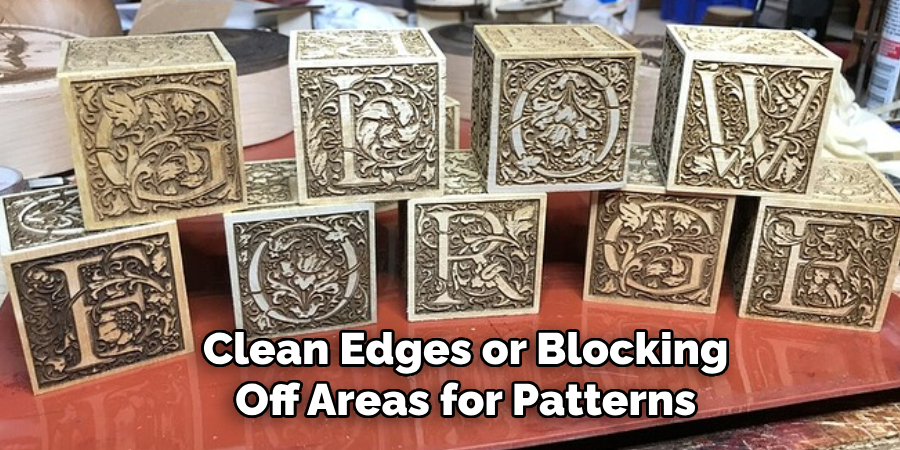
- Painter’s Tape – Useful for creating sharp, clean edges or blocking off areas for patterns.
- Palette or Mixing Tray – For mixing and holding paint colors.
- Primer (Optional) – Helps the paint adhere better to smooth ceramic surfaces.
- Sealer or Clear Varnish – To protect the painted surface and enhance durability.
- Paper Towels or Rags – For cleaning brushes or wiping off excess paint.
- Drop Cloth or Newspaper – To protect your workspace from spills or splatters.
- Water Cup – For cleaning brushes between colors.
Having these tools and materials prepared will make your painting process efficient and enjoyable, setting you up for a beautiful and lasting result.
10 Methods How to Paint Ceramic Letters
1. Choose the Right Type of Paint for Your Project
The first step is selecting the correct type of paint. Acrylic paints designed for ceramics or specialty ceramic paints are ideal for this purpose.
They adhere well to ceramic surfaces and provide long-lasting color. If the letters will be exposed to the elements or handled frequently, opt for durable, weather-resistant, or heat-set ceramic paints. Testing a small section beforehand ensures that the paint achieves the desired finish and adheres properly.
2. Prepare the Ceramic Surface Thoroughly
Proper preparation is crucial for achieving a smooth, professional look. Begin by cleaning the ceramic letters with warm water and mild soap to remove dust, grease, or residues. Use a soft sponge or cloth to avoid scratches. If the letters have a glossy finish, lightly sand the surface with fine-grit sandpaper to create a better grip for the paint. Wipe away any sanding dust with a lint-free cloth before proceeding.
3. Prime the Surface for Better Adhesion
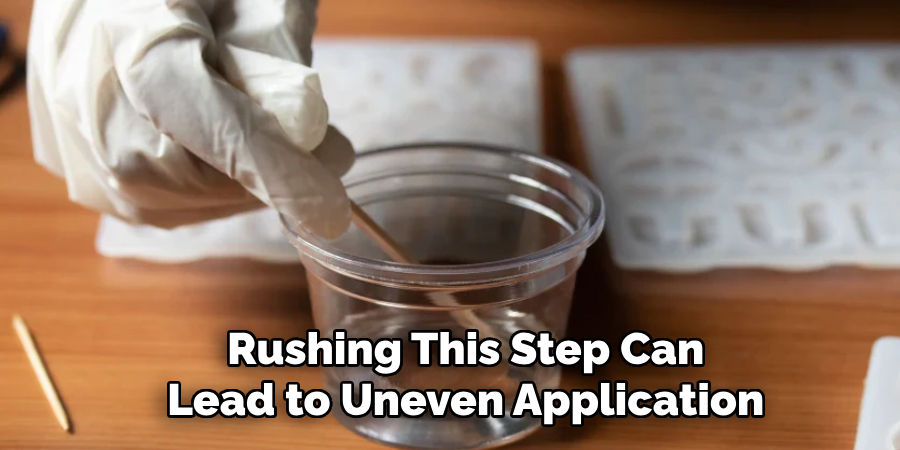
Applying a primer is an essential step, especially for glossy ceramics. Use a ceramic-compatible primer to create a uniform base that enhances paint adhesion. A foam brush or soft bristle brush is ideal for applying a thin, even coat of primer. Allow the primer to dry completely before painting, as rushing this step can lead to uneven application or peeling later.
4. Sketch or Plan Your Design
If you want to incorporate patterns, designs, or intricate details, plan your artwork in advance. Lightly sketch the design onto the ceramic letters with a pencil or use painter’s tape to create clean lines and sections. Stencils can also be helpful for achieving precision, especially for complex or repeating patterns. Taking the time to plan ensures a cohesive and intentional final design.
5. Use Thin Layers of Paint for Smooth Coverage
Applying multiple thin layers of paint is key to achieving a smooth, streak-free finish. Start with a base coat to cover the entire letter, using a foam sponge or soft brush. Allow each layer to dry completely before applying the next. This approach prevents clumping or uneven drying, ensuring a polished and professional result.
6. Incorporate Fine Details with Precision Tools
Details make all the difference in making your ceramic letters stand out. Use fine-tipped brushes, paint pens, or even toothpicks to add intricate elements like borders, textures, or shading. For example, you might highlight the edges of the letters, add floral motifs, or incorporate geometric patterns. Precision tools give you control over the design, allowing for crisp, clean lines and detailed features.
7. Blend Colors for Unique Effects
Blending colors adds depth and visual interest to your ceramic letters. Create gradients or ombre effects by gradually blending two or more colors. To achieve this, work quickly while the paint is still wet, using a soft brush or sponge to blend the edges where the colors meet. Experiment with color combinations to create a design that complements your style and decor.
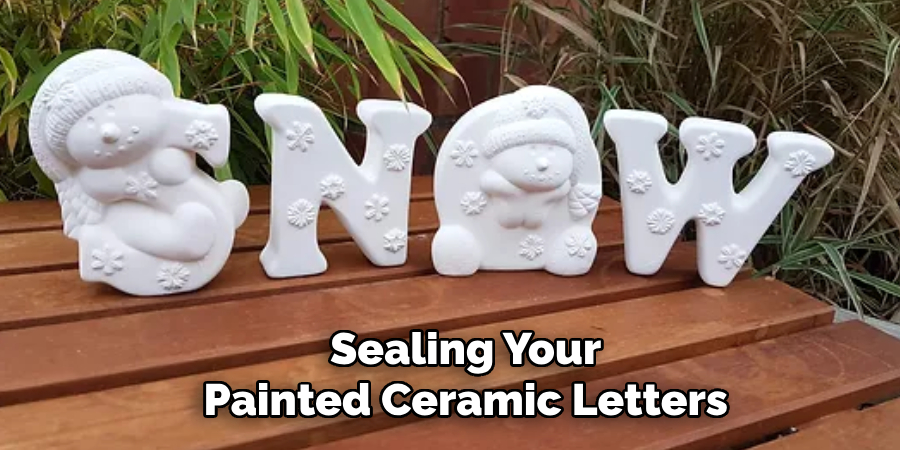
8. Seal the Painted Surface for Durability
Sealing your painted ceramic letters is crucial for preserving the design and protecting it from wear and tear. Use a clear, non-toxic sealant designed for ceramics. Choose between matte, satin, or glossy finishes depending on your desired look. Apply the sealant evenly with a soft brush, ensuring complete coverage. Allow it to cure according to the manufacturer’s instructions for the best results.
9. Bake or Heat-Set the Paint (If Applicable)
For some ceramic paints, heat-setting is necessary to make the design permanent. Check the paint manufacturer’s instructions to see if this step is required. Place the letters in a cold oven and gradually increase the temperature to the specified setting, usually around 300°F.
Bake the letters for the recommended time, then turn off the oven and let them cool inside to avoid sudden temperature changes that could cause cracking.
10. Display and Maintain Your Ceramic Letters
Once the paint has cured and the sealant has set, your ceramic letters are ready for display. Whether they’re used as wall decor, tabletop accents, or personalized gifts, place them in a way that showcases their design.
To maintain their appearance, dust them regularly with a soft cloth and avoid using abrasive cleaners. If they are outdoors or in high-traffic areas, periodically inspect them for signs of wear and touch up as needed.
Troubleshooting Common Issues
Even with careful preparation and execution, you might encounter some challenges while painting ceramic letters. Here are some common issues and how to address them:
1. Paint Fails to Adhere to Ceramic Surface
If the paint peels or doesn’t stick properly, it’s often due to inadequate surface preparation. Ensure the letters are clean and free of any grease, dust, or soap residue. For glossy surfaces, lightly sanding and applying a ceramic-compatible primer can significantly improve adhesion.
2. Uneven or Streaky Coverage
Streaks or uneven paint layers typically result from applying paint that’s too thick or not allowing enough drying time between coats. Always use thin layers of paint and build up coverage gradually, letting each layer dry completely before applying the next.
3. Smudging or Blurred Details
Smudging may occur if the paint hasn’t dried fully before continuing work or handling the letters. Avoid rushing the process and allow adequate drying time between steps. For detailed work, use precision tools like fine-tipped brushes or paint pens, and work in a well-lit, stable environment.
4. Colors Blending Unintentionally
Unintended blending happens when wet layers overlap. To prevent this, focus on completing one section at a time and ensure it’s fully dry before moving to an adjacent area. For intentional blending, work quickly while the paint is still wet and use blending tools for smooth transitions.
5. Bubbles in the Sealant
Bubbles in the sealant can form if it’s applied too thickly or not evenly. Use thin, even layers of sealant and avoid shaking the container, as this can introduce air bubbles. A foam brush or a soft bristle brush can help ensure a smooth application.
6. Cracking or Flaking Paint
Cracking or flaking may result from issues during the heat-setting process or applying paint that isn’t compatible with ceramic surfaces. Always follow the paint manufacturer’s recommendations for application and heat-setting. For heat-setting, ensure gradual temperature changes to prevent thermal stress.

Conclusion
Painting ceramic letters is a rewarding project that combines creativity with practicality. By following these ten elaborated methods, you can ensure that your ceramic letters are beautifully designed and durable. So, there you have it – a quick and easy guide on how to paint ceramic letters.
Specialization:
- Master of wheel-throwing, hand-building, and advanced glazing techniques
- Focus on creating both functional pottery and decorative art pieces
Recognition:
- Celebrated by collectors and art enthusiasts for creating one-of-a-kind pieces that blend artistry with functionality
- Participates in local and national exhibitions, earning accolades for his innovative designs and craftsmanship
Passion:
- Deeply committed to exploring and pushing the boundaries of ceramic artistry
- Continuously experiments with new materials, firing techniques, and artistic concepts to evolve his craft
Personal Philosophy:
- Believes in the transformative power of art, aiming to evoke emotions and connections through his ceramic creations
- Advocates for sustainability in ceramics, using eco-friendly materials and practices whenever possible