


Painting ceramic marble is a rewarding process that allows you to transform plain surfaces into stunning, colorful displays. Whether you’re looking to revitalize old pieces or create a custom design, mastering the right techniques ensures a professional finish.
This guide on how to paint ceramic marble will walk you through the essential steps, tools, and tips to help you achieve beautiful results when painting ceramic marble.
Why Paint Ceramic Marble?
Painting ceramic marble can add a touch of elegance and sophistication to any space. It allows for customization and personalization, giving you the freedom to create unique designs that reflect your style and taste. Additionally, painting ceramic marble is an affordable way to update outdated pieces or give them a fresh new look.
It is also a fun and creative activity that can be enjoyed by individuals of all ages. You don’t need to be an expert painter to achieve beautiful results – all you need is the right tools, techniques, and a little bit of patience.
Materials Needed
Before embarking on your ceramic marble painting project, it’s important to gather all the necessary materials. This will ensure a smooth and successful painting process. Here are some essential materials you will need:
- Ceramic Marble Pieces or Surfaces to Paint on
- Paintbrushes (Various Sizes for Different Details)
- Acrylic Paint (in Your Desired Colors)
- Water Basin or Container for Cleaning Brushes
- Paper Towels or Cloth for Drying Brushes
- Paint Palette or Paper Plate for Mixing and Blending Colors
- Painter’s Tape (to Create Clean Lines)
- Sealant Spray (Optional but Recommended for a Longer-lasting Finish)

8 Step-by-step Guides on How to Paint Ceramic Marble
Step 1: Prepare the Surface
Proper surface preparation is crucial to ensure the paint adheres well and the final result looks professional. Start by thoroughly cleaning your ceramic marble piece with warm water and mild soap to remove dust, grease, or any residue. Use a soft cloth or sponge to gently scrub the surface, being careful not to scratch or damage it.
Once it’s clean, rinse with water and pat it dry completely. If the ceramic marble has a glossy or smooth finish, lightly sand the surface using fine-grit sandpaper to create a slightly rough texture for better paint adhesion. Be sure to wipe away any sanding dust with a dry cloth before moving on to the next step.
Step 2: Choose Your Colors
Selecting the right colors is an important part of the creative process. Consider the design or pattern you want to achieve and choose a color palette that complements your vision. You can opt for bold, vibrant colors to make a statement or soft, pastel shades for a more subtle and elegant look.
Before you begin painting, test your colors on a piece of paper or an inconspicuous area of the ceramic marble to see how they look when dry. This will also give you a chance to experiment with blending or mixing colors to create custom shades. Having a clear idea of your chosen colors will help guide your painting process and ensure a cohesive final design.
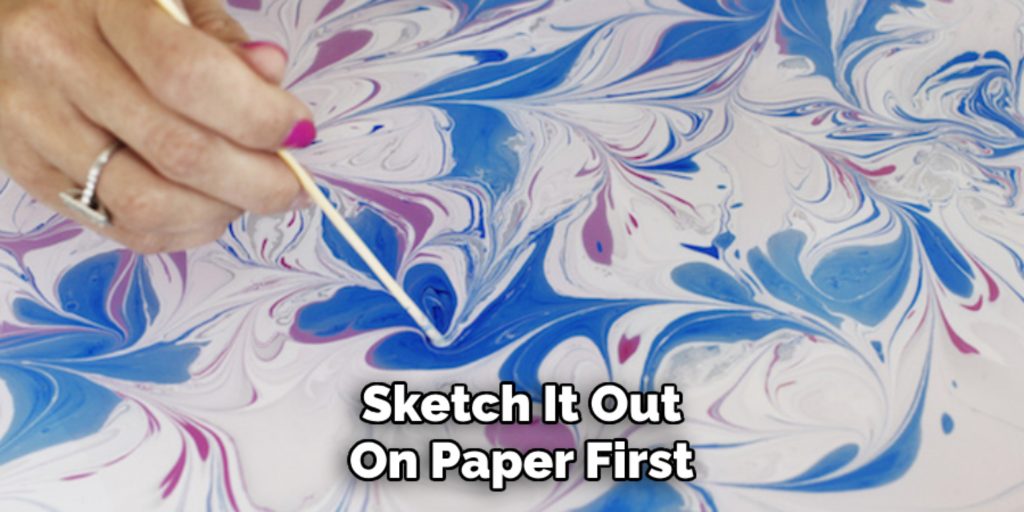
Step 3: Sketch Your Design
If you want to create a specific design or pattern, it’s helpful to sketch it out on paper first. This will give you an idea of how the design will look on the ceramic marble and allow for any necessary adjustments before painting. You can also use painter’s tape to mark off areas and create clean lines for your design.
It’s important to note that you don’t have to follow a specific design – you can freestyle and create abstract patterns or designs as well. The key is to have fun and let your creativity guide you.
Step 4: Begin Painting
Now it’s time for the main event – painting! Start by using a larger brush to fill in larger areas of your design with the base color. Then, switch to smaller brushes for finer details and more intricate areas.
Be sure to use smooth, even strokes and allow each layer of paint to dry completely before adding another one. This will prevent smudging or muddying of colors. If necessary, gently sand any rough edges between layers for a smooth finish.
Step 5: Add Depth and Texture
To make your ceramic marble piece look more realistic, add depth and texture to your design. You can achieve this by layering different colors or using a dry brush technique where you lightly brush over the surface with a small amount of paint.
You can also experiment with techniques like splattering or stippling to create interesting textures and patterns. Just be sure to test these techniques on paper first before trying them on your ceramic marble piece.
Step 6: Allow for Drying Time
Patience is key when it comes to painting ceramic marble. Allow each layer of paint to dry completely before moving on to the next step. This may take a few hours to overnight, depending on the thickness of your paint layers. It’s better to be patient and wait for each layer to dry rather than rushing and risking ruining your design.
But if you do make a mistake or aren’t happy with a particular area, don’t panic – simply wait for the paint to dry and then lightly sand away any unwanted areas before painting over them.
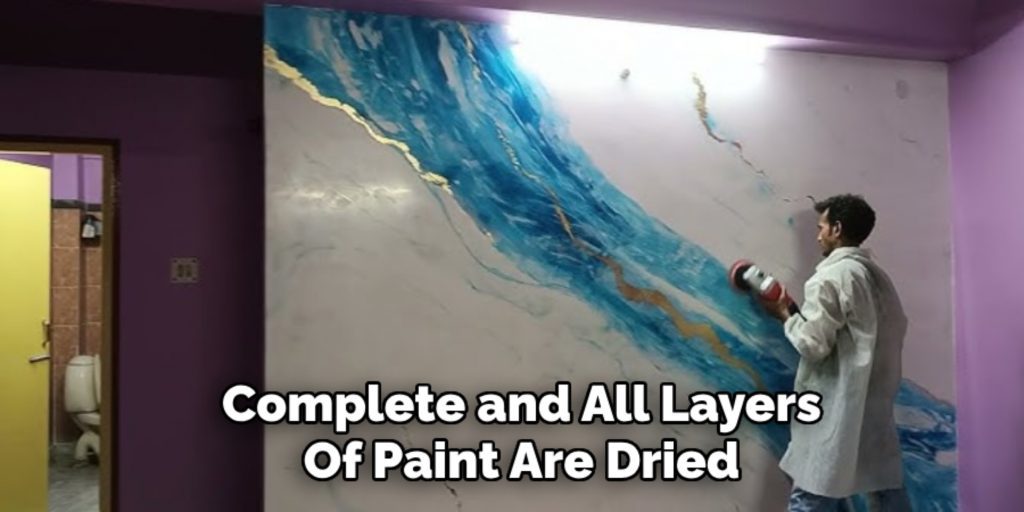
Step 7: Seal and Protect Your Design
Once your design is complete and all layers of paint are dried, it’s time to seal and protect it. This step is optional but highly recommended as it will help preserve your design and prevent chipping or fading.
You can use a clear acrylic sealant spray, which can be found in most craft stores. Be sure to apply multiple thin coats, allowing each one to dry completely before adding another. This will ensure an even coverage and lasting protection for your ceramic marble piece.
Step 8: Display and Enjoy
Congratulations, you’ve successfully painted your ceramic marble piece! Now, it’s time to show off your masterpiece. You can use it as a decorative item in your home or give it as a personalized gift to friends and family.
Not only is ceramic marble painting a fun and creative activity, but it also allows you to give new life to old pieces or add a personal touch to plain surfaces. With these step-by-step guides on how to paint ceramic marble, anyone can achieve beautiful results with just a few simple materials and techniques.
So gather your supplies and let your imagination run wild – the possibilities are endless when it comes to ceramic marble painting. Happy painting!
Do You Need to Hire Professional Painters?
When it comes to painting ceramic marble, one of the common questions is whether to hire professional painters or take the DIY route. While painting your ceramic marble can be a fulfilling and creative personal project, there are scenarios where hiring professionals might be the better option.
Professional painters have years of experience and specialized tools to achieve a flawless and long-lasting finish. If your project involves intricate designs and a large surface area, or if you require advanced techniques, skilled professionals can save you time and deliver high-quality results.
Additionally, they are well-versed in the best types of paint, sealants, and application methods for specific materials, including ceramic marble.
On the other hand, if you enjoy crafting and feel confident in your abilities, DIY painting can be a budget-friendly way to personalize your pieces. By following step-by-step instructions, you can achieve impressive results while learning new techniques.
Ultimately, deciding whether to hire professionals depends on factors like your available time, budget, confidence level, and the complexity of your project. Assessing these considerations will help you make the best choice and achieve the beautifully painted ceramic marble piece you envision.
How Much Will It Cost to Paint Ceramic Marble?
The cost of painting ceramic marble can vary widely depending on several factors, such as the size of the piece, the materials used, and whether you choose to do it yourself or hire professionals.
If you decide to take the DIY route, your expenses will primarily be for the paints, brushes, sealants, and any other tools or supplies you might need. A basic DIY kit, including high-quality acrylic paints, brushes, sandpaper, and a sealant, can range between $30 to $100, depending on the brands and quantities you purchase.
If you opt to hire professional painters, the costs will depend on the complexity and scale of the project. For smaller pieces or simple designs, you may pay between $100 and $300 for professional services.
However, for intricate designs, larger surfaces, or high-end finishes, the cost could go up to $500 or more. Keep in mind that highly experienced painters or specialized ceramic marble painting services might charge premium rates for their expertise.
While DIY projects are often more cost-effective, hiring professionals ensures a polished, long-lasting result, especially for more complex undertakings. Before starting, consider your budget and the desired quality of the final product to determine the most suitable option for your needs.

Conclusion
Painting ceramic marble is a rewarding and versatile craft that allows you to personalize and elevate ordinary pieces. Whether you choose to take on this project yourself or hire professional painters, the key to success lies in proper preparation, the right materials, and attention to detail.
By following the steps on how to paint ceramic marble outlined and considering your budget and skill level, you can create stunning pieces that showcase your style and creativity.
From vibrant decorative accents to thoughtful gifts, the possibilities are endless. With patience and practice, anyone can achieve beautiful, professional-looking results. Now, it’s time to put these tips to use and bring your ceramic marble creations to life!
How to Paint Ceramic Marble
Specialization:
- Master of wheel-throwing, hand-building, and advanced glazing techniques
- Focus on creating both functional pottery and decorative art pieces
Recognition:
- Celebrated by collectors and art enthusiasts for creating one-of-a-kind pieces that blend artistry with functionality
- Participates in local and national exhibitions, earning accolades for his innovative designs and craftsmanship
Passion:
- Deeply committed to exploring and pushing the boundaries of ceramic artistry
- Continuously experiments with new materials, firing techniques, and artistic concepts to evolve his craft
Personal Philosophy:
- Believes in the transformative power of art, aiming to evoke emotions and connections through his ceramic creations
- Advocates for sustainability in ceramics, using eco-friendly materials and practices whenever possible