


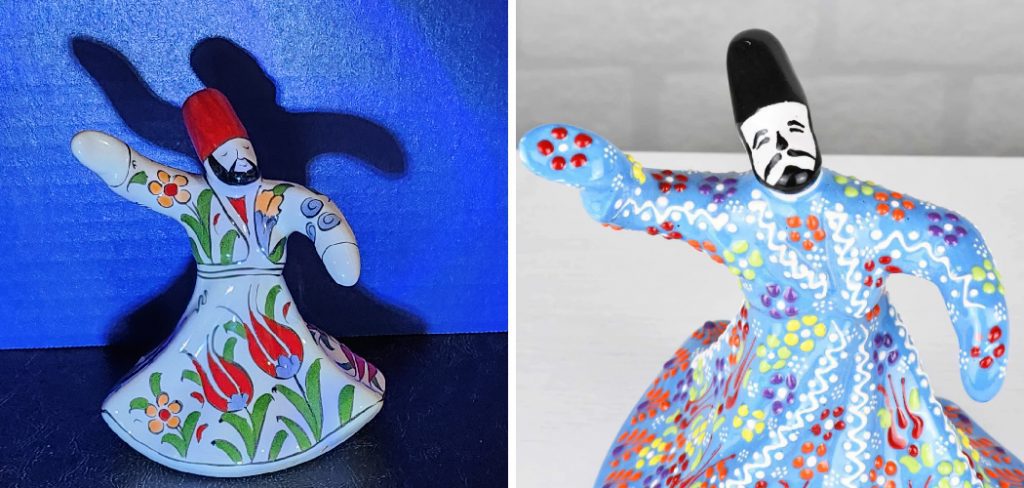
Ceramic whirls are small, decorative items made from ceramic that add charm to both indoor and outdoor spaces. Their intricate designs and versatility make them a favorite choice for homeowners and craft enthusiasts looking to enhance their décor.
Painting ceramic whirls allows you to personalize these pieces to match your style and adds a layer of protection, extending their durability and visual appeal. Whether you’re a seasoned artist or a beginner stepping into the world of crafts, learning how to paint ceramic whirls can be a rewarding and enjoyable experience. This article provides a comprehensive, step-by-step guide to mastering the art of painting ceramic whirls, ensuring beautiful and lasting results.
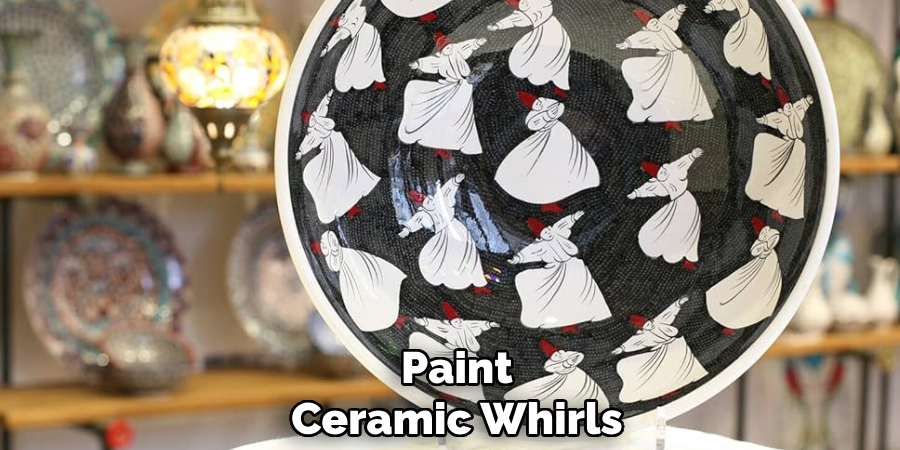
Understanding Ceramic Whirls
What Are Ceramic Whirls?
Ceramic whirls are decorative, often spiral-shaped pieces made from clay or ceramic materials. These elegant ornaments are commonly used to enhance the aesthetic appeal of indoor or outdoor spaces. They bring a touch of artistry to gardens, patios, and home interiors alike, making them a popular choice for both landscaping and interior design enthusiasts.
Different Types of Ceramic Whirls
Ceramic whirls come in a wide variety of designs and sizes. From simple, understated spirals to complex and intricate patterns, there’s a style to suit every taste and preference. Some feature smooth surfaces that emphasize their shape, while others integrate textures or detailed carvings to add dimension and character. The diversity in designs allows them to complement different décor styles effortlessly.
Why Paint Ceramic Whirls?
Painting ceramic whirls enhances their beauty while offering practical benefits. A painted surface protects against weathering and wear, prolonging their lifespan, especially when used outdoors. Additionally, painting allows for personalization, enabling you to match them to a specific color palette or theme. Whether they’re used in a landscaped garden or as a statement piece in a living room, painted ceramic whirls add a unique and enduring charm to any environment.
Materials You Need to Paint Ceramic Whirls
Ceramic Paints
When painting ceramic whirls, selecting the right paint is critical for both appearance and durability. Acrylic paints are versatile and easy to use, making them a popular choice for beginners, though they may require a sealant for longevity. Enamel paints offer a glossy, durable finish suitable for indoor ceramics.
In contrast, specialized ceramic paints are crafted for superior adhesion and resilience on ceramic surfaces, making them ideal for both indoor and outdoor use. Weather-resistant paints that can endure moisture and UV exposure are highly recommended for outdoor ceramic whirls to maintain vibrancy over time.
Tools
Having the right tools ensures smooth application and creative freedom. Brushes are essential, with flat brushes for broad coverage, round brushes for curves, and fine-tip brushes for intricate details. Sponges are excellent for creating textured effects, while spray paint can quickly cover larger areas with even coats.
Other necessary tools include a palette for mixing colors, small cups for diluting paints, and water containers for cleaning brushes during your project.
Protective Materials
To preserve your design and protect the ceramic whirl, apply a clear sealant or varnish once your work is complete. Ensure your workspace stays clean by using drop cloths or newspapers to catch any drips or spills, keeping your surroundings pristine.
Preparing Your Ceramic Whirl for Painting
Before beginning your painting project, preparing the ceramic whirl properly is essential. This ensures that the paint adheres smoothly and the final design endures. Follow these steps to ensure a flawless foundation for your work:
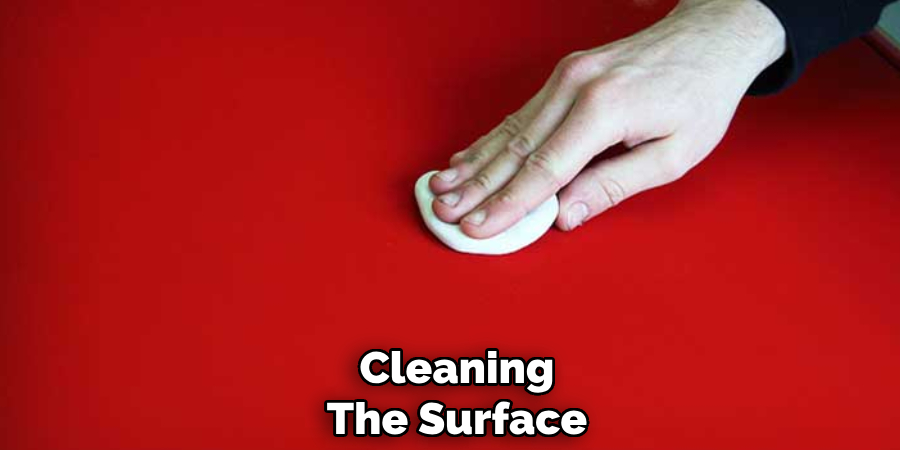
Cleaning the Surface
Start by removing any dirt, dust, or oils from the ceramic surface. Use a mild soap and warm water solution for gentle yet effective cleaning. For tougher stains or to remove oils, rubbing alcohol can be used as an alternative. Apply it with a lint-free cloth to avoid leaving fibers behind. Once cleaned, rinse the surface with clean water to remove any soap or residue. Drying the ceramic completely before painting is critical to prevent moisture from interfering with the paint’s adhesion or finish.
Sanding the Surface
Light sanding may be necessary for a smooth and even application of paint. Use fine-grit sandpaper or a sanding block to roughen the surface of the ceramic gently. This step enhances the paint’s grip and reduces the risk of peeling or chipping over time. Take care not to over-sand, particularly on delicate or thin areas of the whirl. After sanding, use a soft, dry cloth to wipe away any dust or debris created during the process.
Priming (Optional)
A ceramic primer is recommended, especially if the whirl is displayed outdoors or in areas subject to wear and tear. A primer creates an additional adhesive layer between the paint and ceramic, ensuring a longer-lasting, more vibrant finish. Use a primer explicitly designed for ceramics and apply it evenly across the surface, following the manufacturer’s instructions. Allow the primer to dry completely before moving on to painting.
How to Paint Ceramic Whirls: Techniques for Painting Ceramic Whirls
Successfully painting ceramic whirls requires careful planning, precision, and creativity. Below are essential techniques to help you achieve stunning results.
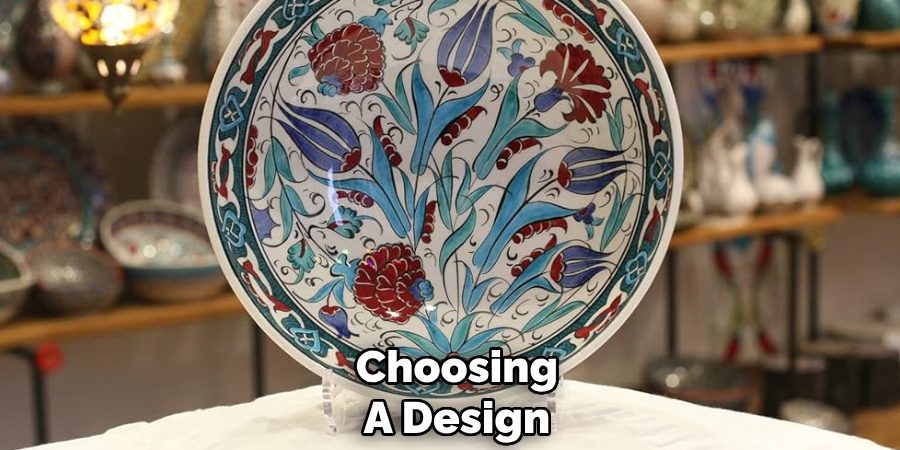
Choosing a Design
Before beginning, decide on the theme or design of your ceramic whirl. Designs can range from simple solid colors to intricate patterns or detailed illustrations. If creating a detailed design, lightly sketch it onto the ceramic surface with a pencil before painting. This step allows for precise execution and ensures your work aligns with your vision.
Base Coating
Start by applying the first base coat of paint to the ceramic surface. Use even strokes to cover the area uniformly, avoiding clumps or streaks. Work methodically to ensure comprehensive coverage, especially on curved or textured areas of the whirl. Allow each layer to dry completely before applying the next, as this prevents smudging or unintended peeling.
Layering and Detailing
Once the base coat is dry, add secondary layers, highlights, and accents to enhance the design. Use smaller brushes to focus on details and achieve precision. Techniques like shading, creating gradients, or adding textures can add depth and dimension to your design. Experiment with layering colors to produce dynamic effects or soft transitions.
Using Stencils or Tape
To achieve clean, crisp patterns, use stencils or painter’s tape. Secure the stencils or tape firmly onto the ceramic before applying paint, ensuring they don’t move during application. This method is beneficial for creating geometric shapes, stripes, or symmetrical patterns. Once finished, carefully remove the stencil or tape to reveal sharp lines and edges.
Painting Techniques for Different Effects
For unique finishes, explore various painting techniques. Sponge painting can create a soft, textured effect, while dry brushing is ideal for adding light strokes or a weathered look. Alternatively, using spray paint can provide an even, smooth coat across larger areas, making it a good option for modern or minimalist designs.
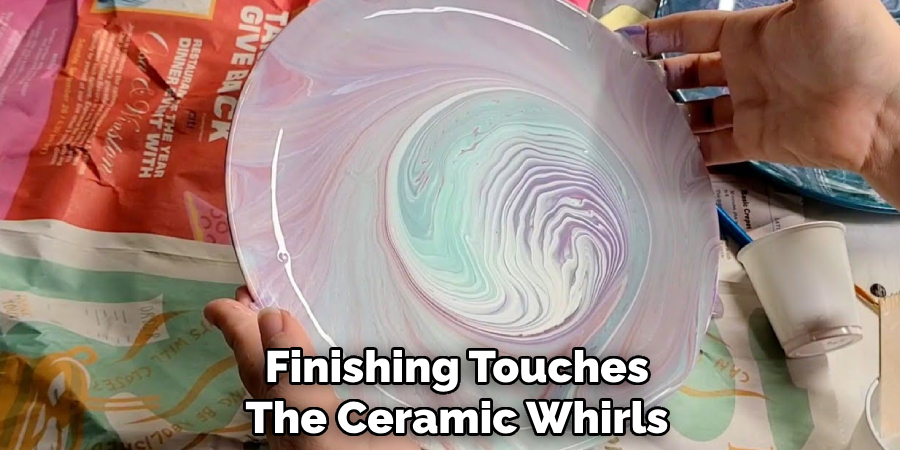
Finishing Touches
Allowing the Paint to Dry Properly
Proper drying is essential to ensure your painted piece’s best appearance and durability. After completing the last coat, avoid handling the item or adding additional layers until the paint is completely dry.
Ceramic paints generally require at least 24 hours to dry for optimal results, but this timeframe can vary depending on the specific paint and environmental conditions like humidity and temperature. Always refer to the manufacturer’s instructions to avoid smudging or an uneven finish.
Applying a Protective Sealant
Once the paint is thoroughly dry, applying a clear protective sealant or varnish is crucial for long-term preservation. A clear coat adds an extra layer of protection against scratches, fading, or moisture. Use a soft brush or spray-on sealant for an even application, ensuring it covers the entire painted surface. Depending on your preferences and the desired aesthetic, you can opt for a matte finish for a subtle, understated look or a glossy finish for a vibrant, polished appearance.
Touch-ups
After the final steps, inspect the piece for any small imperfections or missed spots. Use fine brushes to make precise touch-ups with matching paint colors. Pay attention to edges, corners, and intricate details to ensure a flawless final result. Proper touch-up techniques will enhance the overall quality and longevity of your work.
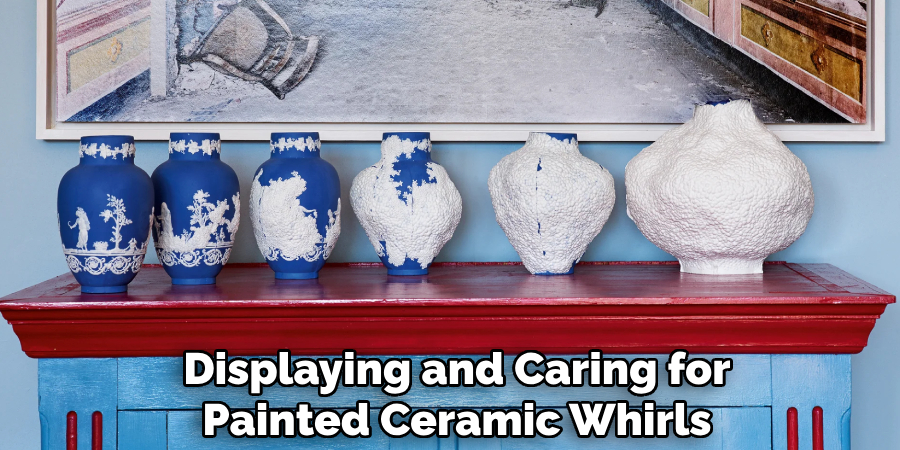
Displaying and Caring for Painted Ceramic Whirls
Displaying Your Ceramic Whirl
Painted ceramic whirls make charming additions to both indoor and outdoor spaces. For indoor displays, consider placing them on windowsills, mantels, or as elegant tabletop décor to brighten your living area.
Outdoors, they can beautifully complement gardens, patios, or porches, blending seamlessly with nature. If the whirl is top-heavy or displayed outside, secure it in place using adhesive putty, a sturdy stand, or by anchoring it with weights to prevent accidental tipping or movement.
Caring for Your Painted Whirl
To maintain the beauty of your painted ceramic whirl, clean it gently with a soft cloth or sponge to remove dust and grime without damaging the paint. Protect your whirl from extreme weather for outdoor displays by placing it in a sheltered area or bringing it indoors during heavy rain, snow, or intense sunlight. Regular care ensures your ceramic whirl remains vibrant and intact for years to come.
Common Mistakes to Avoid
Overloading with Paint
Applying too much paint at once can lead to uneven coverage, drips, and an unpolished appearance. Excessive paint may also prevent proper adhesion, causing the layer to peel or crack over time. To avoid this, apply thin, even coats and allow each layer to dry before adding the next.
Skipping Drying Times
Rushing the drying process is a common mistake that can lead to smudges, uneven finishes, or even peeling paint. Allowing sufficient time for each coat to dry is essential to achieving a smooth and durable surface. Follow the manufacturer’s drying and curing recommendations to ensure the best results.
Using the Wrong Paint
Choosing the wrong type of paint, such as one not designed for ceramics, can result in flaking or even damage to your ceramic piece. Always select high-quality, durable paints for ceramic surfaces to ensure longevity and a professional finish.
Conclusion
Learning how to paint ceramic whirls can be a rewarding and creative process when following the right steps. Begin by thoroughly preparing your ceramic surface, ensuring it is clean and primed for painting. Use high-quality paints designed for ceramics and apply them carefully, allowing each coat to dry fully.
Seal your work with a durable finish to protect your design and enhance its longevity. Experiment with colors, patterns, and techniques to make your ceramic whirls genuinely unique. With patience and creativity, you’ll craft a professional, long-lasting piece that adds charm and personality to your décor.
Specialization:
- Master of wheel-throwing, hand-building, and advanced glazing techniques
- Focus on creating both functional pottery and decorative art pieces
Recognition:
- Celebrated by collectors and art enthusiasts for creating one-of-a-kind pieces that blend artistry with functionality
- Participates in local and national exhibitions, earning accolades for his innovative designs and craftsmanship
Passion:
- Deeply committed to exploring and pushing the boundaries of ceramic artistry
- Continuously experiments with new materials, firing techniques, and artistic concepts to evolve his craft
Personal Philosophy:
- Believes in the transformative power of art, aiming to evoke emotions and connections through his ceramic creations
- Advocates for sustainability in ceramics, using eco-friendly materials and practices whenever possible