


The art of ceramic painting has captured the attention of crafters, artists, and hobbyists alike in recent years. Painting on ceramic offers a unique blend of creativity and relaxation, providing both a calming process and a deeply rewarding outcome. In a world that increasingly values personal expression and mindfulness activities, learning how to paint on ceramic stands out as an ideal pastime for those seeking both creative fulfillment and practical results.
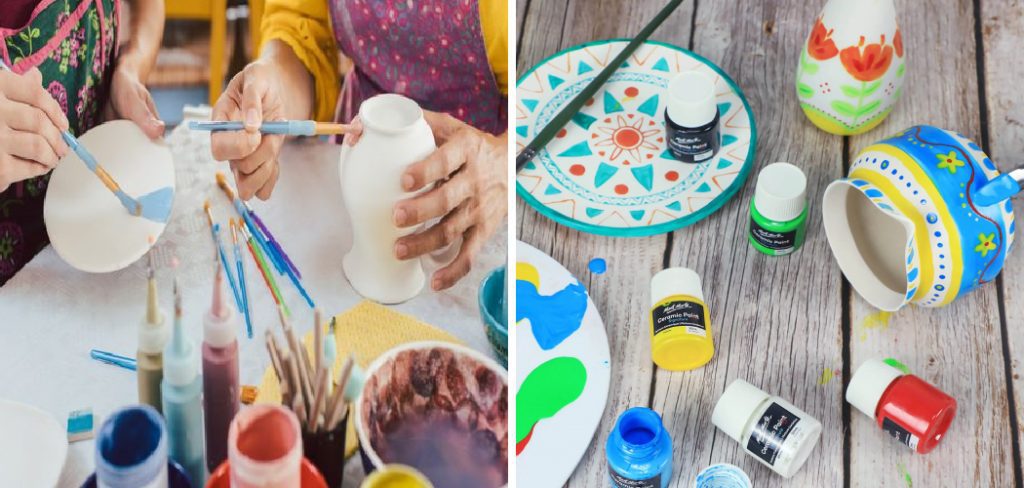
Painted ceramics can serve many purposes. From hand-decorated mugs and plates that brighten up your kitchen to personalized gifts and one-of-a-kind artwork for your home, the versatility of this art form is virtually limitless. Whether you’re hoping to add a splash of color to your living space, create meaningful presents for loved ones, or simply enjoy the meditative process, this guide will walk you through every essential step.
In the following sections, you’ll learn what materials are needed, how to properly prepare your ceramics, expert painting techniques, and how to ensure your creations last for years to come. If you’ve ever wondered how to paint on ceramic, this detailed guide will give you the confidence, inspiration, and know-how to get started.
Tools and Materials Needed
Essential Supplies
To begin your ceramic painting journey, having the right tools on hand makes all the difference. At a minimum, you’ll need a range of brushes in different sizes, sponges for blending or creating texture, and mixing trays or palettes for preparation. Fine-tipped brushes are crucial for detailed work, while flat or rounded brushes help with broader strokes and background washes. Other useful tools include water cups for rinsing brushes and paper towels for blotting and quick clean-ups.
Required Paints
Choosing the right paints is essential for successful results when learning how to paint on ceramic. Acrylic paints are a favorite among beginners and professionals because they are widely available, affordable, and easy to use. However, for projects intended for regular use or exposure to moisture, ceramic-specific paints or glazes are more suitable. These are formulated to adhere better to smooth surfaces and withstand washing or handling.
Other Materials
A few additional items can make your painting process smoother and your results more durable. Sealants, either spray-on or brush-on forms, provide a protective, glossy finish. Stencils allow for uniform and intricate patterns, making them perfect for repeating motifs or geometric designs. Painter’s tape can help create crisp, clean lines, especially when separating different color areas or blocking off sections you want to keep paint-free.
Preparing the Ceramic Surface
Cleaning the Surface
Proper preparation is the foundation of a beautiful, long-lasting painted ceramic piece. Start by thoroughly cleaning your ceramic item with warm, soapy water. This step removes dust, grease, and residues that could prevent paint from adhering properly. After washing, rinse and dry the surface with a lint-free cloth to avoid any remaining fibers.
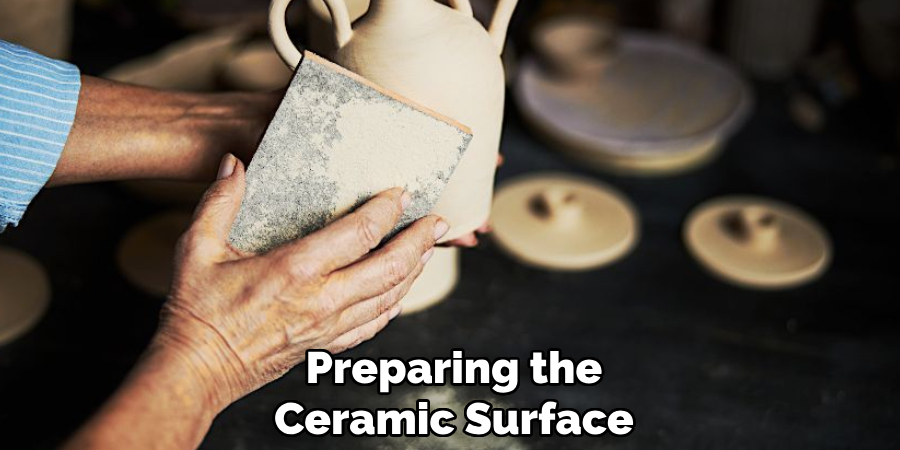
Sanding or Buffing
Some ceramics, particularly glossy or finished pieces, may benefit from gentle sanding to help the paint stick better. Use a fine-grit sandpaper to lightly buff the surface—just enough to dull any shiny finish. Be sure to wipe away any dust with a damp cloth afterward. If your piece is already matte or unglazed, this step may not be necessary, but a quick check can ensure even application.
Priming the Surface
Applying a primer is an effective way to ensure even paint coverage and promote long-term durability. Specialty ceramic primers are available, though a multipurpose acrylic primer can also work for many projects. Use a wide, clean brush to spread an even layer of primer and let it dry completely before moving on. This step is especially important if you’re painting over colored or previously finished ceramics.
Choosing the Right Paints
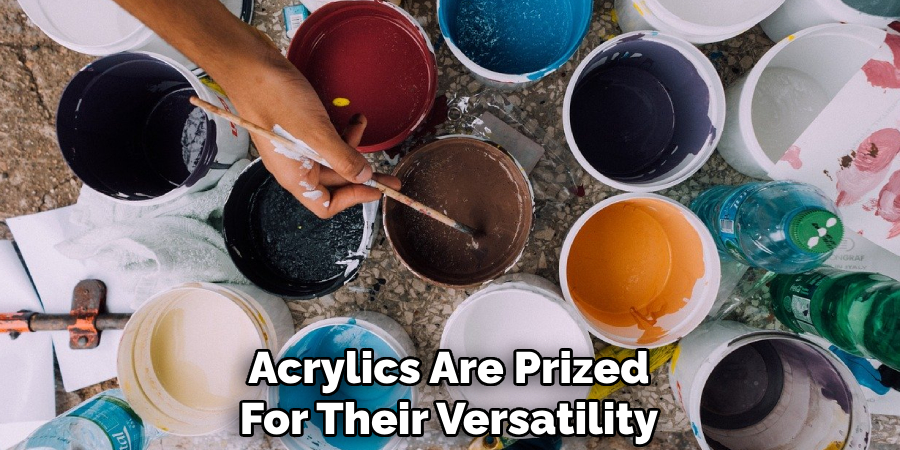
Understanding Paint Types
The type of paint you select determines both the look and lasting power of your finished ceramic art. Acrylics are prized for their versatility, rapid drying times, and the vast range of hues available. Underglaze paints are used on greenware or bisque and provide a matte, vibrant result, ideal for work that will be fired in a kiln and glazed later. Glaze-based paints, on the other hand, require kiln firing but deliver an exceptionally glossy and durable finish suitable for functional pieces.
Selecting Colors
Color choice is a personal decision that can transform any ceramic item. When deciding how to paint on ceramic, consider whether you want complementary shades for a harmonious look or bold, contrasting colors for dynamic designs. Think about your intended theme, the item’s purpose, and where it will be displayed. Lighter colors tend to pop against dark ceramics, while darker hues provide drama and richness.
Testing Paints
Before diving into your main design, it’s wise to test your chosen paints on a small, inconspicuous area of your ceramic piece. This helps verify how the color appears once dry, how well it adheres to the surface, and whether any adjustments are needed. A test patch can save you time and frustration later on, especially with specialty paints or glazes.
How to Paint on Ceramic: Painting Techniques
Freehand Painting
Painting freehand is a wonderful way to express your creativity, whether you’re sketching florals, geometric patterns, or whimsical motifs. Begin by drawing your design lightly with a pencil—most marks can be erased or painted over if needed. Use your fine brushes for outlines and details, and broader brushes for filling in color. Build your artwork gradually, letting layers dry as needed to prevent mixing unwanted hues.
Using Stencils
Stencils are invaluable for achieving crisp, repeatable shapes and intricate patterns. Secure your stencil to the ceramic with painter’s tape or a light adhesive, then apply paint using a stencil brush or sponge. Dab paint gently rather than dragging the brush, to avoid seepage under the stencil. Stencils are perfect for borders, lettering, and symmetrical decorations on mugs, plates, or tiles.
Layering and Blending
To add depth and interest to your ceramics, practice layering and blending colors. Start with a light background and add progressively darker or brighter shades. Wet-on-wet blending is possible with slow-drying paints, allowing colors to merge smoothly, while dry brushing creates texture. Let each layer dry thoroughly before applying the next, and use a soft, clean brush to blend edges for a seamless look.
Drying and Curing
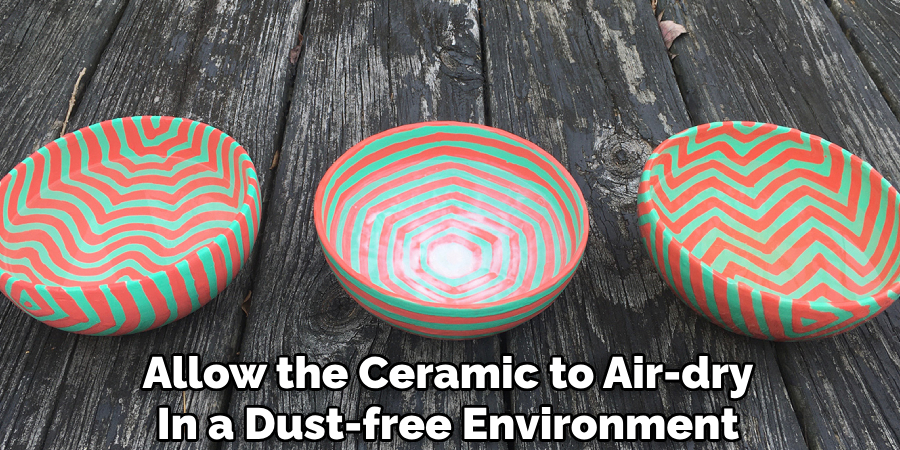
Air-Drying
Once your painting is complete, allow the ceramic to air-dry in a dust-free environment. Place the item on a clean surface and avoid touching painted areas while they’re still tacky. Depending on the paint type, air drying can take anywhere from a few hours to overnight.
Oven Curing
For maximum durability—especially with acrylics or certain ceramic paints—oven curing is recommended. Place the painted ceramic in a cool oven, then set it to the temperature specified by the paint manufacturer (commonly 325°F to 350°F). Bake for the recommended duration, let it cool gradually, and then remove the item. Oven curing sets the paint and makes it more resistant to chipping and washing.
Avoiding Errors
Patience is key during the drying and curing stages. Rushing the process can lead to smudges, cracks, or uneven finishes. Use racks or stands so painted surfaces don’t touch other objects. If working on several pieces, stagger your drying times to minimize mistakes.
Adding Finishing Touches
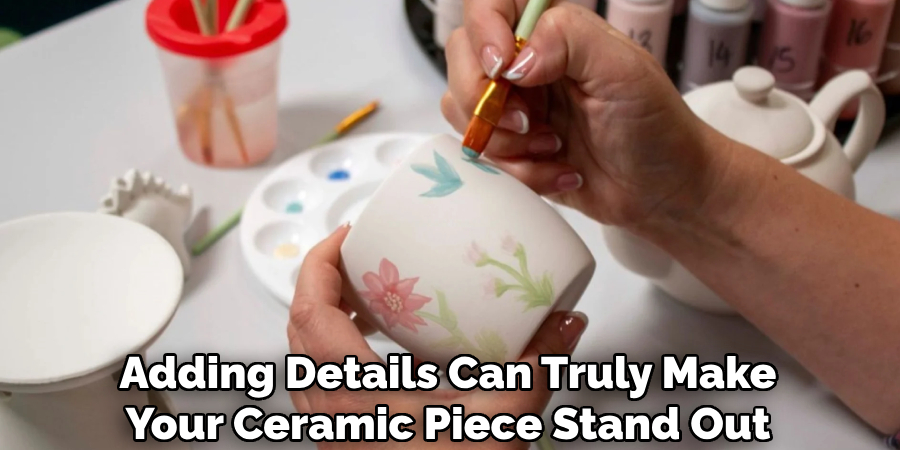
Enhancing with Details
Once your base painting is finished and fully dry, adding details can truly make your ceramic piece stand out. Utilize fine-tipped brushes, ceramic-compatible pens, or even toothpicks to draw thin lines, dots, or highlights. Metallic paints, glitter, or iridescent accents can also offer stunning effects if desired.
Applying Sealant
For ceramics that will be handled or washed, sealing your work is crucial. Choose a clear, food-safe sealant for kitchenware, and apply it with a soft, clean brush or as a spray. Even coats prevent streaking and preserve the integrity of your design. Allow the sealant to cure according to product directions before using or gifting the piece.
Repairing Mistakes
Even experienced artists encounter the occasional slip of the brush. To fix small mistakes, gently scrape off wet paint with a craft knife or cotton swab dipped in water, as appropriate. For dry paint errors, carefully touch up the area with a matching color and let it dry before reapplying sealant or further details.
Creative Ideas and Inspirations
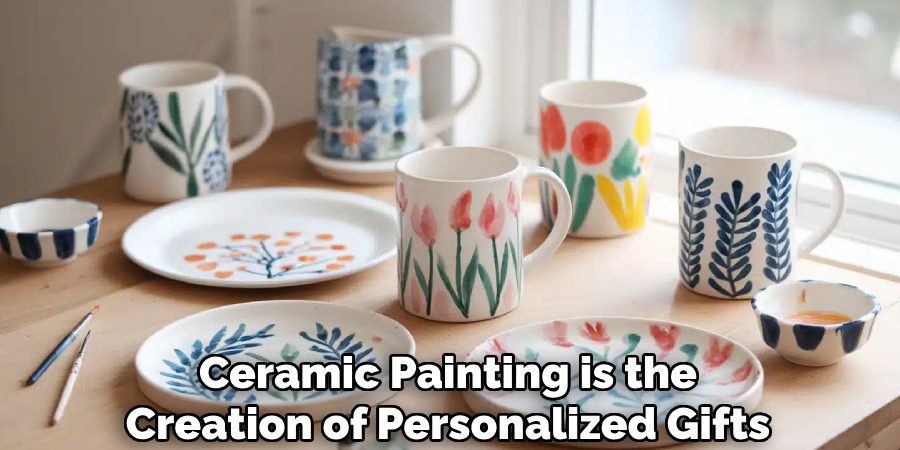
Personalized Gifts
One of the most rewarding applications of ceramic painting is the creation of personalized gifts. Custom mugs with names or favorite quotes, hand-painted plates for special occasions, and decorative tiles with unique designs all make thoughtful, memorable presents. Each piece can be tailored to the recipient’s style and interests.
Seasonal Decor
Ceramic painting offers endless opportunities for creating seasonal and holiday-themed decorations. Think of vibrant Easter egg dishes, spooky Halloween platters, or festive Christmas ornaments. These projects are great for family craft sessions or as charming, reusable decor year after year.
Artistic Displays
Painted ceramics aren’t just practical; they can also be admired as works of art. Try your hand at larger-scale pieces for display, such as vases, wall plaques, or abstract tiles. Experimenting with different patterns, textures, and color schemes allows you to express your artistic vision and enhance any room’s style.
Common Challenges and How to Solve Them
Uneven Paint Coverage
Inconsistent paint application is a common hurdle for beginners. To overcome this, always start with a clean, primed surface and use thin, even layers of paint, allowing each to dry before adding another. If you notice streaks or patches, gently sand the surface between coats for a smoother finish.
Paint Peeling or Fading
Peeling or fading paint is usually the result of inadequate surface preparation or skipping a finishing sealant. Ensure the ceramic is thoroughly cleaned and, when necessary, lightly sanded before painting. Choose high-quality, ceramic-compatible paints, and don’t neglect the final sealant to protect your design from wear.
Smudges During Drying
Smudging is best prevented by handling the ceramic with care and avoiding contact with wet surfaces. Set pieces in an undisturbed area to dry, and if working on multiple sections, use painter’s tape to mask off areas already completed. In case a smudge occurs, gently touch up the spot once fully dry.
Safety and Maintenance
Safe Work Environment
Always prioritize safety while painting ceramics. Work in a well-ventilated area to avoid inhaling fumes from paints or sealants, especially when baking pieces in an oven. Wear gloves and aprons when handling chemicals, and keep supplies out of reach of children and pets.
Caring for Painted Ceramics
To prolong the beauty of your creations, wash painted ceramics gently by hand with mild soap and water—especially pieces decorated with acrylic paints. Avoid abrasive pads or soaking for long periods. For dishwasher-safe designs, use only paints and sealants labeled as such.
Repainting Tips
If you wish to update or refresh a painted ceramic, start by lightly sanding and cleaning the surface, then apply a new base coat or primer. Follow the same painting and sealing process for a crisp, updated look that preserves the integrity of the piece.
Conclusion
Painting on ceramic is an accessible and enjoyable hobby that yields stunning results, whether you’re aiming to decorate your home, craft personalized gifts, or simply unwind through art.
By following the steps on how to paint on ceramic—from gathering materials and preparing your surface, to mastering painting techniques and ensuring a long-lasting finish—you set yourself up for success. Embrace experimentation, practice patience, and remember that each ceramic piece is an opportunity for unique expression. The skills and tips you’ve acquired here will help you confidently embark on countless creative projects for years to come.
Specialization:
- Master of wheel-throwing, hand-building, and advanced glazing techniques
- Focus on creating both functional pottery and decorative art pieces
Recognition:
- Celebrated by collectors and art enthusiasts for creating one-of-a-kind pieces that blend artistry with functionality
- Participates in local and national exhibitions, earning accolades for his innovative designs and craftsmanship
Passion:
- Deeply committed to exploring and pushing the boundaries of ceramic artistry
- Continuously experiments with new materials, firing techniques, and artistic concepts to evolve his craft
Personal Philosophy:
- Believes in the transformative power of art, aiming to evoke emotions and connections through his ceramic creations
- Advocates for sustainability in ceramics, using eco-friendly materials and practices whenever possible