


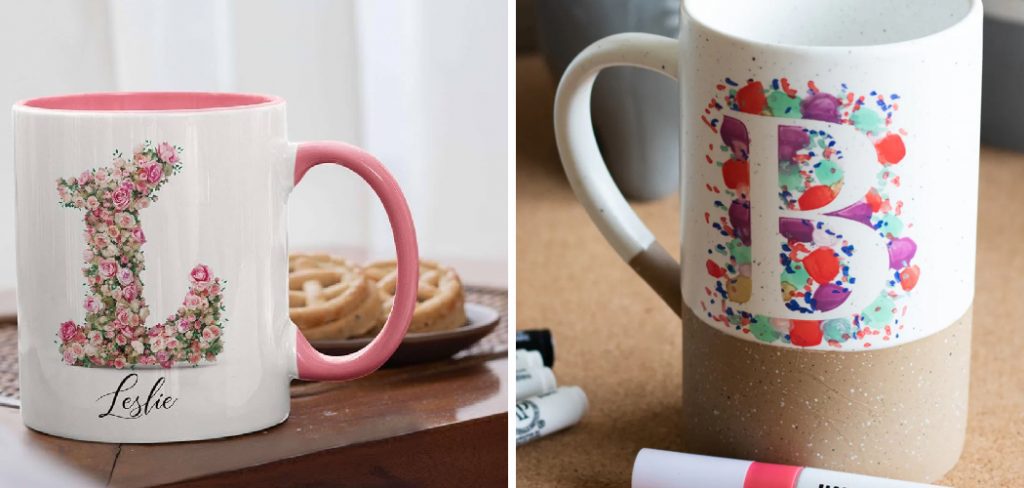
Learning how to paint on ceramic cups is a rewarding way to showcase your artistic flair while creating unique, functional works of art. Whether you’re looking to personalize your morning mug, craft a special gift for a loved one, or simply try your hand at a new creative hobby, painted ceramic cups can be as simple or as intricate as you want them to be. The process is accessible for all skill levels, from complete beginners to seasoned artists, and offers endless opportunities for personalization.
This article walks you through how to paint on ceramic cups with step-by-step instructions. We’ll cover everything you need—from gathering materials and choosing paints to mastering painting techniques and caring for your finished masterpiece. You’ll pick up practical tips along the way to make your designs vibrant and long-lasting. By the end, you’ll feel confident in your ability to create beautiful, personalized ceramic cups that are perfect for your kitchen, gifts, or simply as a canvas for your creativity.
Tools and Materials Needed
Before you begin, it’s important to gather all the necessary tools and materials to ensure a smooth painting process and professional-looking results.
Essential Supplies
To successfully paint on ceramic cups, you’ll need a few basic supplies. Brushes of varying sizes allow for both broad strokes and fine details. Small sponges help blend or apply base coats. A palette is essential for mixing your paints and keeping colors organized as you work.
Types of Paints
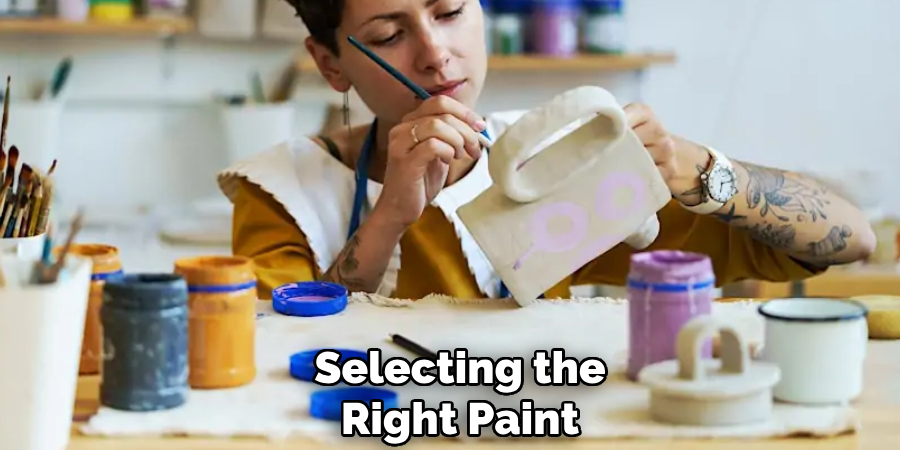
Choosing the right paint is crucial. Ceramic-specific paints are readily available at craft stores and are designed specifically to adhere to ceramic surfaces, offering superior vibrancy and durability. Alternatively, high-quality acrylic paints can also be used if paired with a proper sealant. Each type offers its own unique advantages, which we’ll discuss further below.
Additional Materials
Completing your toolkit, don’t forget a few key extras. Clear sealants protect your final design and add shine. Painter’s tape allows you to mask areas for sharp, clean edges. Stencils help achieve precise shapes or patterns, especially if you’re going for a more intricate look. Lastly, a container of water and paper towels will keep your brushes clean between colors and prevent accidental smudges.
Preparing Your Ceramic Cup
Proper preparation is the secret behind a flawless painted surface. Take your time with these steps to set the stage for your best possible results.
Cleaning the Cup
Ceramic cups can harbor dust, manufacturing residues, or finger oils that prevent paint from adhering. Start by washing your cup with warm, soapy water, rinsing thoroughly, and drying completely with a lint-free cloth. Wipe the exterior with a bit of rubbing alcohol to ensure the surface is oil-free and ready for paint.

Sanding (If Necessary)
Sometimes, ceramic surfaces—especially glossy ones—are too smooth for paint to cling well. In such cases, use very fine-grit sandpaper (around 400–600 grit) to lightly scuff the area to be painted. Wipe away the dust with a clean, damp cloth and let the cup dry. This extra step can significantly enhance the longevity of your painted design.
Masking for Precision
If you plan to leave parts of the cup unpainted or want crisp borders between colors, apply painter’s tape to mask those areas. Take your time to press tape firmly into grooves or around curves. Remove the tape slowly after painting for sharp, professional-looking lines.
Selecting the Best Paint
Selecting the right paint not only ensures bright colors and detailed designs but also impacts your cup’s durability and safety.
Ceramic-Specific Paints
Ceramic paints are specially formulated to bond with non-porous surfaces. They create a vivid, glossy finish and often remain dishwasher-safe when cured according to the manufacturer’s instructions. These are ideal if you want a lasting, vibrant result that can stand up to daily use.
Using Acrylic Paints
Acrylic paints are a popular alternative due to their availability and range of colors. When using acrylics, however, it’s essential to seal your finished design to protect it from chips, fading, or water damage. Acrylics may be less durable than ceramic paints, but they can still yield beautiful results with the right preparation and finishing steps.
Testing Before Application
No matter which paint you choose, it’s wise to perform a test patch. Paint a small, inconspicuous area or use an extra cup. This helps you gauge how the paint adheres, check for color accuracy, and practice curing or sealing techniques before working on your main design.
How to Paint on Ceramic Cups: Painting Techniques
The fun truly begins when you start painting. A few fundamental techniques will help ensure your designs come out crisp, vibrant, and professional-looking.
Creating Base Layers
Start by applying a thin base coat using a large, flat brush or sponge. Even coverage ensures the following layers adhere smoothly. Allow each coat to dry completely before adding additional layers or details, which helps prevent smearing and muddy colors.
Freehand Artwork
If you’re confident in your artistic skills or simply want a personal touch, freehand painting is a rewarding option. Use fine-tipped brushes for details and steady your hand by holding it close to the cup’s surface. Don’t rush—work in sections, and always let one part dry before moving on to avoid unintentional smudges.
Using Tools and Stencils
For geometric shapes, repeating patterns, or clear images, consider using stencils or stamps. Secure your stencil to the cup with removable adhesive or painter’s tape and apply paint gently, dabbing or lightly brushing to avoid seepage under the edges. This method is especially useful for beginners or anyone seeking sharp, consistent designs.
Drying and Curing the Paint
Proper drying and curing are vital to preserving your artwork and making it dishwasher-safe.
Air Drying
After painting, let your cup air dry in a dust-free area for 24 hours. Touching the surface prematurely can result in fingerprint marks or smudges that are difficult to fix once set.
Oven Curing
Many ceramic and acrylic paints require oven curing to set fully. Place your cup in a cool oven, then heat it to the manufacturer’s recommended temperature (usually around 300–350°F or 150–175°C). Bake for the suggested duration—typically 30 minutes. Allow the cup to cool gradually inside the oven to prevent cracking from sudden temperature changes.
Avoiding Premature Handling
During drying and especially oven curing, avoid moving or touching the cup until it’s completely cooled. This patience pays off with a durable, professional-quality finish that stands up to everyday use.
Adding Finishing Touches
With your core design complete, finishing touches bring your vision to life and ensure it stands the test of time.
Adding Detail
Switch to ultra-fine brushes or ceramic-compatible paint pens for delicate elements like lettering, highlights, or small shapes. Take your time with these details, as they often define the overall quality of the finished piece.
Sealing the Artwork
To make your art last, seal the painted area with a clear, food-safe ceramic sealant. Apply according to the product instructions—usually with a brush or spray. This protective layer guards against chips, moisture, and everyday wear.
Correcting Mistakes
If you spot errors before curing, remove unwanted paint with a damp Q-tip or small brush. For dried mistakes, gently scrape off the excess with a fine blade or touch up the design. Patience and a steady hand can resolve most issues without leaving a trace.
Inspiration and Creative Ideas
Personalizing your ceramic cups lets you explore endless creative possibilities. Here are some ideas to spark your imagination.
Custom Text or Quotes
Paint your name, an inspiring phrase, or a meaningful date to give your cup a personal touch. Hand-lettered phrases make wonderful gifts for friends and family.
Themed Designs
Draw inspiration from holidays, nature, or favorite hobbies. Consider painting autumn leaves, festive snowflakes, floral patterns, or even whimsical characters to mark special occasions or simply brighten your everyday routine.
Play with Color Gradients
Experiment with ombre or layered color effects by blending two or more shades. This technique creates depth and visual interest, making even simple patterns look sophisticated.
Maintaining Painted Ceramic Cups
Proper care ensures your artwork remains vibrant and beautiful for years to come.
Cleaning with Care
Handwash your cup with mild soap and a soft sponge. Avoid soaking for long periods, which can weaken even the strongest sealants over time.
Avoiding Abrasives
Steer clear of harsh scrubbers and abrasive cleaning agents. Gentle washing preserves both the paint and the glossy ceramic finish, keeping your design bright and intact.
Touch-Up Tips
If you notice any chips or fading after repeated use, carefully touch up the design with matching paint and reseal as needed. Regular touch-ups keep your cup looking as good as new.
Common Challenges and Solutions
Painting on ceramic cups can present a few hurdles, but these easy solutions will keep your project on track.
Uneven Paint
Achieving smooth, even coverage can be tricky. Thin your paint slightly with water for a more level application and use broad, steady strokes. If streaks appear, let the first coat dry fully before adding more layers.
Fading After Curing
Some paints may dull or fade after baking. This is where a quality sealant makes all the difference. Sealing locks in brightness and prevents color loss from washing or sunlight exposure.
Design Smudges
To avoid smudging, work in sections and always let painted areas dry before handling the cup. If a section gets accidentally smeared, carefully wipe away the error and repaint as needed before curing.
Safety Precautions
Artistic projects are fun, but safety should always come first—especially when using paints and sealants.
Ventilation While Painting
Work in a well-ventilated space, particularly if you’re using aerosol sealants or solvent-based paints. Proper airflow reduces exposure to fumes and keeps your environment safe.
Food Safety Concerns
For health and safety, avoid painting the inside or lip of your cup—these areas come into direct contact with drinks. Focus your designs on the outer surface and handle only.
Proper Use of Materials
Always follow instructions on paints and sealants. Wear gloves and avoid skin contact with chemicals. Store supplies out of reach of children and pets, and dispose of waste responsibly.
Conclusion
Painting ceramic cups is an enjoyable, accessible craft that lets anyone add a touch of artistry and personality to daily life. By following the detailed steps in this guide—from gathering supplies and preparing your surface, to choosing paints, applying creative designs, and properly curing your work—you’ll master how to paint on ceramic cups and take pride in the beautiful, long-lasting results.
Practice, patience, and safe material use are your keys to success. Each cup becomes a canvas for your imagination, reflecting your unique taste and creativity. So gather your supplies, set aside some quiet time, and start exploring the world of ceramic painting. With each project, you’ll refine your skills and discover just how fun and rewarding painting ceramic cups can be.
Now that you know how to paint on ceramic cups, the possibilities are truly endless. Happy painting!
Specialization:
- Master of wheel-throwing, hand-building, and advanced glazing techniques
- Focus on creating both functional pottery and decorative art pieces
Recognition:
- Celebrated by collectors and art enthusiasts for creating one-of-a-kind pieces that blend artistry with functionality
- Participates in local and national exhibitions, earning accolades for his innovative designs and craftsmanship
Passion:
- Deeply committed to exploring and pushing the boundaries of ceramic artistry
- Continuously experiments with new materials, firing techniques, and artistic concepts to evolve his craft
Personal Philosophy:
- Believes in the transformative power of art, aiming to evoke emotions and connections through his ceramic creations
- Advocates for sustainability in ceramics, using eco-friendly materials and practices whenever possible